Using a Composite Type as Flow Input Data
- 02 Dec 2020
- 2 Minutes to read
- Print
- DarkLight
Using a Composite Type as Flow Input Data
- Updated on 02 Dec 2020
- 2 Minutes to read
- Print
- DarkLight
Article Summary
Share feedback
Thanks for sharing your feedback!
Overview
The Flow Designer is able to receive entire Composite Types to use as Flow Input Data. When the Composite Type is received, the Mapping Editor can be used to breakdown its properties, so that individual values can be exposed. Regular Flow Input Data would contain Data Members like name, email, and address, which are values of a type like String, Int32, or Boolean. Using a Composite Type for Input data receives the entire object for that type.
Example
This example will show what it looks like to use both a default Decisions type and a custom user-defined type as Flow Input Data.
Default Decisions Type
This example uses the default Decisions type called Account as Flow Input Data. In the GIF below, a Flow with an unconfigured Show Popup step is shown. The Flow is configured to receive a [Account] type object, which will contain values for each property in the type. The Message input of the Show Popup step expects a [String] type value, so an [Account] type value cannot be mapped in. Instead, the properties of the [Account] object can be exposed and mapped individually, so that the property with the appropriate type value can be selected.
- From a Designer Folder, click the CREATE FLOW button, select Flow. Then Name the Flow and click CREATE.
- In the Flow Designer, click the SETUP INPUT DATA button located underneath the top toolbar, then click Define
- In the Data Definitions panel, enter "Account Data" for the Name.
- Under Type, expand the dropdown list and use the All/Search function. Search for and PICK the Account datatype. Then, Save and close (via X) the Data Definitions Panel.
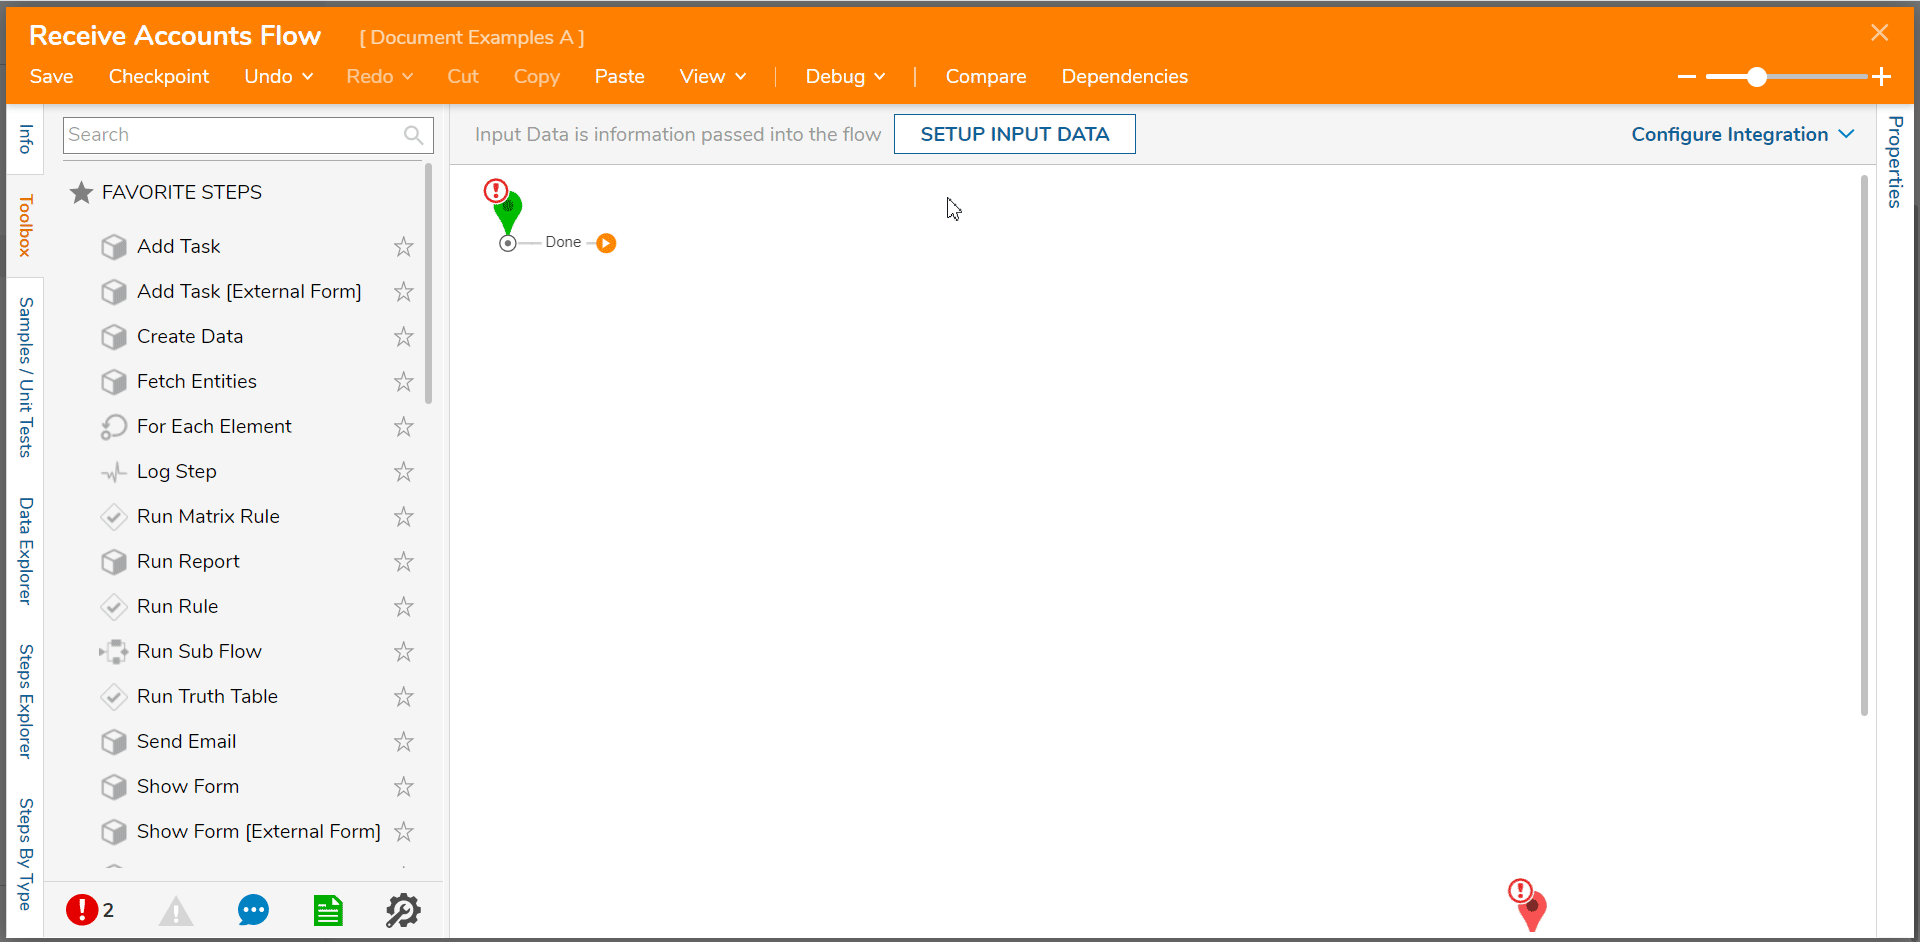
- Add a Show Popup step to the Flow from the Favorite Steps section of the Toolbox tab.
- Under Properties > INPUTS, set the Subject mapping type to Ignore.
- Select From Flow map Account Data > EmailAddress to the Message Input via the Pick link, then click DONE to save and exit.
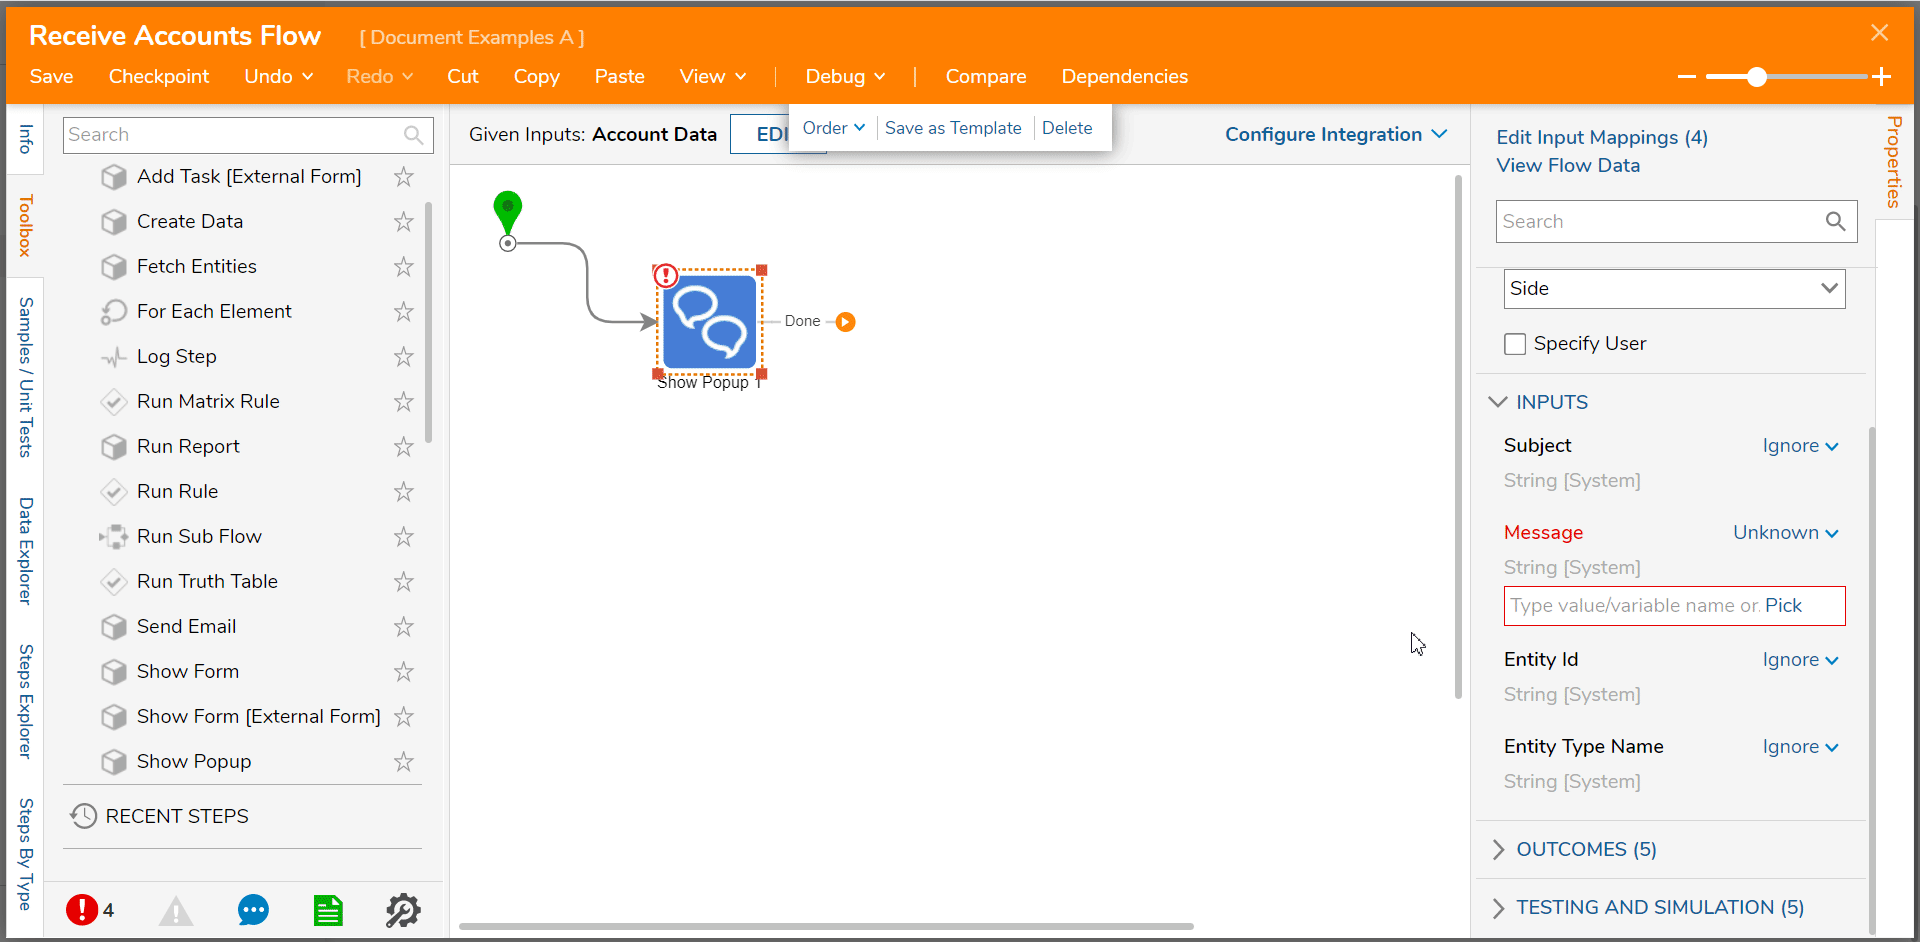
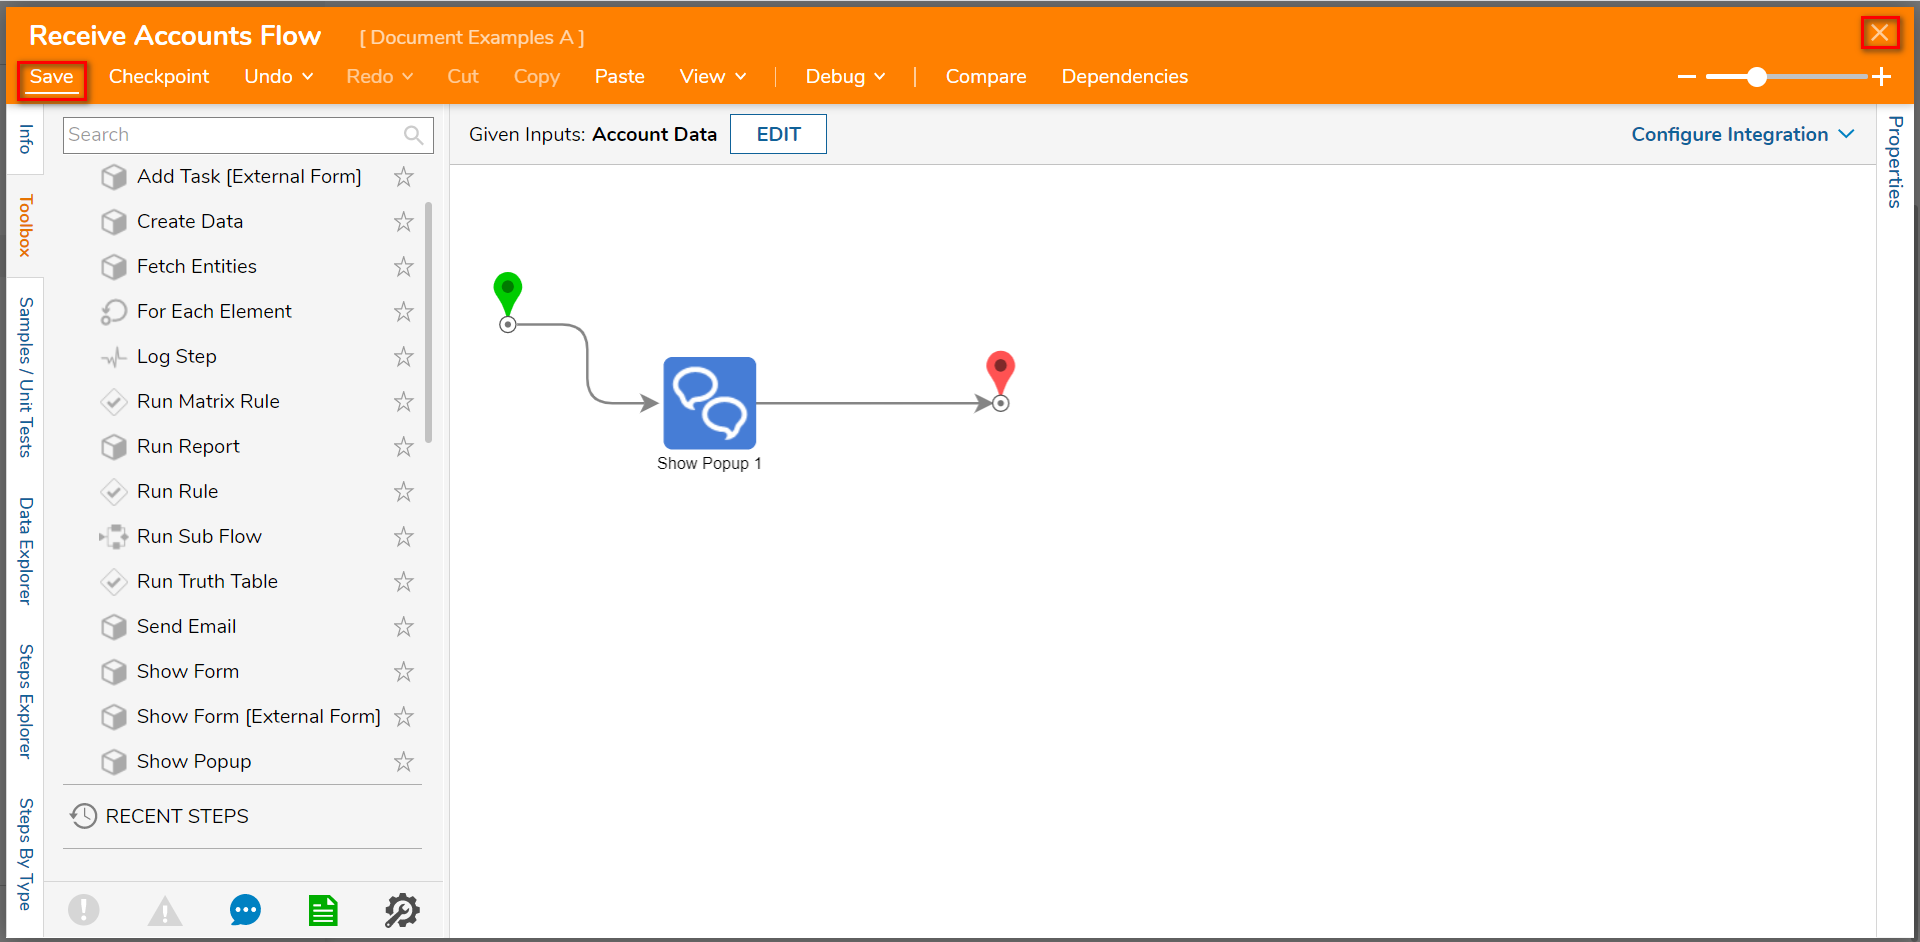
- Connect the Done path of the Show Popup step to the End step and Save the Flow, then close if desired.


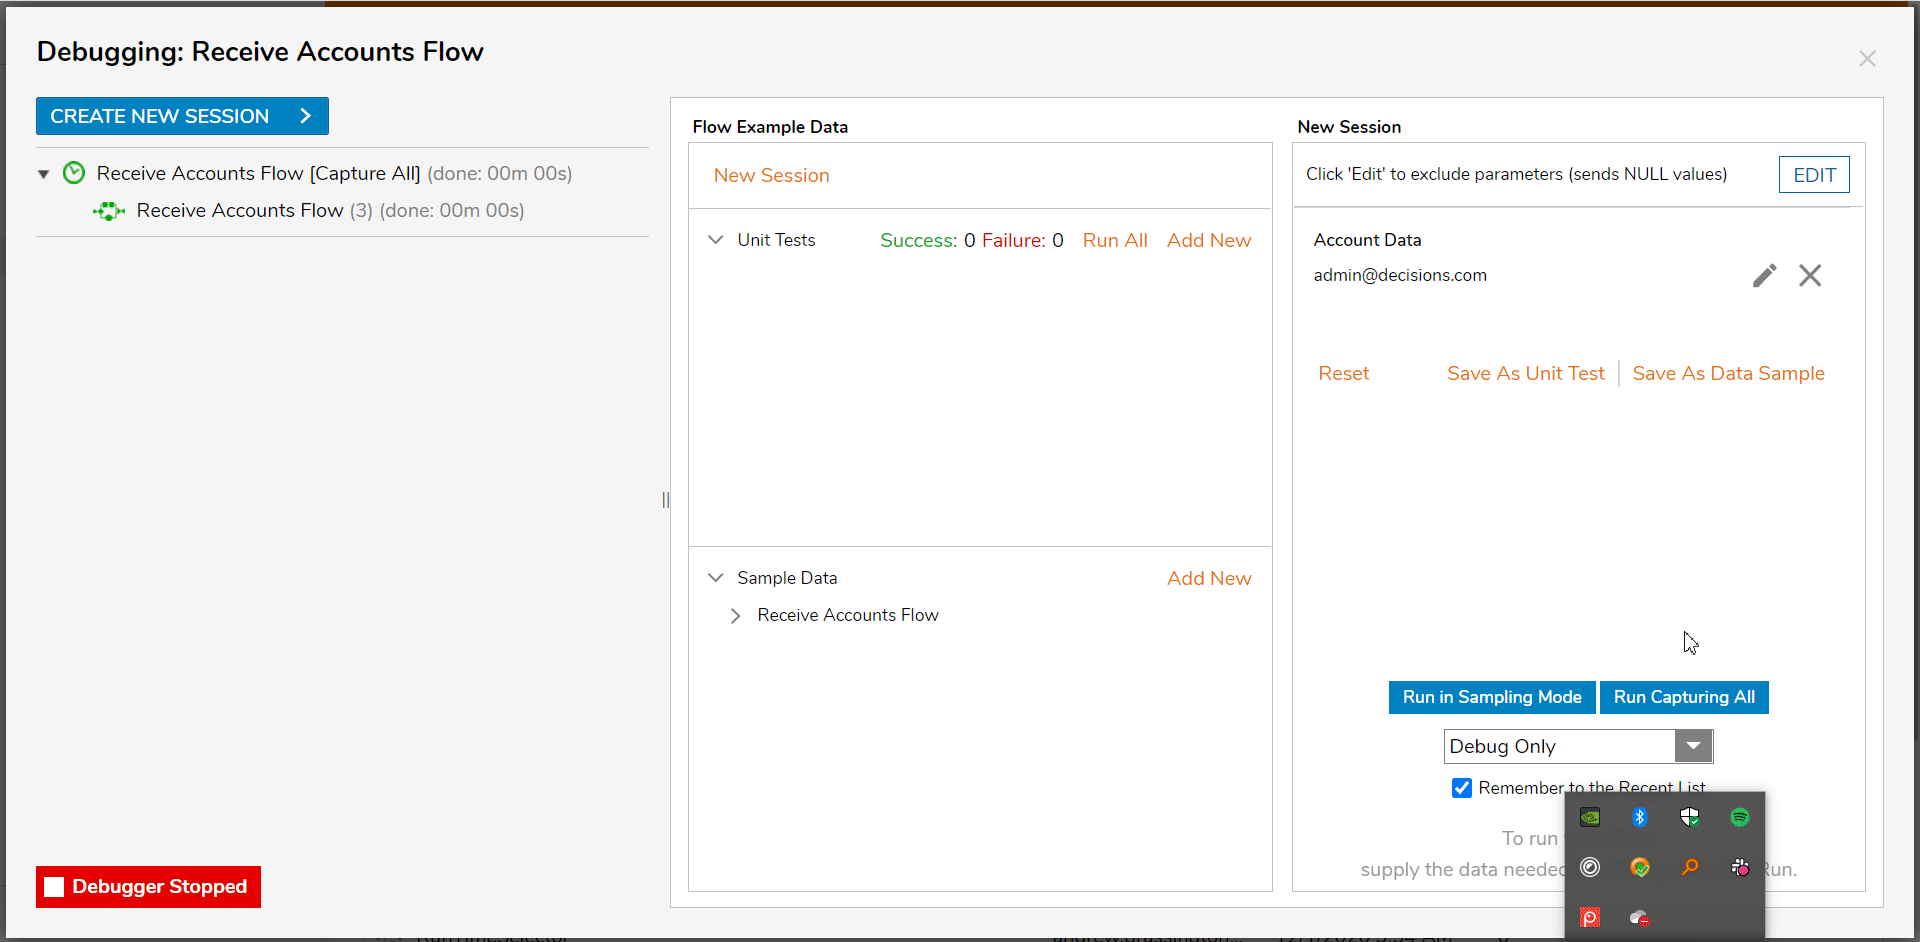
Debug
Once the Message input of the Show Popup step has been defined, the Flow can be debugged.
- Select the Debug button from the top toolbar of the Flow Designer.
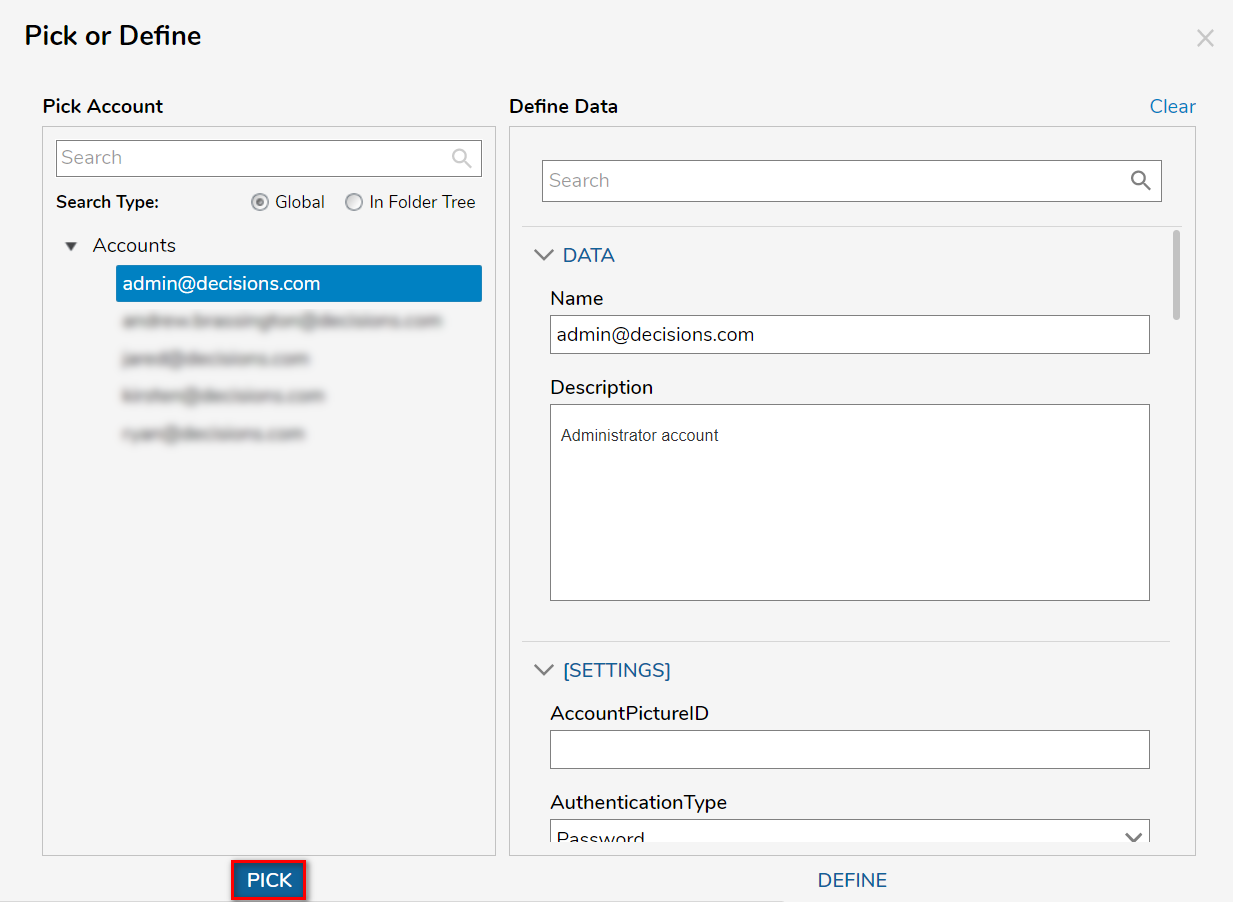
- Under New Session, click the Edit (appears as a pencil) button and Pick an Account for which the property values will populate.
In this example, the EmailAddress was mapped to the Message input because the exposed [Account] property was a [String] value.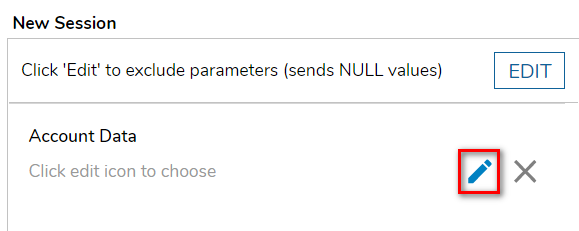
- Run Capturing All to see that the Show Popup step will display the email of the selected account as intended, despite this value ultimately coming from an [Account] object, which is a different datatype than the step input expected.


Was this article helpful?