Login User Flow Behavior
- 21 Dec 2021
- 1 Minute to read
- Print
- DarkLight
Login User Flow Behavior
- Updated on 21 Dec 2021
- 1 Minute to read
- Print
- DarkLight
Article Summary
Share feedback
Thanks for sharing your feedback!
Overview
The Login User Flow Behavior allows the user to incorporate a process that triggers in Decisions based on a User Login Event. A User Login Event can be set to run whenever a user logs in to the Portal, and adds functionality around the login process.
User Login Flow Restrictions
User Login flows currently do not support UI elements or navigate actions, thus, they cannot show a user anything nor can they send the user to a specific part of the portal.
The following example will walk through creating a Flow that's triggered when a user logs in to the Decisions Portal. The Flow will show a popup notifying the user about the Login event.
Example
- From a Designer Project, select the CREATE FLOW button from the top Action bar.
- Select Flow, provide a Name, and click CREATE.
- From the Flow Designer, navigate to the Properties tab on the right.
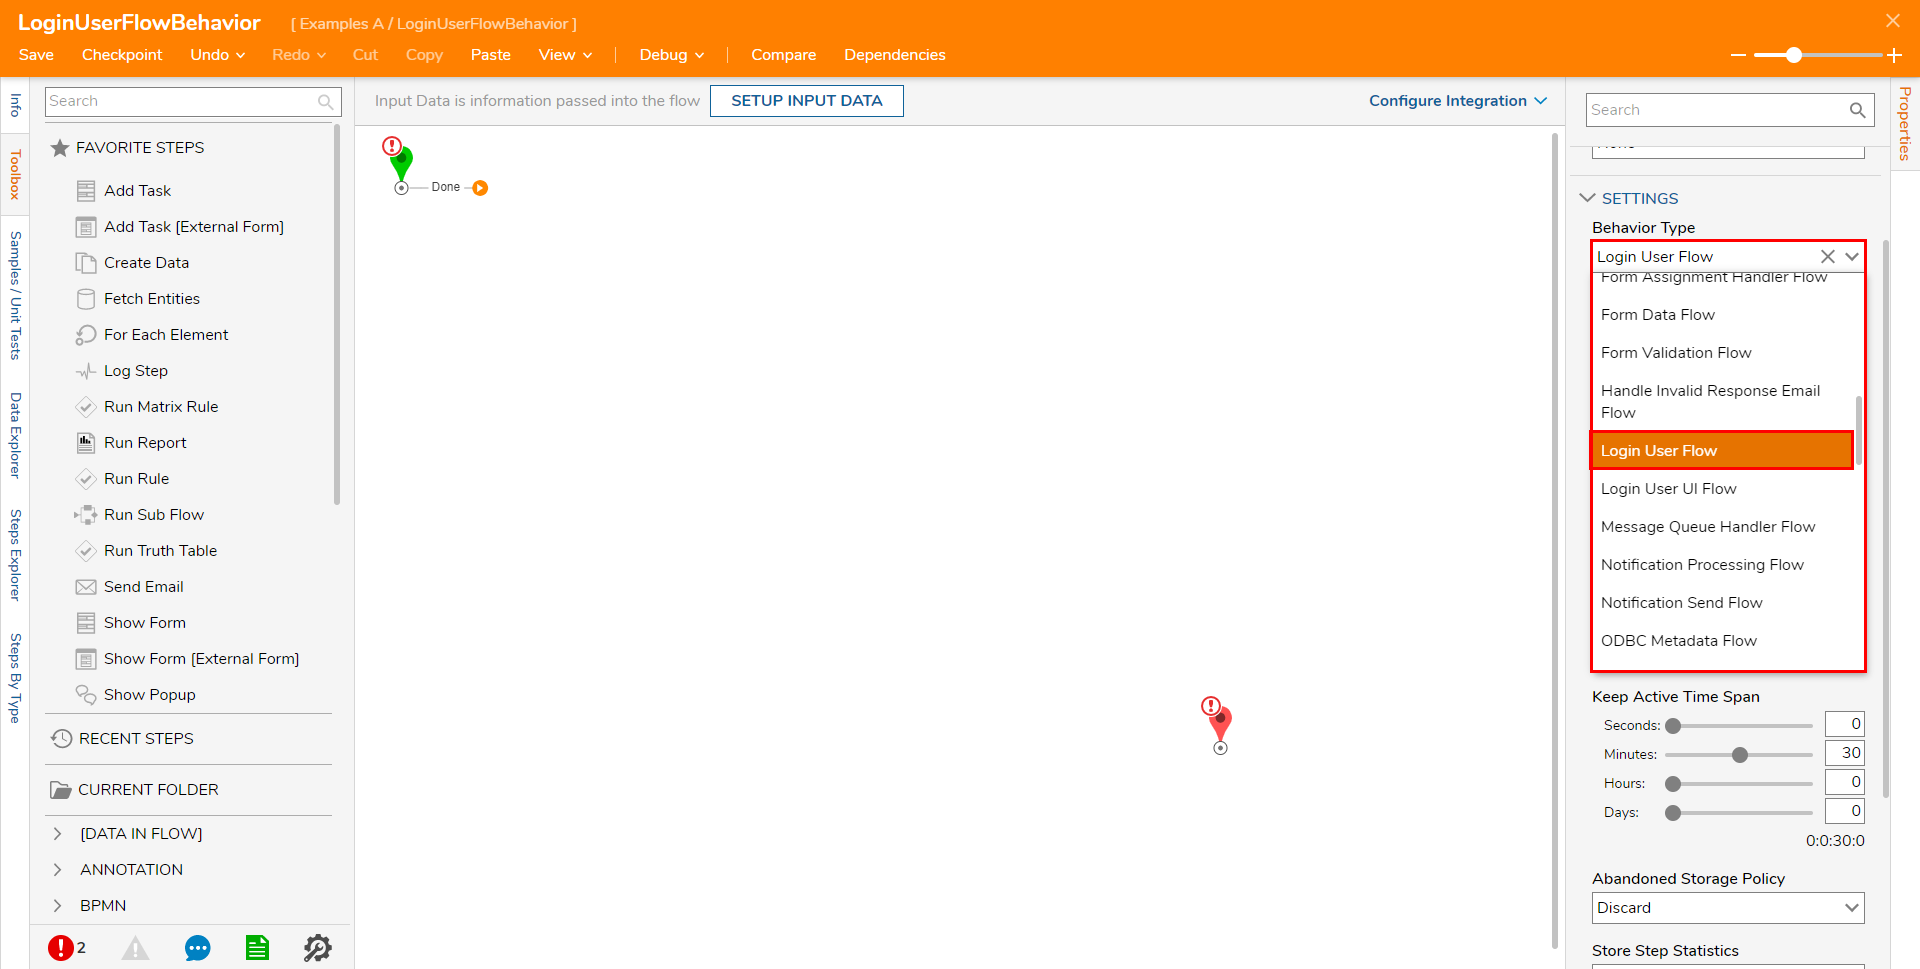
- Under SETTINGS > Behavior Type, select Login User Flow from the dropdown.
- From the FAVORITE STEPS category of the Toolbox, attach a Show Popup step to the Start step, and the End step.
- Select the Show Popup step to navigate to its Properties.
- Toggle the Specify User box and PICK the desired Account under Notify Account.
- Constant map the Subject "A New Login Event Occurred."
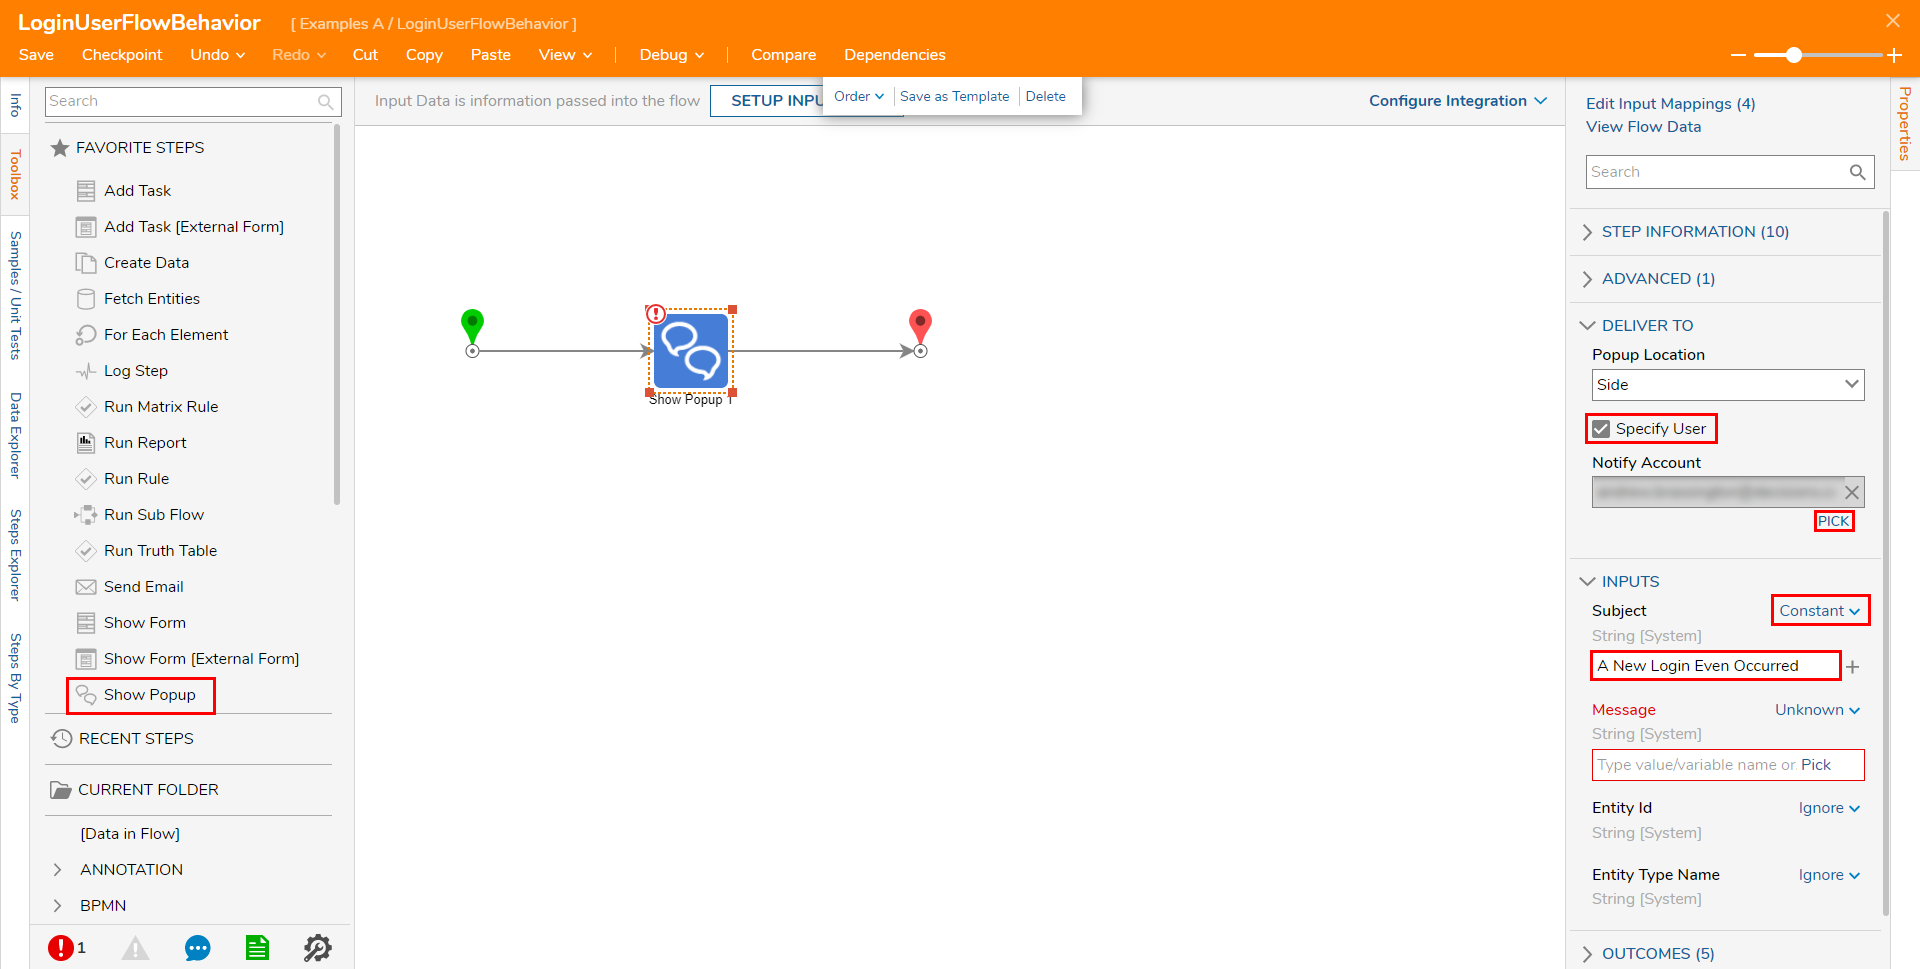
- Change the mapping for Message to Merge Plain Text, then click SHOW EDITOR.
- Define the Message in the Merge Text Editor as "Login User Info .AccoutEmailAddress logged into Decisions." by selecting and adding the corresponding Data from the left. Then, click SAVE.
.png)
- Save the Flow, the close with X.


.png)
Add Flow To Portal Settings
The following demonstrates how to apply the Login User Flow to the Login section of the Portal settings.
- From the Designer Studio, navigate to System > Settings > Portal Settings.
- From the Edit Portal Settings window, scroll to a navigate to LOGIN.
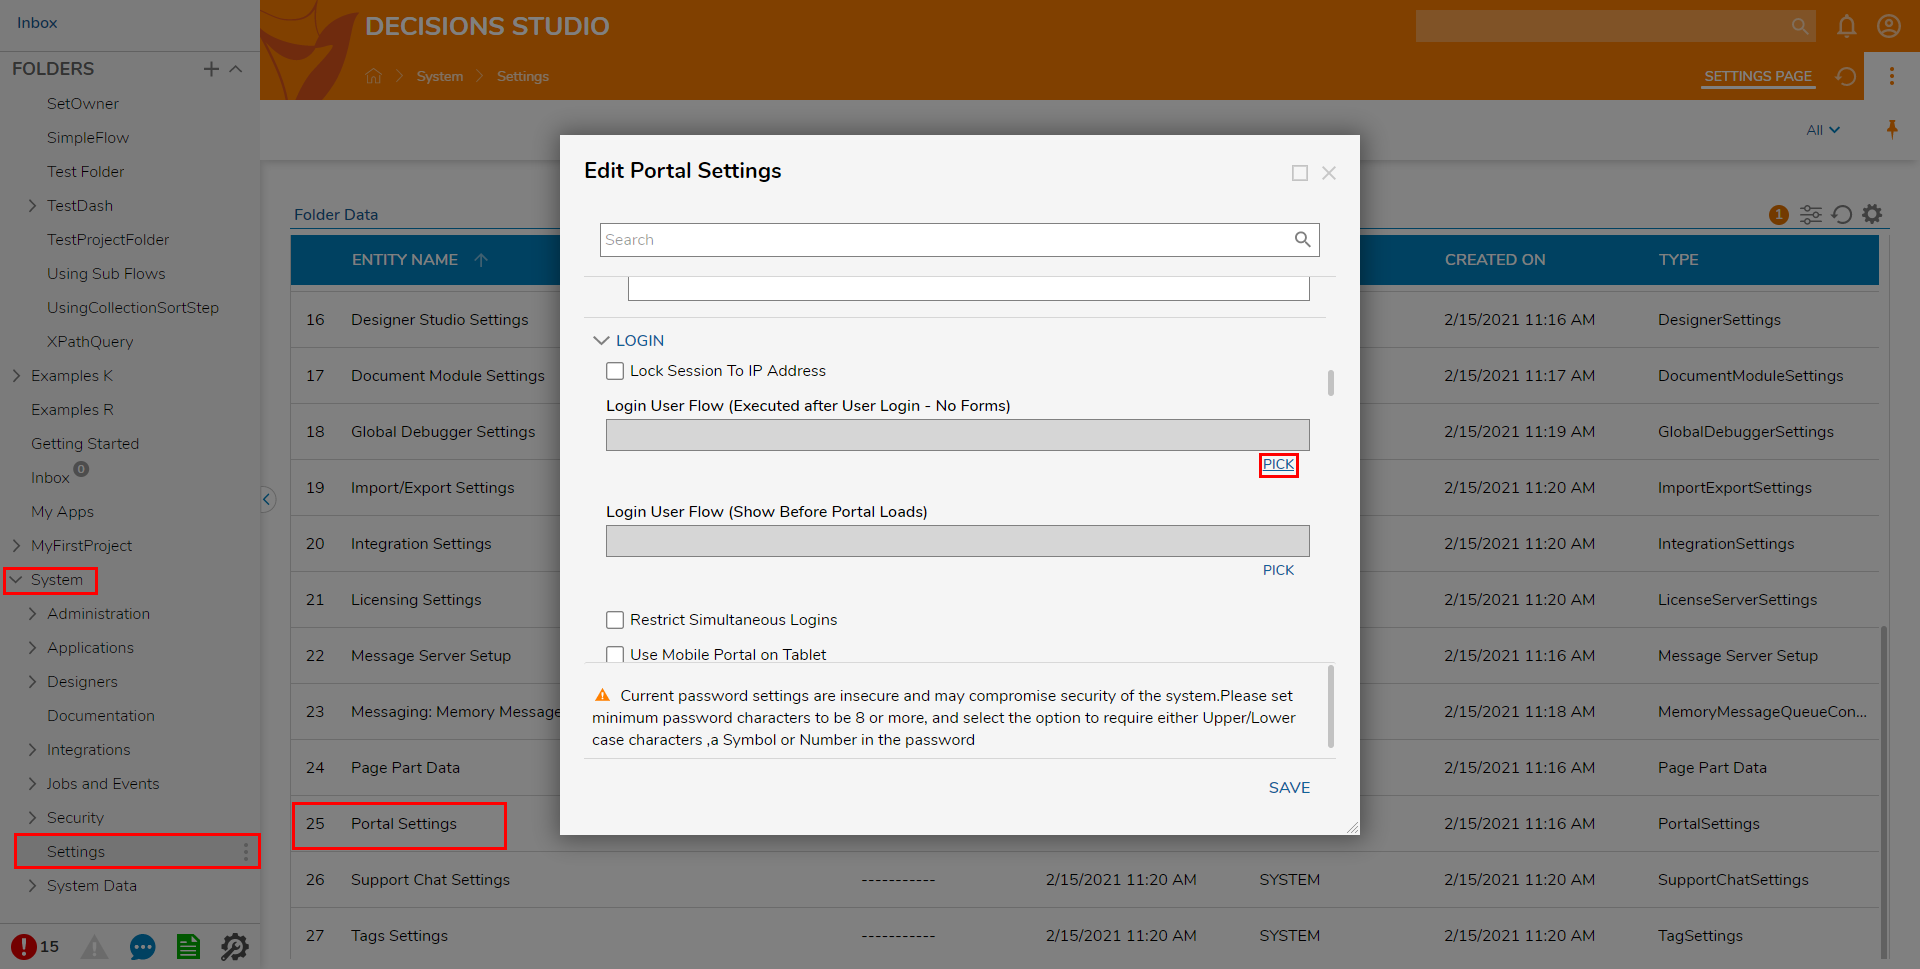
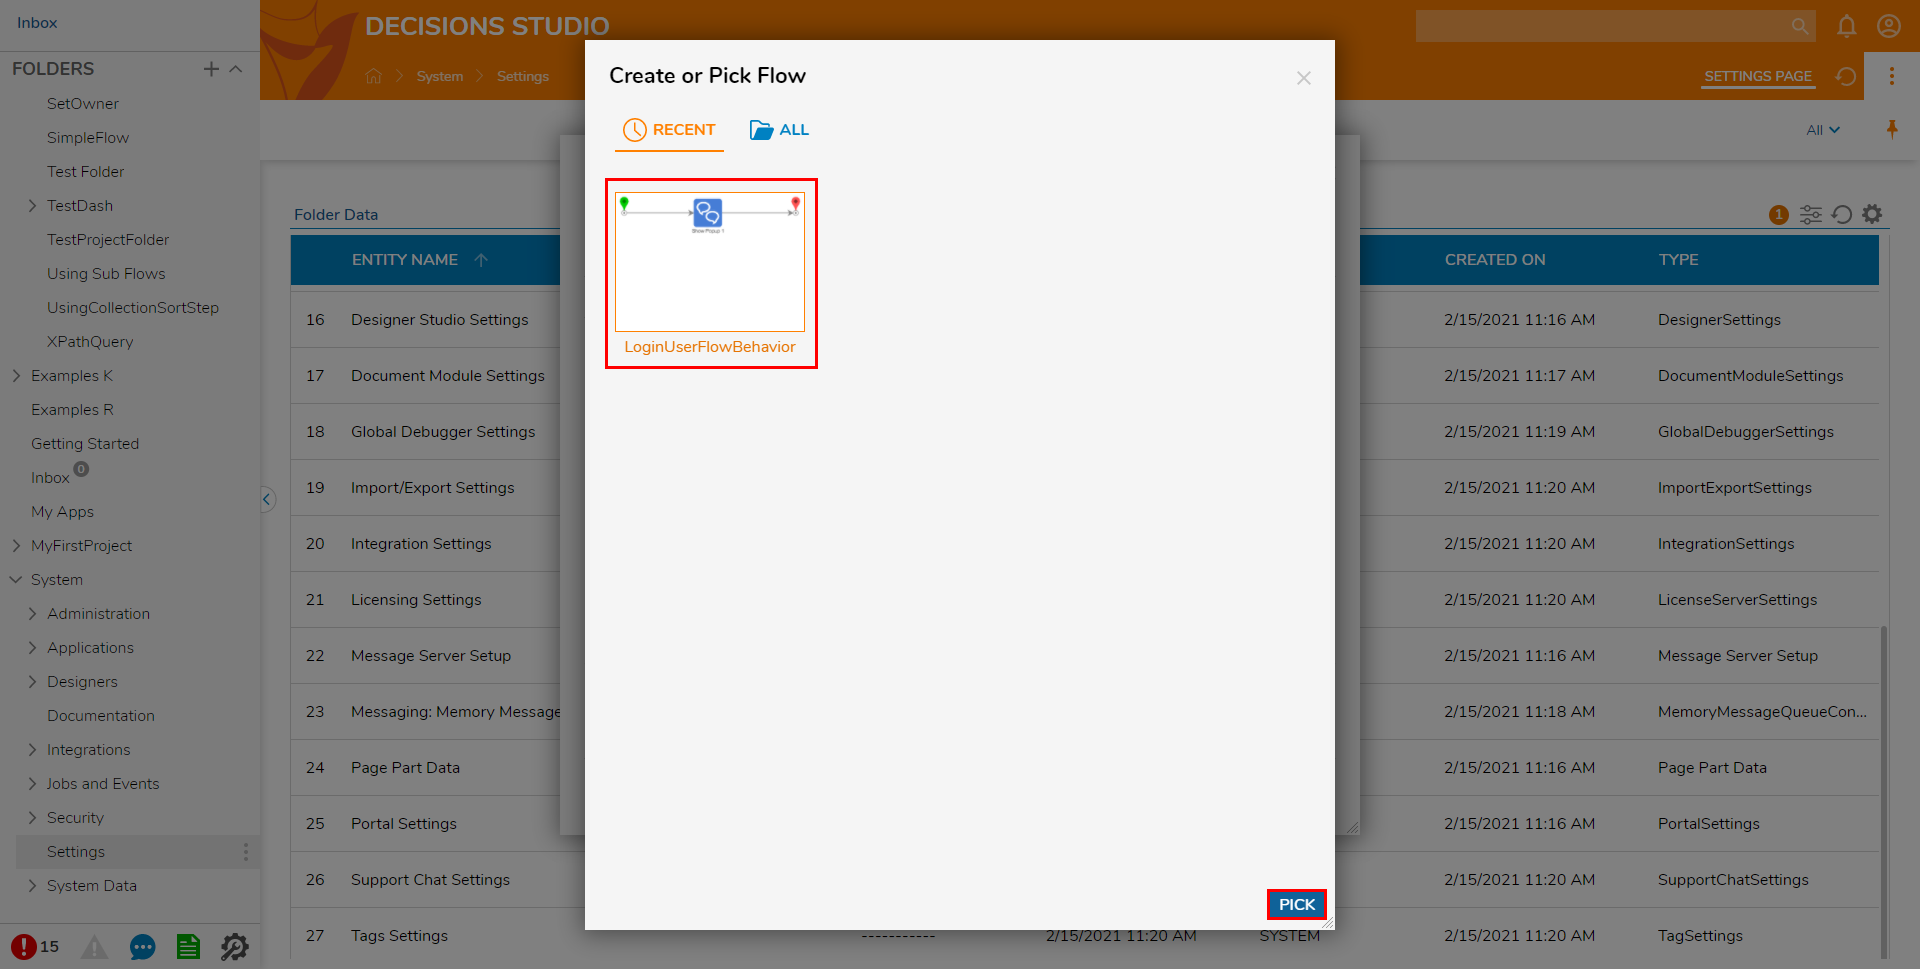
- Under Login User Flow (Executed after User Login - No Forms), PICK the User Login Form from the previous example.
- Click SAVE.
- Open a Private browsing window and navigate to the Decisions environment; log in to a separate user account.
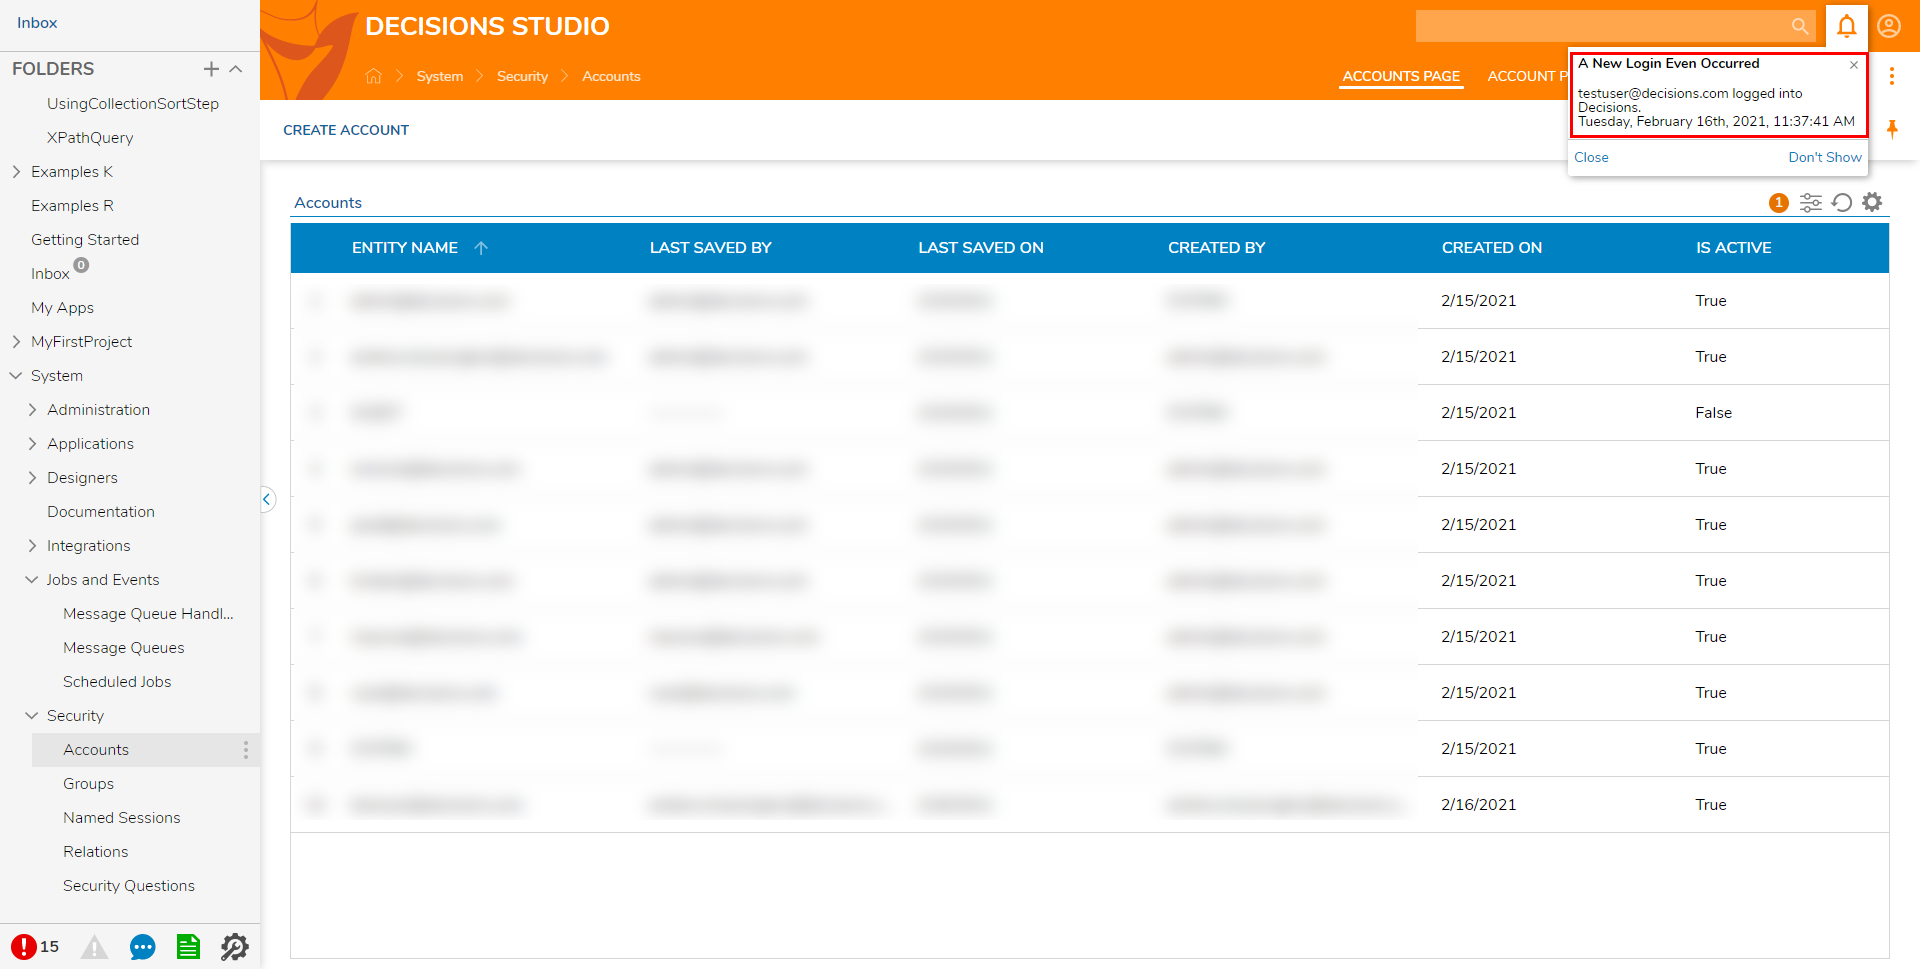
- Click back to the initial Decisions instance and view the popup that occurs after login.


Was this article helpful?