Limiting Designer Access to Specific User Groups
- 03 Oct 2022
- 2 Minutes to read
- Print
- DarkLight
Limiting Designer Access to Specific User Groups
- Updated on 03 Oct 2022
- 2 Minutes to read
- Print
- DarkLight
Article Summary
Share feedback
Thanks for sharing your feedback!
Overview
Once Groups, Permissions, and Dashboards have been established, if further customization over control is desired, then Admins may limit access to certain Designers based on which Group a User Account belongs. This is best achieved by creating Toolbox Visibility Rules for each Designer's Toolbox. The following document demonstrates how to apply Toolbox Visibility Rules for specific Groups to create a more specified work environment.
Additional Resources
The following example utilizes Toolbox Visibility Rules; for more information regarding Toolbox Visibility Rules and how to configure them, see Toolbox Visibility Rules.
Example
Prerequisites
The following example demonstrates how to limit specific Groups from the other's respective Designers. For more information on establishing Groups, see Create a Group.
The following example demonstrates how to limit specific Groups from the other's respective Designers. For more information on establishing Groups, see Create a Group.
The following example requires that three Groups have been established:
- One for accessing the Flow Designer
- One for accessing the Form Designer
- One for Admins
Note that if a restricted environment is needed for Rule Designers, it is advised to make a custom Dashboard.
Warning
The following example can also be achieved by creating Configuration Folders. However, due to the permanent nature of this adjustment, this is not an advised practice.
It is advised to contact Support before proceeding with this alternate method.
It is advised to contact Support before proceeding with this alternate method.
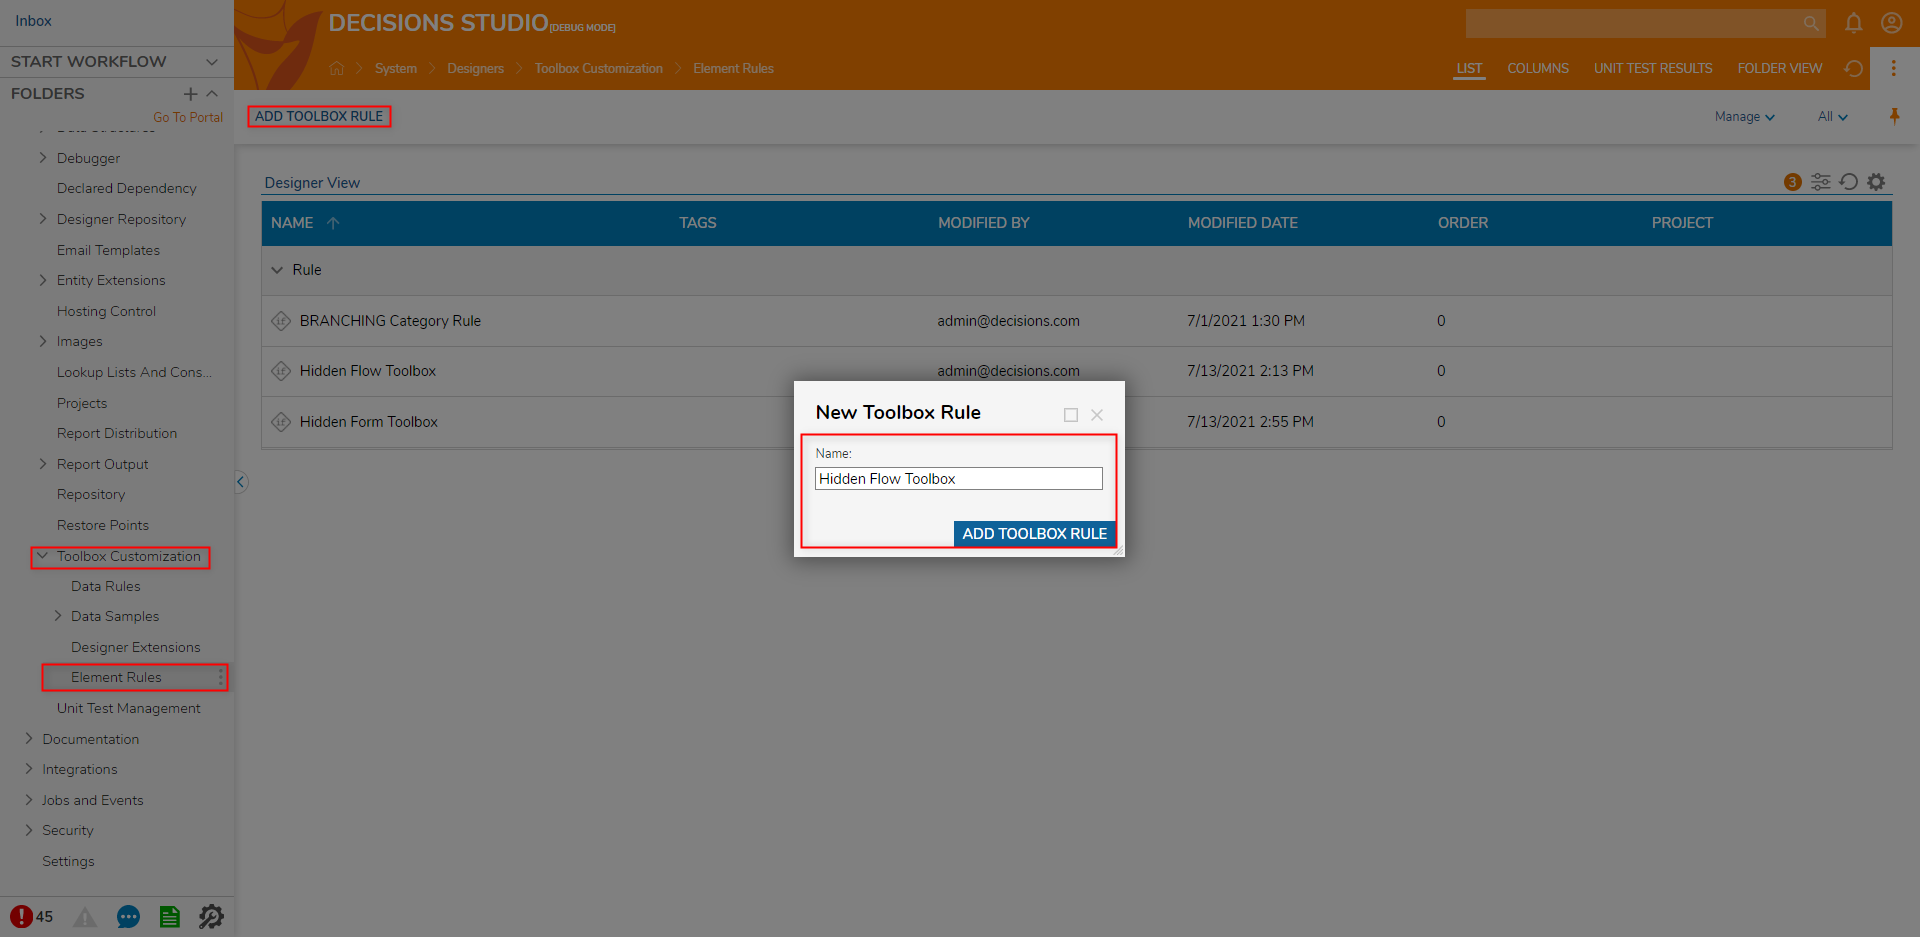
- From the DecisionsStudio, navigate to Designers > Toolbox Customization > Element Rules, then click ADD TOOLBOX RULE; provide a Name for the Rule, then click ADD TOOLBOX RULE.
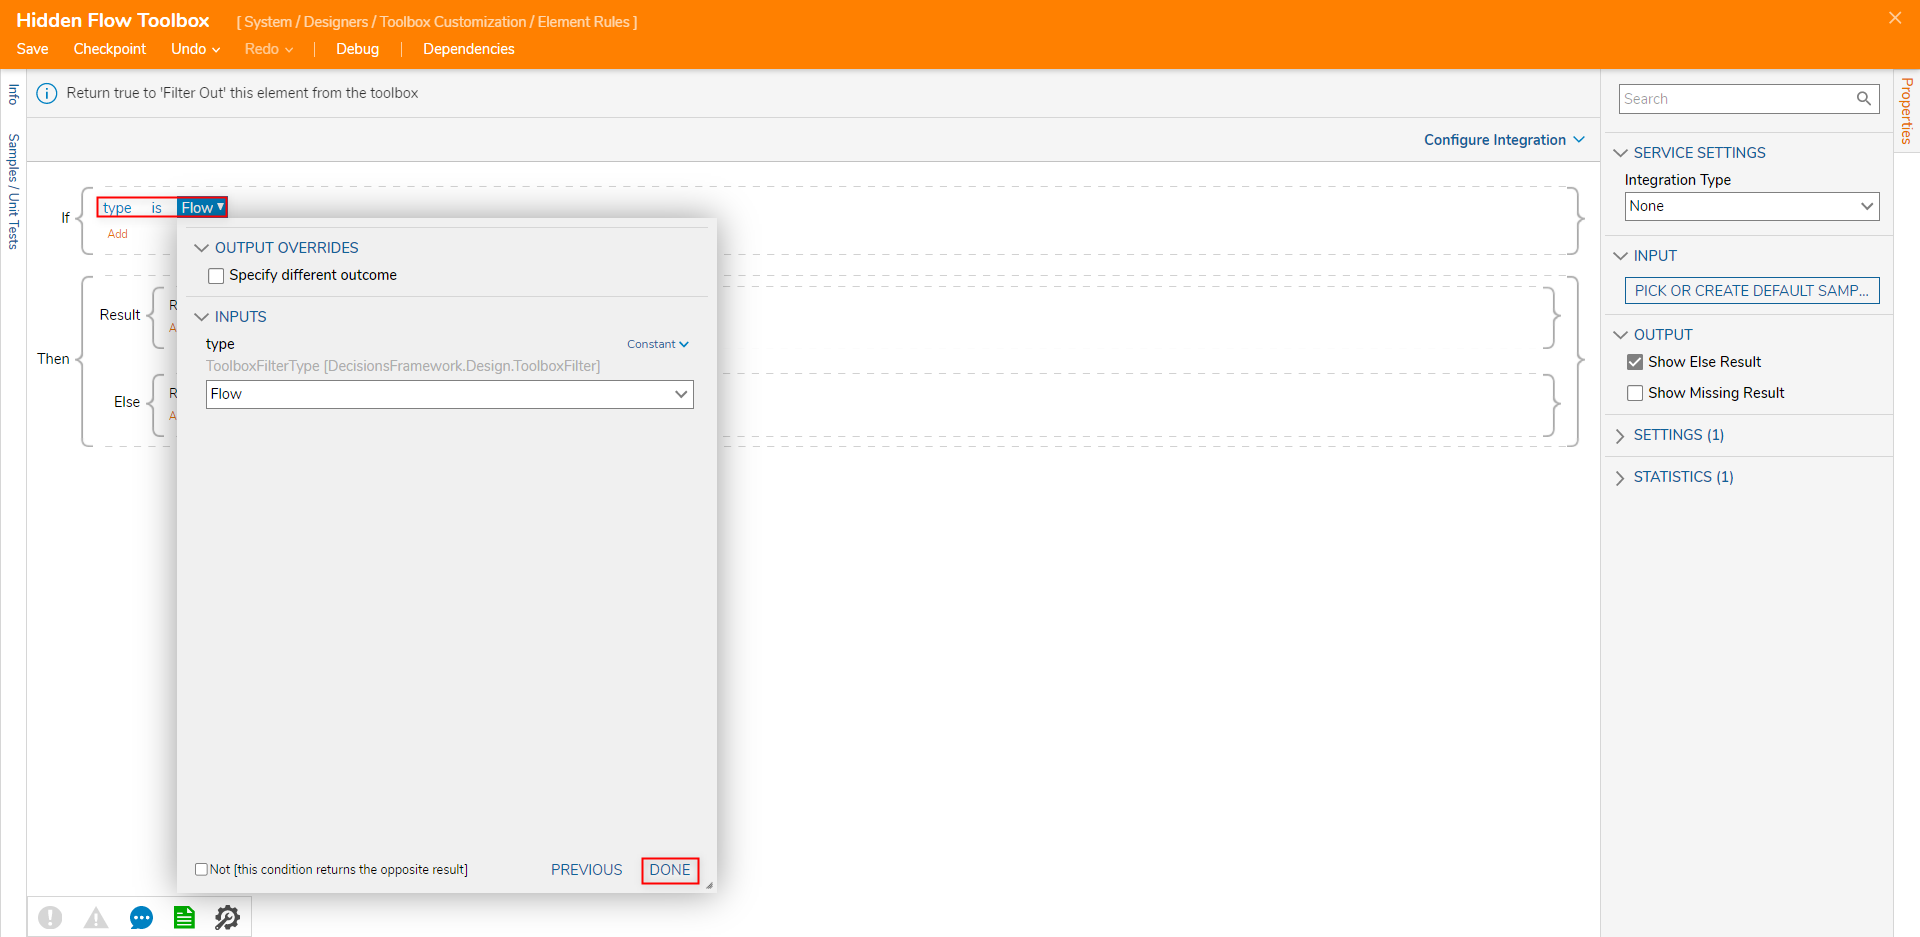
- Select the newly added Rule. From the Rule Designer, define the first If condition as type is Flow. Then click DONE and CLOSE. Additional Information on Rule ConfigurationThe type configuration is used in which Designer Toolbox is being accessed.
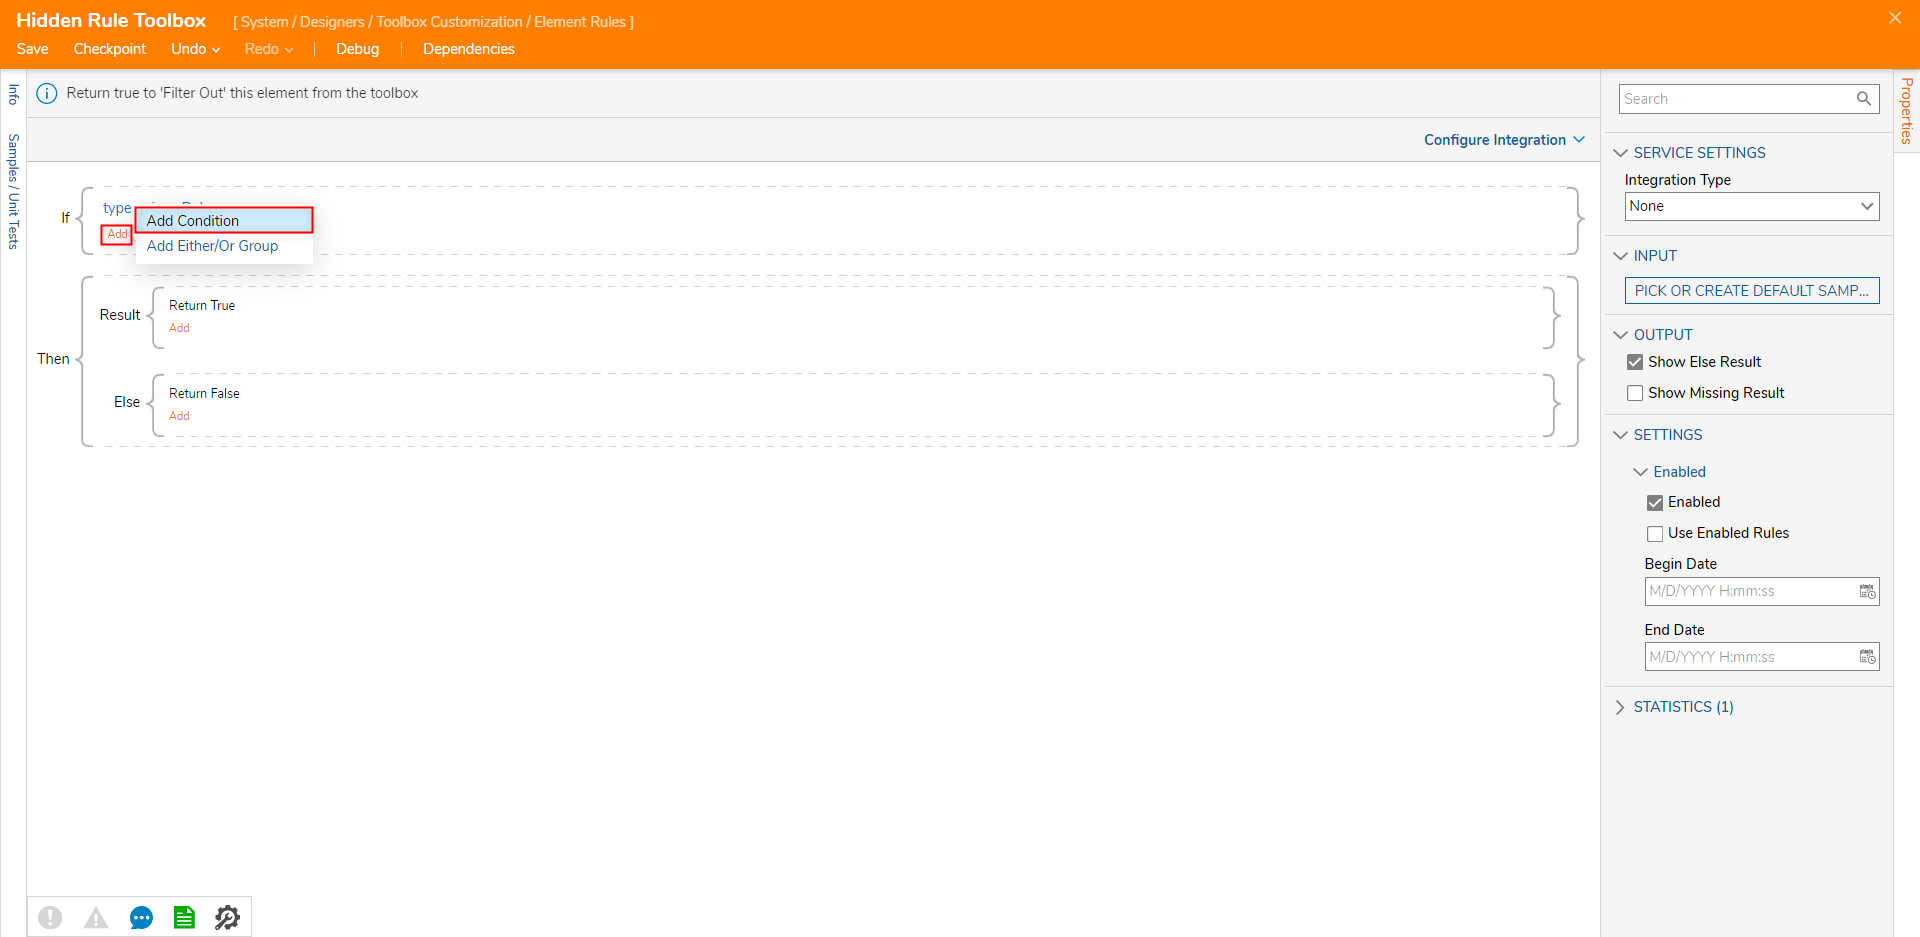
- Still, under the If statement, click Add, then click Add Condition.
- Define the new statement as Flow Data.InitiatingUserGroups List Contains [NAME OF RESTRICTED GROUP]. Then click DONE and CLOSE.Additional Information on ConfigurationThis statement is used to evaluate which Group is accessing the designated Toolbox.

- Navigate to the Properties tab, under SETTINGS, and make sure that the Enabled box is checked.

- Save, then close the Rule.
- Back in the Element Rules Folder, select ADD TOOLBOX RULE and create another Rule, this time for the other Designer Type.
- Open the newly added Rule.
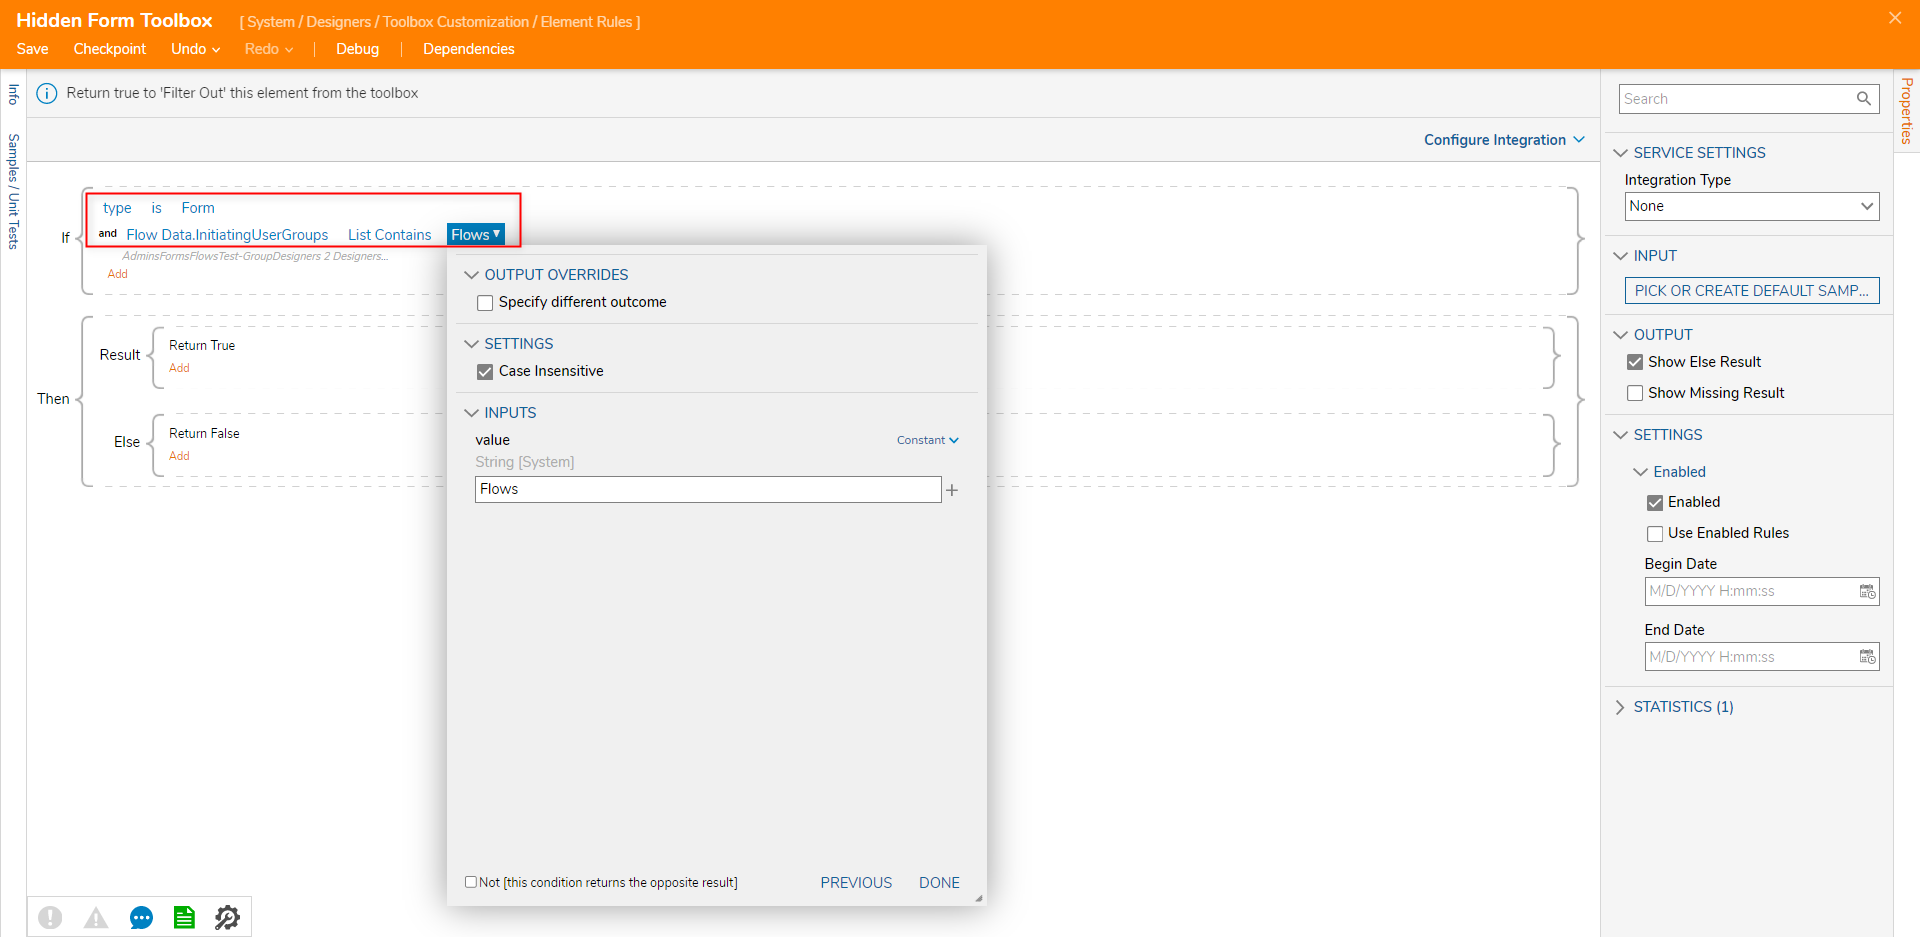
- Following the same process as steps 2-5, define the Rule as If type is Form and Flow Data.InitiatingUserGroups List Contains [OTHER RESTRICTED GROUP NAME].
- Ensure that the Enabled box is checked, then Save and close the Rule.


Testing
To ensure that the Designer limitations have been properly configured:
- Log in to one of the User Accounts in the Forms Group (or whichever Group is restricted from Flow access), and CREATE a new Flow.
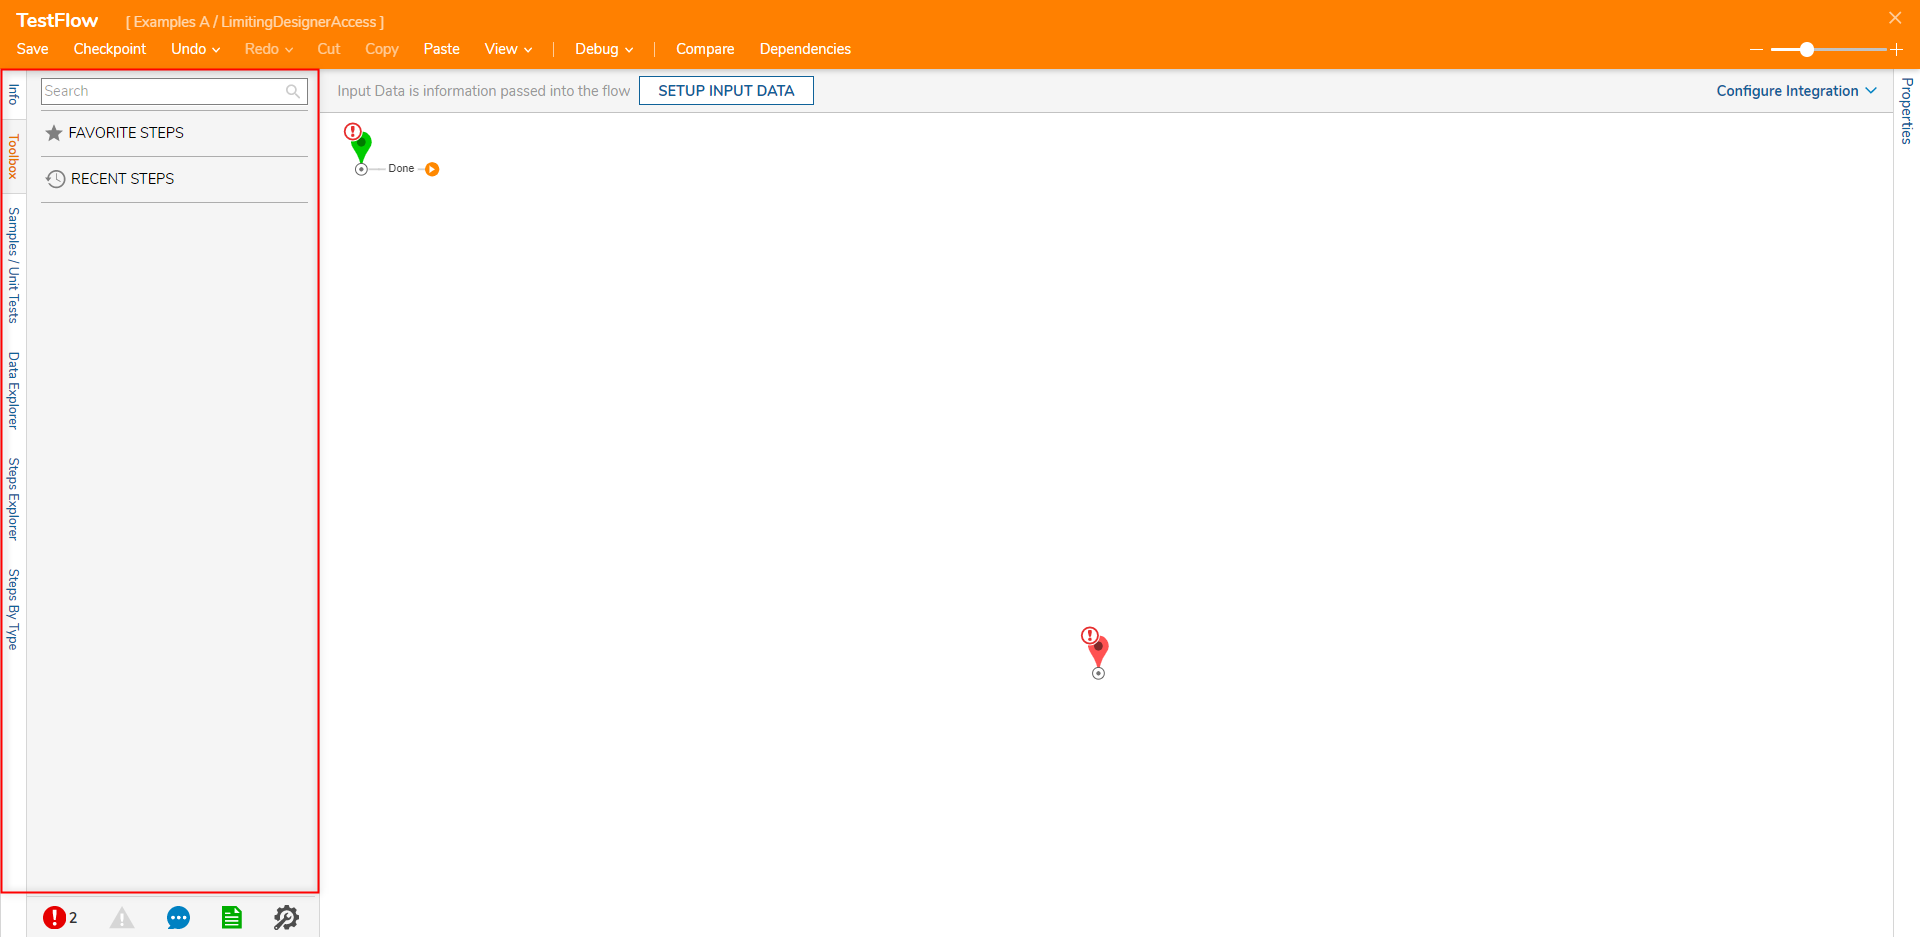
- Ensure that the Toolbox tab appears empty.
- Log in to an Account on the other restricted Group and attempt to open the Designer for the other restricted element (in this case the Form Designer).
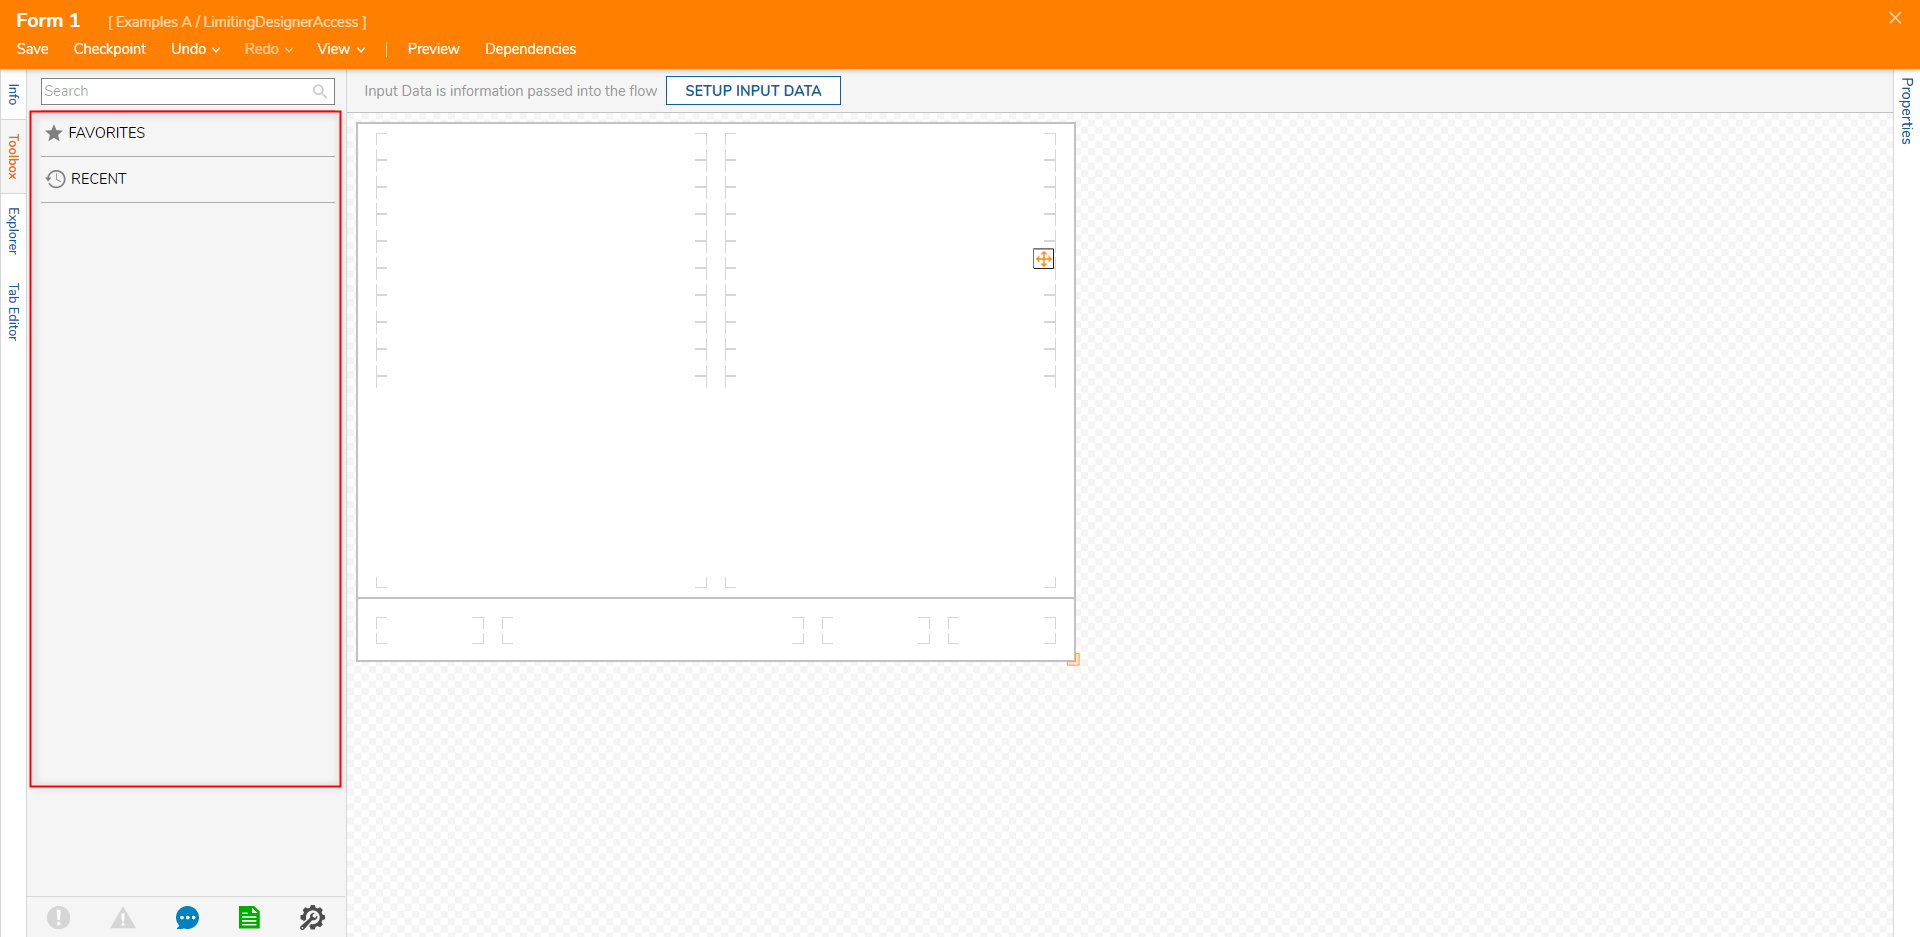
- Verify that the contents of the Toolbox appear empty.


Was this article helpful?