Overview
IBM Message Queue (IBM MQ) is an enterprise-grade messaging system for application-to-application communication. This module allows Decisions to set up and configure a connection to the server host for the message queue. The module does not include any steps; however, the default messaging steps found under Messaging Queues can be used to send messages to the queue.
Prerequisites
The following is required before integration with IBM MQ can occur:
- A preexisting IBM MQ Account.
- Proper installation and setup of an IBM MQ application.
- IBM WebSphere MQ Explorer configured
- Create a project dependency.
For more information on how to install Modules in Decisions, see: Installing Modules.
Considerations
Installing IBM MQ Locally
The following section covers the setup and configuration of a broker/message queue and is intended to serve as an example resource to integrate with Decisions. The example highlights the values needed to connect a message queue to Decisions and is meant for informational and troubleshooting purposes.
Please refer to the product's official documentation for a more in-depth and detailed guide on configuring a message queue for use in production environments.
IBM MQ can be hosted on the cloud, in a container, or installed locally. The following section will cover how to install IBM MQ locally and integrate a message queue with Decisions.
- Download the install file.
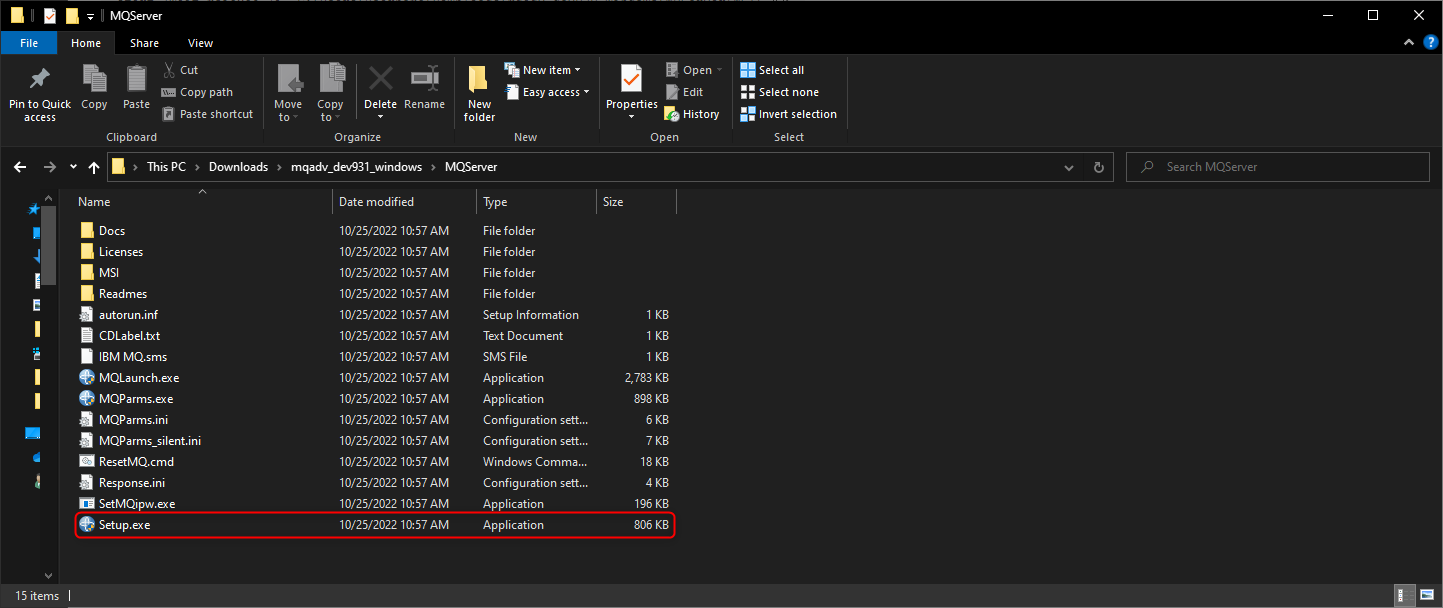
- Unzip and locate Setup.exe under the MQServer folder. Run the executable.
- Run through the installer using default settings. Select Typical and proceed with the install.

Creating a queue manager
Once IBM MQ has finished installing, a queue manager will need to be created.
- In an administrative command prompt, navigate to the bin folder for MQ.
cd "C:\Program Files\IBM\MQ\bin" - Then enter the following command to create a queue manager. Substitute QueueManagerName with a name for the queue manager, for example, QM1.
crtmqm [QueueManagerName] - Enter the following to start the queue manager.
strmqm [QueueManagerName]
Creating a queue
To create a queue locally:
- Enable MQSC commands by entering the following in the command prompt
runmqsc [QueueManagerName] - Enter the following command to create a queue with default IBM MQ objects, substituting QueueName with the queue's name.
define qlocal (QueueName)
IBM MQ Settings
- Navigate to System > Settings. Right-click on IBM MQ Settings and select Edit.

| Setting | Description |
|---|---|
| Default Host Name | The hostname or IP address for the server hosting the message broker |
| Default Port | The port number used by the message broker. By default, this is port 1414 |
| Default Queue Manager | Specifies the Queue Manager used by the message queue. A Queue manager ensures that the message will be routed to the correct queue. |
| Default Channel | Specifies the default channel for moving messages to and from the queue. |
| Default User Name | Specifies the default user login to the broker |
Adding an IBM Message Queue
To subscribe to an IBM Message Queue:
- Navigate to Jobs and Events> Message Queues.
- From here, select the ADD IBM Message Queue action. A dialog box will appear where queue settings can be defined. The Override settings are optional and are used to specify a server configuration not defined under IBM MQ Settings.

| Setting | Description |
|---|---|
| Display Name | The name of the queue as it appears in Decisions |
| Queue | The name of the IBM Message Queue that is being configured/connected to. This name will be applied to the queue in IBM. |
| Override Host Name | Optional setting that overrides the specified hostname or IP address of the message broker. |
| Override Port | Optional setting that overrides the port number used by the message queue. |
| Override Queue Manager | Optional setting that overrides the Queue Manager used by the message queue. |
| Override Channel | Optional setting that overrides the default channel used for moving messages to and from the queue. |
| Override User Name | Optional setting to specify the default user name used to connect to the queue. |
| Override Password | Optional setting to specify the default password for the account used to connect to the queue. |
Feature Changes
| Description | Version | Developer Task |
|---|---|---|
| A hidden Module called Decisions.MessageQueues Module will be downloaded automatically when any message queue Module is installed. | 9.0 | [DT-039289] |