Creating Groups
- 26 Sep 2022
- 1 Minute to read
- Print
- DarkLight
Creating Groups
- Updated on 26 Sep 2022
- 1 Minute to read
- Print
- DarkLight
Article Summary
Share feedback
Thanks for sharing your feedback!
Overview
Groups are collections of User Accounts with similar responsibilities or system access Permissions. Groups allow Admins to better organize Accounts in an environment by a designated role or administrative hierarchy.
For example, an environment may contain four Groups of users; Tests, Developers, Marketing, and Admins. By sorting these users into Groups, applying for specified permissions, and creating Group specific Pages and Dashboards, Admins can create a more uniform and specified work environment. The following document demonstrates Create a Group and how to Add/Remove Accounts from them.
Create Group
To create a Group:
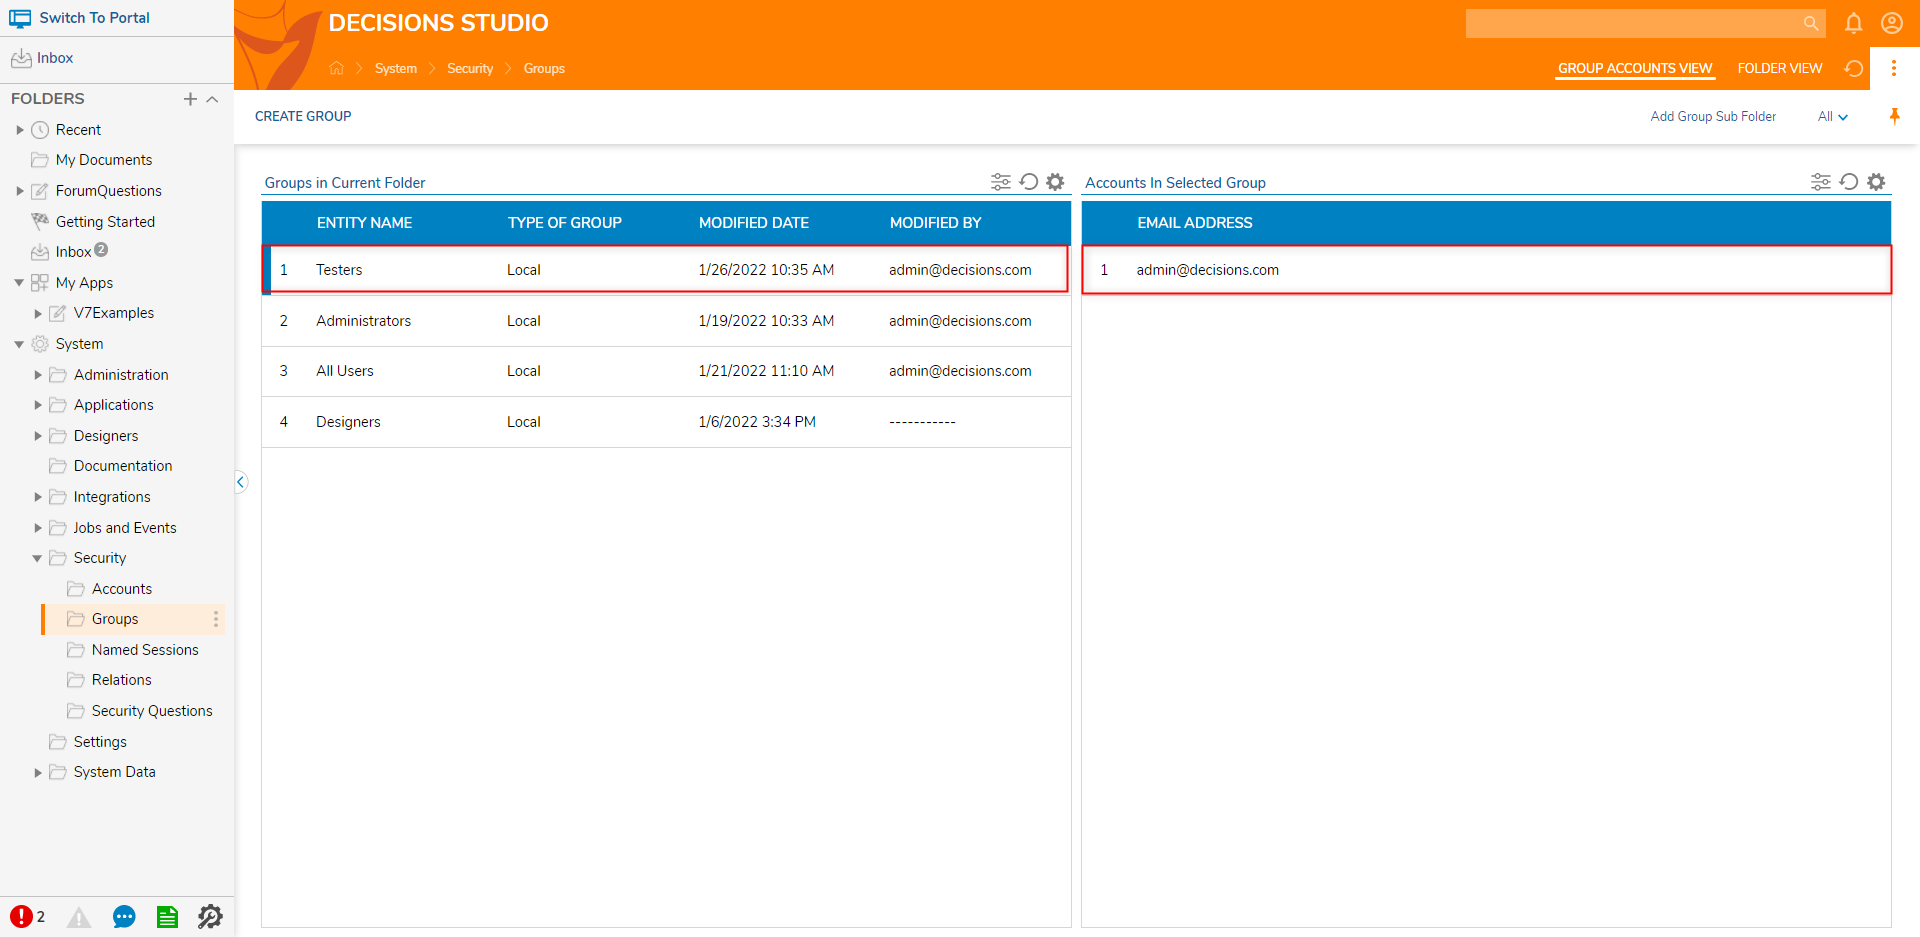
- From the Decisions Studio, navigate to System > Security > Groups.
- Click CREATE GROUP on the Global Action Bar.
- In the Create Group window, provide a Group Name, then click SAVE.

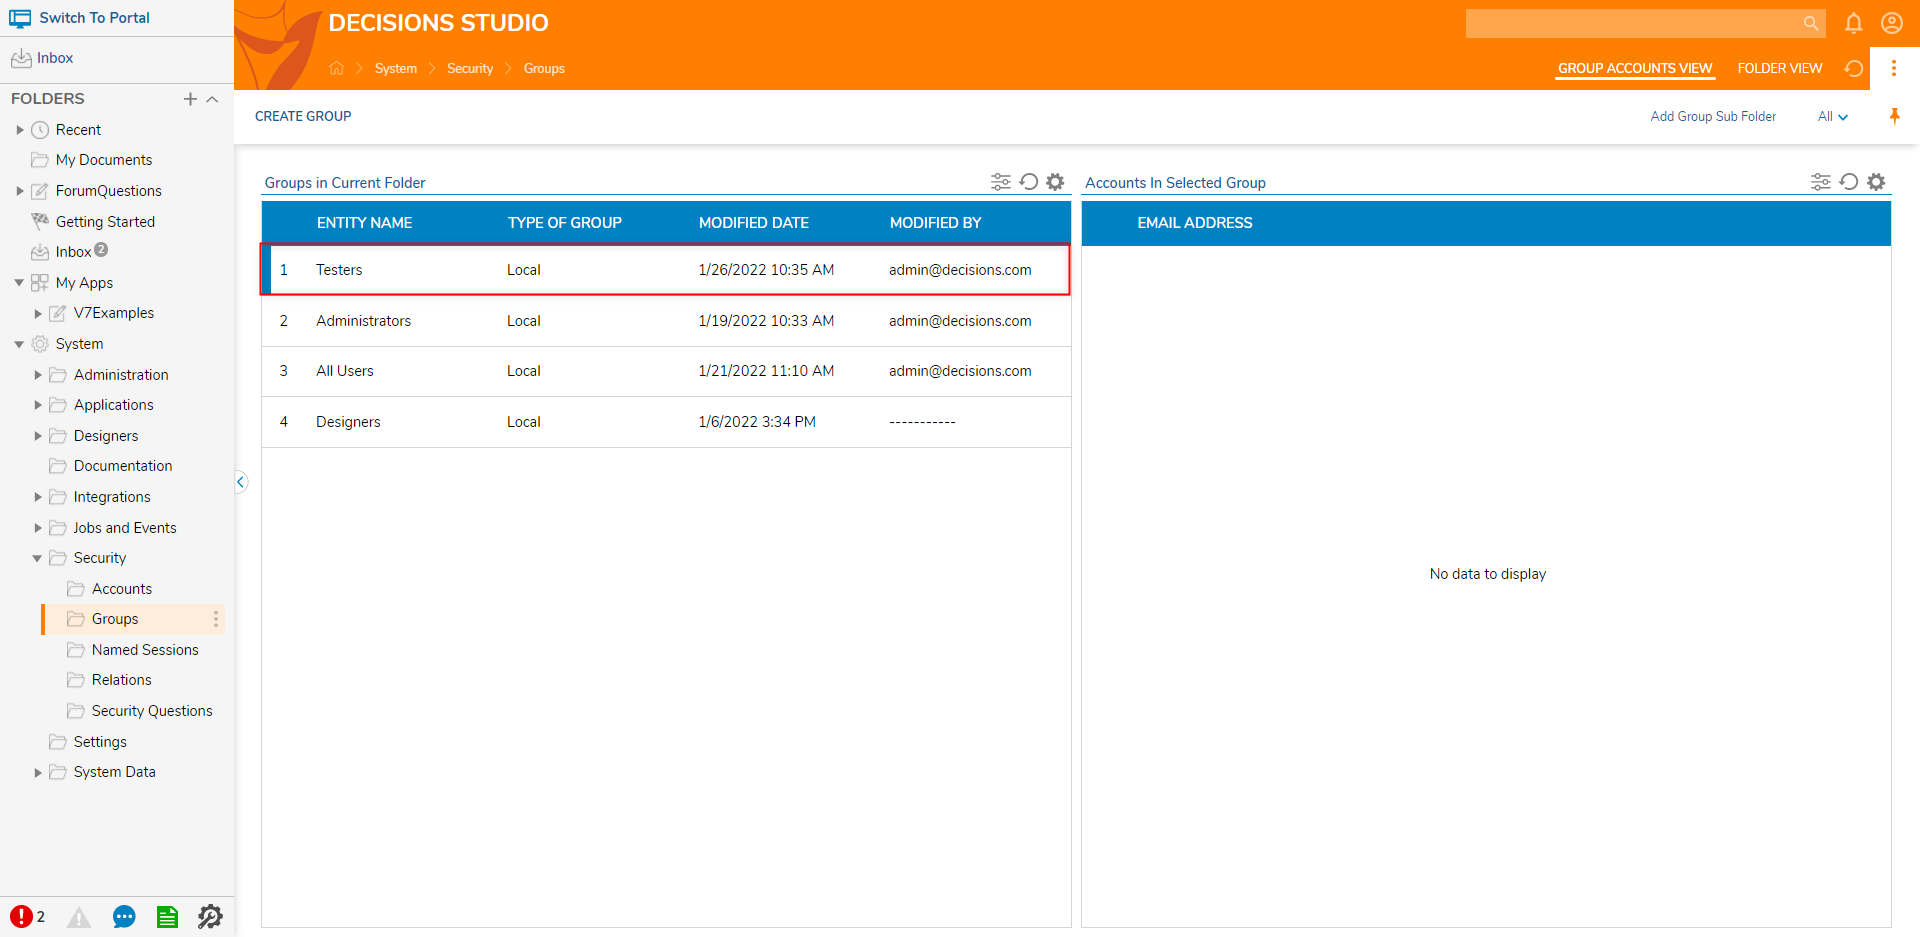
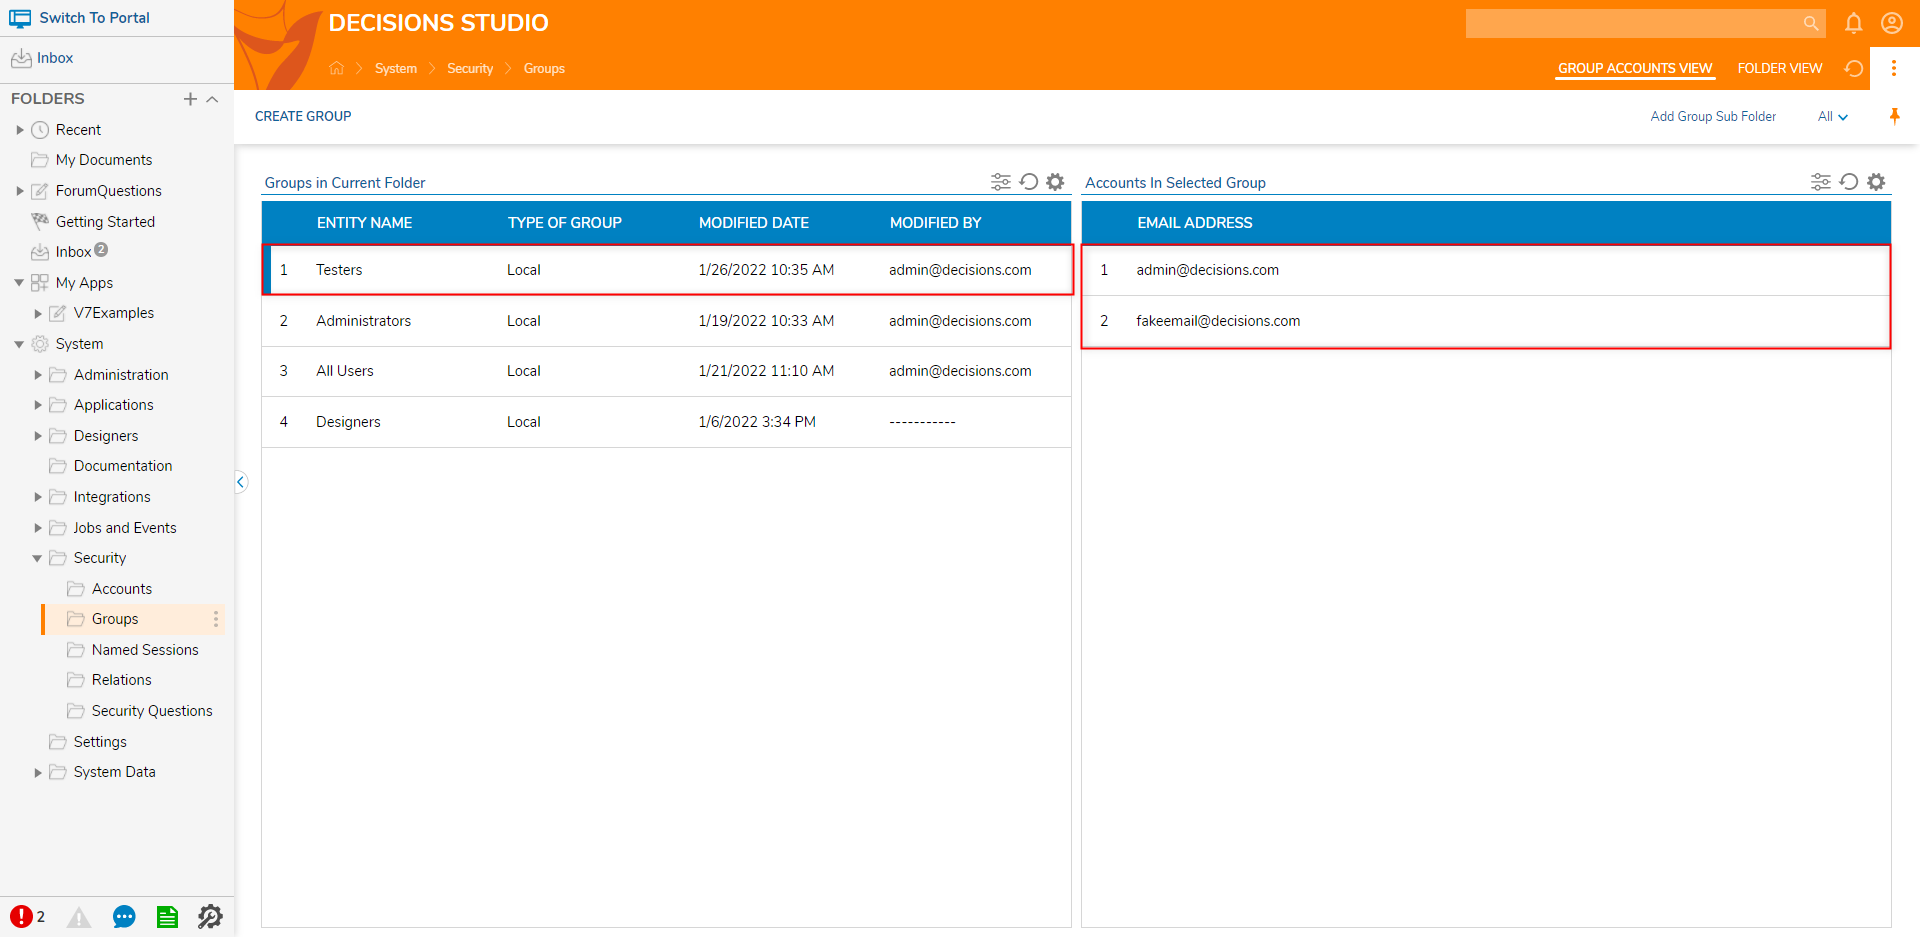
- Confirm that the new Group appears in the Groups in Current Folder Report; selecting it will display any associated Accounts under Accounts In Selected Group Report.


Add Accounts to a Group
To add an Account (or multiple Accounts) to a Group:
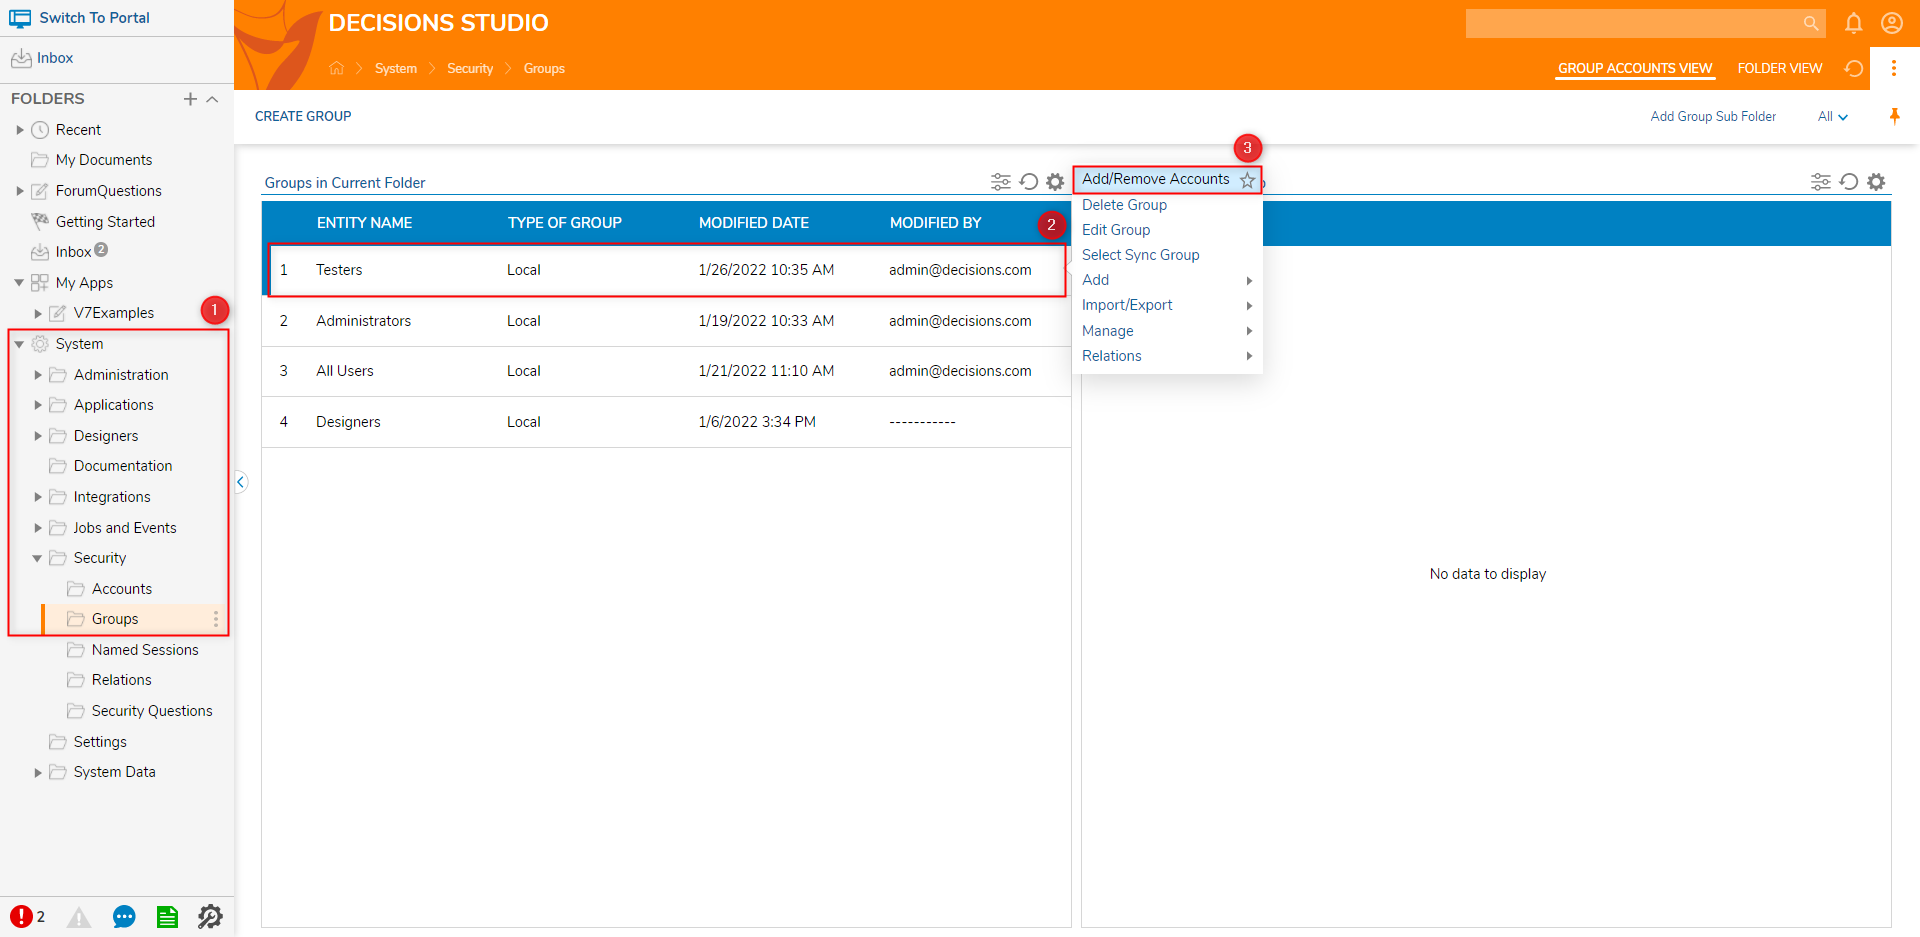
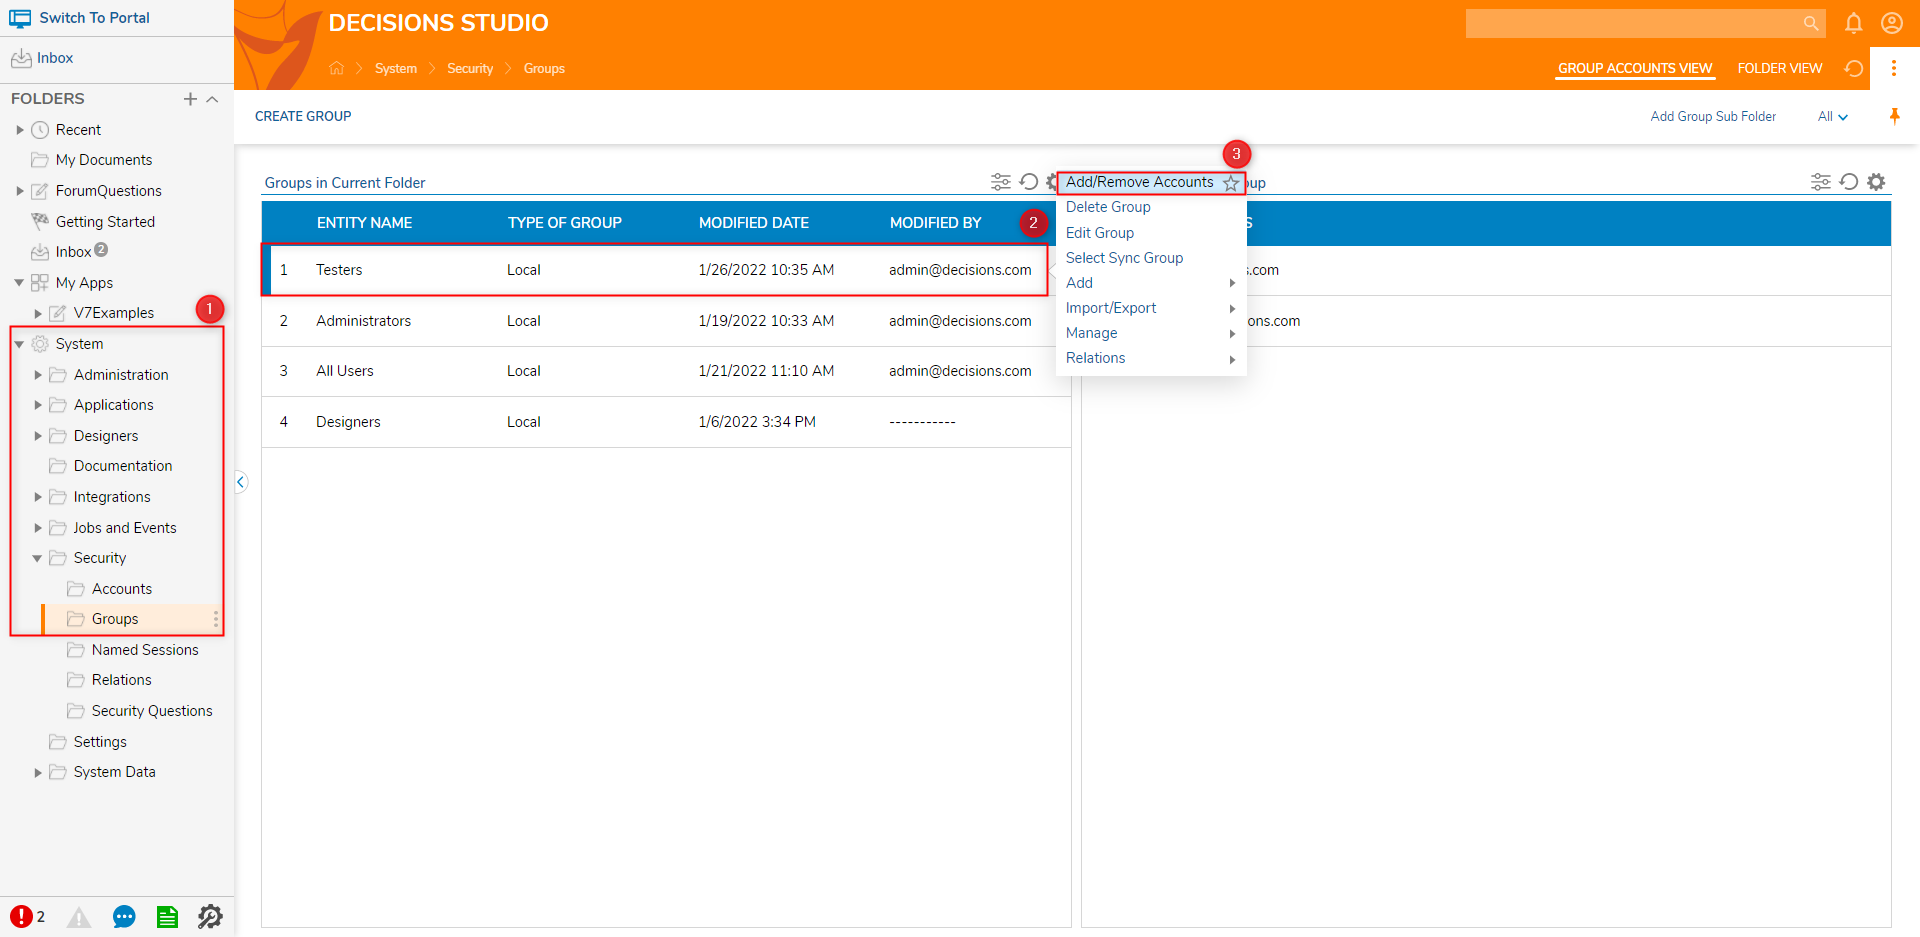
- From System > Security > Groups, right-click the desired Group, then select Add/Remove Accounts.
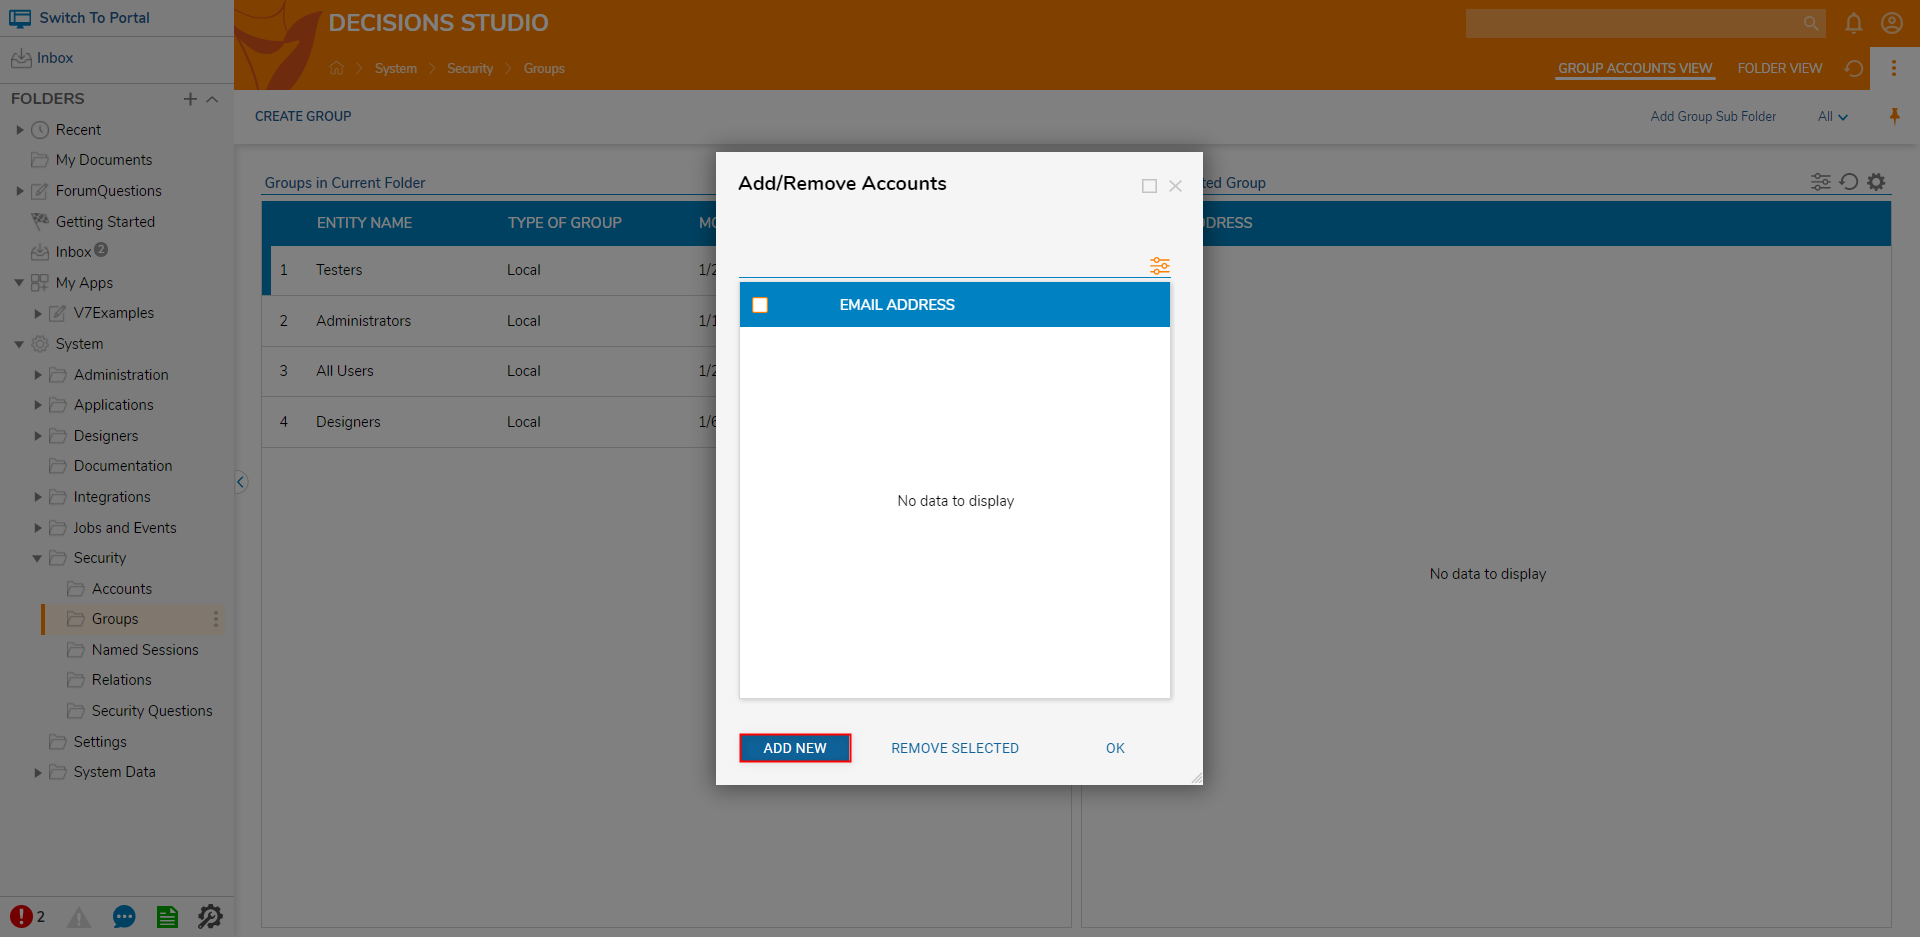
- From the resulting Add/Remove Accounts window, click ADD NEW.
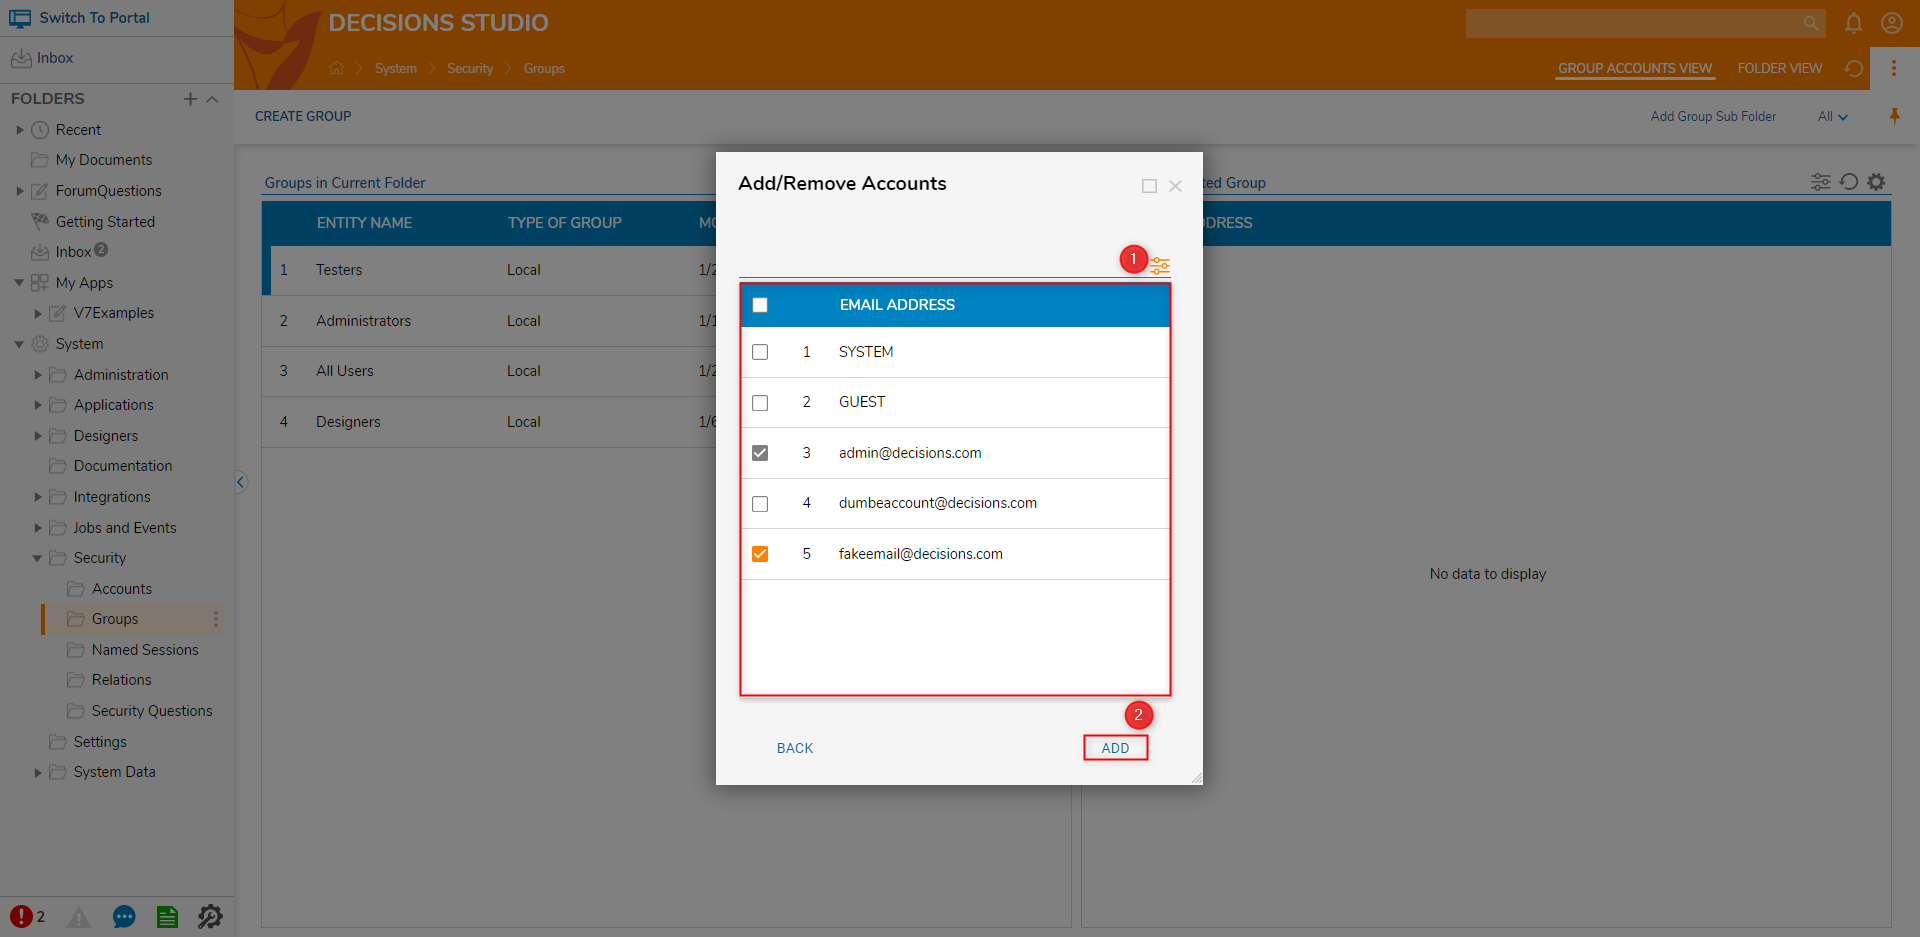
- From the resulting dialog, select the desired Account(s) by toggling the checkbox beside each one. Then, click ADD.
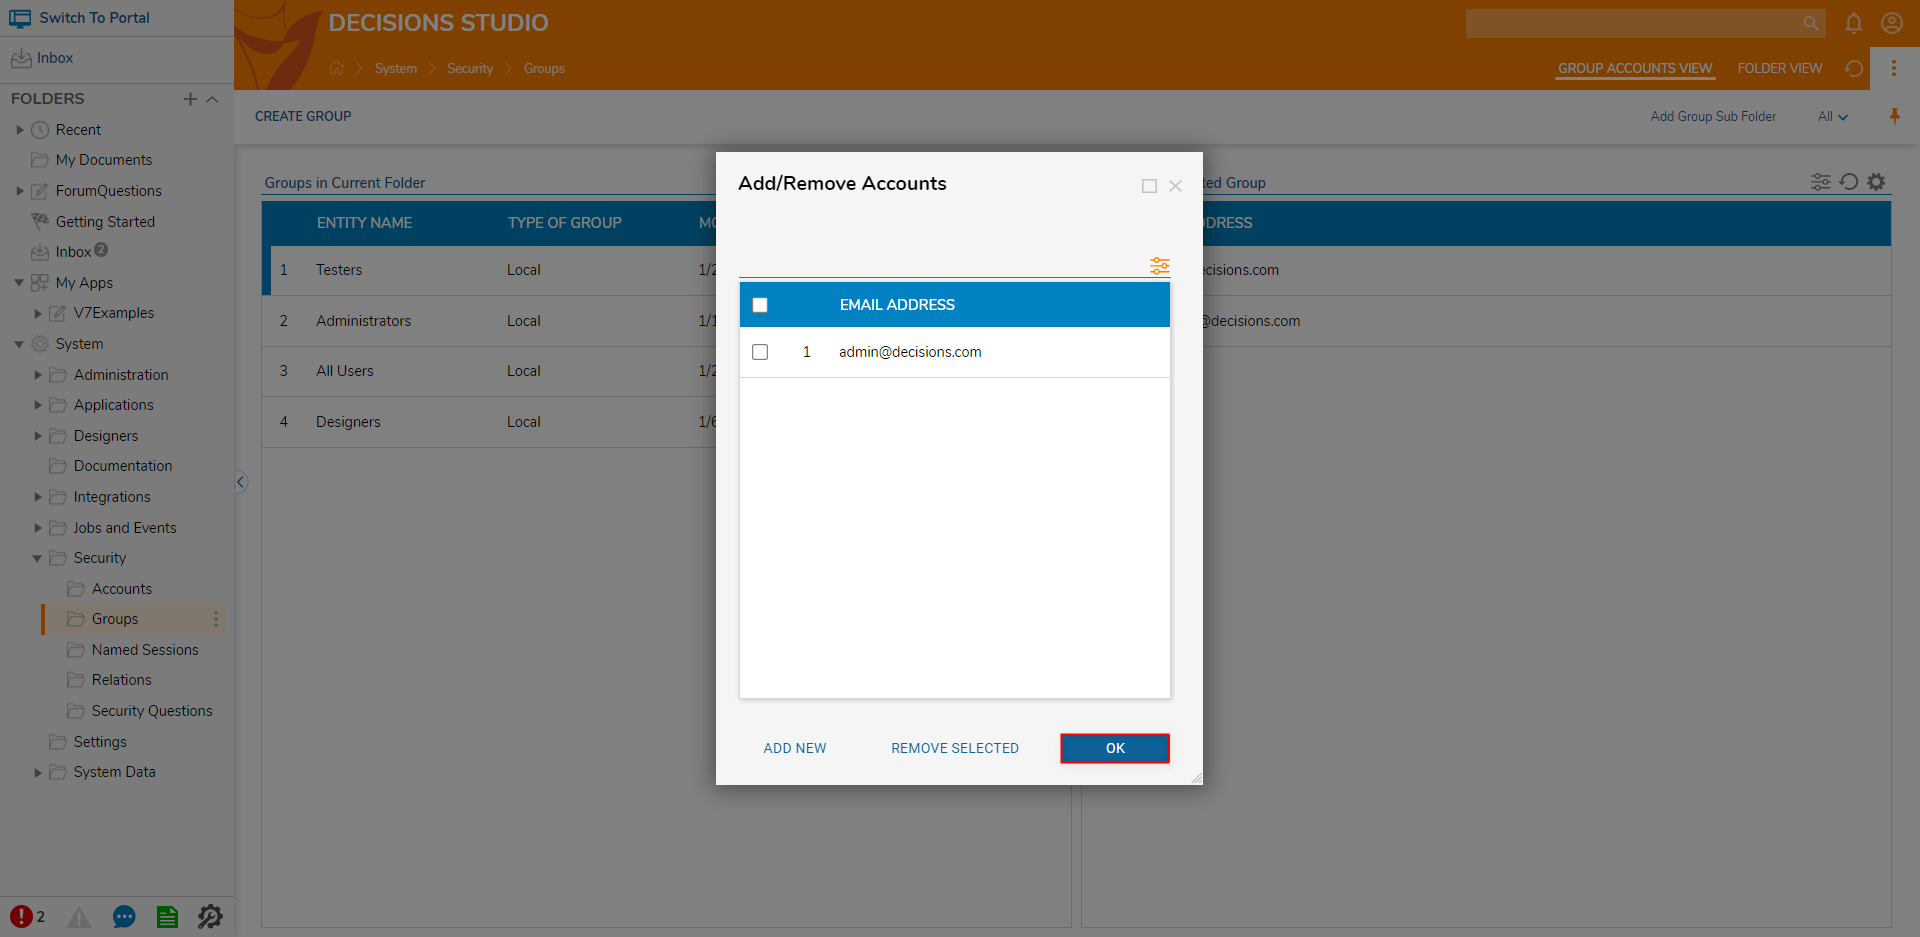
- Back in the primary Add/Remove Accounts window, confirm that the desired Accounts are displayed in the list, then click OK.

- With the newly configured Group selected, confirm the User Account(s) added appears under Accounts In Selected Group.


Remove Accounts from a Group
To Remove an Account from a Group:
- Navigate to System > Security > Groups.
- Right-click the desired Group and select Add/Remove Accounts.
- From the resulting Add/Remove Accounts window, select the desired Account(s) by toggling the checkbox beside each one; then, click REMOVE SELECTED.
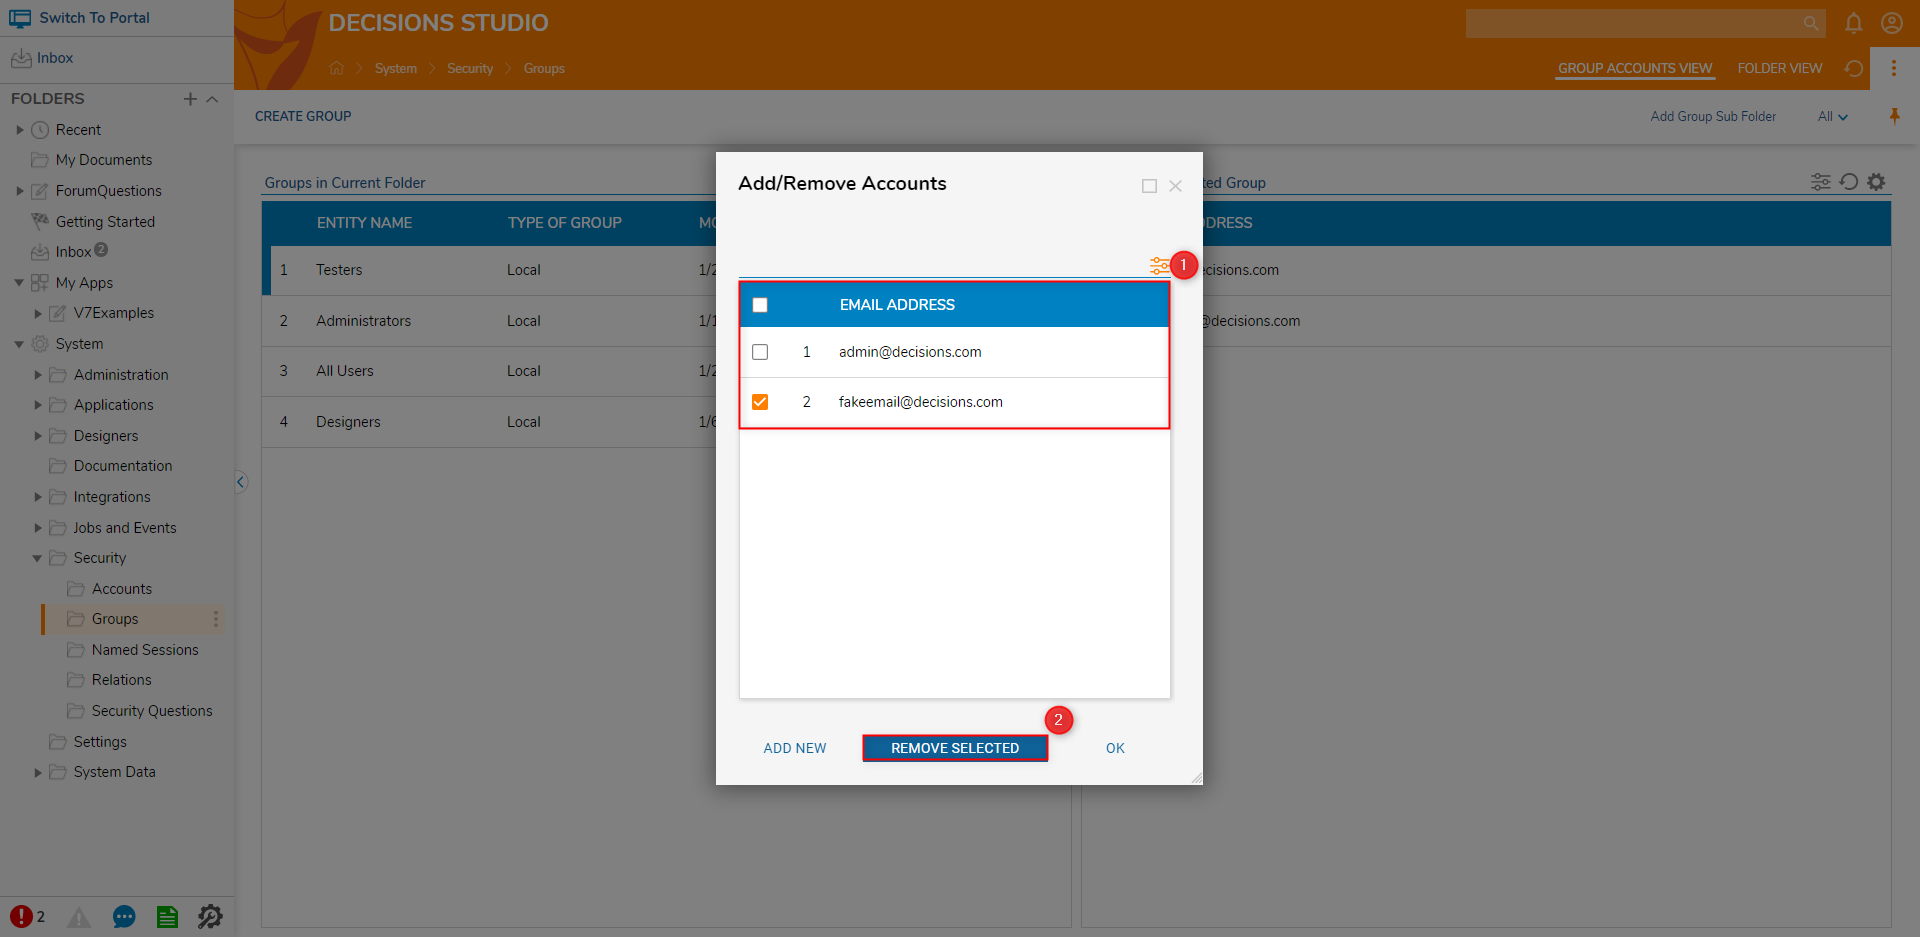
- Once the desired Account(s) has been removed, click OK.
- With the Group selected, verify that the User Account(s) has been removed under Accounts In Selected Group.


Was this article helpful?