Creating End Forms
- 28 Jul 2022
- 2 Minutes to read
- Print
- DarkLight
Creating End Forms
- Updated on 28 Jul 2022
- 2 Minutes to read
- Print
- DarkLight
Article Summary
Share feedback
Thanks for sharing your feedback!
Overview
End Forms allow the Designer to execute unique Flow conclusion functions displayed for their end user such as displaying a state-confirming message, providing a file download, or implementing various Flow navigation Behavior options.
The following steps generate End Forms:
| Step Name | Definition |
|---|---|
[Pick or Create] End Form | Prompts creation of a new End Form or selection of pre-existing End Form |
Base End Form | Inserts an End Form with a Base template consisting of two empty rows, two empty columns, and a Button. |
Dynamic Text End Form | Inserts an End Form with a Dynamic Text template consisting of a Label and a Button. |
End Form Session | Creates an End Form that with a variety of Behavior options. It is the most flexible option. |
File Download End Form | Inserts an End Form with a File Download template consisting of a Rich Text Display and a File Download Button as a link. |
Simple End Form | Inserts a Simple End Form consisting of a Label and a Button. This is made within a simplified End Form Designer with restricted control selection, so it is the quickest to configure. |
Unlike regular Forms (Interaction Forms), End Forms do not support all Form controls since they are not expected to output data. Instead, End Forms support unique Flow conclusion controls. In an End Form, clicking a Close button control ends the Flow immediately. Clicking the Start Flow control in an End Form initiates a new Flow. The Start Flow control is available as a Button, Link, and Image.
End Forms do not support Outcome Rules. If wishing to use Outcome Rules, please configure this onto a regular Form instead.
Common Use Cases
- Confirmation popups that ask the end user to check their data for accuracy before submission and/or to affirm successful submission of their data.
- Redirecting the end user to a Dashboard or a Report upon completion of a Flow
- Open a URL to an external website upon submission of a Form, and its data in a Flow
Example
This example demonstrates creating a simple Form with one outcome path that will show an End Form.
- Create a Form within a Flow, as demonstrated in the Create a Form article.
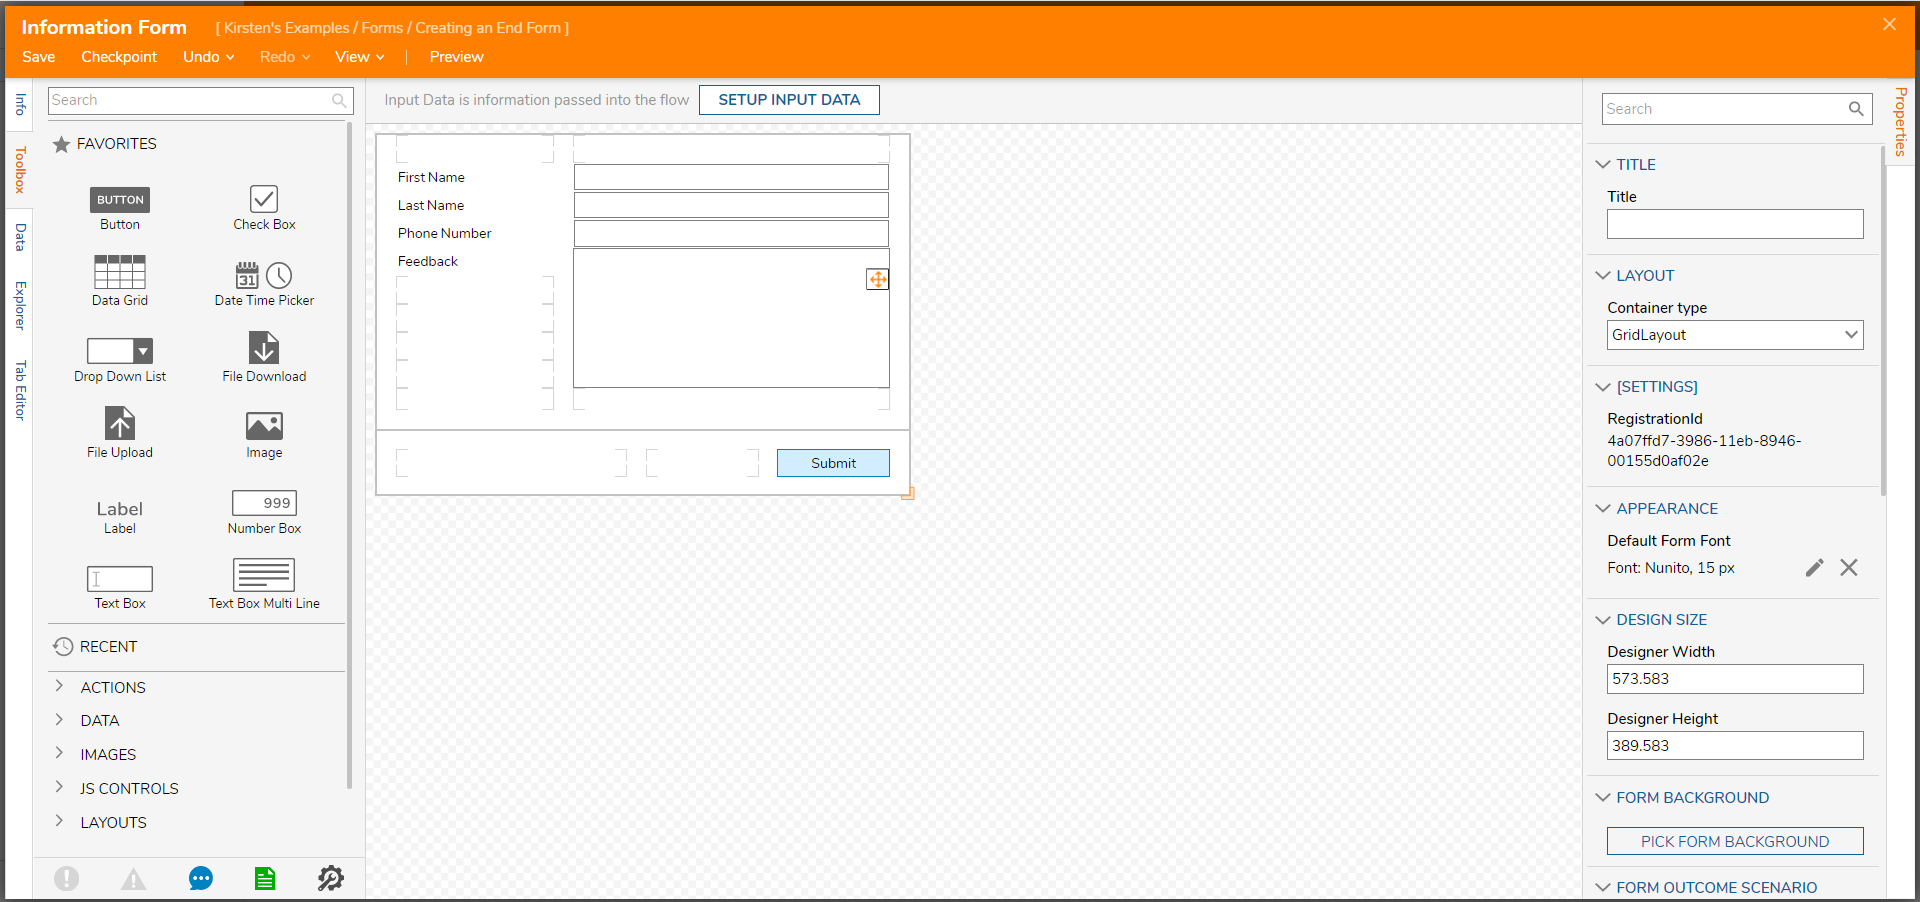
- Populate the Form has corresponding Labels and Textboxes controls for the following data: First Name, Last Name, Phone Number, and Feedback. Add a Button named "Submit." This Form should mirror the build shown in the screenshot below.
- Save and close the Form Designer to return to the Flow Designer.
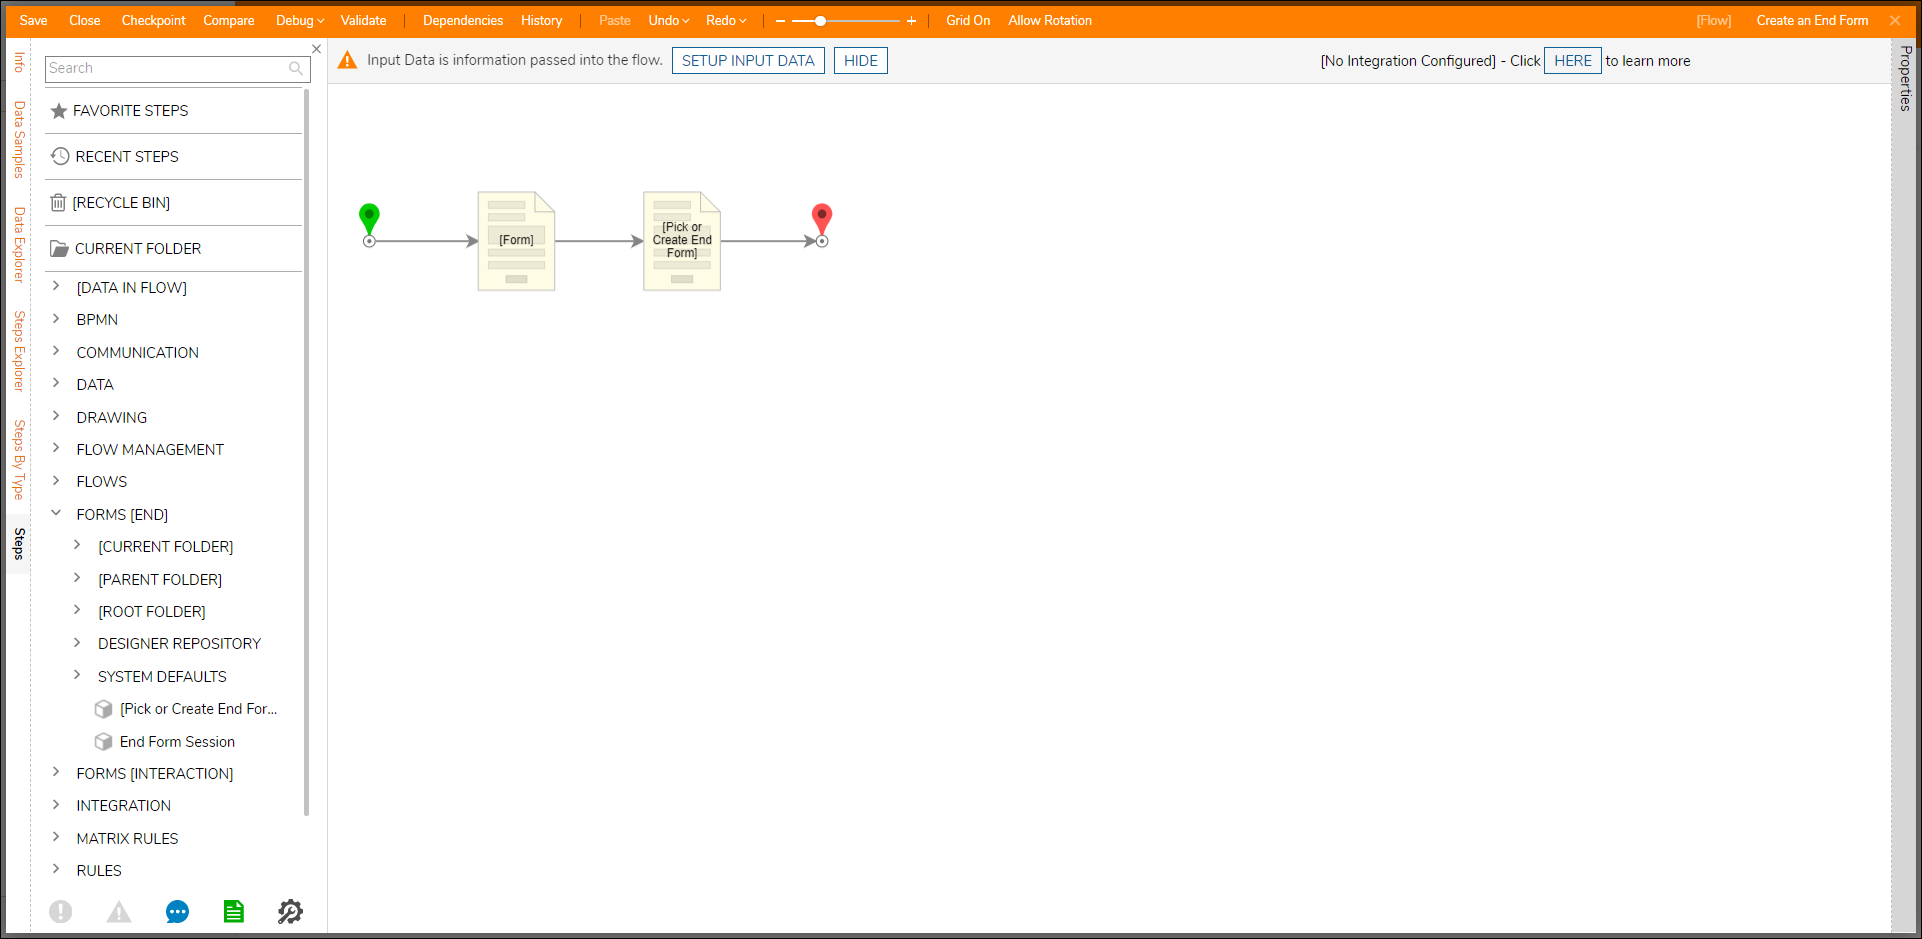
- In the Flow Designer, select the outcome path of the first Form.
- In the Add After dialog, expand Flows, Forms, Rules, and Reports >Forms[End]. Select [Pick or Create End Form], then click ADD.
- With the End Form step selected, select PICK OR CREATE ENDFORM in the Properties panel.
- Select CREATE under Create New. Choose End Form, name the Form, and then select CREATE.
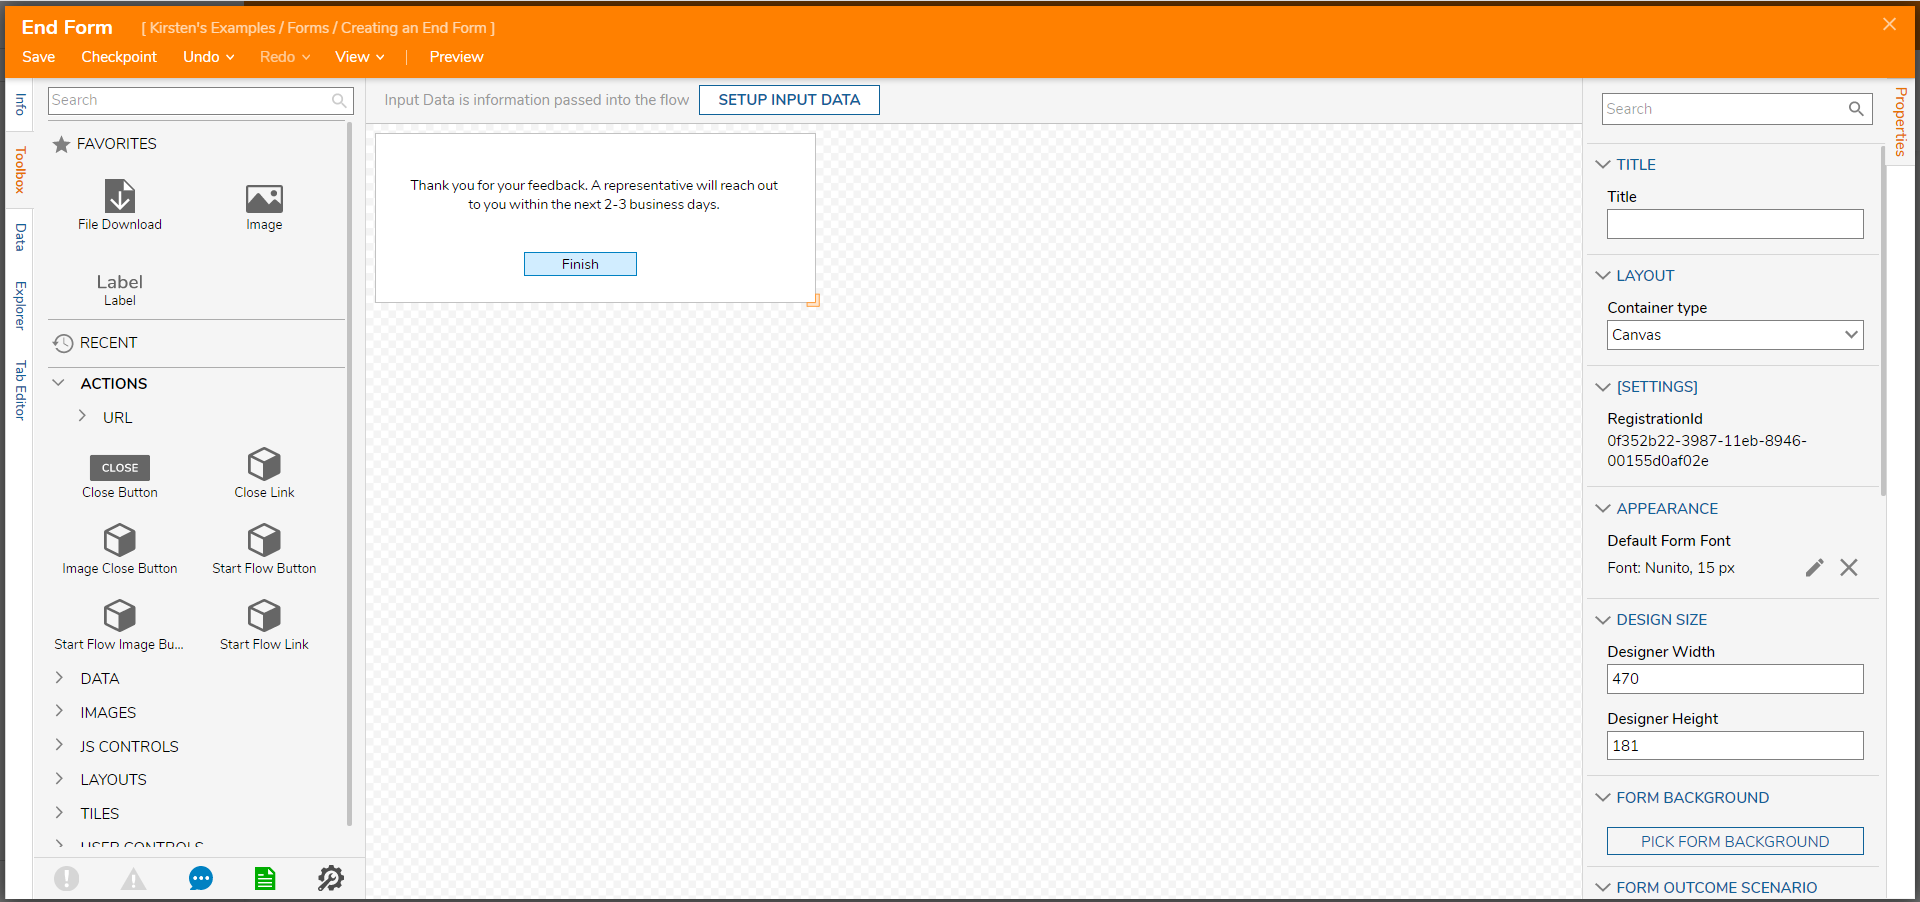
- Drag a Label from the Favorites section of the Toolbox onto the Form. In the Set Text dialog, enter relevant text for the End Form to display.
- In the Toolbox, expand Actions and drag a Close Button onto the Form.
- Save and close the Form Designer.
- Connect the 'Finish' outcome path to the End Step.


Debug
- Select Debug in the top action panel.
- Select Start Debugging.
The first Form displays the Textboxes that a user will fill out. When a user selects 'Submit,' the End Form will display the designed message and close button.
 \
\
Was this article helpful?