Step Details | |
| Introduced in Version | 3.2.0 |
| Last Modified in Version | 8.9.0 |
| Location | Data > JSON |
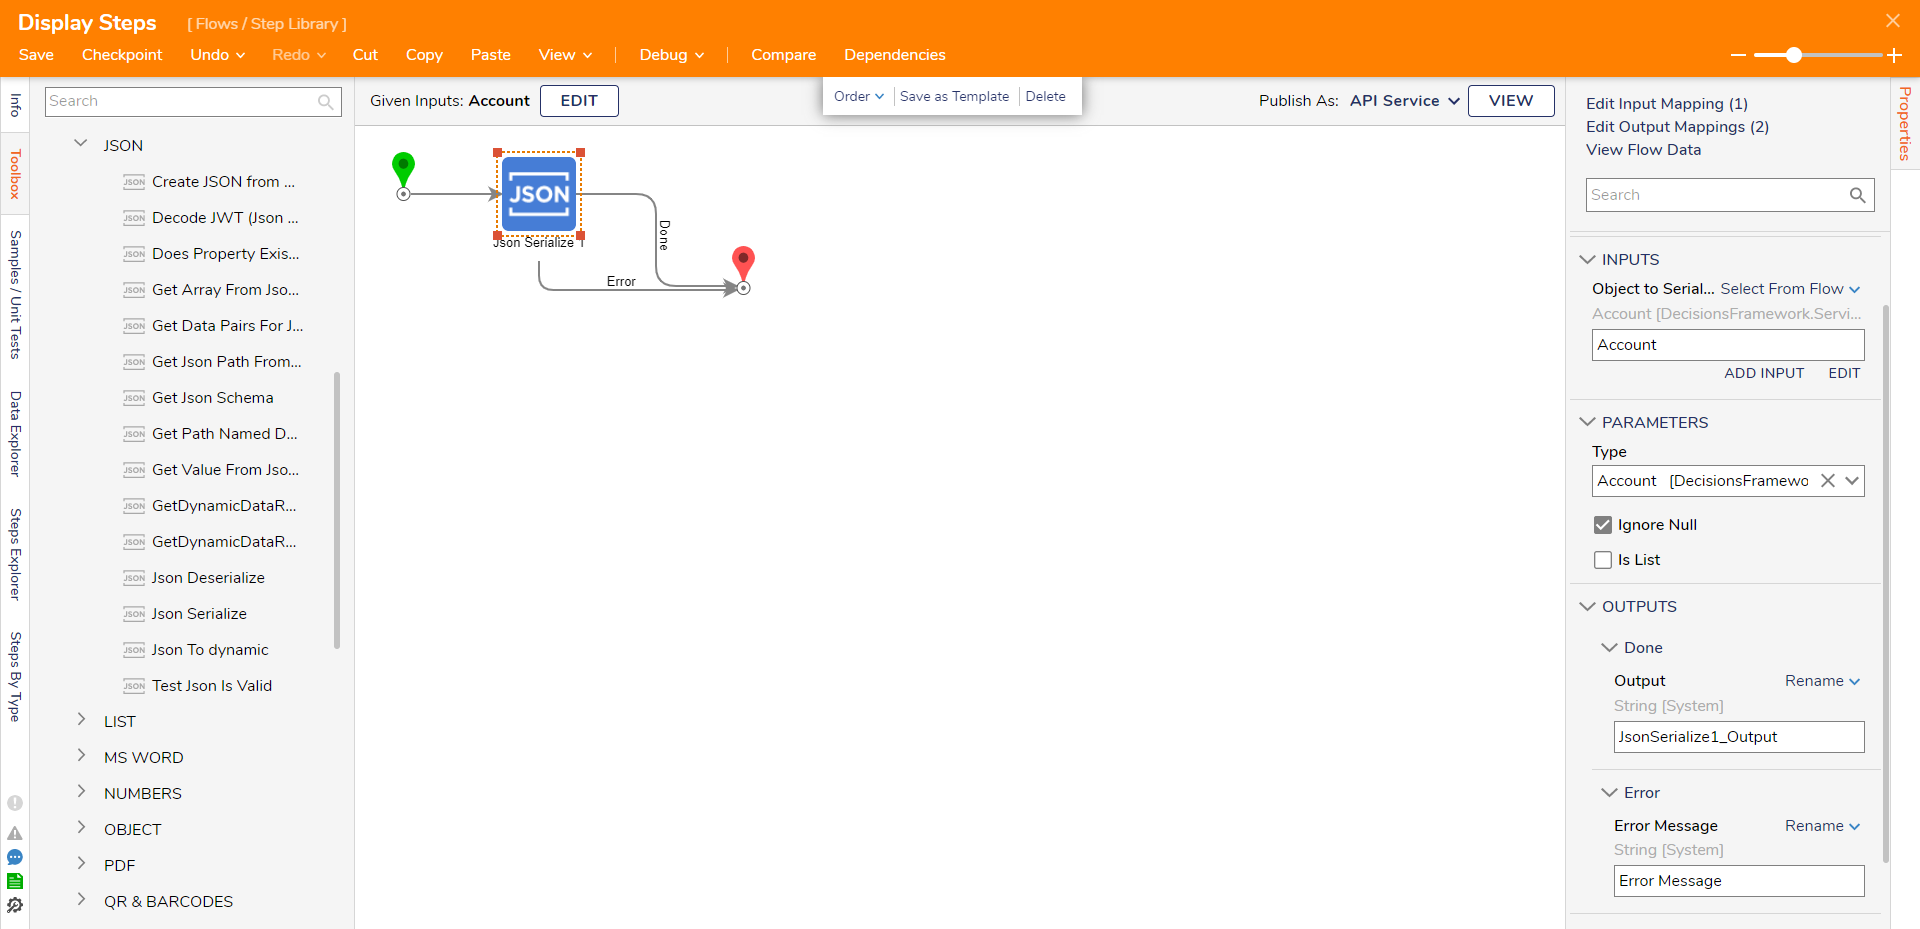
The JSON Serialize step changes a data object into a JSON string via serialization. This step is best used to assist in utilizing modern REST web services to send or receive data. The object is chosen via the Type drop-down, where a user must pick the data type for the serialized object and the Object to Serialize input, where the user picks the specific object.
Properties
Parameters
| Property | Description | Data Type |
|---|---|---|
| Type | The data type that will be serialized can be a User Defined type or a default Decisions type. | --- |
| Ignore Null | When enabled, any null values encountered in the data object will be ignored during serialization. Null properties will not be included in the resulting JSON string. | Boolean |
| Is List | Changes the input to expect a list. | Boolean |
| Indented | Applies indenting format to the output data to enhance readability. | Boolean |
Inputs
| Property | Description | Data Type |
|---|---|---|
| Object To Serialize | The input variable expects an object from the user-selected type. | --- |
Outputs
| Property | Description | Data Type |
|---|---|---|
| JsonSerialize1_Output | The default variable that stores the JSON serialized type. | String |
| Error Message | Output variable for the step error message | String |
Example
- In a Designer Project, click CREATE FLOW on the Global Action Bar and click Flow. Name the Flow and click CREATE.
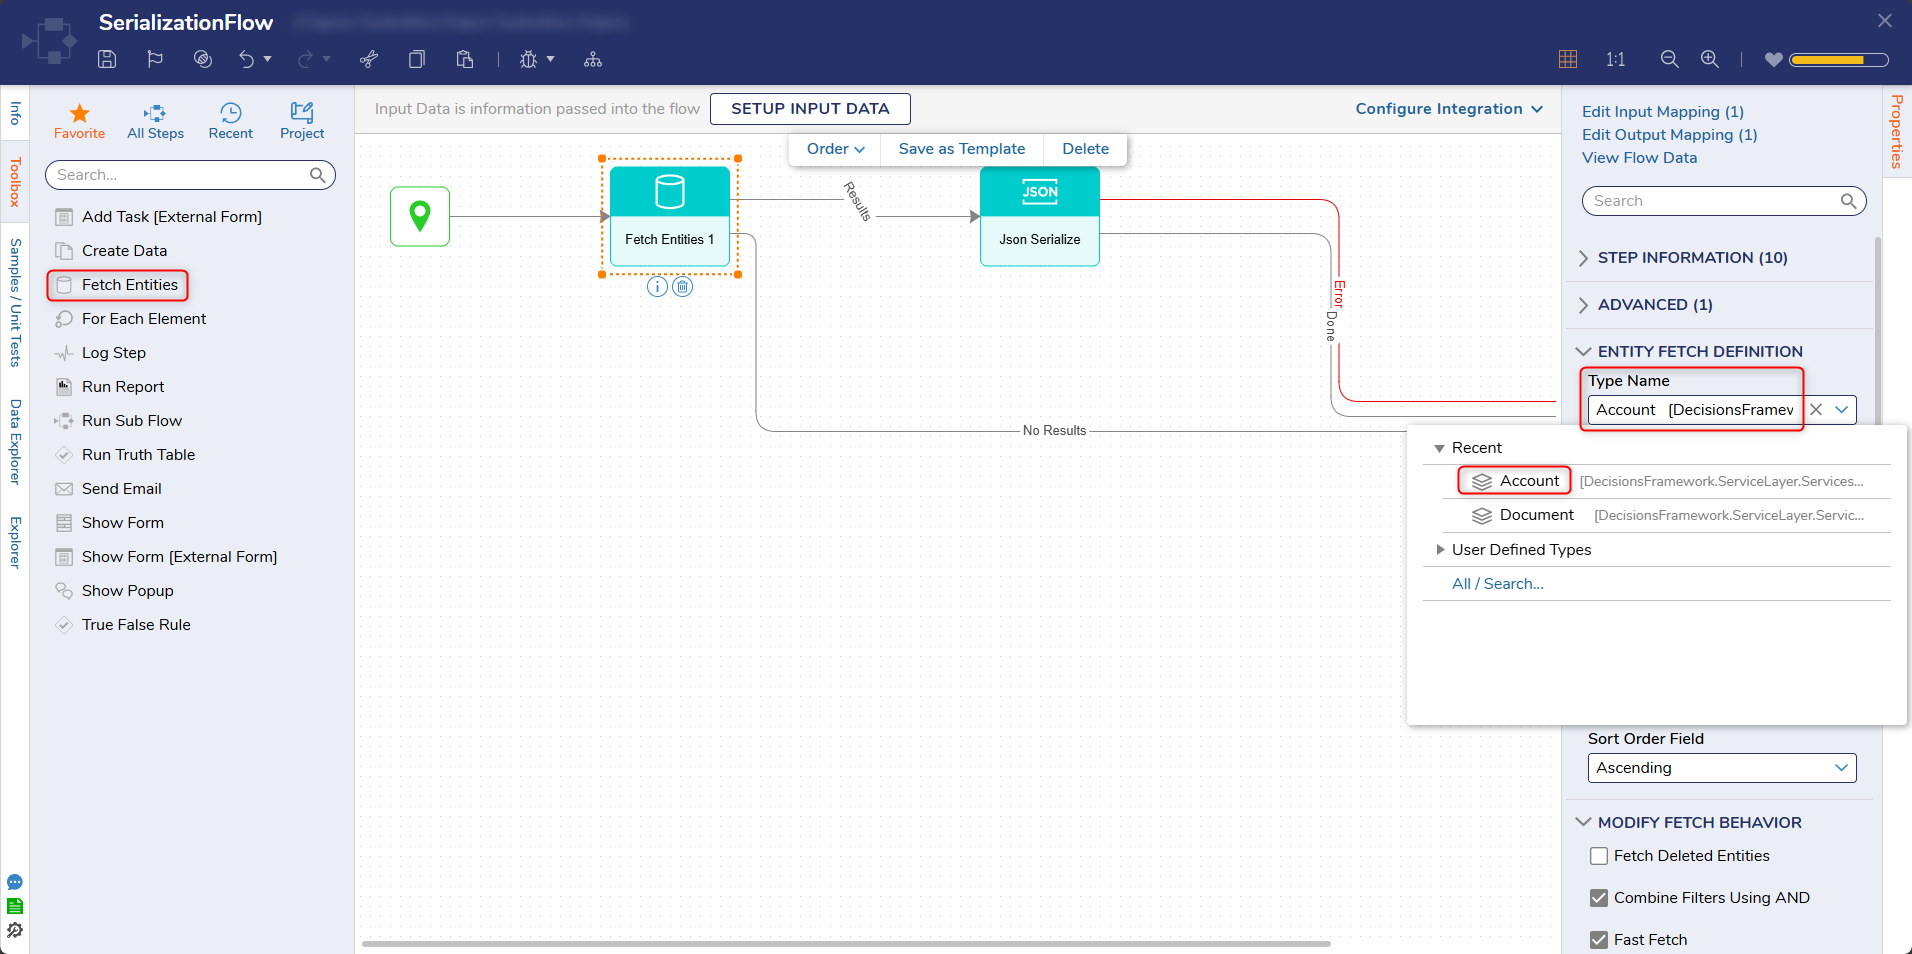
- Click and drag the Fetch Entities step to the workspace. Connect the step to the Done path of the Start step. Click the Type Name dropdown list under the ENTITY FETCH DEFINITION category on the Properties panel. Enter "account" in the search box and click Account [DecisionsFramework..].
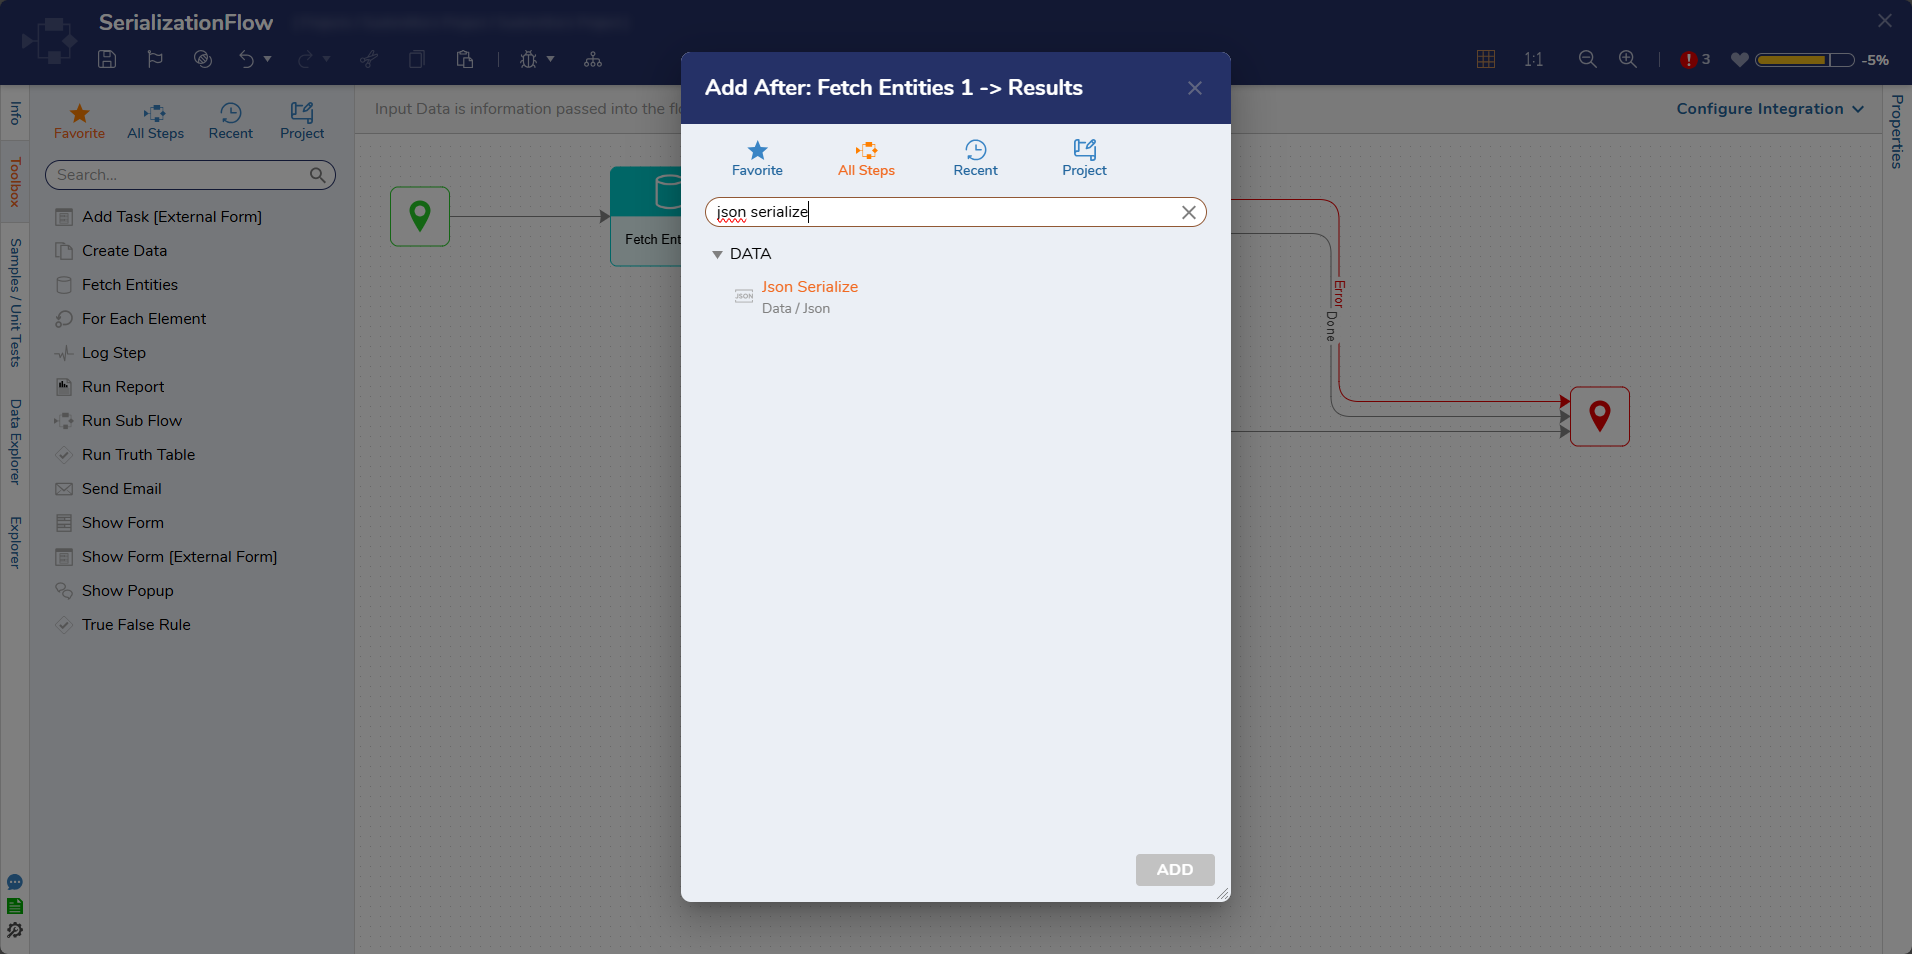
- Click the Results path and navigate to All All Steps [Catalog] > Data > Json. Select the Json Serialize step and click ADD.
 To create an example with XML and XSD, add the Xml Serialize or the XSD serialize step and click on the Readable XML Output under the OPTIONS category.
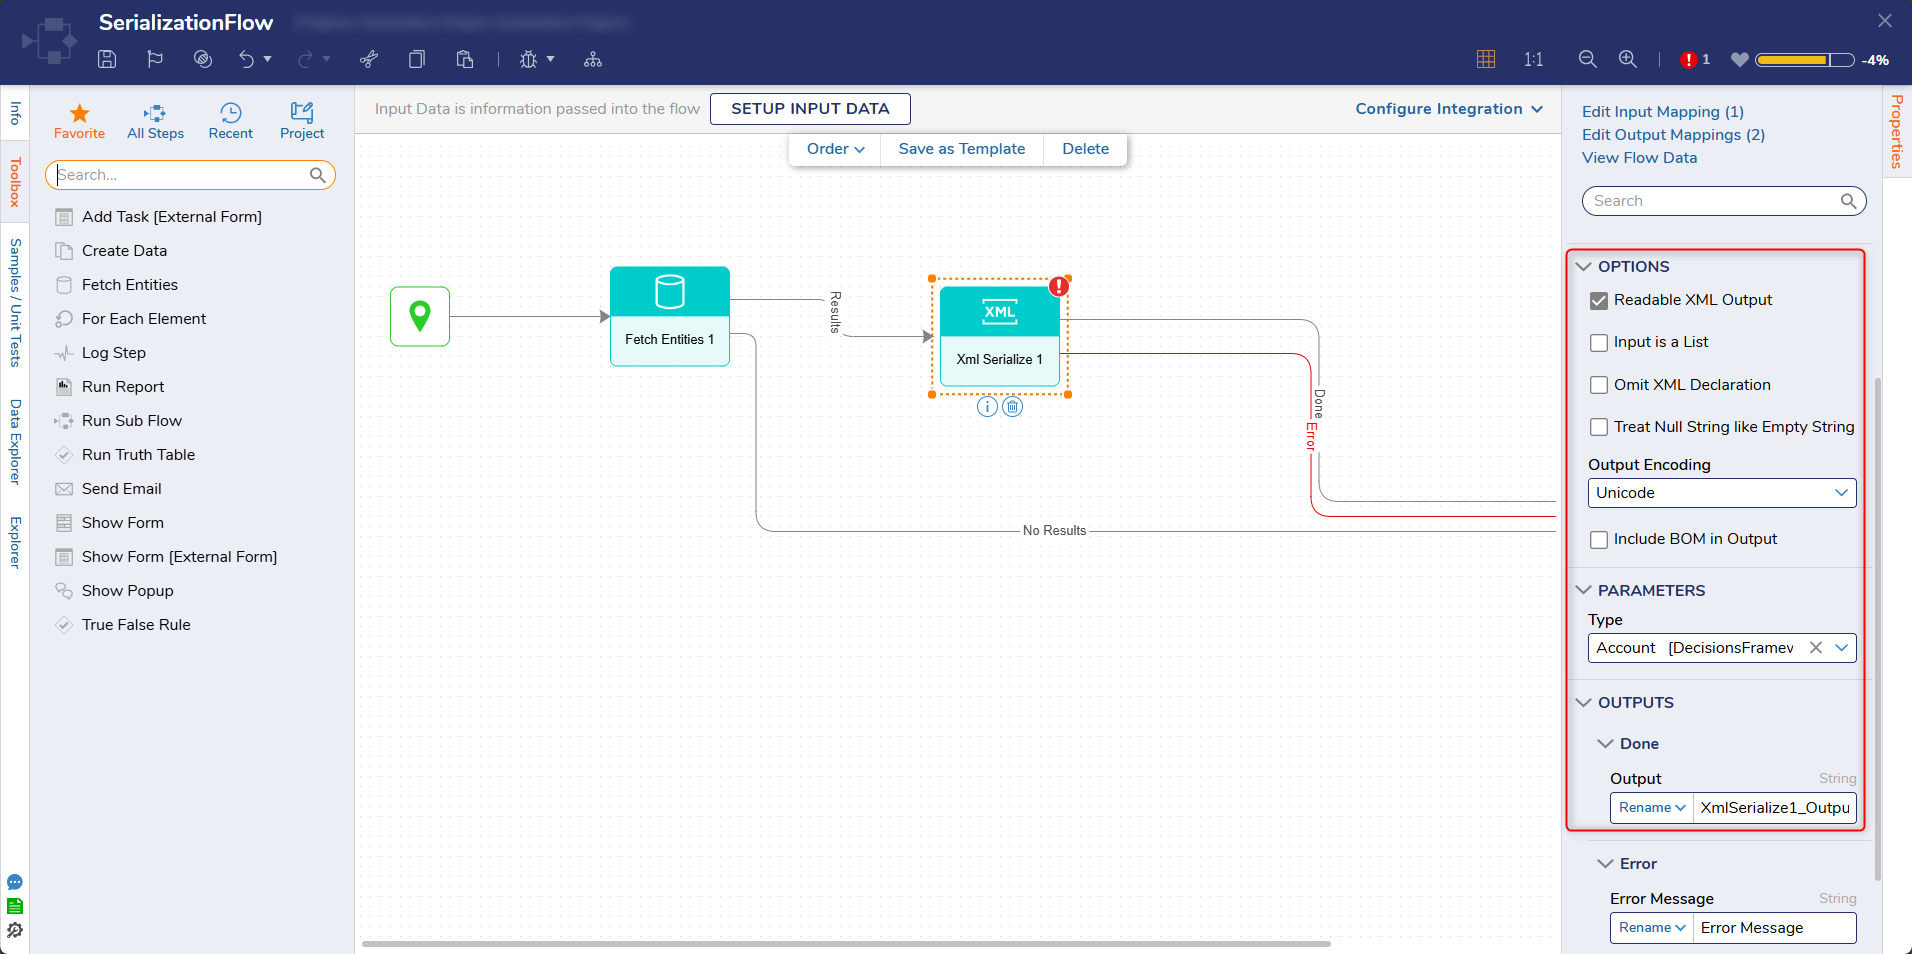
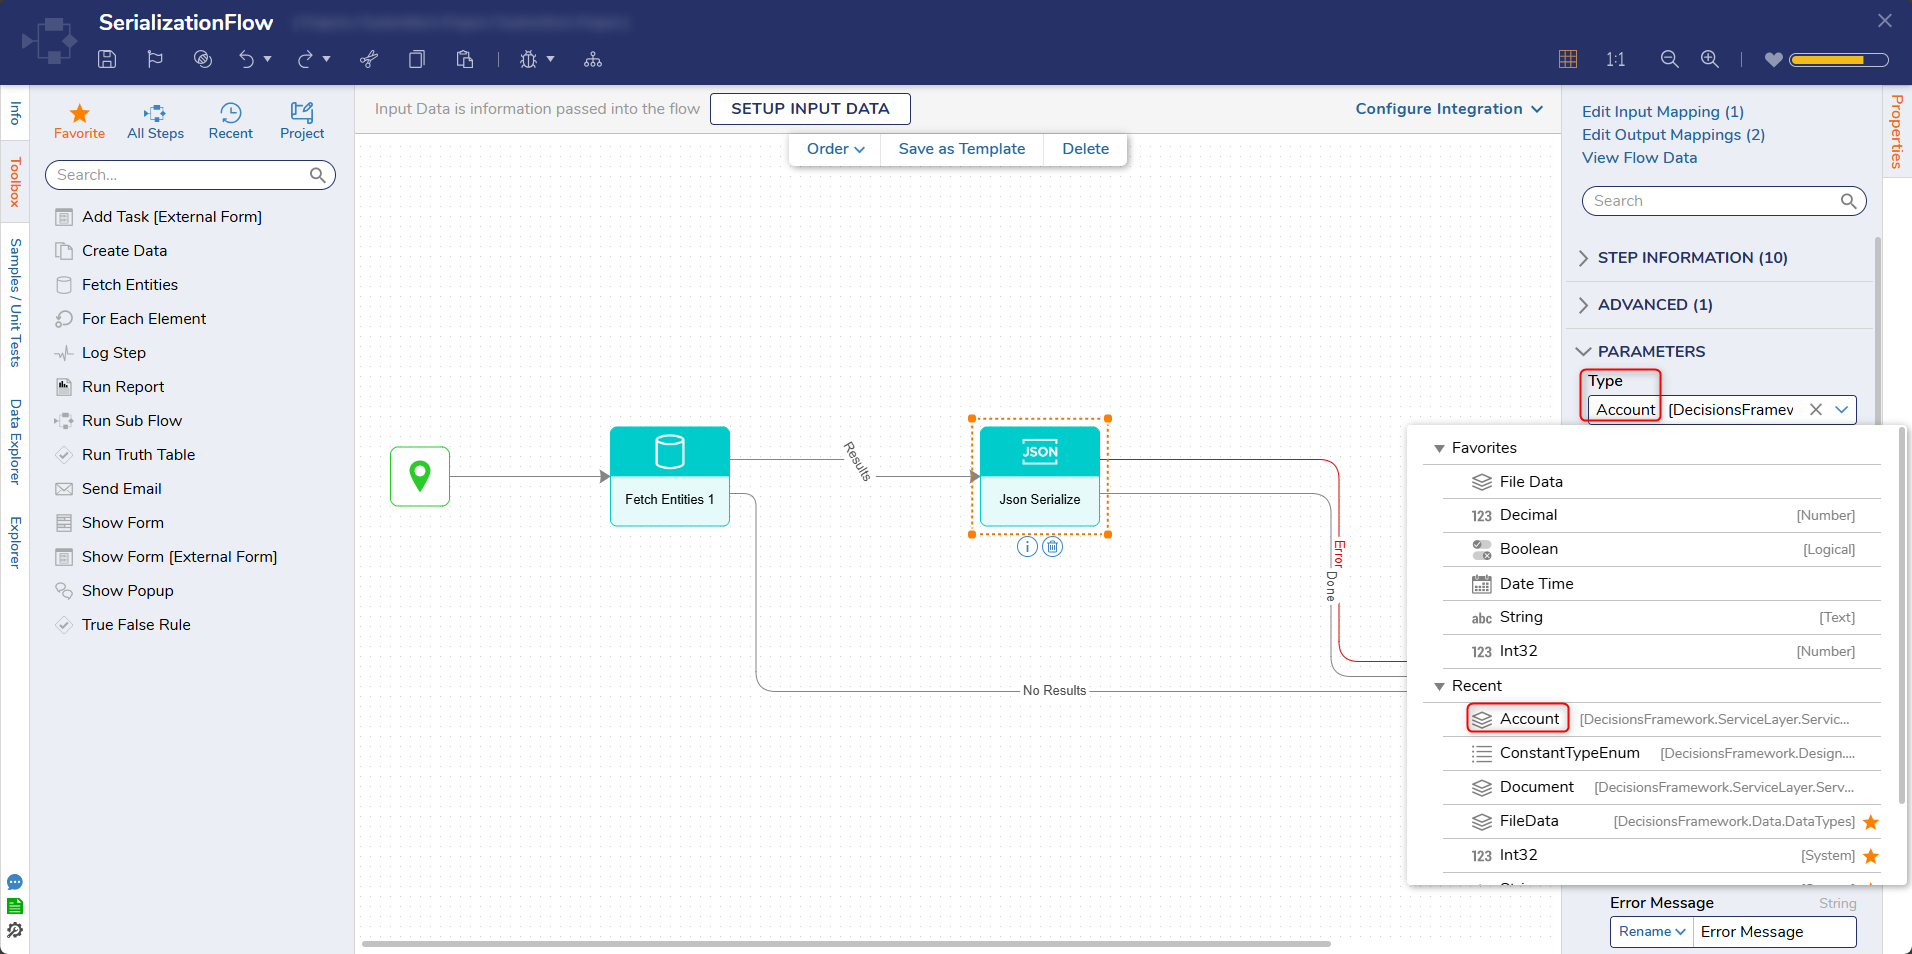
- In the Type dropdown box enter "account" and select Account [DecisionsFramwork].
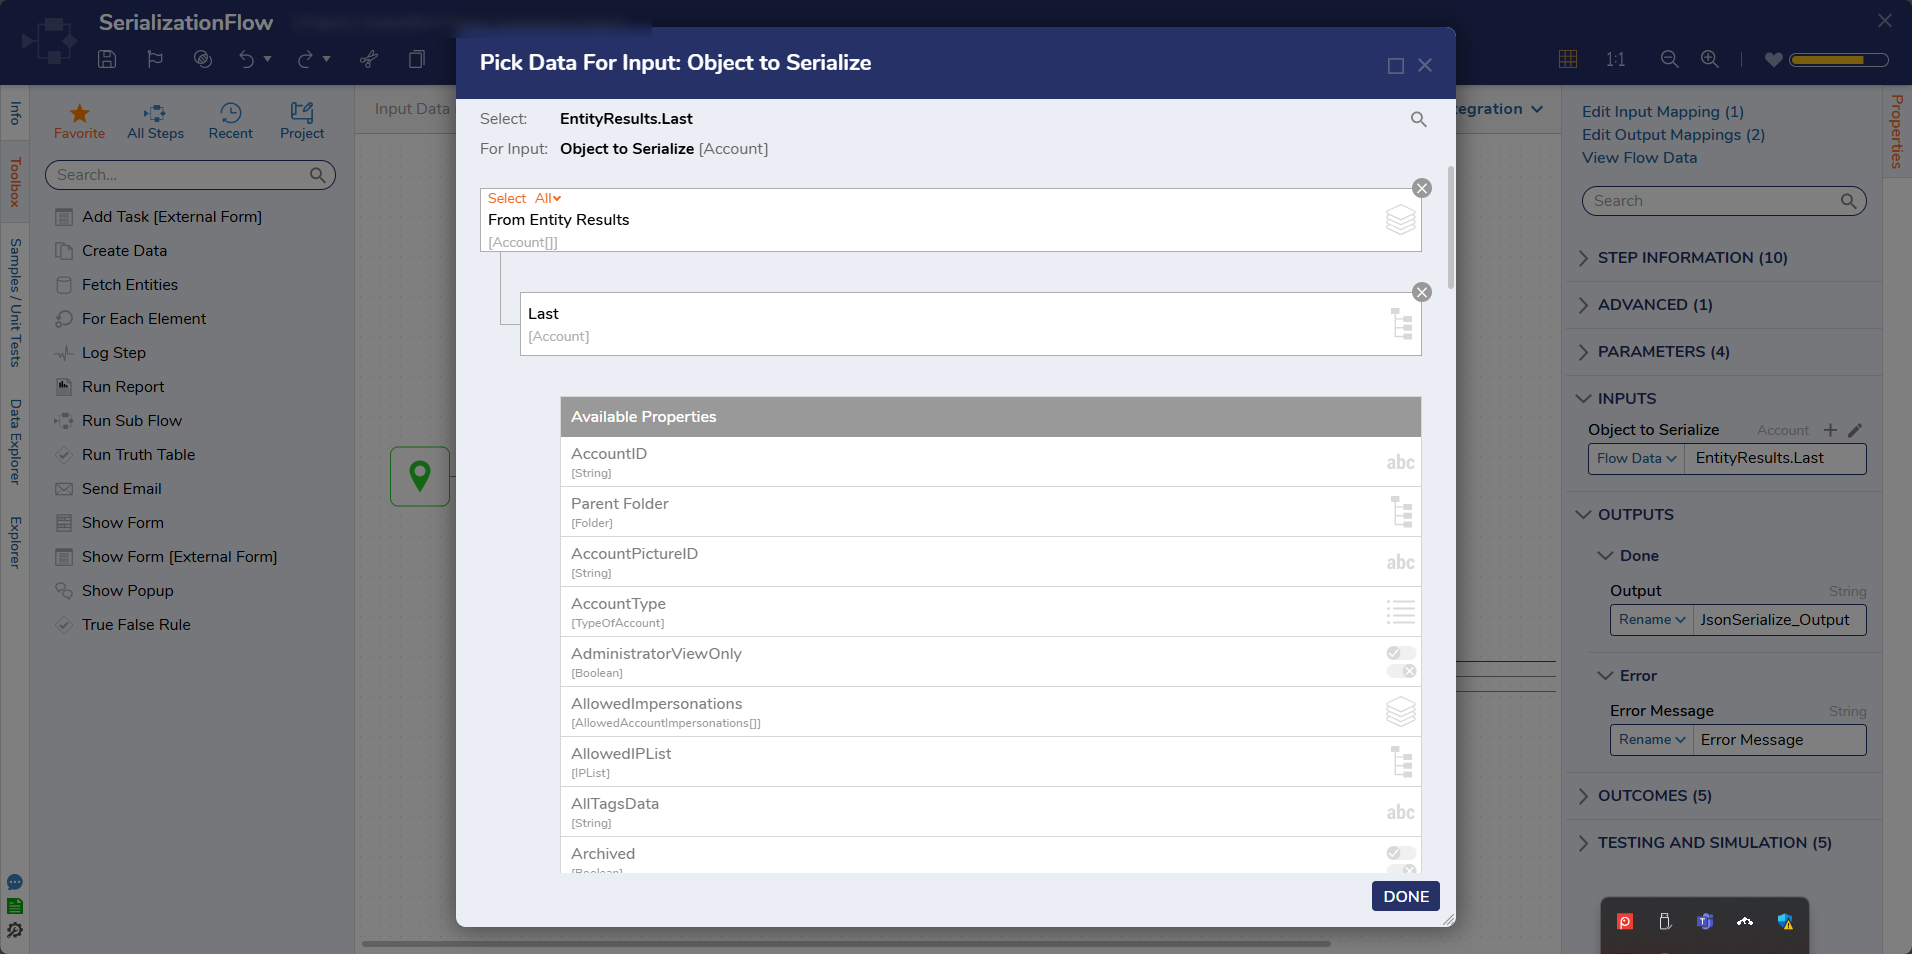
- Click Unknown next to Object to Serialize field and select Select From Flow. Then, click Entity Results [Account[]] and select Last [Account]. Then, click DONE.
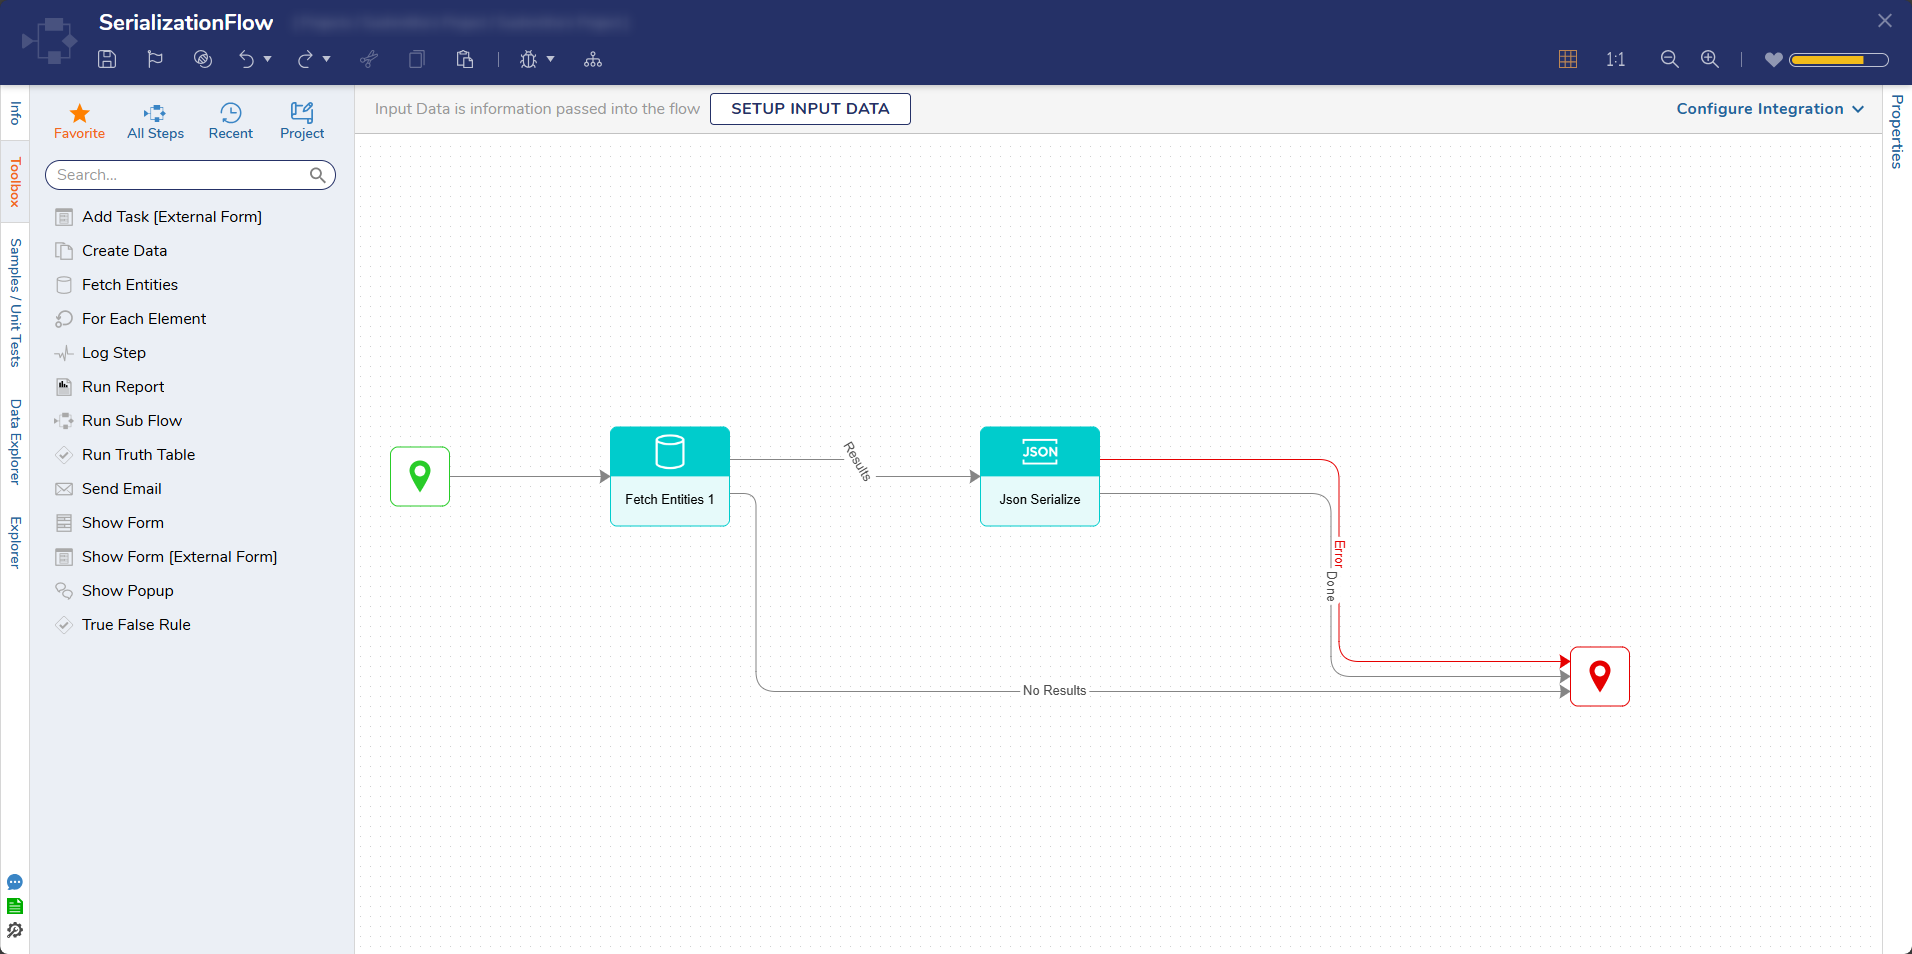
- Connect the Done, Error, and No Results path to the End step. Click Save on the top action panel to save changes.
Debug
- On the top action panel, click Debug. Then, click START DEBUGGING.
- After the Debugger runs, click the Json Serialize 1 step, select Execution 1, and click View Output Data.The serialize step has changed the type into a JSON Serialized String
Related Information
Forum Posts:
Json Serialize
Backslash (\) Included In JSON Serialize Output