Overview
The Rule Engine can be extended by developers to create custom Rule verbs that can be embedded into a Statement Rule.
These custom verbs can be created either through a Flow or Statement Rule and are anchored to the datatype used as inputs to these elements. When the datatype is selected in a Rule, the Rule Extensions will appear under the Custom header when choosing the verb.
Creating a Rule Extension
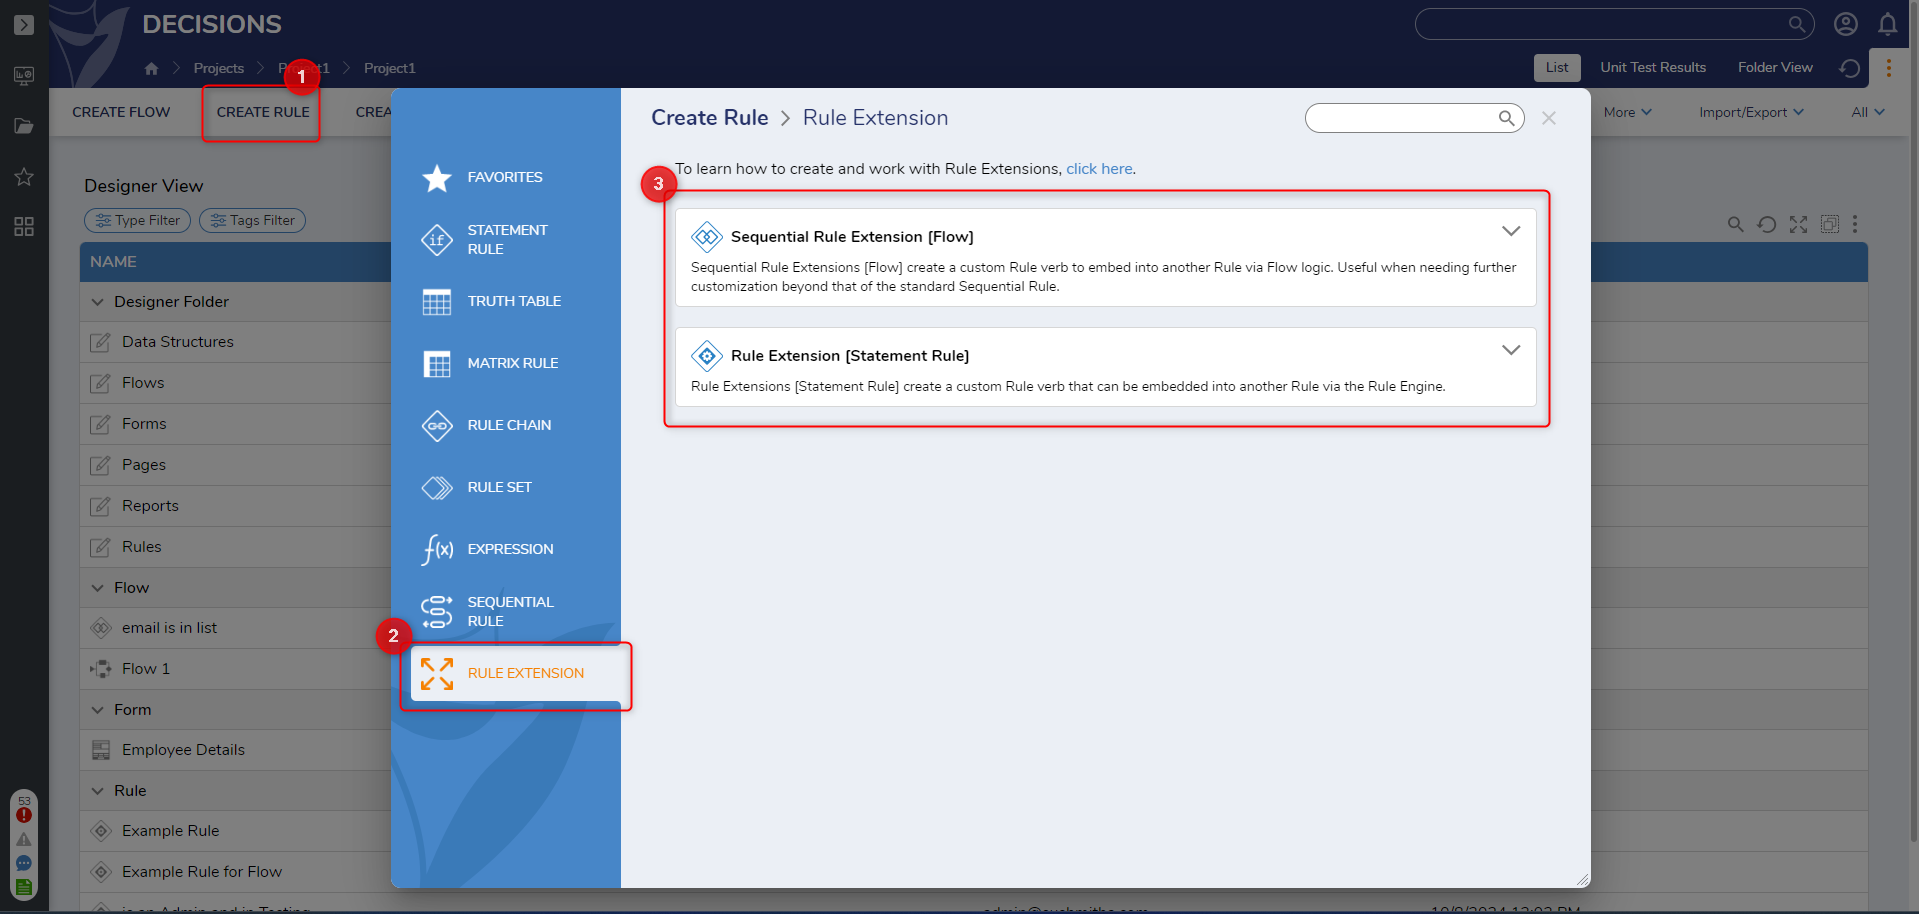
To create a Rule Extension, in a Designer project, click on CREATE RULE. In the gallery, select Rule Extension and select either option to create a new Rule Extension. The name for the Rule Extension will become the name for the custom verb. Each Rule extension is further expanded in its respective section.
| Rule Extension Type | Differences |
|---|---|
| Sequential Rule Extension [Flow] | The Sequential Rule Extension Type allows custom rule verbs to be embedded in another Rule using a Flow. Selecting this option will open the Flow Designer, allowing for more customized logic through the use of a Flow |
| Rule Extension [Statement Rule] | The Rule Extension [Statement Rule] allows for custom rule verbs to be created using another Rule. |
Rule Extension [Statement Rule]
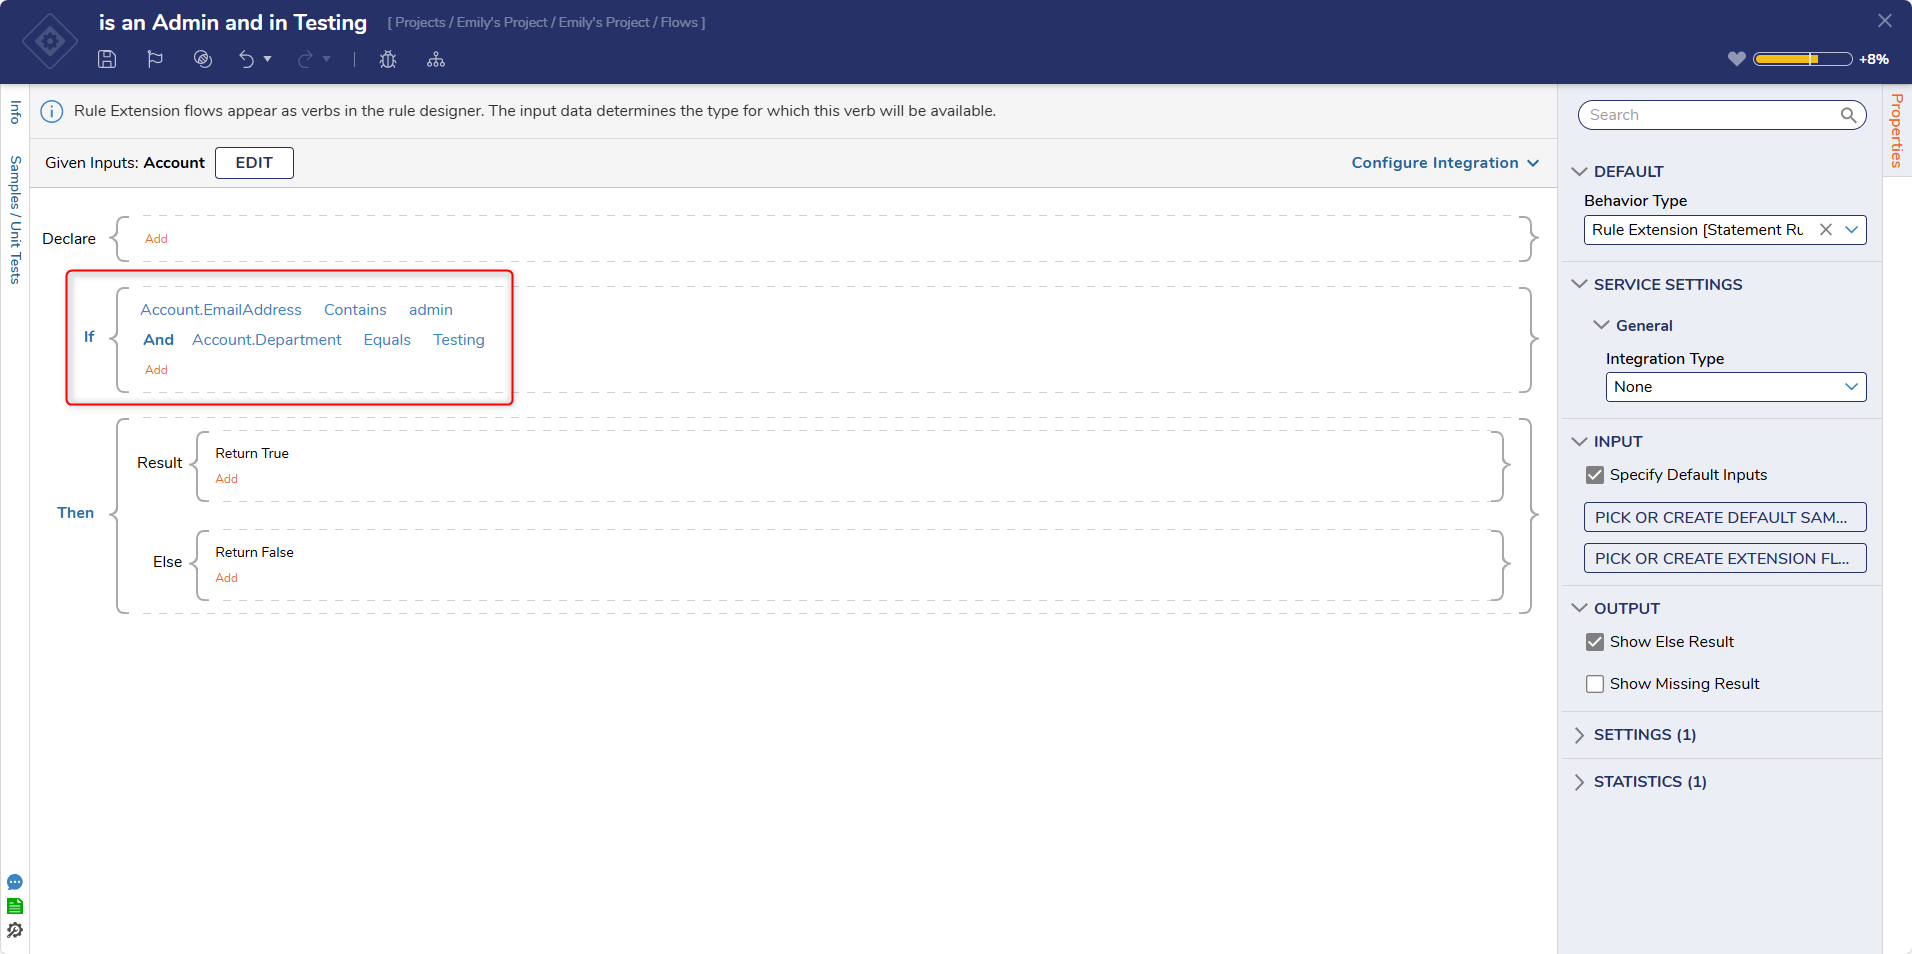
The following example will create a Rule Extension that determines if the account executing the Rule contains admin and is part of the Testing Department.
- Create a new Rule Extension using Rule Extension [Statement Rule]. Enter a Name and click Create.
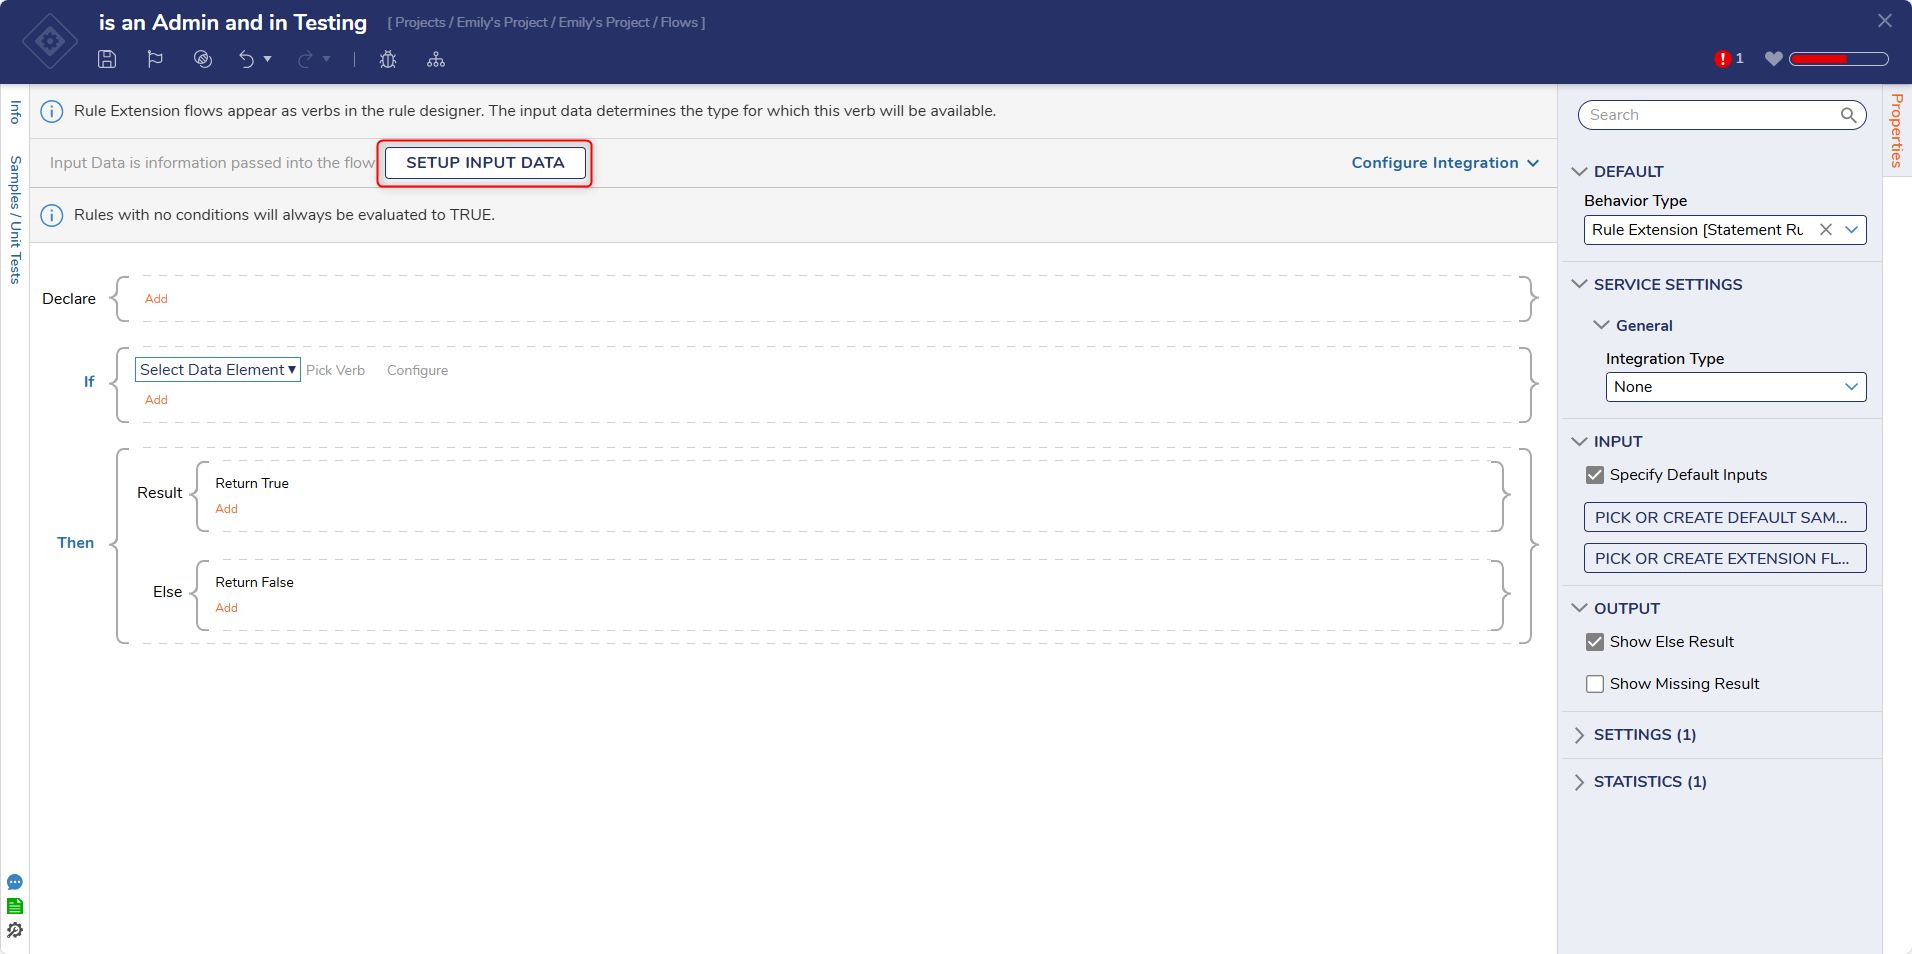
- The Rule Designer will open. Click SETUP INPUT DATA.
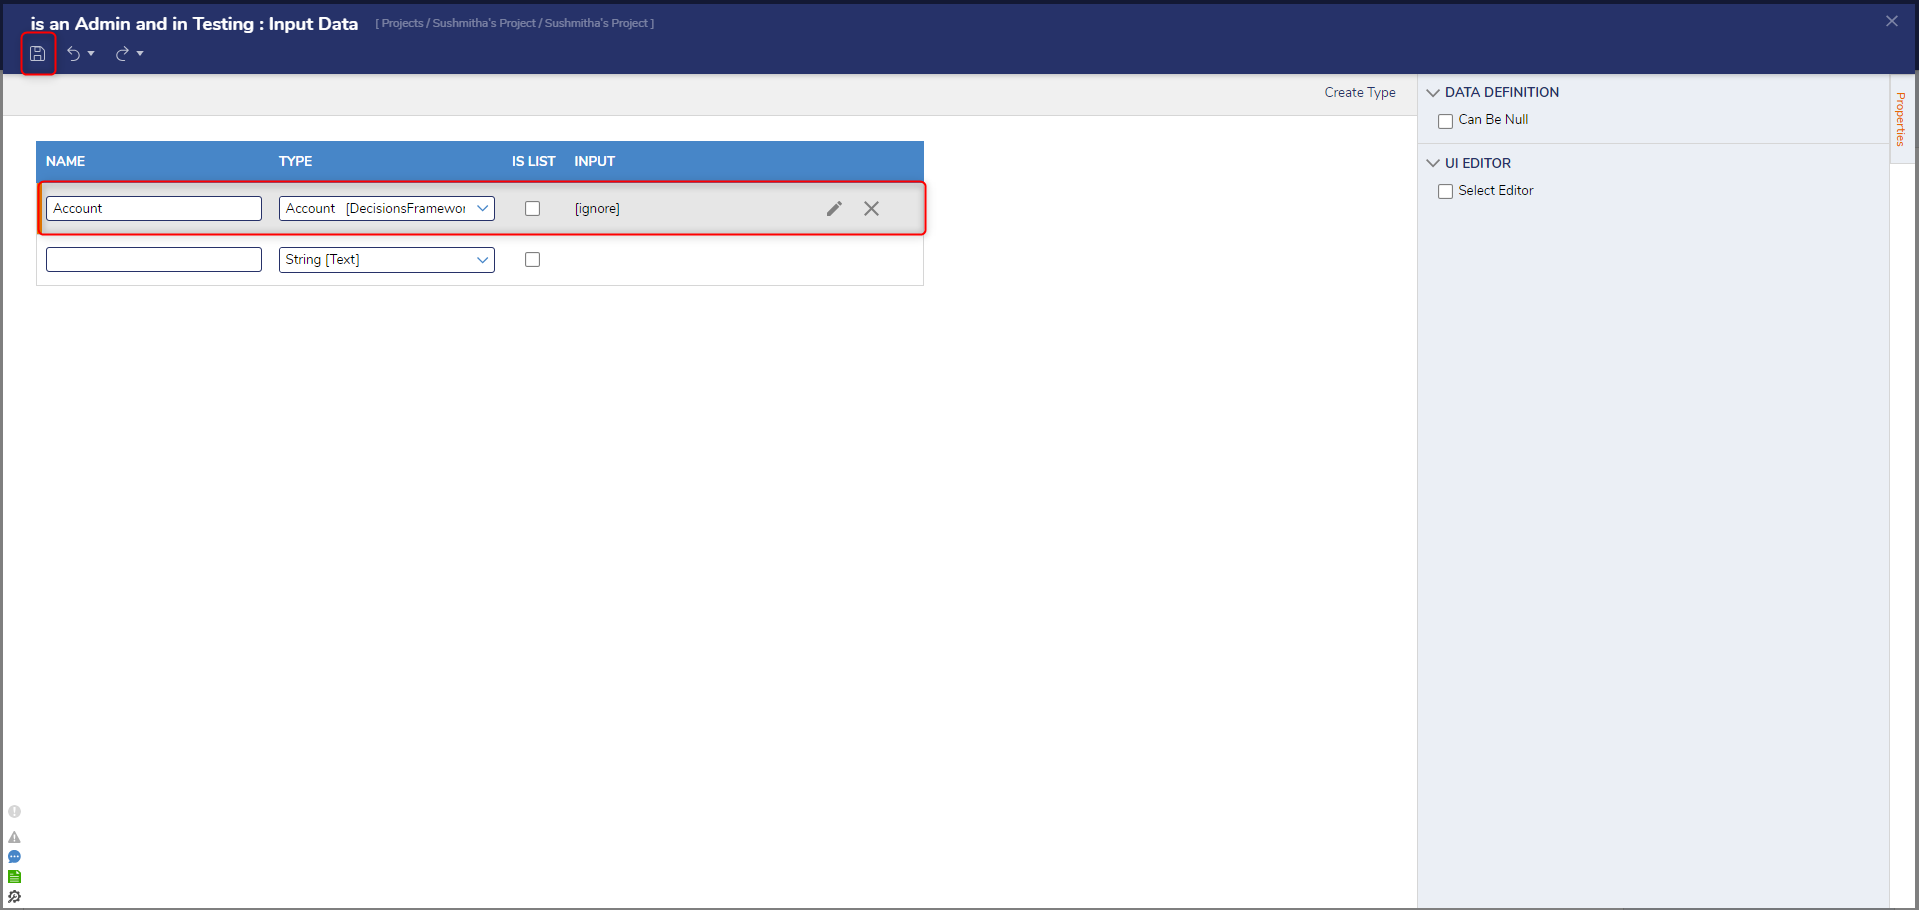
- Define an input, then Save. For this example, the Account datatype was used.
- Define the statements for the Rule using the input, then Save and close the Rule Designer.
- Create a new Rule.
- For Select Data Element, select an input that matches the inputs needed for the Rule Extension. In this case, it will be an Account. Click Next.
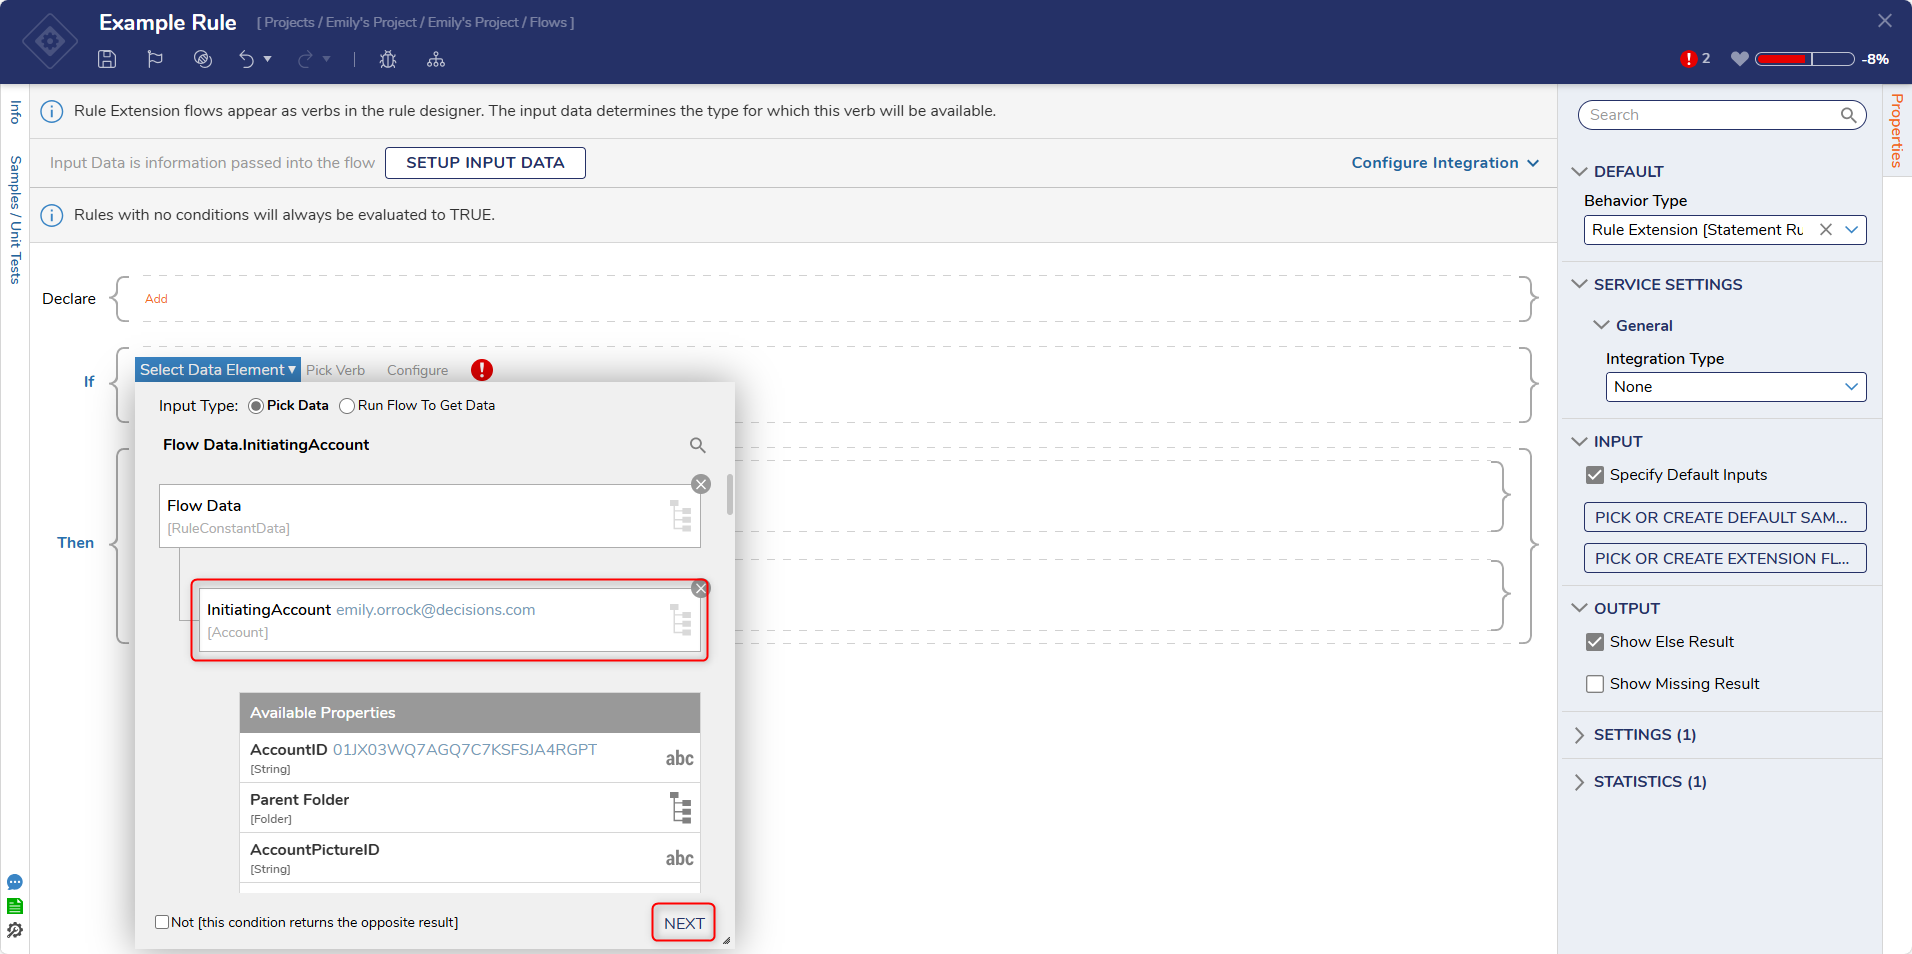
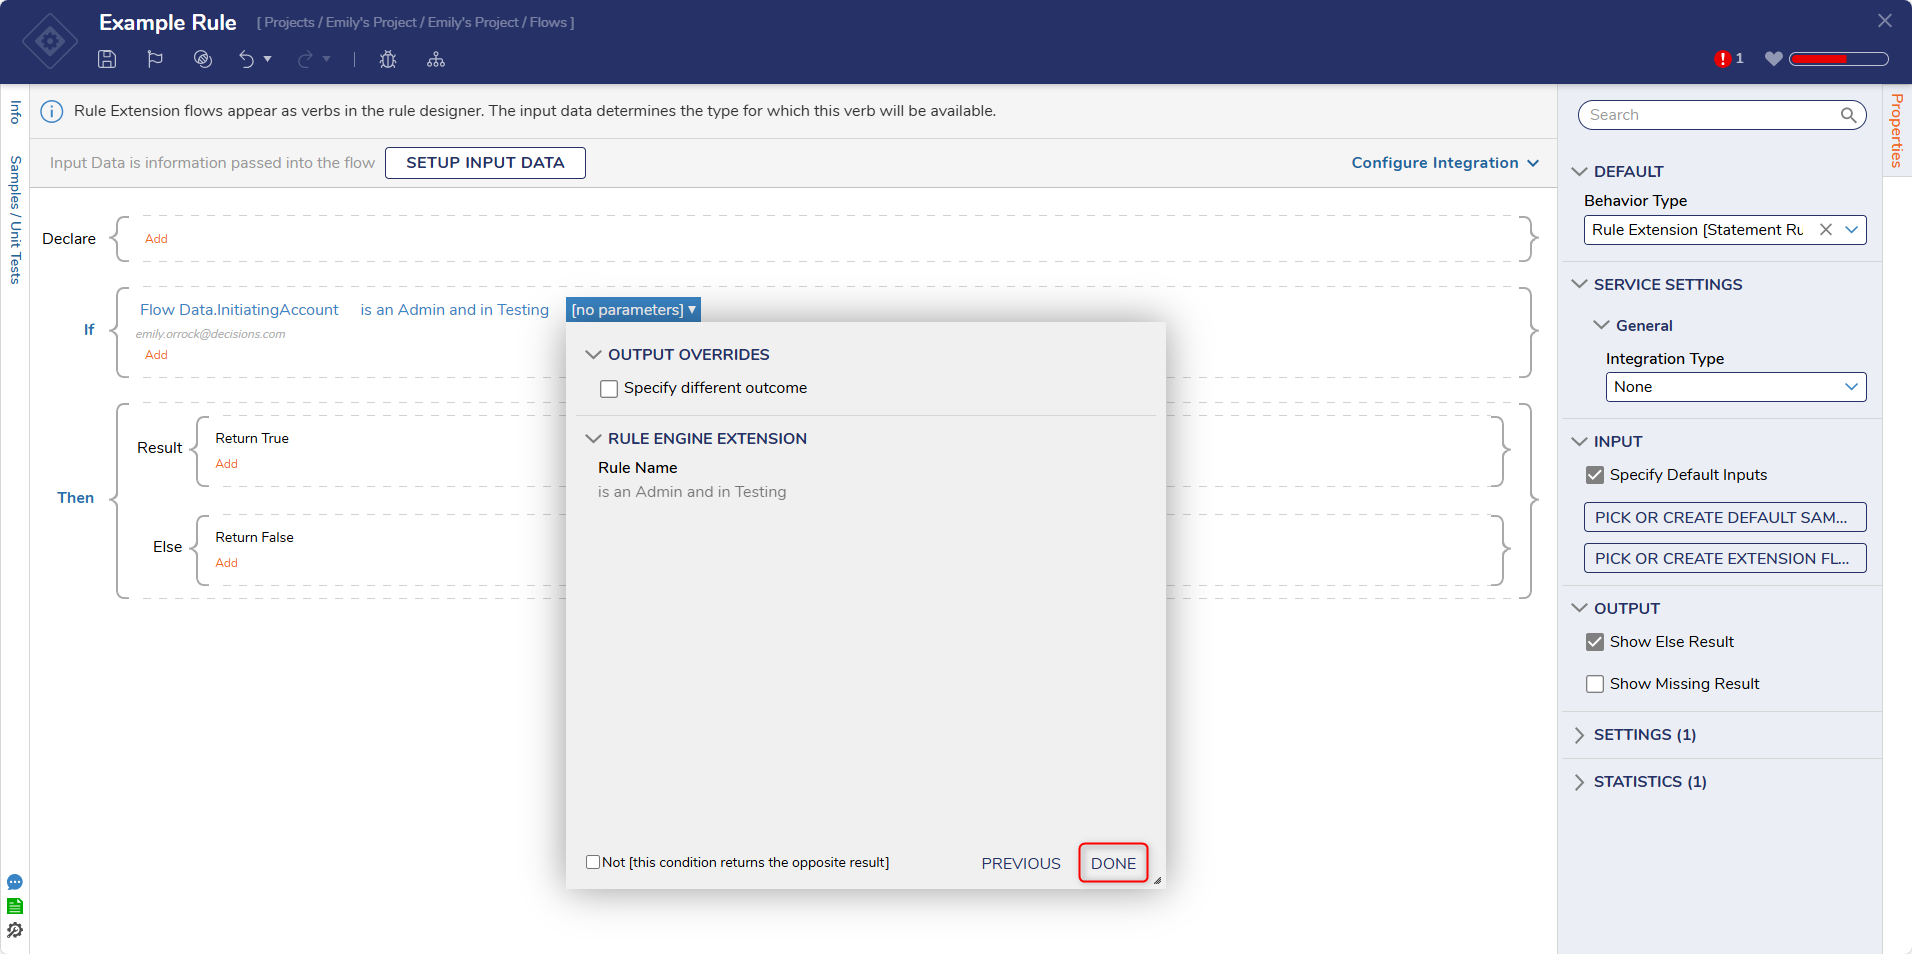
- When picking the verb, under the Custom header, select the configured Rule Extension, then click DONE.

- Select DONE due to no additional inputs being needed.
- Select Debug in the Action bar to test the Rule. Selecting the Rule Extension in the debugger will display the results.
Sequential Rule Extension [Flow]
The following example will create a Rule Extension using a Rule Extension Flow to check if the account executing the Rule has an email address in a specific list.
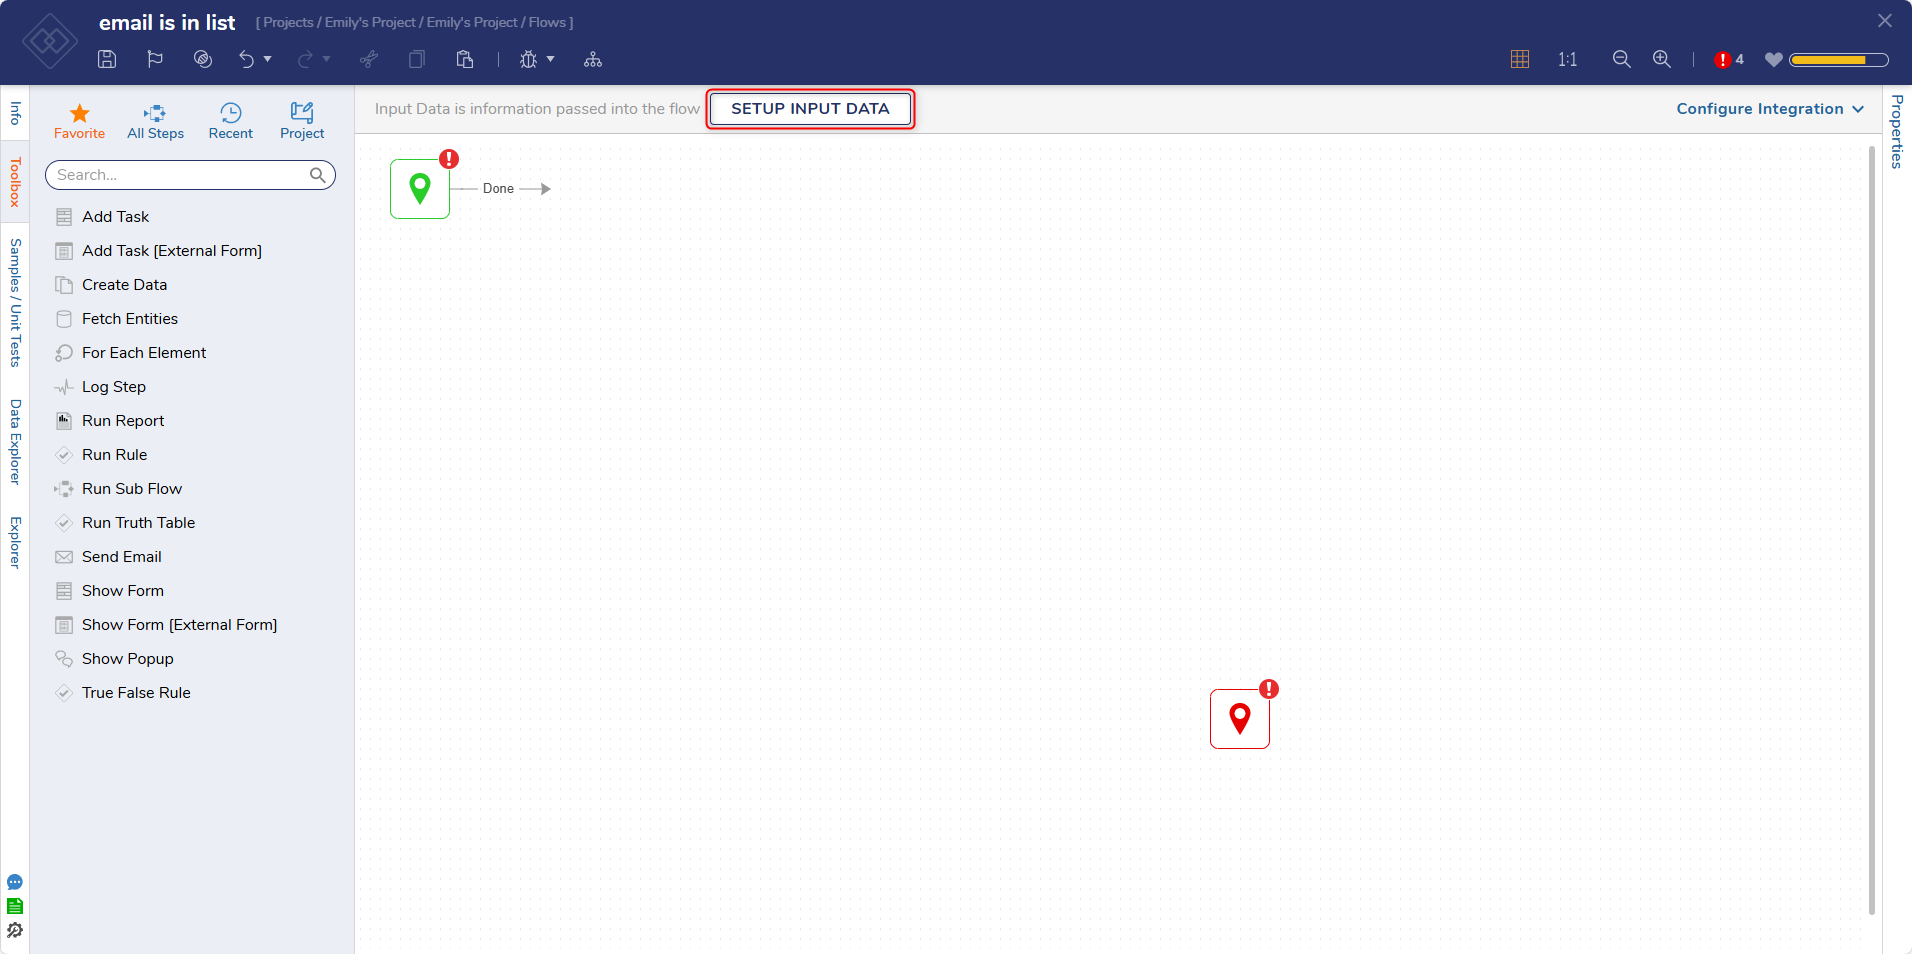
- Create a new Rule Extension using Sequential Rule Extension [Flow].
- Click the SETUP INPUT DATA action.
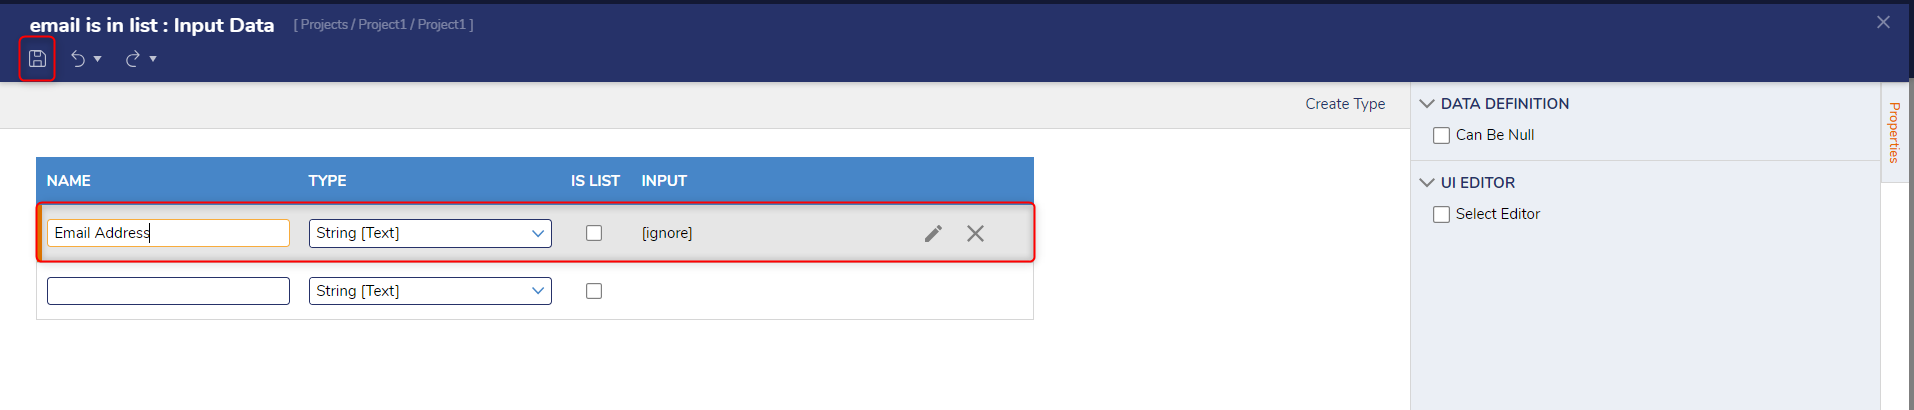
- Define the input; for this example, a String named Email Address is used.
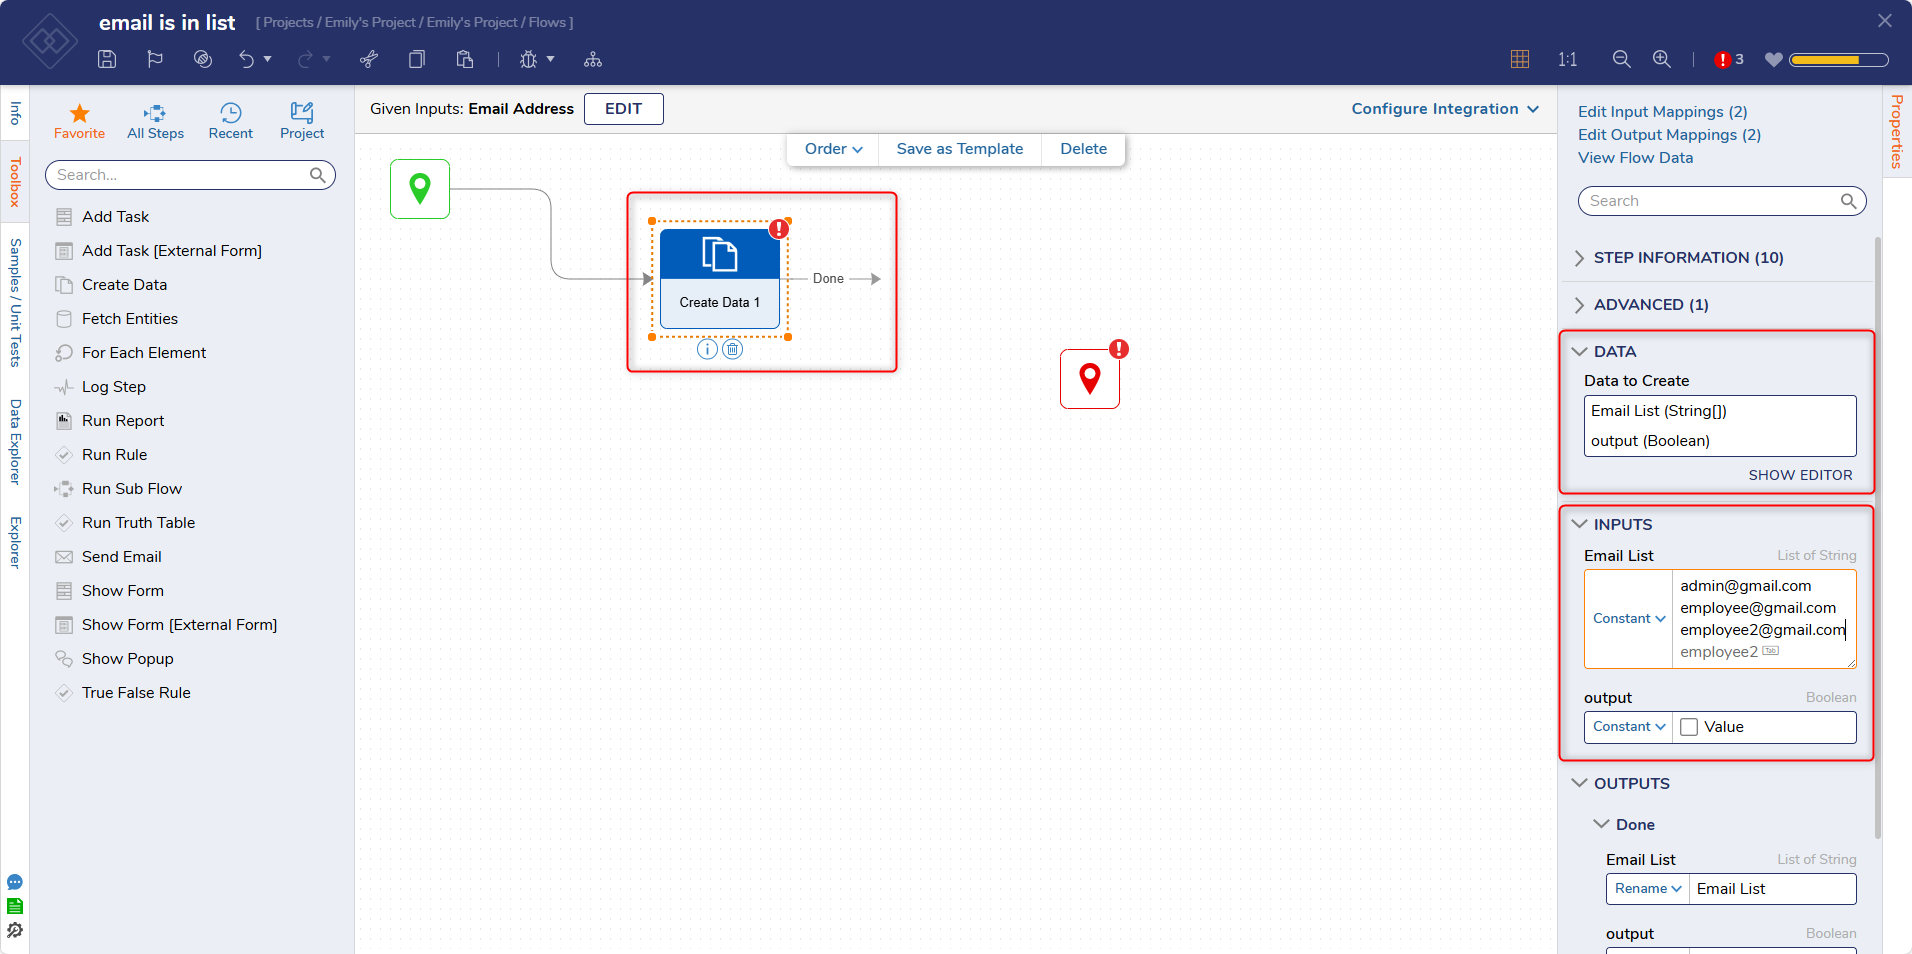
- Design a Flow that will be used to evaluate the Rule input. For this example, Add a Create Data step.
- Define two inputs, a List of Strings labeled Email List and a Boolean-labeled output.
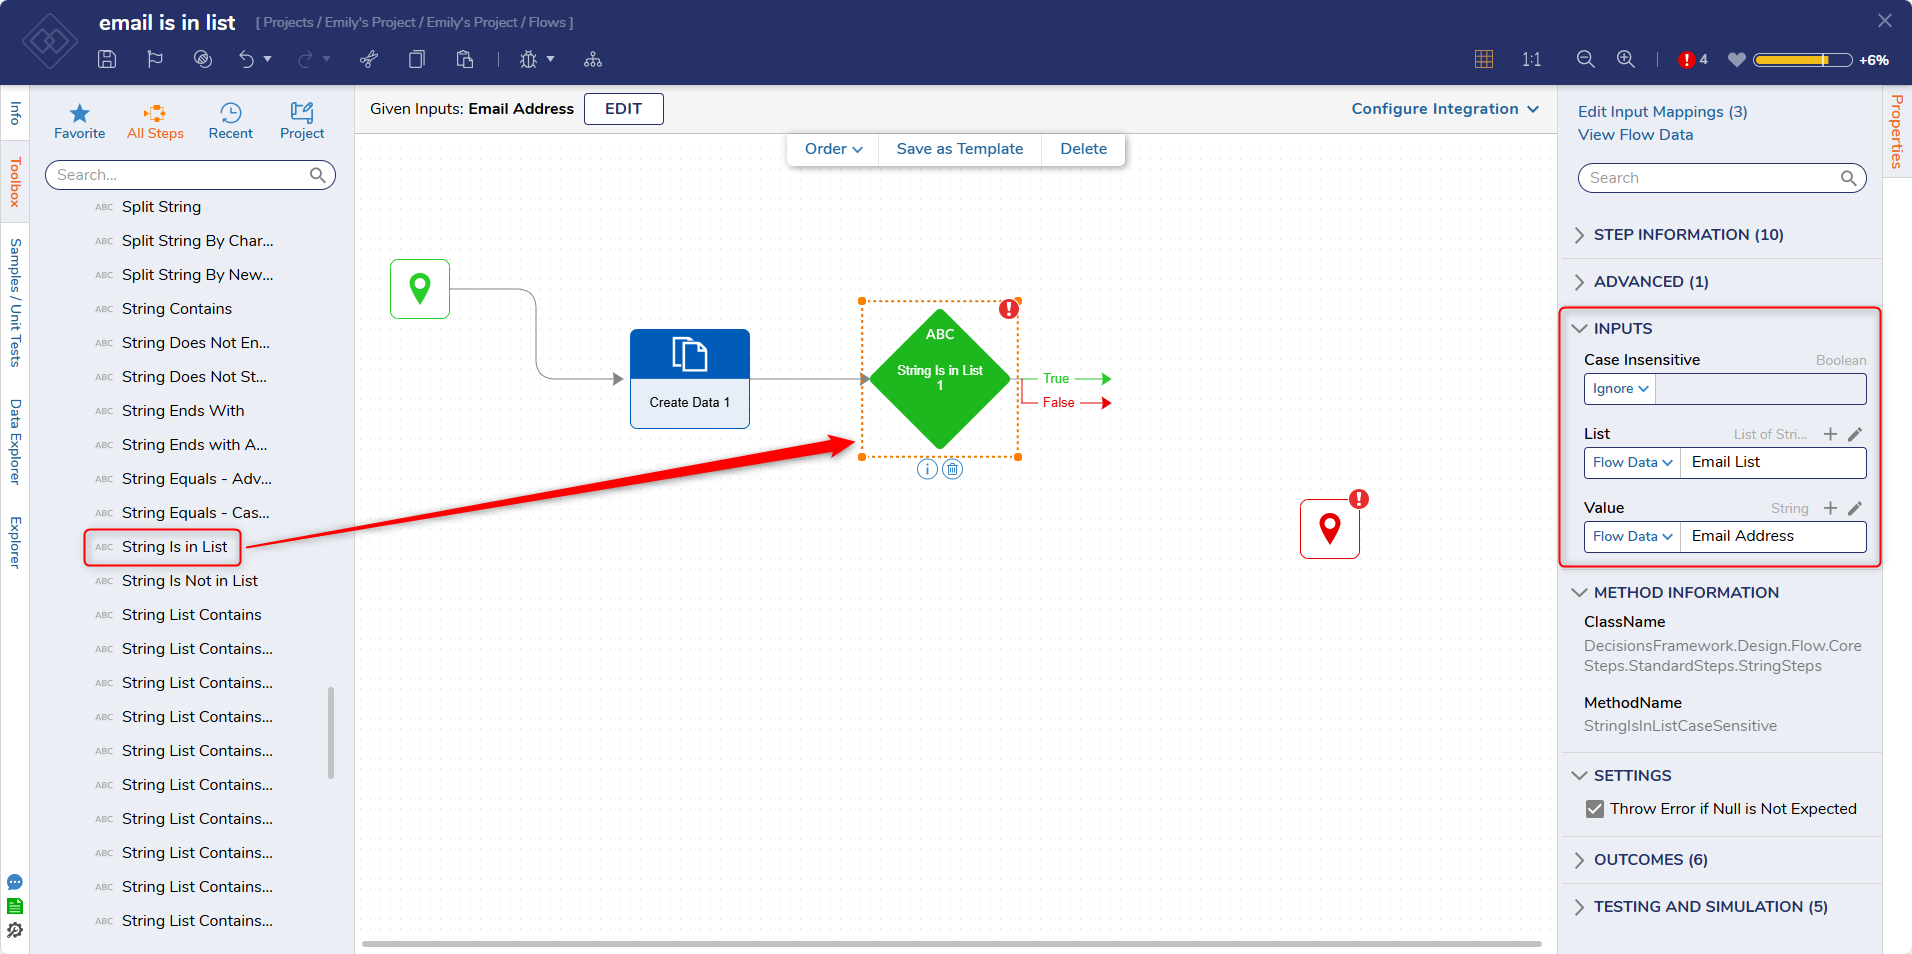
- Under Data > Texts in the Toolbox, add a String is in List step to the workspace. Configure the step to use Email Addresses and Email Lists as inputs.
- Add a Mapping step for each path to alter the output to either True or False.
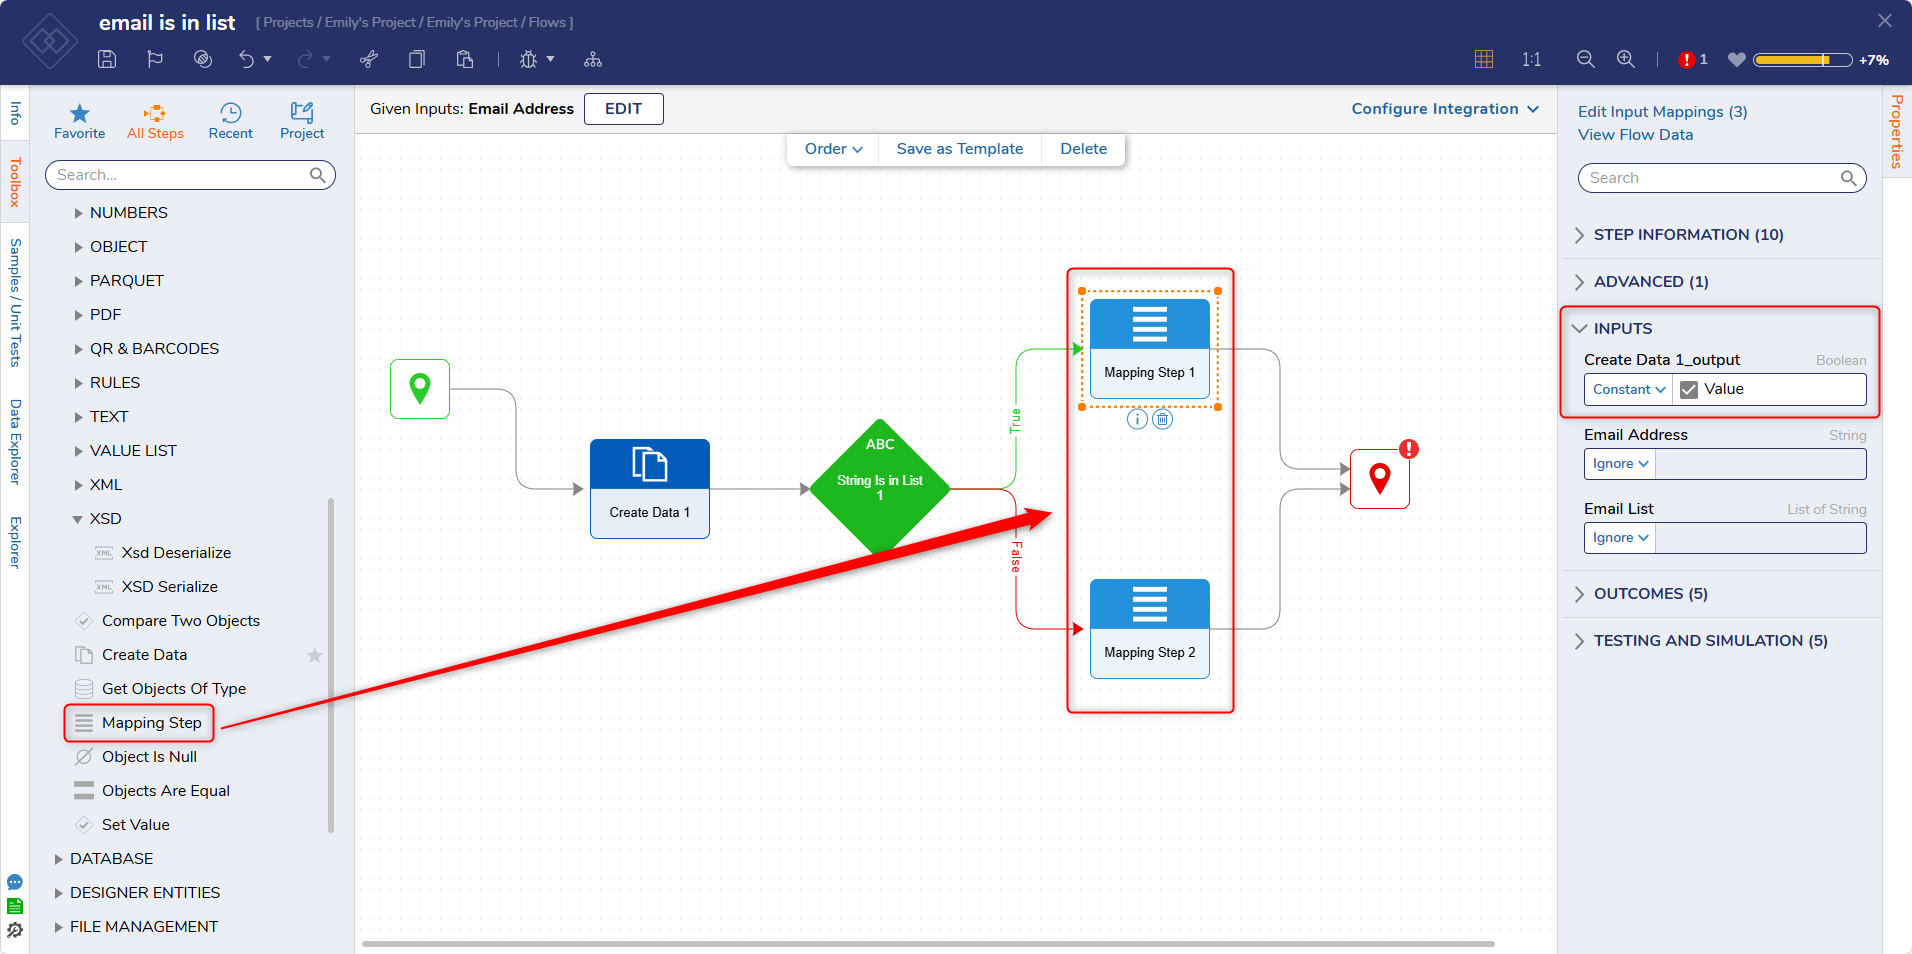
- Map the output value to the Result in the End step. Save and close the Flow Designer.

- Create a new Rule.
- Use an input that matches the configured datatype of the Rule Extension, in this case, a String. Select NEXT.
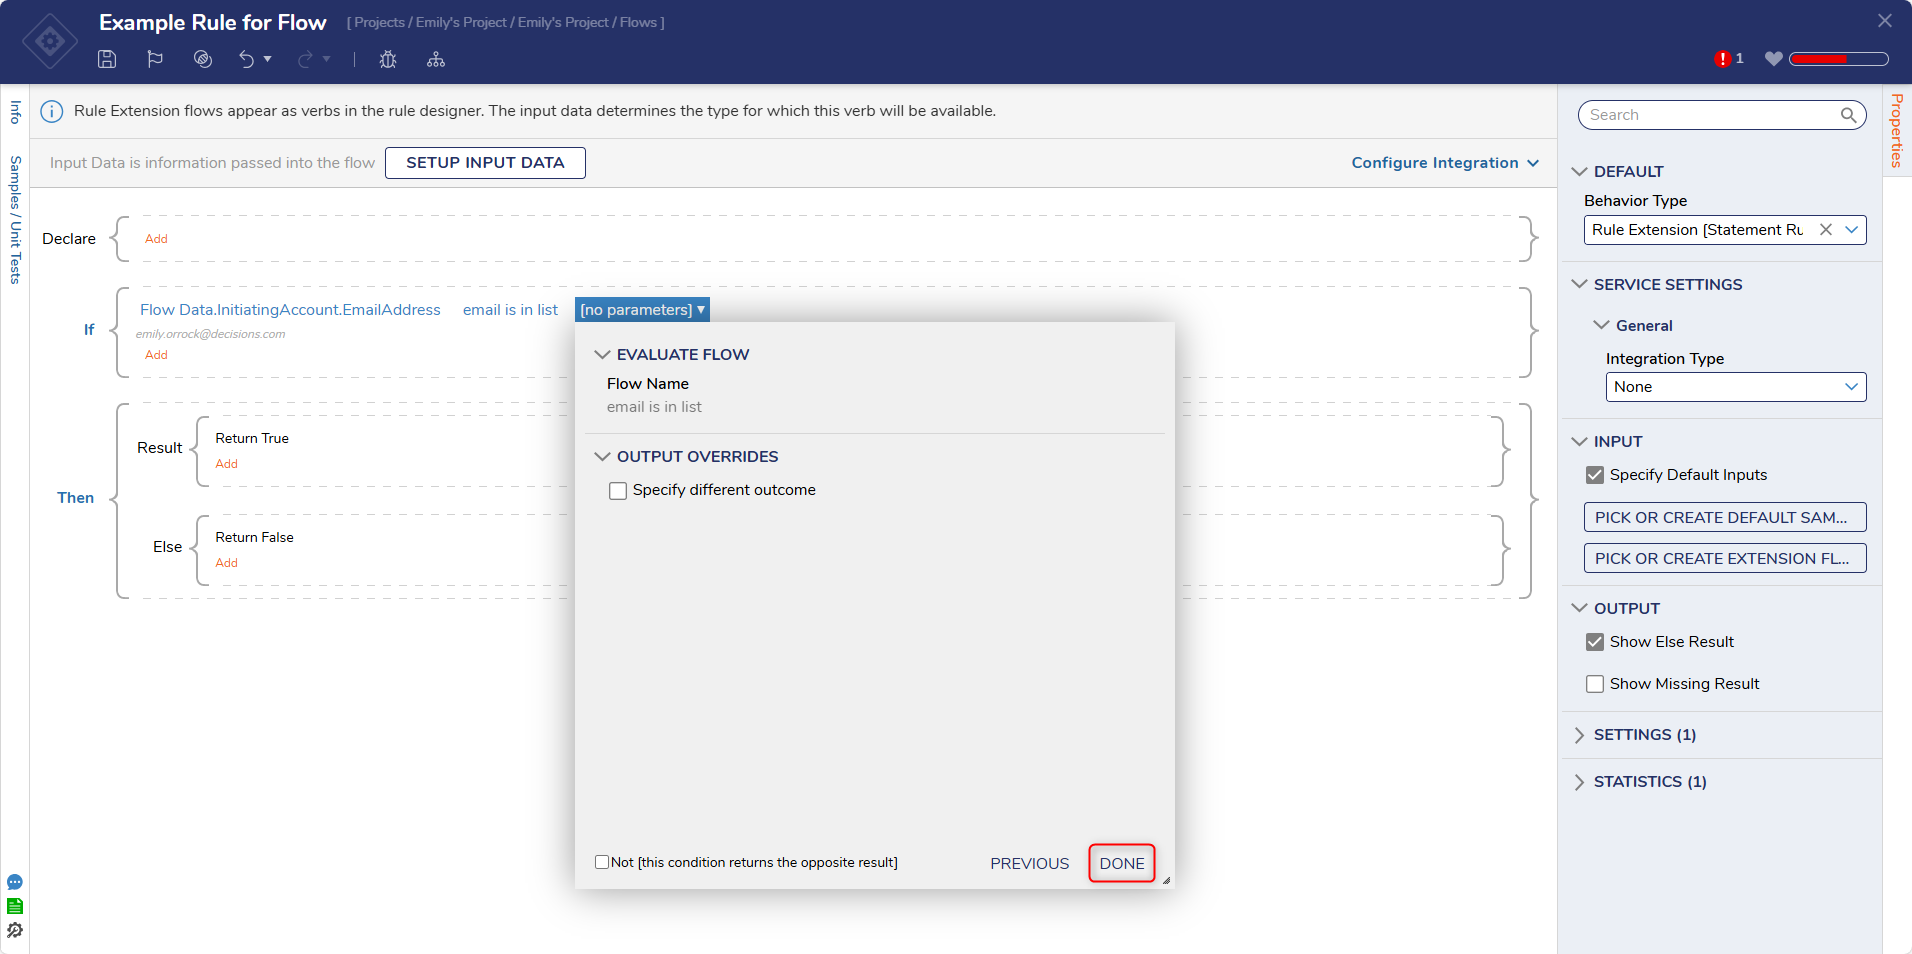
- When picking the verb, under the Custom header, select the configured Rule Extension, then click NEXT.
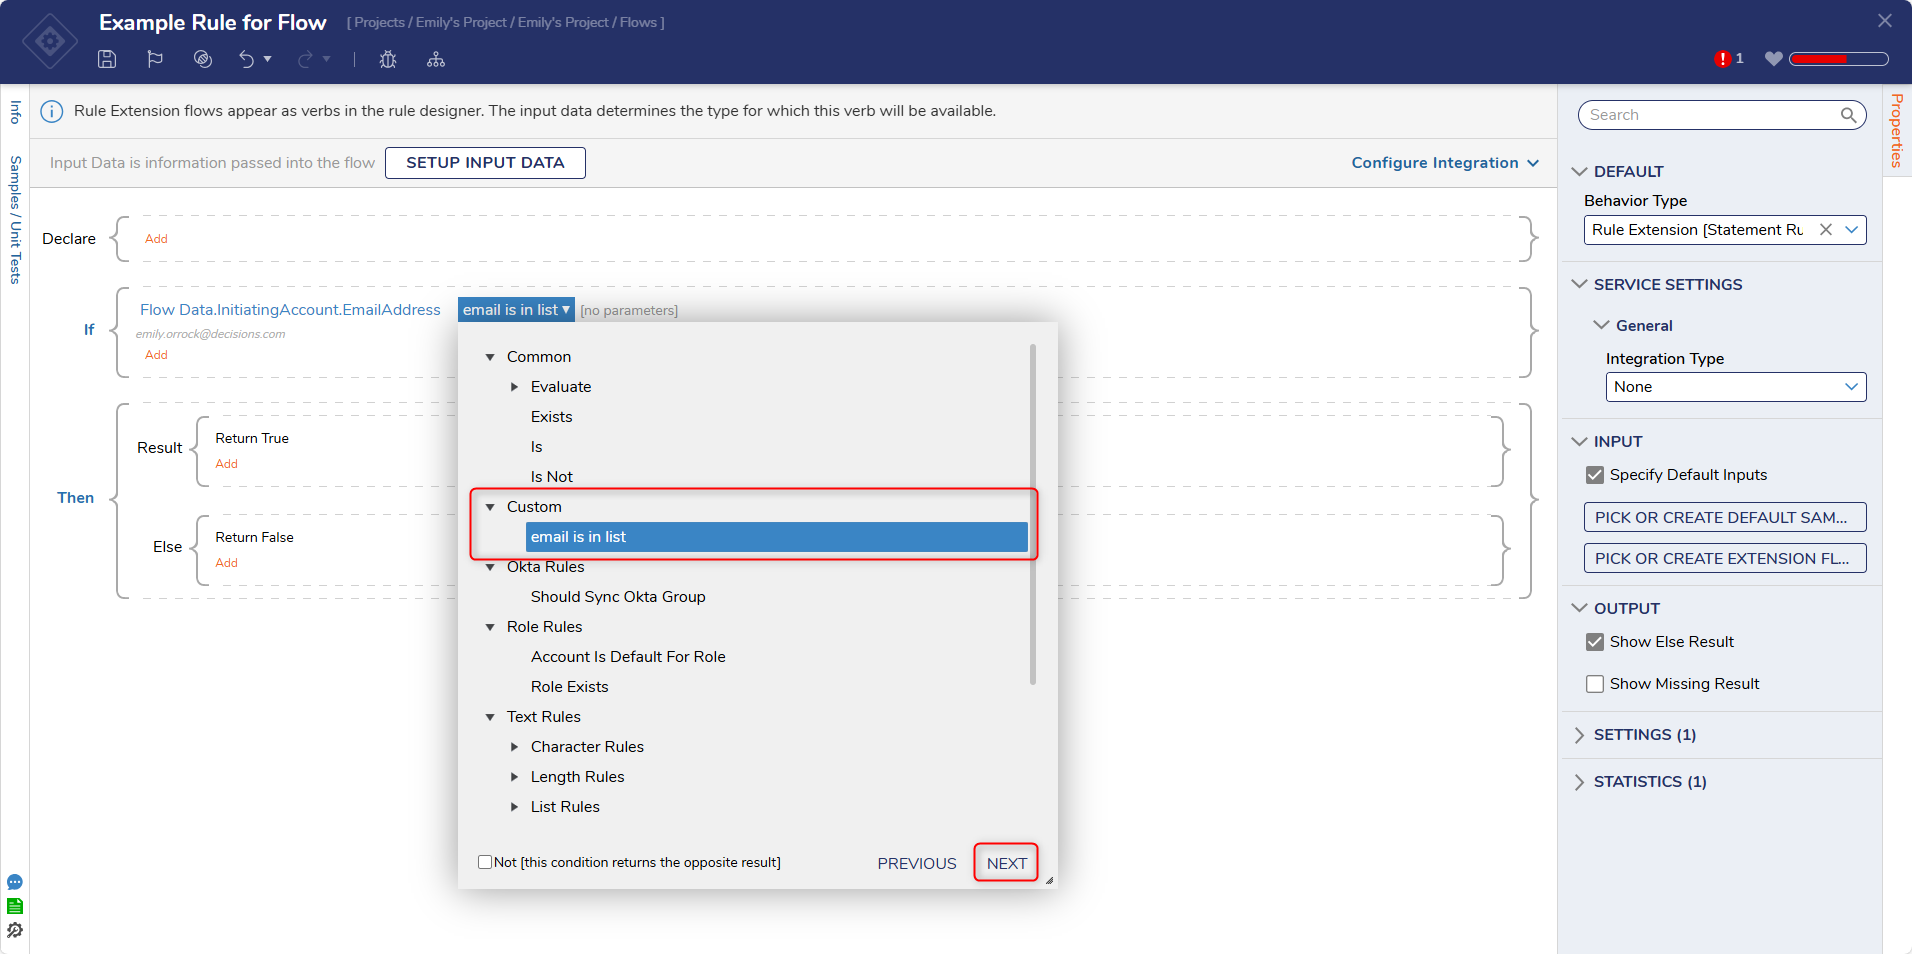
- Since no additional parameters are being passed, select DONE.
- Debug the Rule. The Rule will return either True or False depending on the Flow Result.