Create a Workflow Catalog and Catalog Item
- 09 Aug 2022
- 2 Minutes to read
- Print
- DarkLight
Create a Workflow Catalog and Catalog Item
- Updated on 09 Aug 2022
- 2 Minutes to read
- Print
- DarkLight
Article Summary
Share feedback
Thanks for sharing your feedback!
Overview
The Workflow Catalog is a Folder where Flows can be published for use outside of the Studio. What makes a Workflow Catalog item different from an action item added to a Page/Dashboard is that the Workflow Catalog item gets added to the Folder Tree in the Workflow Catalog folder .
.
Add a Workflow Catalog Category
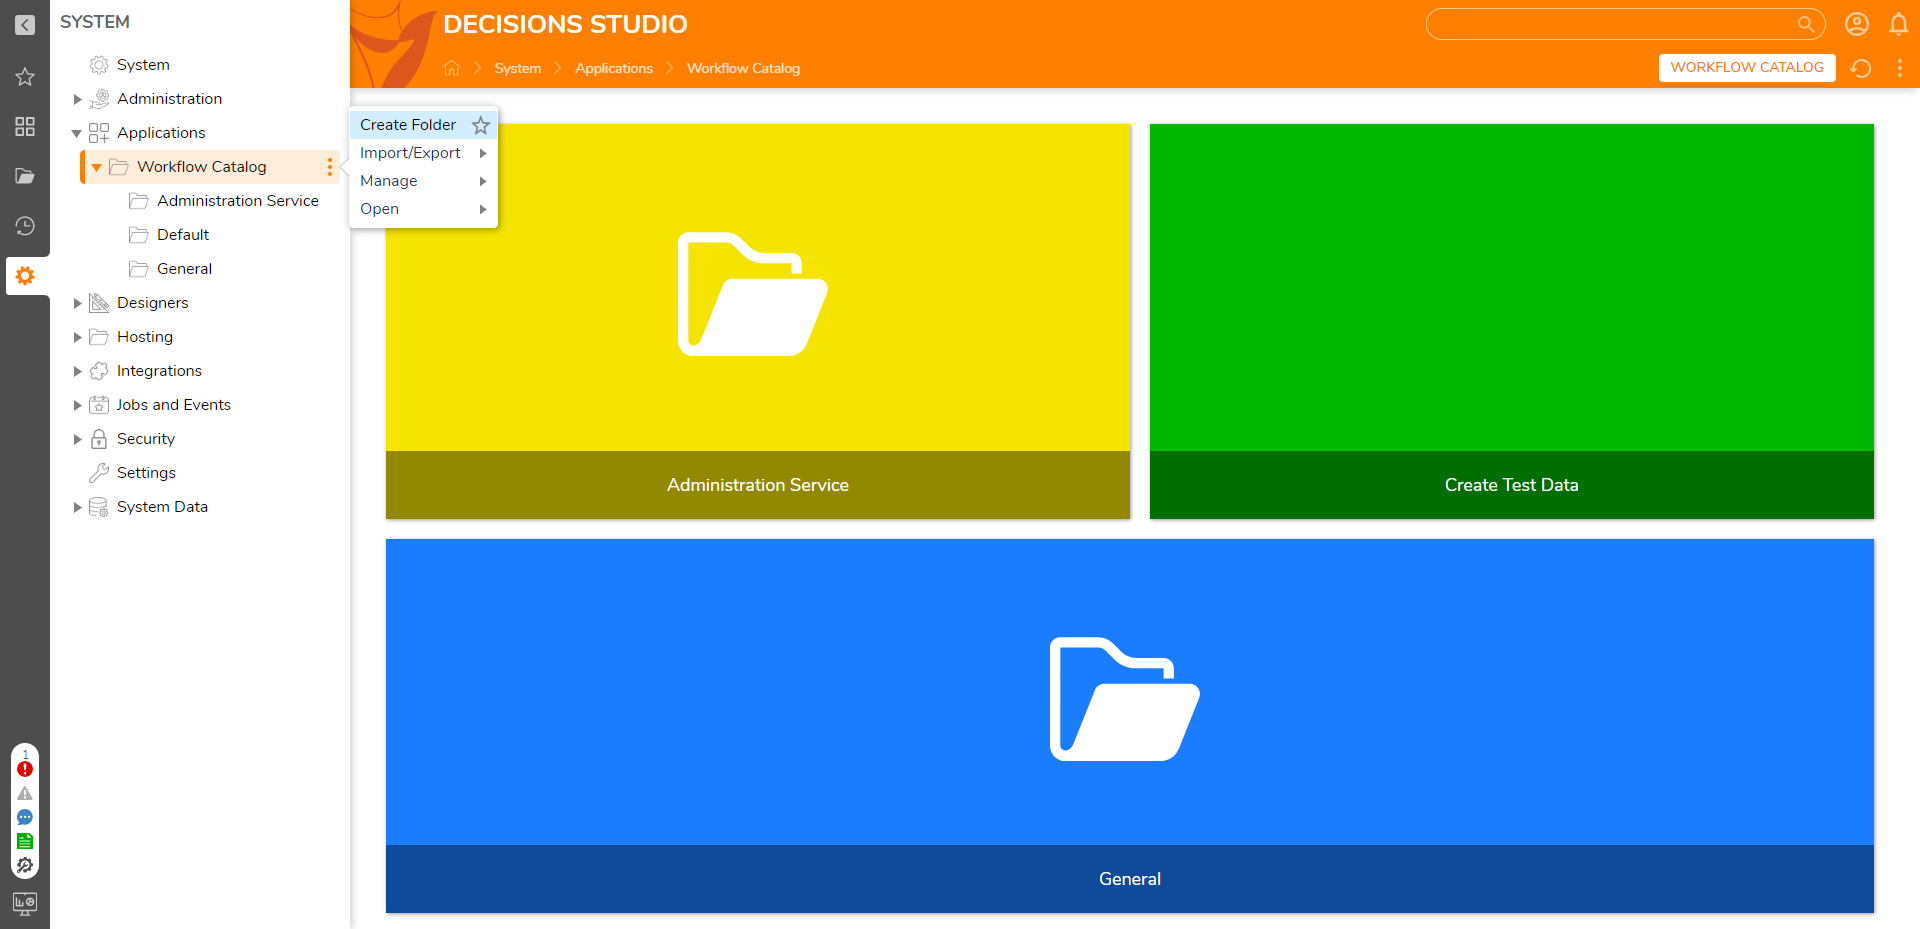
- To create a new category for Workflow Catalog items to live, right-click on the Workflow Catalog folder under System > Applications, then choose Create Folder. When the Add Folder window appears, provide a Folder Name that will appear as the Category Name for future Catalog items added under this new Folder.
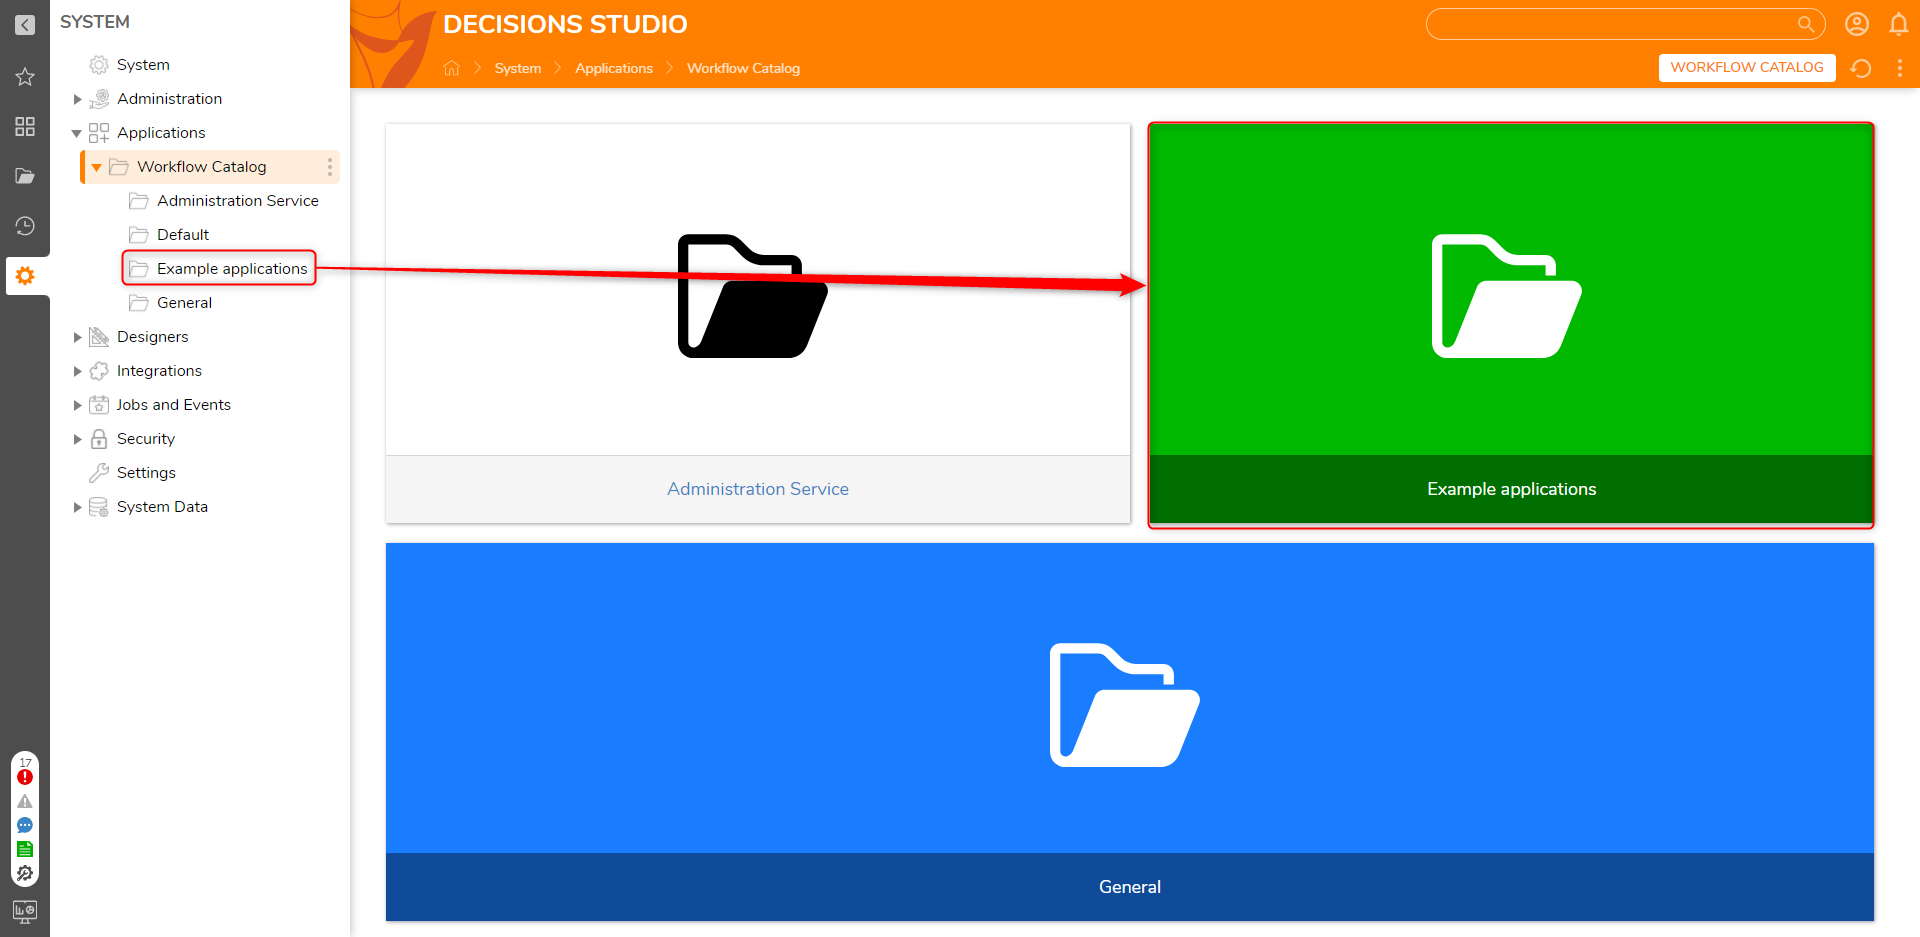
- Select SAVE once the name is provided.
- The new Folder category will now appear under the Workflow Catalog folder. Use the same steps from the previous section to add a Catalog item to this new category.


Add a Workflow Catalog Item
The following example will cover adding a Flow to the Workflow Catalog. A similar process can be followed for adding Pages and Reports to the catalog. The Flow is pre-built and uses a Show Popup step to show the added Flow was run successfully.
- In the Decisions Studio, navigate to System > Applications and expand the Workflow Catalog section.
- There are two ways to add a Flow to the Workflow Catalog:
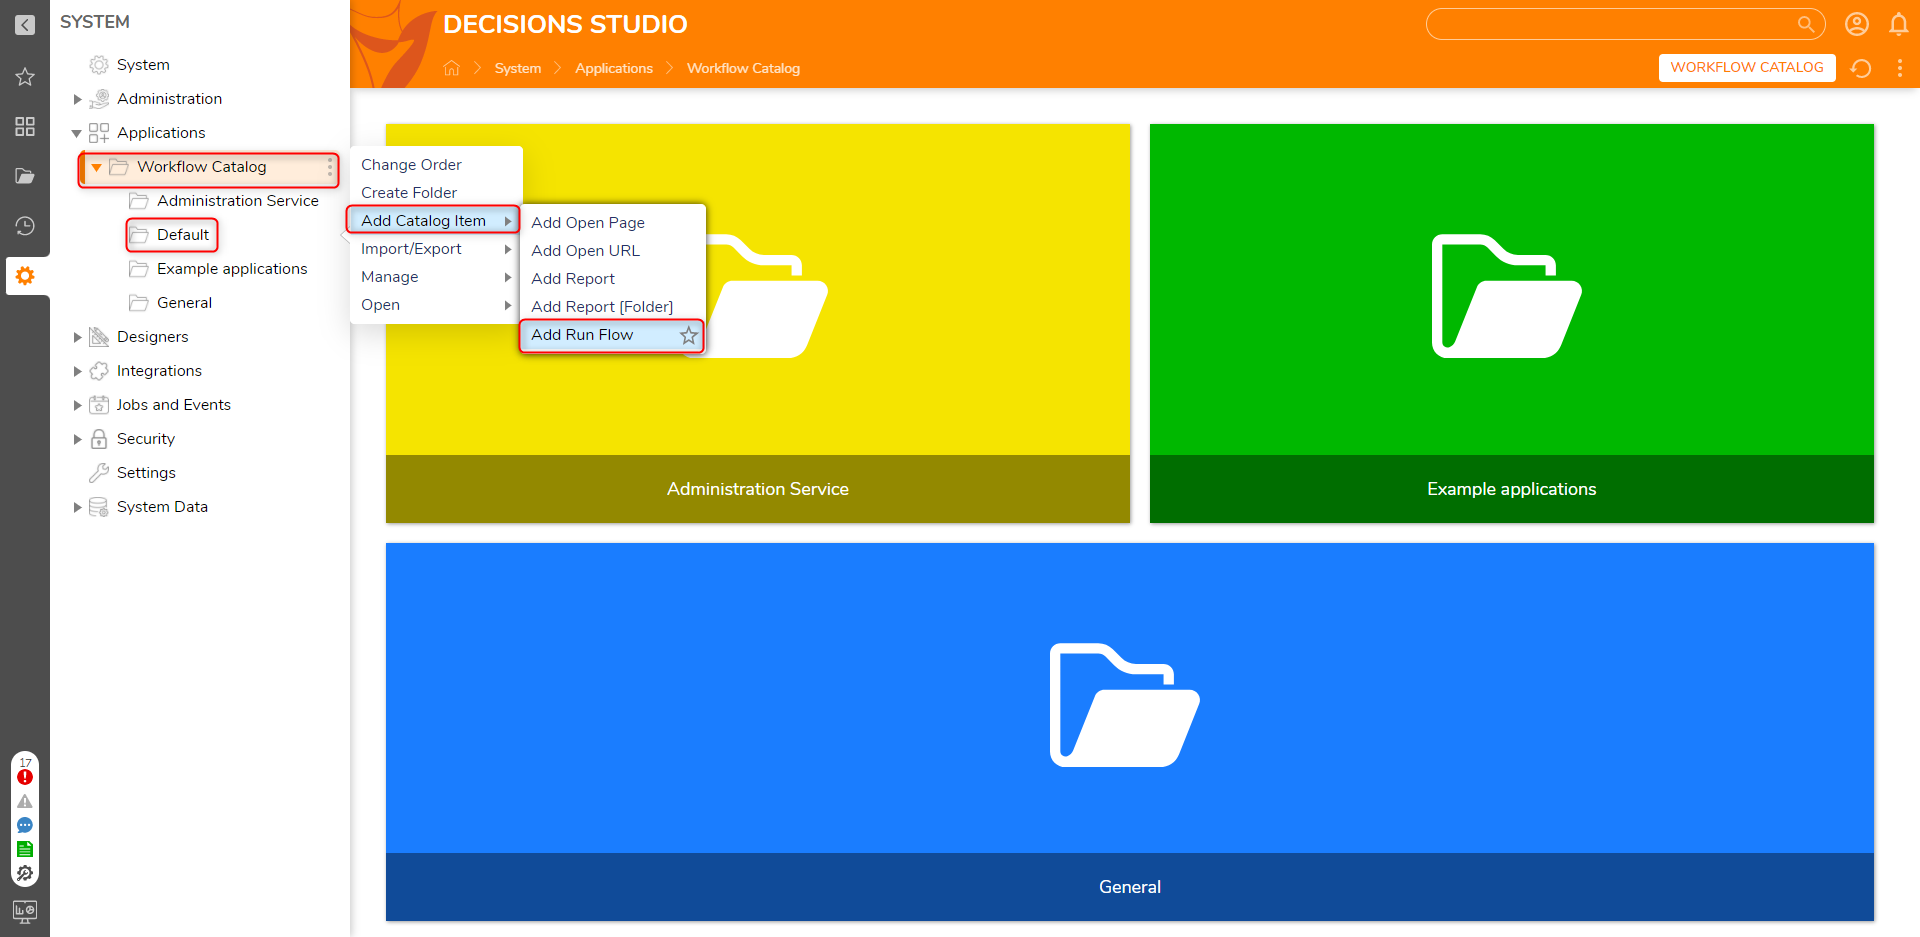
- Hover over the desired category, right-click to open the Action Menu, and navigate to Add Catalog Item > Add Run Flow.
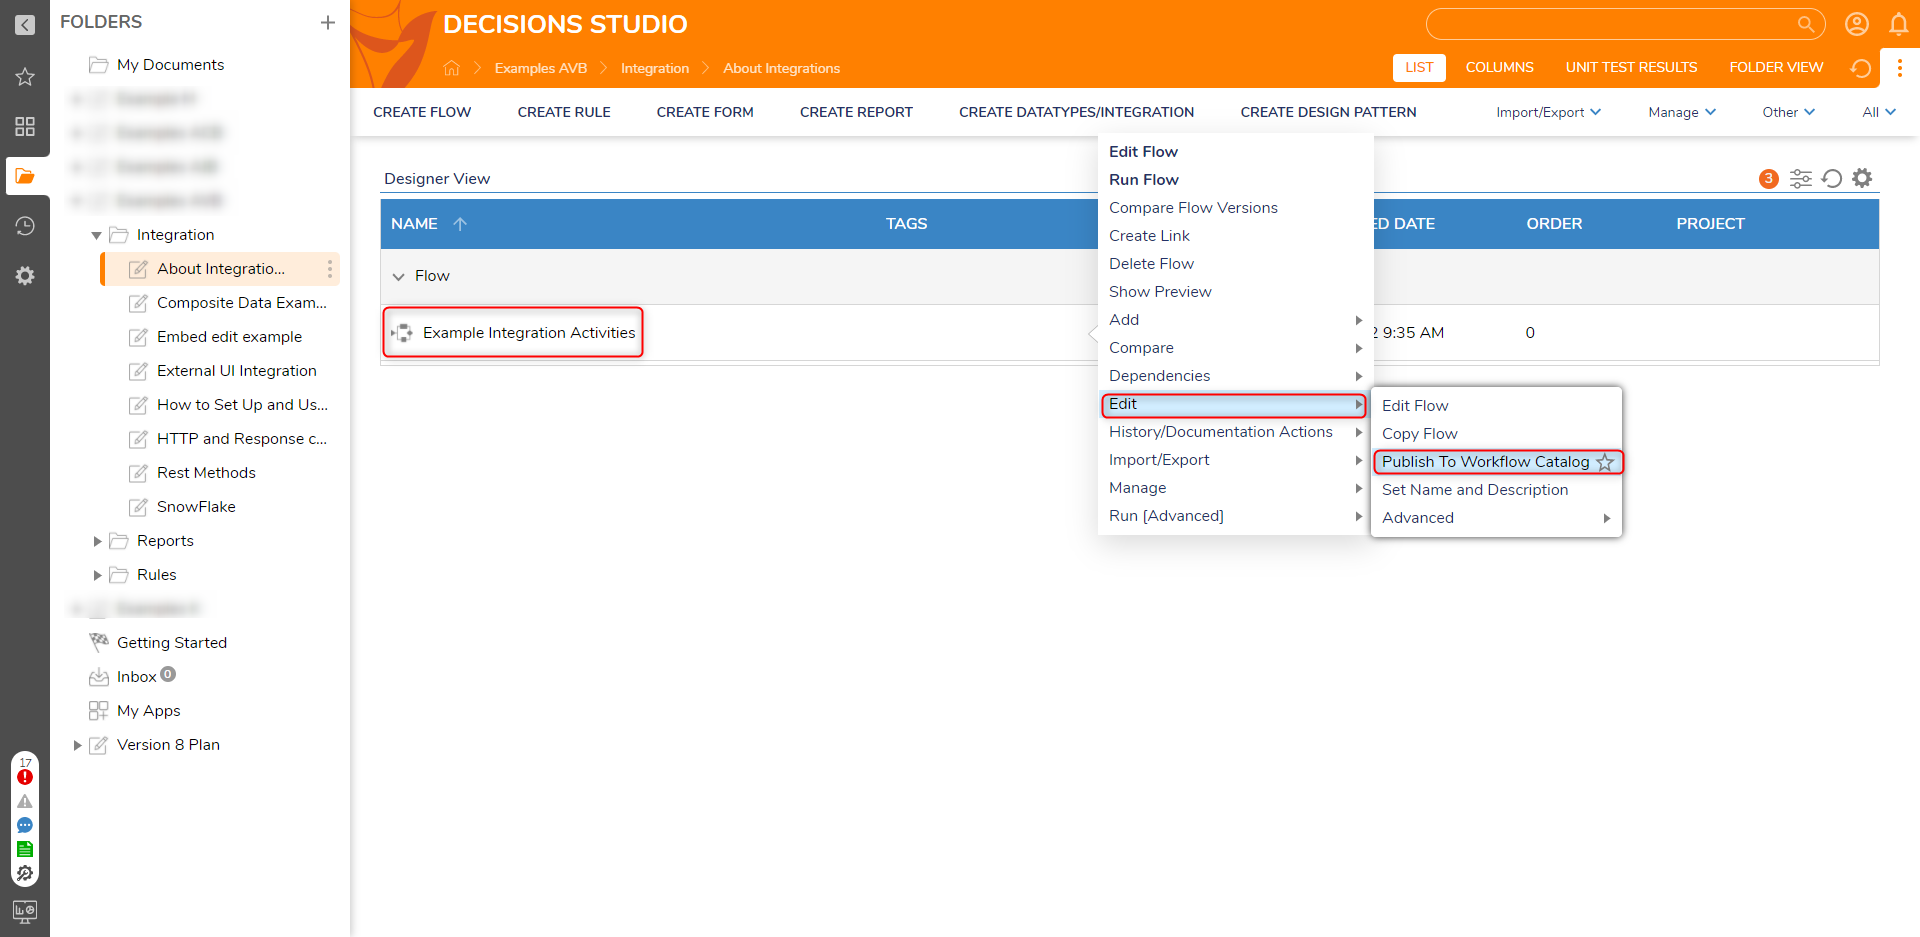
- Navigate to the desired Flow, right-click to open the Action Menu, and navigate to Edit > Publish to Workflow Catalog.
- Hover over the desired category, right-click to open the Action Menu, and navigate to Add Catalog Item > Add Run Flow.
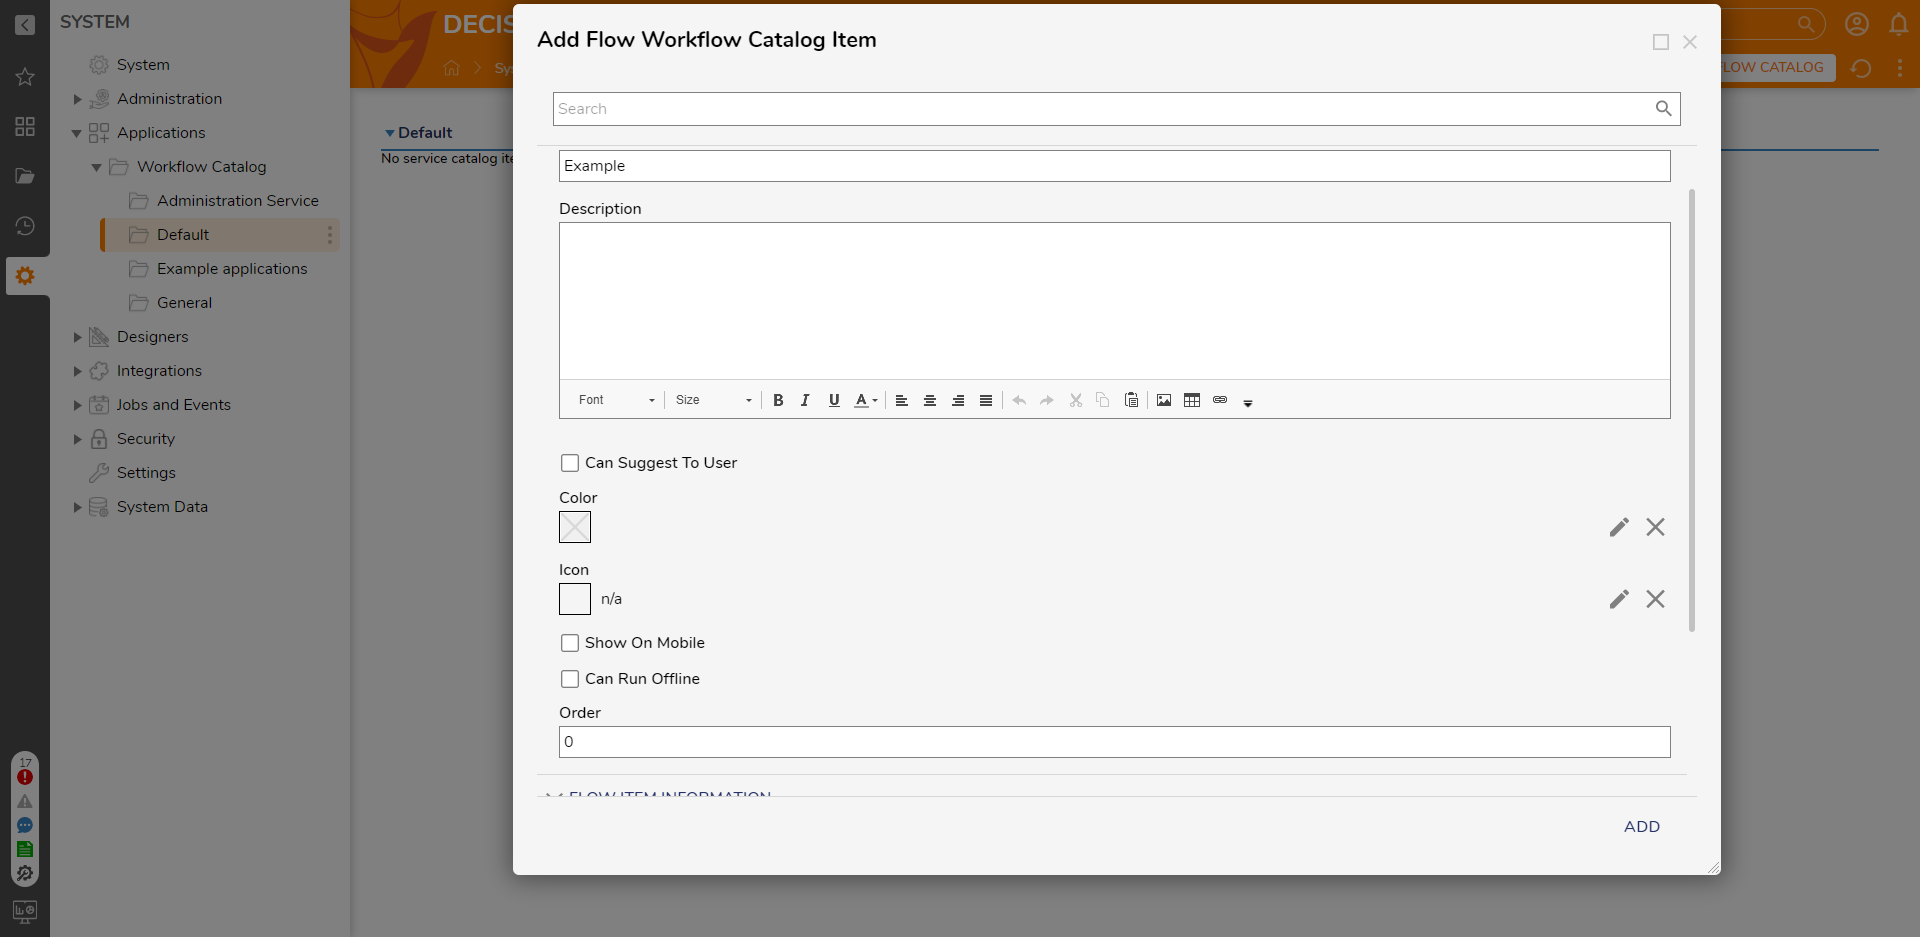
- When the Add Flow Workflow Catalog Item window appears when adding the Flow to the Workflow Catalog using the first option, locate the Name and Description box under the Service Catalog Item Information section.
- Under the FLOW ITEM INFORMATION section, the PICK button is used to select the pre-built Flow for this example. Enable the Create Flow boolean if a new Flow needs to be created. Please refer to Create a Flow for more information on how to create a Flow.
- When the PICK button is selected, a Create or Pick Flow popup window will appear where the corresponding Flow can be chosen.
- Select the ADD button once configurations are complete.
- Once the Workflow Catalog item is created, it will appear under START WORKFLOW
.png) > [Folder Name] > [Item Name]. This new Catalog item will appear in the Portal and the Studio and perform the intended function of the Flow when the button is selected.
> [Folder Name] > [Item Name]. This new Catalog item will appear in the Portal and the Studio and perform the intended function of the Flow when the button is selected.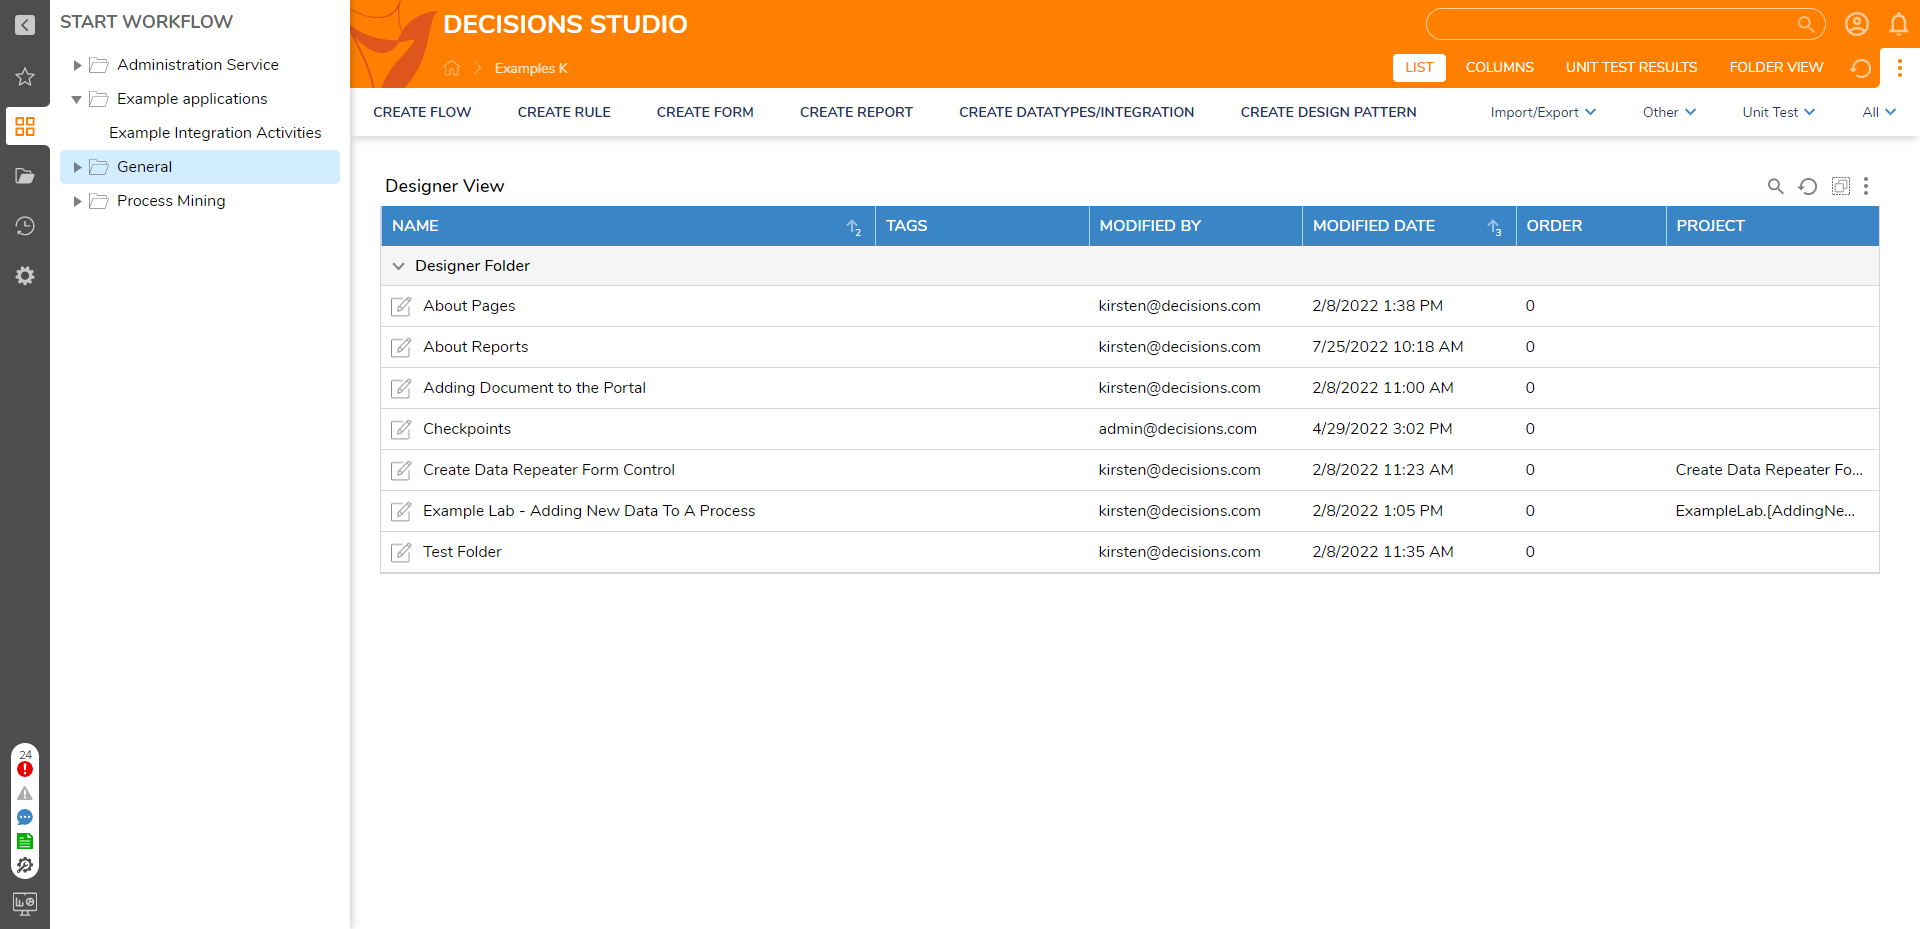
Managing Workflow Catalog Permissions
Workflow Catalogs operate like Folders and Designer Projects regarding permissions. For a user account to have access to Workflow Catalog items, the account must have Can Use permissions added to the Designer Project Folder where the Flow (or other Designer Element) is stored in the Studio. The account must also have Can Use permissions added to the Workflow Catalog Folder. Once a Workflow Catalog is created, right-click the Catalog Folder to add permissions and select Manage > Manage Permissions.
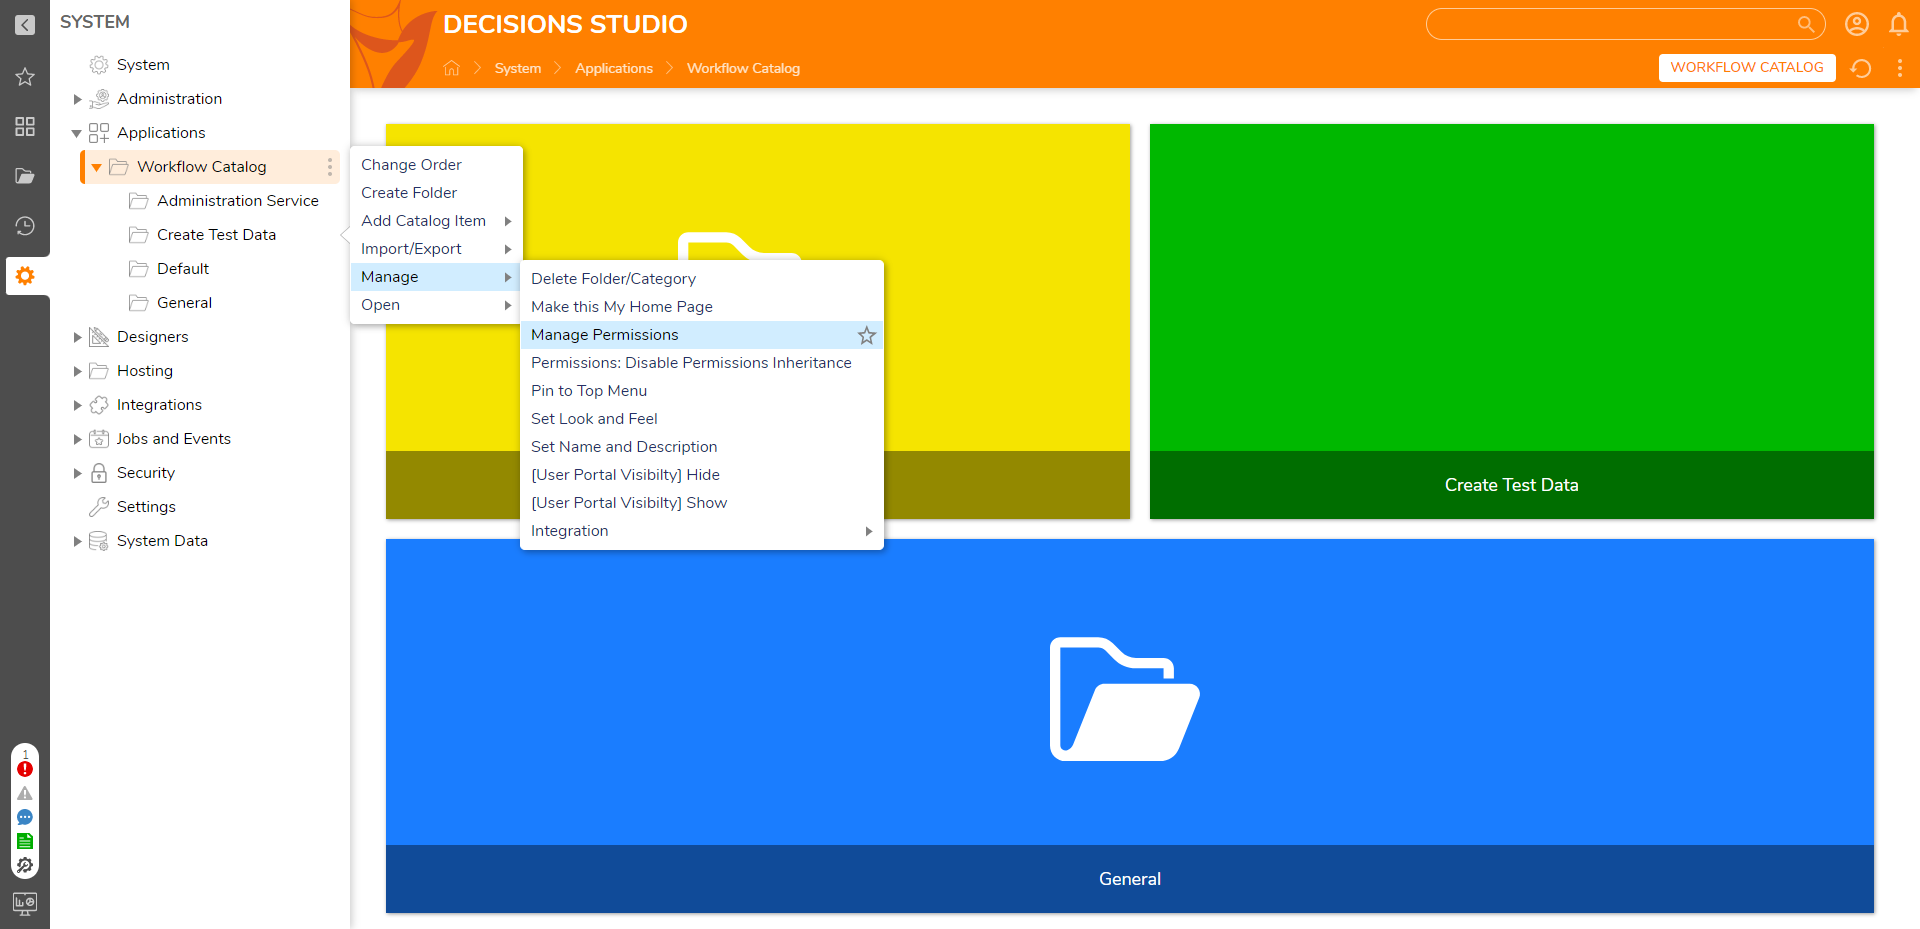
Apply the desired permissions for the Catalog using information from the Setting Folder Permissions article. To test permissions, Impersonate an Account to ensure the Workflow Catalog Folder does not appear for the account or group that does not have proper permissions.

Was this article helpful?