Overview
The following example shows Users how to create and utilize an Advanced Data Grid.
Example
- Create a Flow. In the Flow Designer, after the start step, add a Fetch Entities step to fetch a list of Accounts.
- After the Fetch Entities step, add a Show Form step to create a Form.
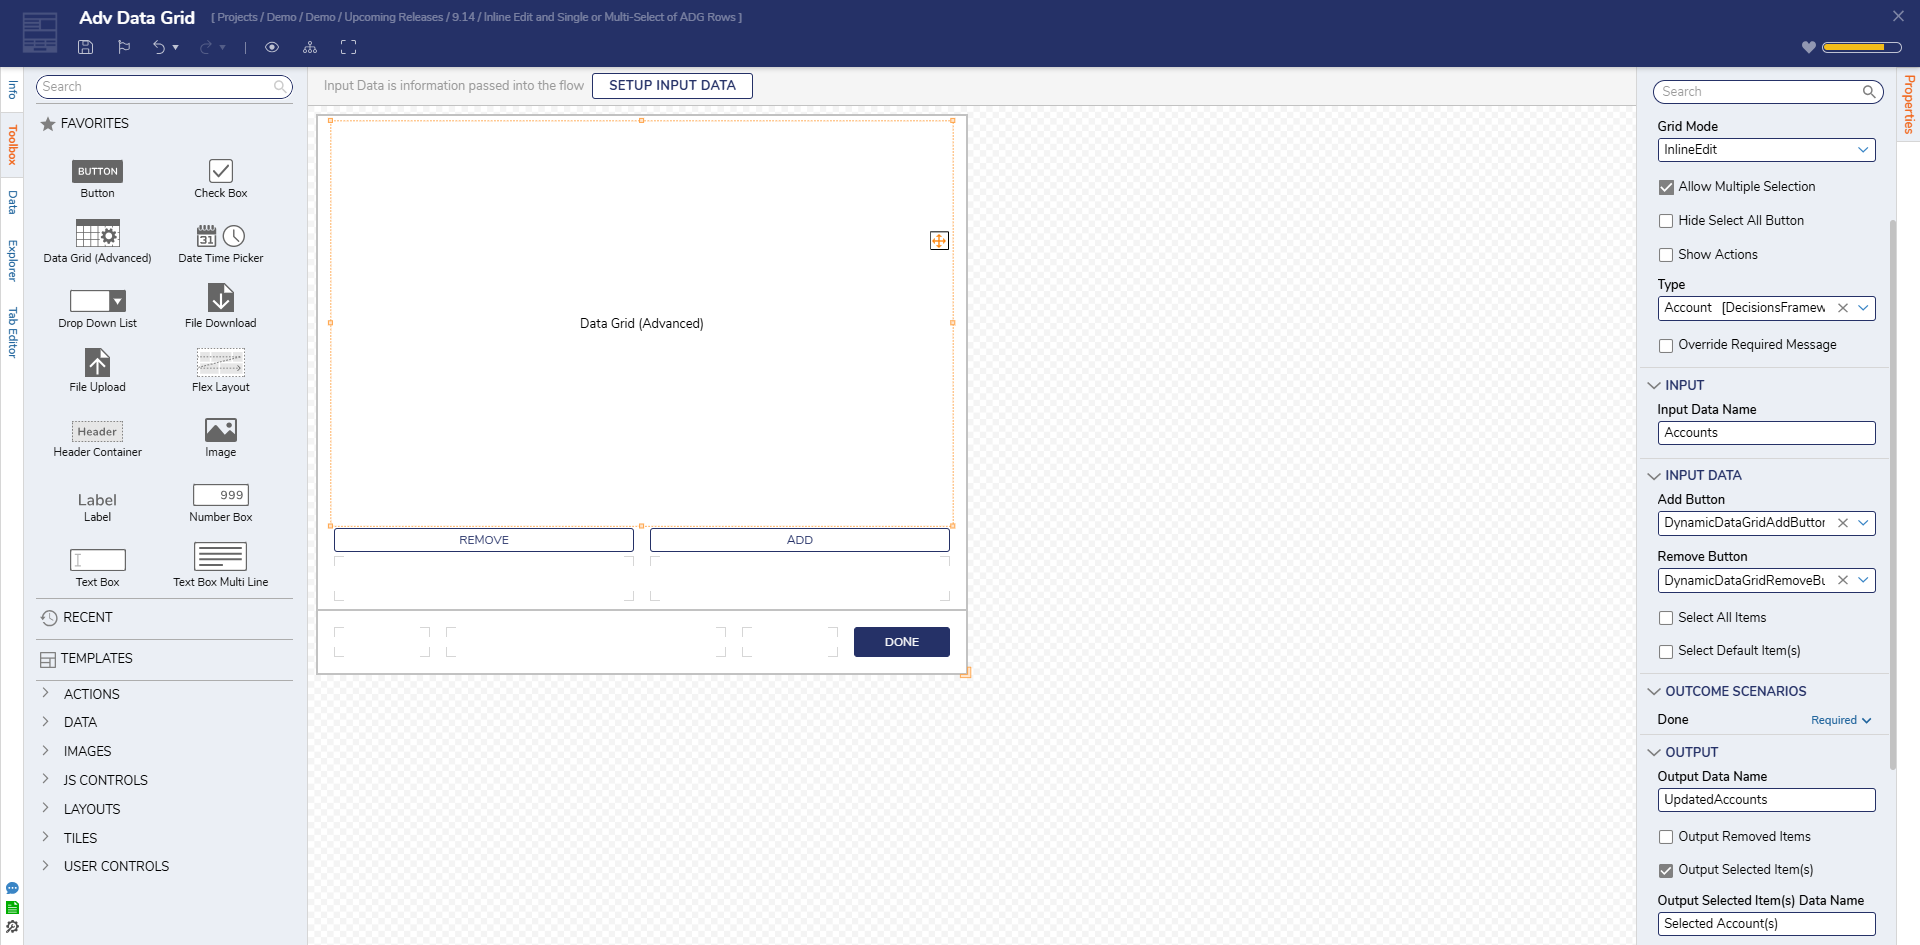
- Add an Advanced Data Grid control to the Form.
- In the Controls Properties Panel:
- Set the Grid Mode to InlineEdit.
- Set Allow Multiple Selections to True.
- Set the Type to Accounts.
 In the Source section, click Edit [Form Name] AdvancedDataGrid Reportto open the Report Designer:
- Confirm that Accounts is selected as the data source.
- Add only the Email and Department columns.
- For the Department column, enable Can Edit.
- Save and close the Report Designer to return to the Form Designer.
- (Optional) Add Data Grid Add and Remove Buttons to allow row additions or subtractions at runtime.
- Set the Output Data Name to UpdatedAccounts to capture edits made at runtime.
- Set Output Selected Item(s) to True if needed for downstream logic.
Debug
- In the Flow Designer, click Debug.
- When the form loads, the Advanced Data Grid will display a list of Accounts fetched from the Fetch Entities step.
- Users can edit the Department column directly within the grid. Changes will be available in the UpdatedAccounts output variable.