Defining data collection in Code (Code)
The data collection rules defined in the UI are automatically converted to JSON code. You can also manually edit this code for greater flexibility and advanced options. The JSON code includes four key fields for data collection: tags, extract_identifiers, and matching_criteria, dashboard_context. This chapter explains how to configure these key fields.
For this purpose:
Go to
Admin Panel -> Configure Data Collection.In the Data Collection list, click Rules & tests for the selected Data Collection.
Go to the bottom of the page to see the following section:

Click the plus (+) icon for an existing rule.
Click the Code tab. The JSON code displays.
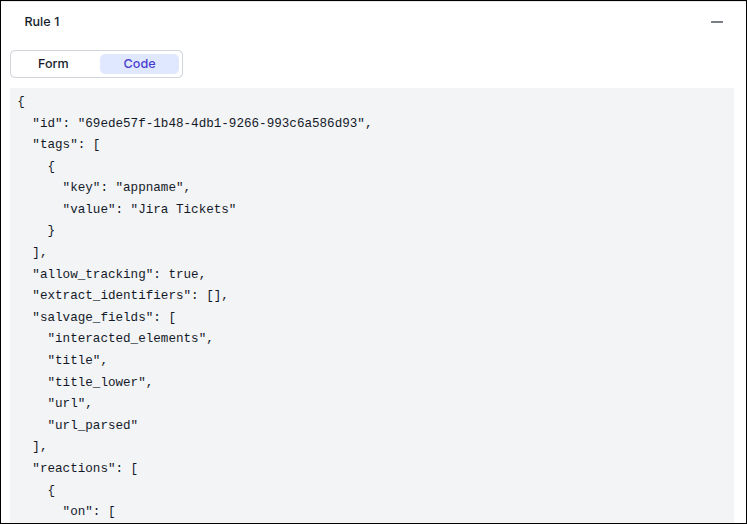
At the bottom, click the pencil icon to edit rule code manually.
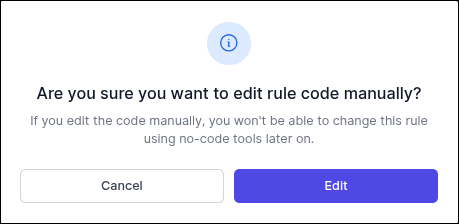
Click Edit to confirm. The Edit Rule window displays.
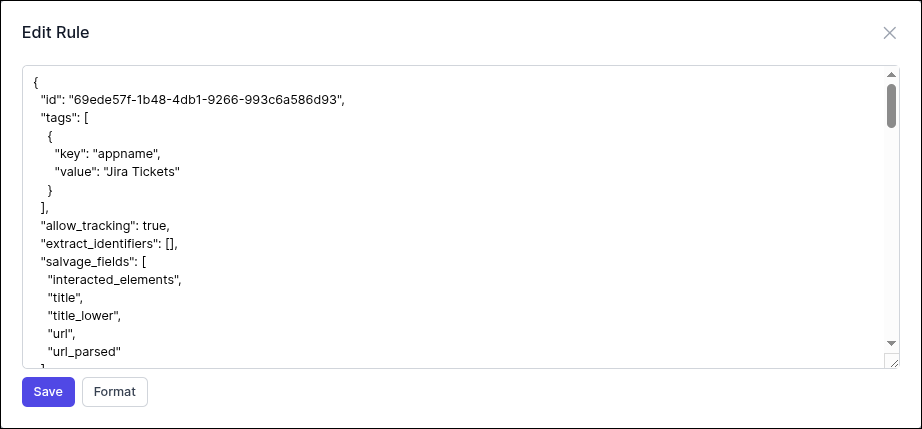
Edit as desired and save it.
Tags
Tags are used to categorize the active window. There are two internal tags that the Process Intelligence platform uses for data categorization: appname and content-category. The appname tag specifies the application name (e.g., Excel, SAP, or Salesforce), and the content-category tag defines the window name within the application (e.g., Report, Purchase Order, or Case). Tags are defined as a list of key-value pair objects in the JSON code. Here’s an example of the tag field:
"tags": [
  {
    "key": "appname",
    "value": "Excel"
  },
  {
    "key": "content-category",
    "value": "Report"
  }
]
Extracted identifiers
Extracted identifiers specify the process-related identifiers and attributes collected from the active window. These can be gathered from sources like the URL or title using regex matching or URL query parameters. In advanced configurations, identifiers can also be collected from the UI. For this, you must first define the UI-capturing rule in the reactions field (not covered in this tutorial) of the configuration JSON file. The extract_identifiers is a list of extraction rules. Here’s an example of the extracted identifiers field:
"extract_identifiers": [
  {
    "id": "04c24a3a-86bb-41c7-a8e9-c546c94c4b56",
    "identifier_name": "SAP - Purchase Order",
    "key": null,      "regex_pattern": "(?<=po/)(.*?)(?=[?/]|$)",
    "hash_identifier": false,
    "from_fields": [
      "url"
    ],
    "compiled_regex": "(?<=po/)(.*?)(?=[?/]|$)"
  }
]
Matching Criteria
While tags and extracted identifiers define what information is collected from the window, the matching criteria determines when this information is collected. Data (e.g. tags and extracted identifiers) is collected from the active window only if the matching criteria is met.
The matching criteria consist of two fields: rule_engine_rule and context.
rule_engine_rule: Allows users to define simple Python code to evaluate the matching criteria. You can automatically access some attributes of the active window (e.g.,url,title_lower, andprocess_name_lower) and compare them to the matching criteria. For more information on the Python rule engine, visit: zeroSteiner/rule-engine.context: Defines variables passed to therule_engine_rule. These variables can be accessed within the rule using a Python dictionary. For example, if a variablevariable1is defined incontext, its value can be accessed in therule_engine_ruleby callingcontext['variable1'].
Here’s an example of the matching criteria field:
"matching_criteria": {
  "rule_engine_rule": "active_process_name_lower and context['process_name'] in active_process_name_lower",
  "context": {
    "process_name": "code.exe"
  }
}
Dashboard Context
The dashboard_context has three fields that help categorize rules correctly in the admin panel:
app_name: Should match theappnametag defined in the tags field.window_name: Should match thecontent-categorytag. This field is optional if nocontent-categoryis defined.process_name: Should match theextracted_identifiers.identifier_nametag. This field is optional if no identifiers are defined.
Here’s some example of the dashboard context field:
"dashboard_context": {
  "app_name": "Excel",
  "window_name": null,
  "process_name": null
}
"dashboard_context": {
"app_name": "Salesforce",
"window_name": "Case",
"process_name": "Salesforce Case Tracking"
}Defining Tests in code (Code)
The data collection rules defined in the UI are automatically converted to JSON code. You can manually edit this code by downloading the file from Configure Data Collection → Advanced Setup → Test File Management. After making changes, upload the edited tests back to the dashboard through the Test File Management interface. The JSON code includes two key fields for data collection: row_event and expected_processed_event.
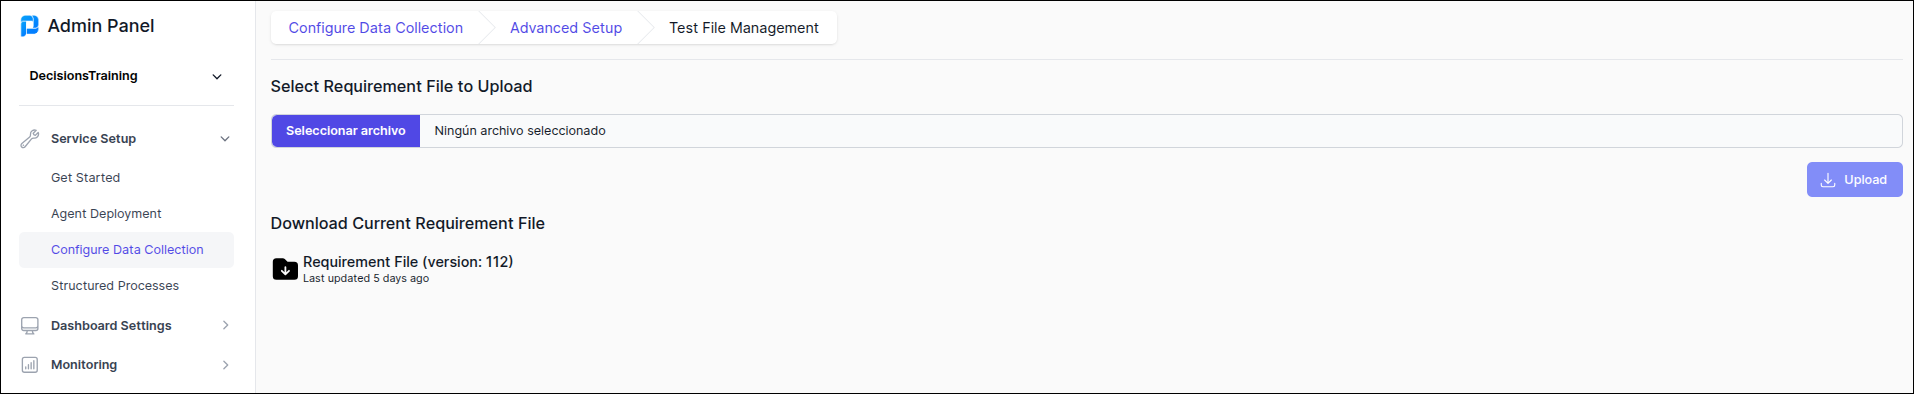
Row Event
This field includes information similar to the UI, allowing you to input an example process name, URL, and title. The row_event field is an object with three optional fields:
process_nameurltitle
You can define all three fields or just one of them.
Expected Processed Event
The expected_processed_event field specifies what information is expected to be collected from a window given the fields in row_event. This field is an object, and the most common fields in the expected_processed_event object are:
tagsextracted_identifiers