Dynamic tag values allow you to populate tag values automatically based on window data such as titles, URLs, or extracted identifiers. This removes the need for predefined or hard-coded tags and enables more accurate, real-time visualization of how users interact with documents and applications.
This capability is especially useful for customers who work extensively with documents such as Excel, Word, or PDFs, where file names frequently change. Dynamic tags ensure that document names appear exactly as users see them, across dashboards and views.
Dynamic tag values work consistently across Process View, Business Apps, and Data Transfer views, and apply to all document types and application screens.
How Dynamic Tag Values Work
Dynamic tags use variable syntax (${...}) to reference runtime data collected from application windows.
Example Configuration
{
  "key": "content-category",
  "value": "${title}"
}
With this configuration, a window titled:
Purchase Orders 07/25.xlsxProduces the following tag value:
{
  "key": "content-category",
  "value": "Purchase Orders 07/25.xlsx"
}
Supported Dynamic Variables
Dynamic tag values support the following variables:
${title}${title_lower}${active_process_name}${url}${extract_identifiers.<identifier_name>}
These variables resolve automatically based on the captured window event.
How to Configure Dynamic Tag Values
Step 1: Add or Edit an Application Rule
Add an application (for example, Microsoft Excel).
Go to
Admin Panel -> Configure Data Collection.From the top menu, click View Application Catalog. The Application list displays.
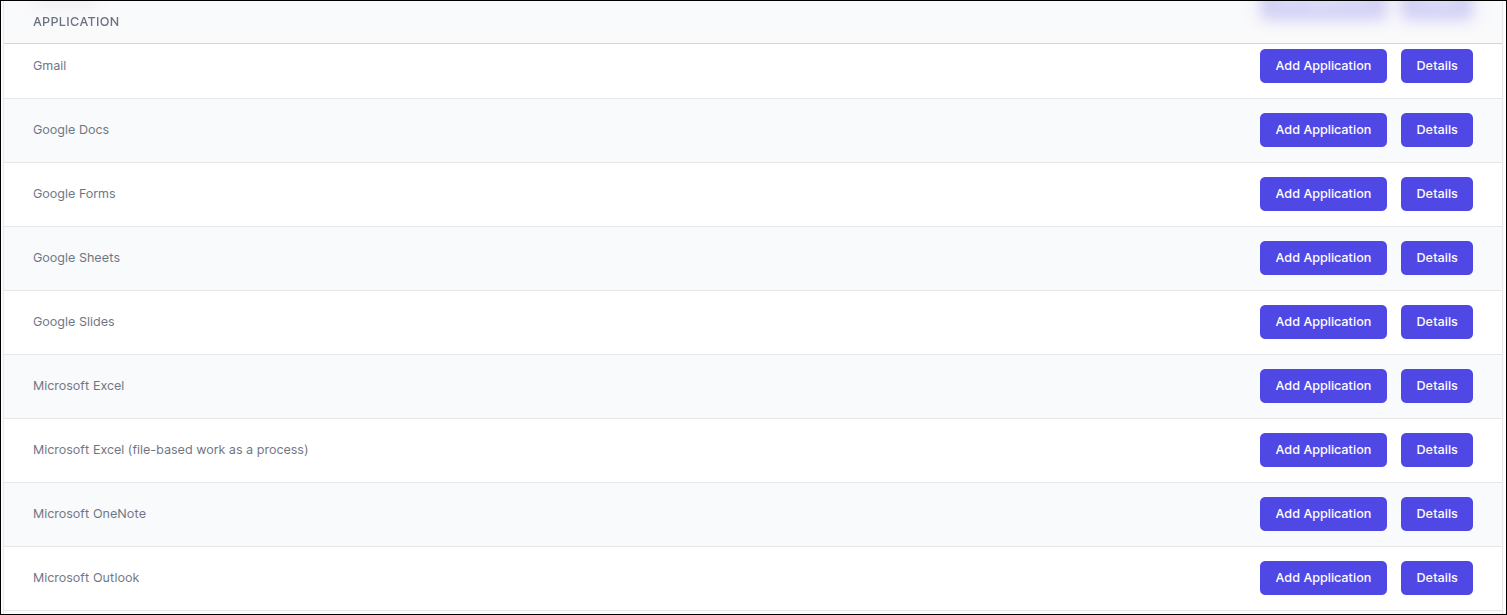
In the Microsoft Excel row, click Add Application. The app is listed.
Click Rules & tests for the added app.
Go to the bottom of the page to see the default rules:
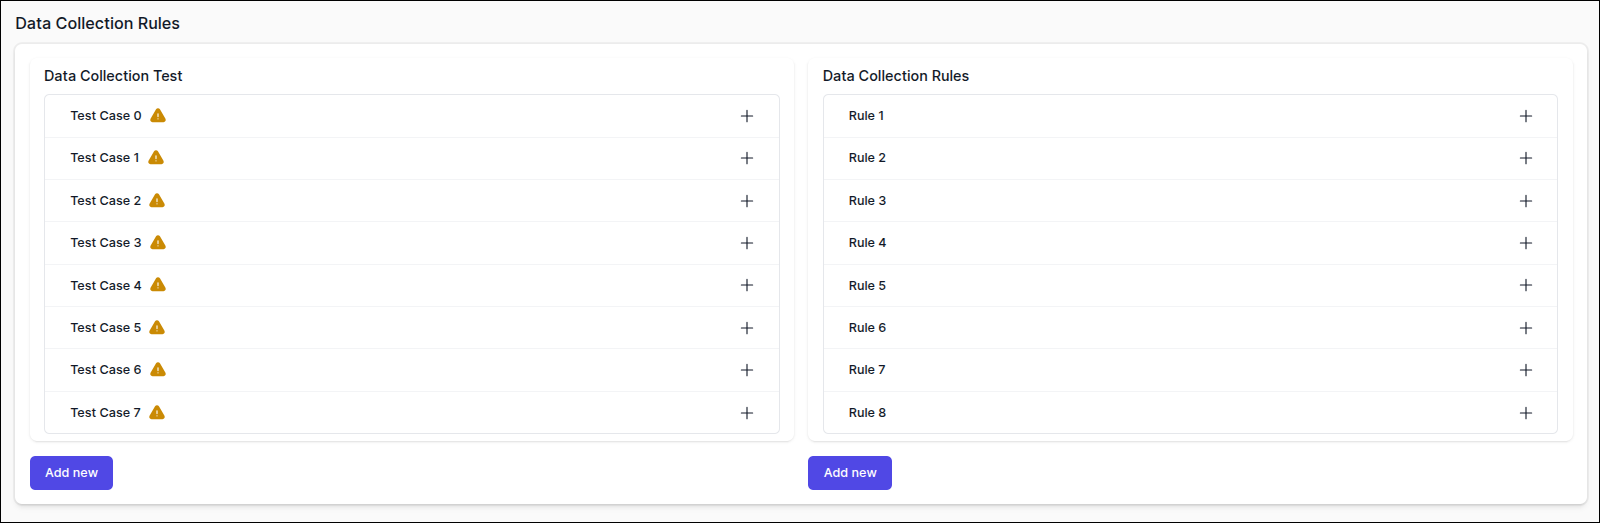
Click the plus (+) icon for the default rule Rule 1.
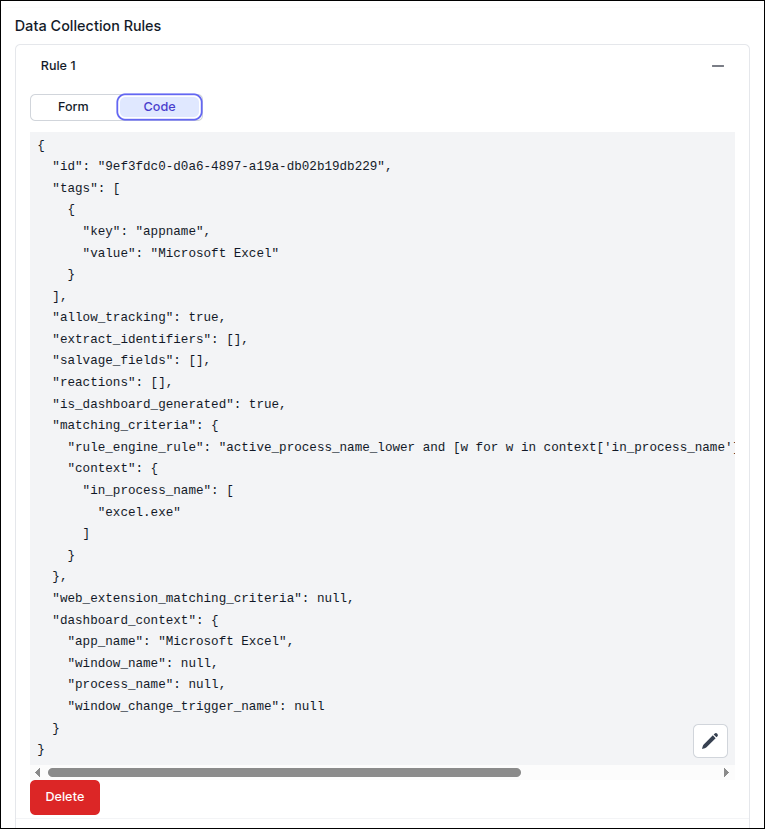
Click the Code tab. The JSON code displays.
Step 2: Add a Dynamic Tag
Locate the existing tags list:
"tags": [
  { "key": "appname", "value": "Microsoft Excel" }
]
Add a new dynamic tag, for example:
[
  { "key": "appname", "value": "Microsoft Excel" },
  { "key": "content-category", "value": "${title}" }
]
✅ Result:
All window titles are captured dynamically and displayed as window names across dashboards and views.
Capturing Only Part of a Title or URL
Dynamic tags can also capture specific parts of a window title or URL using regular expressions and extracted identifiers.
Example 1: Capture Only a GitHub Pull Request Number
Typical window title:
Fix bug process data fetching bug by jannekavander-workfellow · Pull Request #160 · ProcessMaker/sluiceGoal: Capture only Pull Request #160.
Step 1: Create an Extracted Identifier
"extract_identifiers": [
  {
    "id": "d0d501ed-1da2-457e-84bd-b08d5627a020",
    "identifier_name": "github_pr_number",
    "regex_pattern": "(Pull\\s+Request\\s*#\\d+)",
    "from_fields": ["title"]
  }
]
Notes:
Generate a random UUID4 for the
id.Use underscores in
identifier_name.Choose the correct
from_fieldsvalue (titleorurl).
Step 2: Reference the Identifier in Tags
[
  { "key": "appname", "value": "Github" },
  {
    "key": "content-category",
    "value": "${extract_identifiers.github_pr_number}"
  }
]
✅ Result:
The window name displays only the Pull Request number.
Example 2: Capture Only the Path from Jira URLs
Typical Jira URLs:
https://processmaker.atlassian.net/browse/FOUR-16248
https://processmaker.atlassian.net/jira/software/c/projects/FOUR/boards/714
Goal: Capture only the path after atlassian.net/.
Steps
Edit the Jira application rule.
Add a new
extract_identifiersentry:Generated UUID
Regex pattern that extracts the URL path
from_fields:["url"]
Reference the identifier in the tags list:
{
  "key": "content-category",
  "value": "${extract_identifiers.<your_identifier_name>}"
}
Save the configuration.
✅ Result:
The window name displays only the relevant Jira path.