Overview
This article discusses how to create Views in the Process Mining Platform. A View is a read-only representation of an analysis within a Plugin. Views can be shared with others via the provided URL. View are useful for sharing Process Mining Insights with external stakeholders or clients that do not have full access to the Platform. Users granted access can explore the analysis in view-only mode but cannot make changes to the analysis.
Creating a View in Process Mining
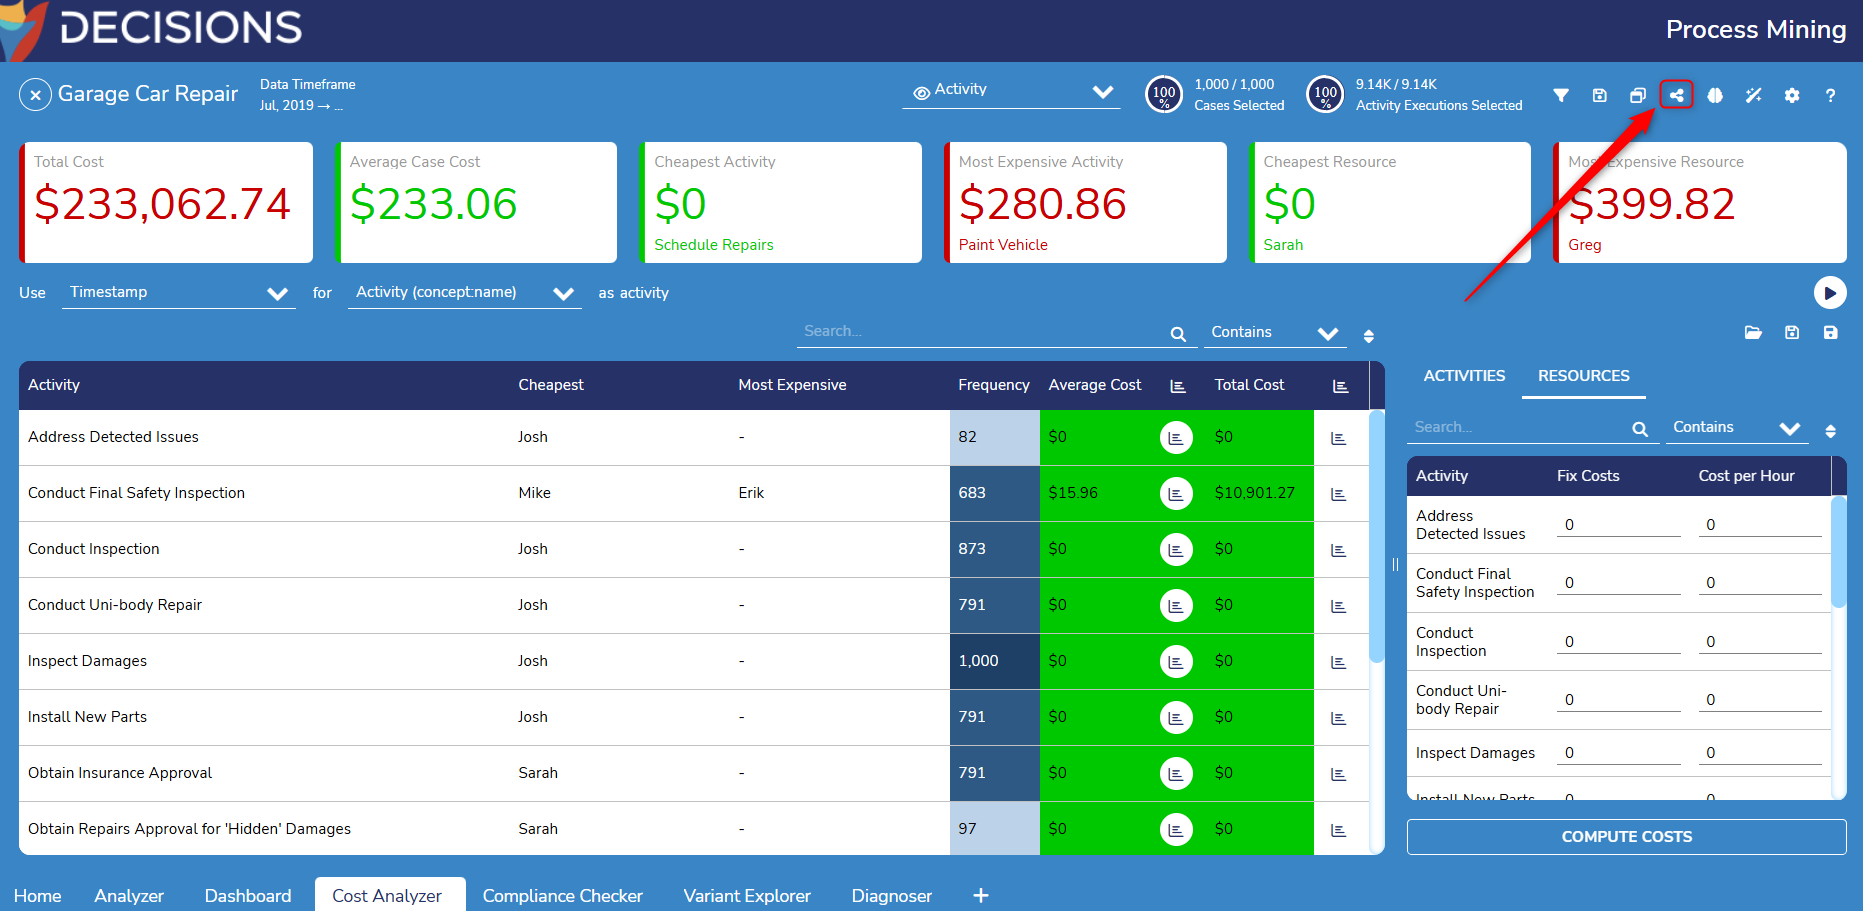
- To create a view in Process Mining, navigate to the desired plugin, for example, a Dashboard. In this example, the Cost Analyzer is used.
- From here, click the Share icon in the menu bar, on the top right corner.
- From here, click the Share icon in the menu bar, on the top right corner.
- This action will open the Views window, where you can find a list of previously created views.
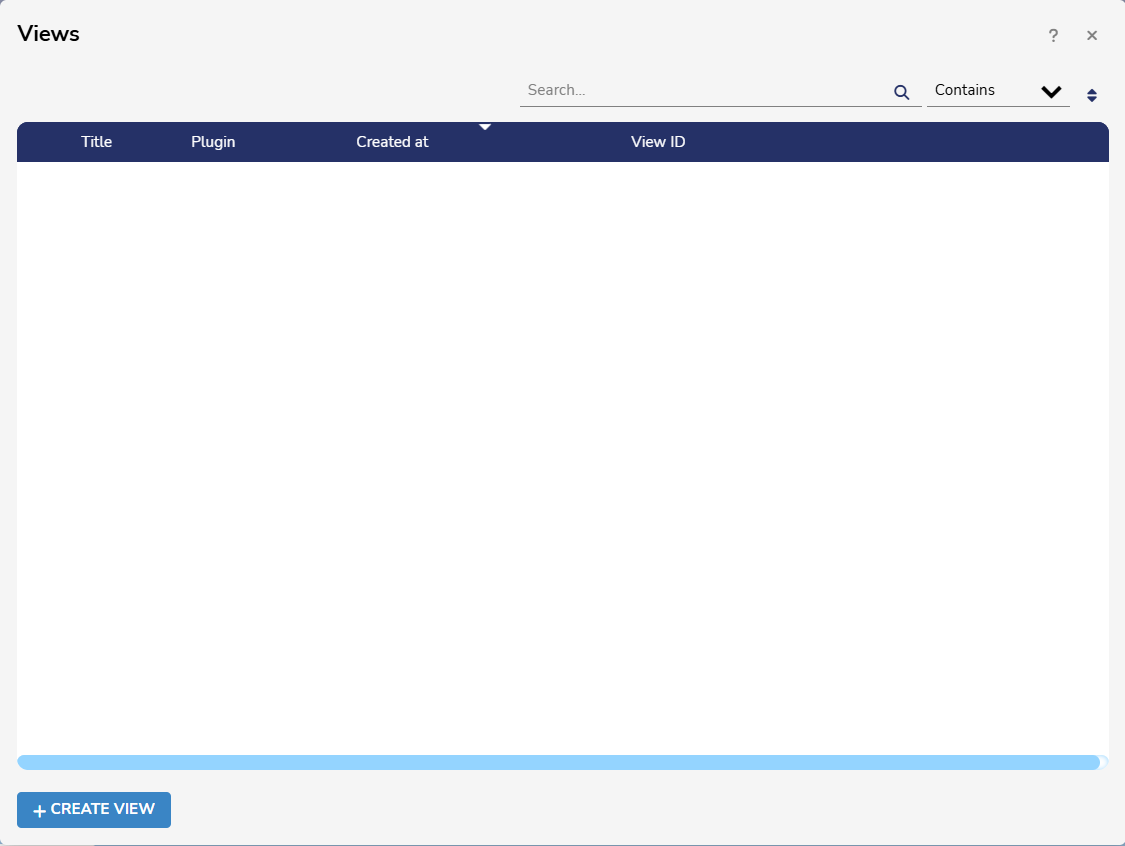
- Click Create View. This action will open the View creation window.
- Enter a Title for the View. Users can add a Data Access Filter if desired. Data Access Filters limit Users to only the Data that is relevant to them. This is useful when sharing views with specific teams, for example, because it restricts their access to data from their own Department.
- To add a Data Access Filter:
- Click Add Filter and select an Attribute from the Dropdown menu. In this example, the Garage attribute is used.
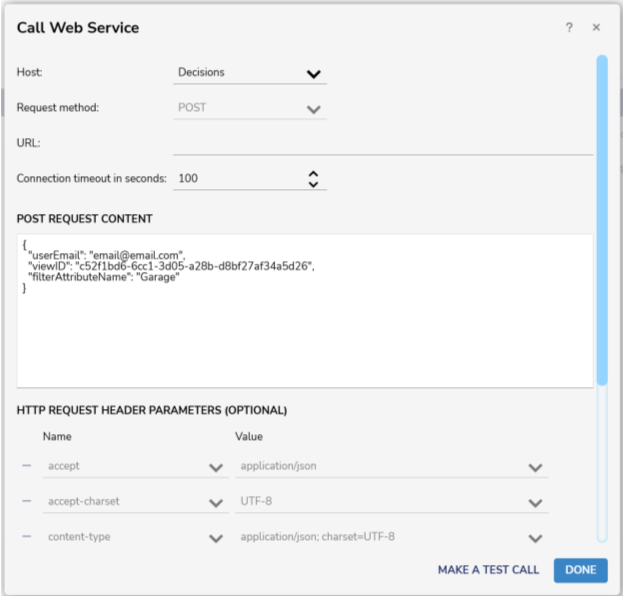
- After choosing an Attribute, Users will need to configure an API call. This sends the following details to a remote REST service:
- The View ID
- The accessing User's Email Address.
- The name of the selected attribute.
- When configuring an API call, select Decisions as the Host if using a Decisions service, or Otherif calling a service outside of Decisions.
- For more information on setting up a REST web service in Decisions Automation, please refer to Calling a Flow as a Rest Service.
- The request method is set to POST and cannot be changed.
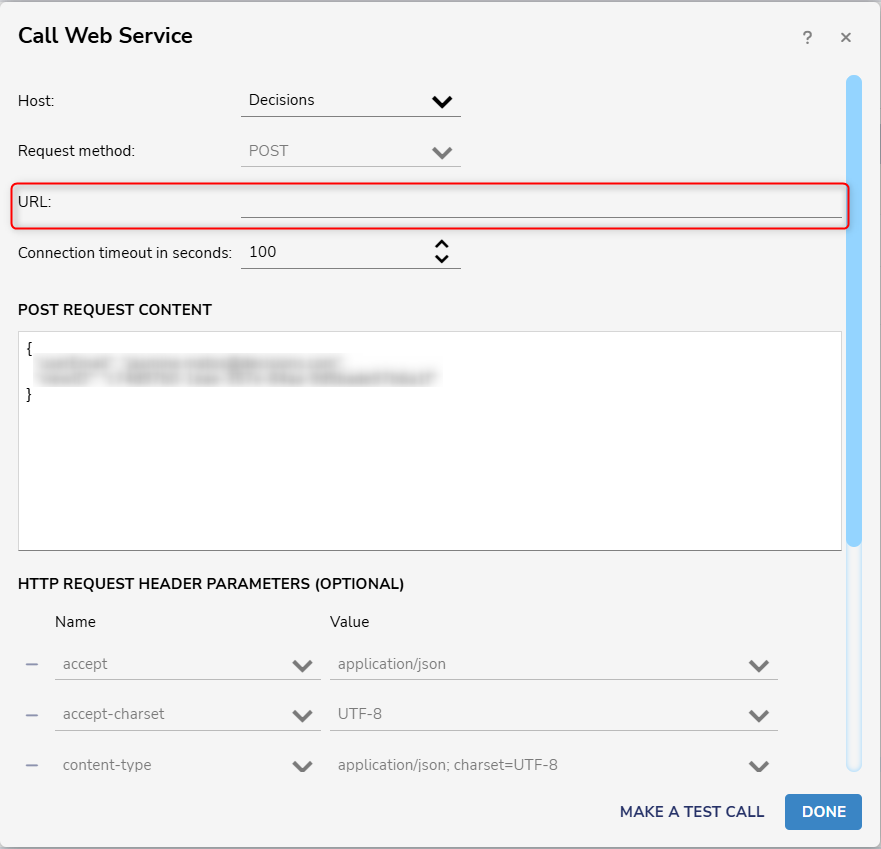
- After configuring the API call, Paste the URL of the target service into the URL field.
- The Form will automatically display the POST Request Content.
- There are three fixed HTTP headers that cannot be changed:
- Accept: application/json(response must be JSON)
- Accept-Charset: UTF-8
- Content-Type: application/json(request body is sent as JSON with UTF-8 charset.)
- Additional HTTP header parameters can be configured as needed, for example, an Authorization header if the remote service requires authentication.
- An example response template is provided to illustrate the expected format. The API response must return a list of values for the selected attribute that the accessing User is allowed to view. The Platform uses these values to filter the data, ensuring the User can only see records that match the permitted attribute values.
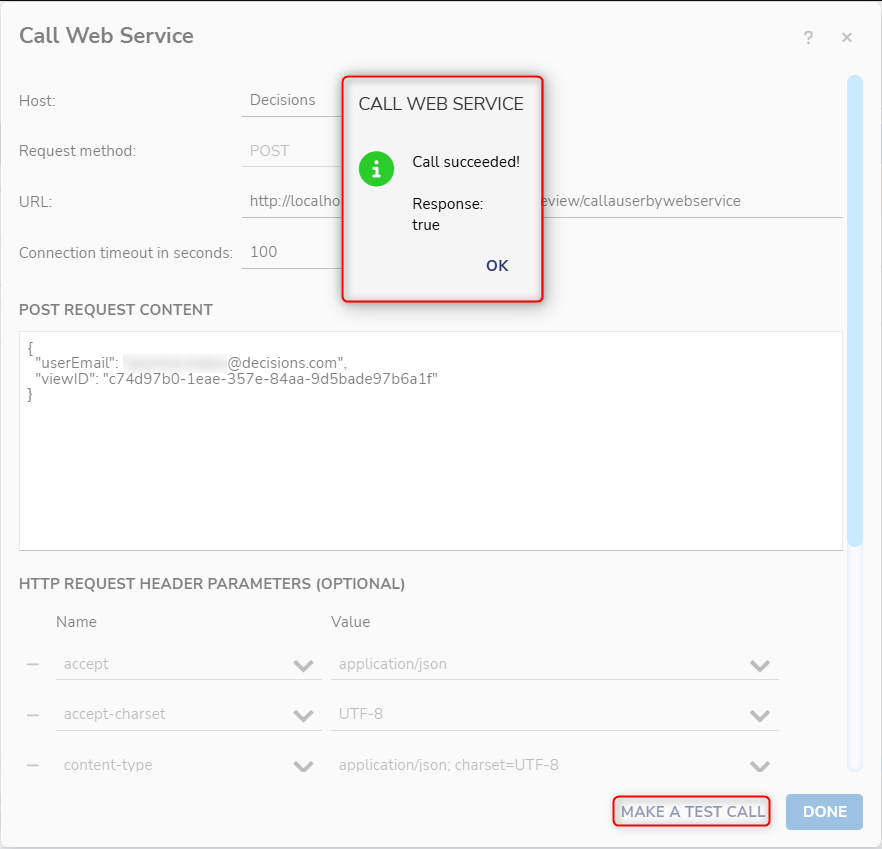
- Once all parameters are configured, click Make a Test Call to verify the connection and ensure the correct response is received.
- Choose the desired Access Right to control who can view the analysis.
- Any user with the view link grants access to anyone who has the link and is a Process Mining User.
- Call a web service triggers a web service to determine if a User is authorized to access this view.
- Select Users allows you to grant access to specific Process Mining Users.
- Once all settings are configured, click Done to create the view.
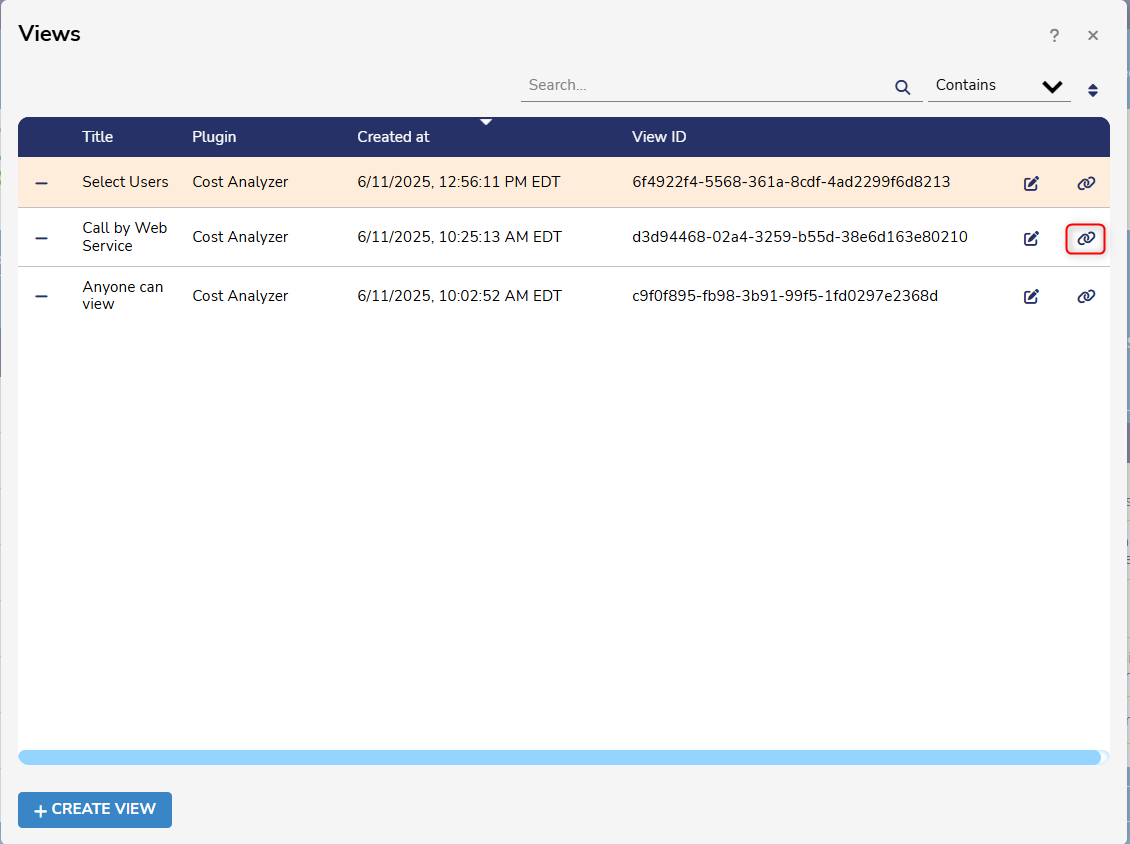
- The new view will now appear in the Views window. Users can copy the link from this window at any time.
Examples
The following examples demonstrate the three Access Right options described above, using the Cost Analyzer Plugin.
Access Right: Any User with View Link
This option enables any Process Mining User who has the view link to access the view. 
To recreate this example:
- Navigate to the desired Plugin. Click the Share icon in the top-right menu bar and then click Add a View.
- Enter a name for the view and select Any User with View Link as the Access option.
- Click Done to save the changes made. The new view will now appear in the Views window.
- Click the link icon next to the View. Anyone with access to this link will be able to view the selected plugin in read-only mode.
Access Right: Call by Web Service
This option allows Users to configure an API call to a remote service that determines whether a User is authorized to access the view. 
To recreate this example:
- Navigate to the desired Plugin. Click the Share icon in the top-right menu bar, then click Add a View.
- Enter a name for the View and select Call a Web Service as the access right. Then, select Click to Configure.
- Users will need to configure an API call to a remote service that verifies whether the accessing User has permission to view the content. The remote service can be hosted within or outside of Decisions. This example uses an API call created within Decisions.
- When configuring the API call, select Decisions as the Host if using a Decisions service, or Other if calling a service outside of Decisions.
- The request method is set to POST and cannot be changed.
- Paste the URL of the target service into the URL field.
- The Form will automatically display the POST Request Content.
- There are three fixed HTTP headers that cannot be changed:
- Accept: application/json(response must be JSON)
- Accept-Charset: UTF-8
- Content-Type: application/json(request body is sent as JSON with UTF-8 charset)
- Additional HTTP headers may be added as needed, for example, an Authorization header if the remote service requires authentication.
- An example response template is provided for clarity on the expected format.
- Once all parameters have been configured, click Make a Test Call to verify the connection and ensure the correct response is received.
- A pop-up will display if the test call was successful.
- Click Done to save your changes. The new view will now appear in the Views window.
- Click the link icon next to the View to copy its URL. Anyone with this link, and whose access is successful verified by the access rights service, can access the View.
Below is an example REST service in Decisions Automation for verifying User Access Rights to a View:.png)
Access Right: Select Users
This option allows Users to grant access to specific Process Mining Users.
.gif)
To recreate this example:
- Navigate to the desired Plugin. Click the Share icon in the top-right menu bar, then click Add a View.
- Enter a name for the view and click Select Users as the access right option.
- Choose the Users who will have access to the View.
- Click Done to save the changes. The new view will now be available in the Views window.
- Click the link icon next to the view to copy its URL. Anyone with this link, and whose account was selected will be able to access the view.
- From here, choose a name and click Select Users.
- Click Done to save the changes. The new view will now be available in the Views window.
- Click the link button on the View. Users with access to this link will be navigated to the selected process.
- Note: Users who do not have permission to access a view will see the page below when attempting to open the view link.
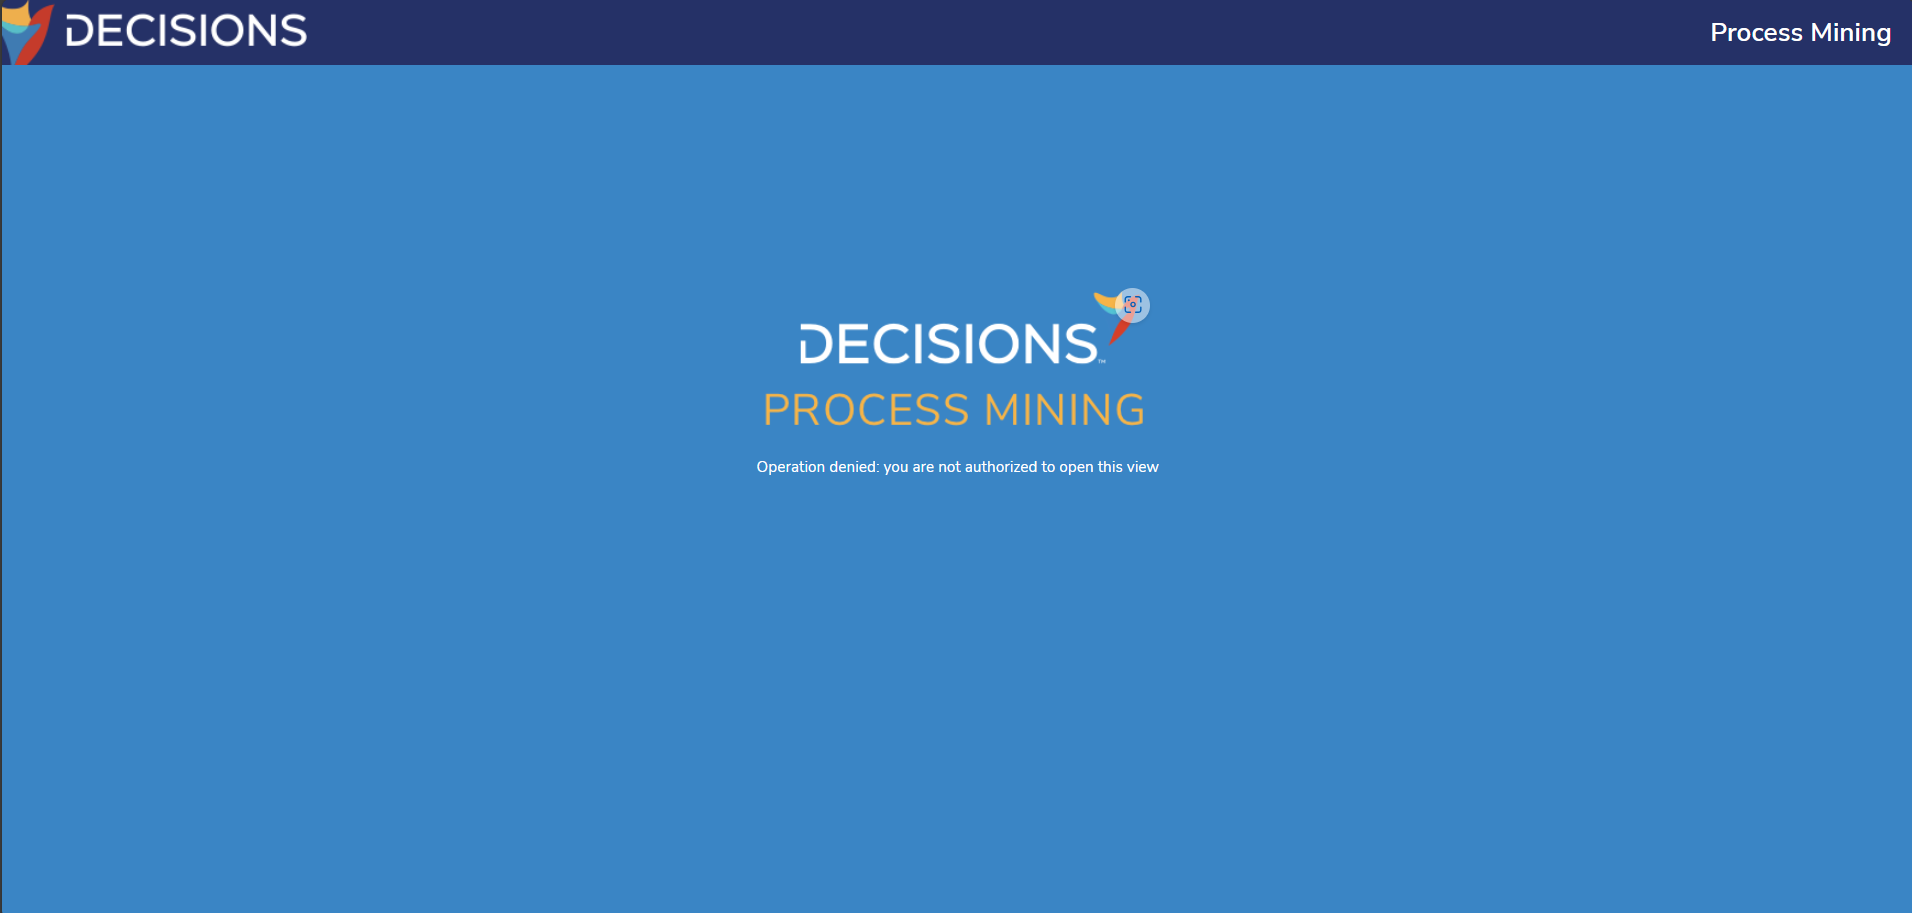
- Note: Users who do not have permission to access a view will see the page below when attempting to open the view link.
- Click the link button on the View. Users with access to this link will be navigated to the selected process.
Feature Changes
| Description | Version | Release Date | Developer Task |
|---|---|---|---|
| Users can now create views that are read only and can be provided to outside clients. | 3.4 | January 2025 | [DT-042762] |