Overview
REST Services hold the configuration data, which is shared between all calls to a service. This includes the base URL, authentication, and any custom headers. This service acts as a Folder, holding any number of REST Methods. Each REST Method defines an HTTP call that can be made to the URL defined in the REST Service. A POST method is used to send data to a server via API.
Example
This example creates a Rest Service Integration with the POST method that sends new Account data to a server. For confirmation, a Flow will then be created to send a JSON object with a custom Request Body.
- Begin first by creating and navigating to a Designer Folder; then, select CREATE DATATYPES/INTEGRATION.
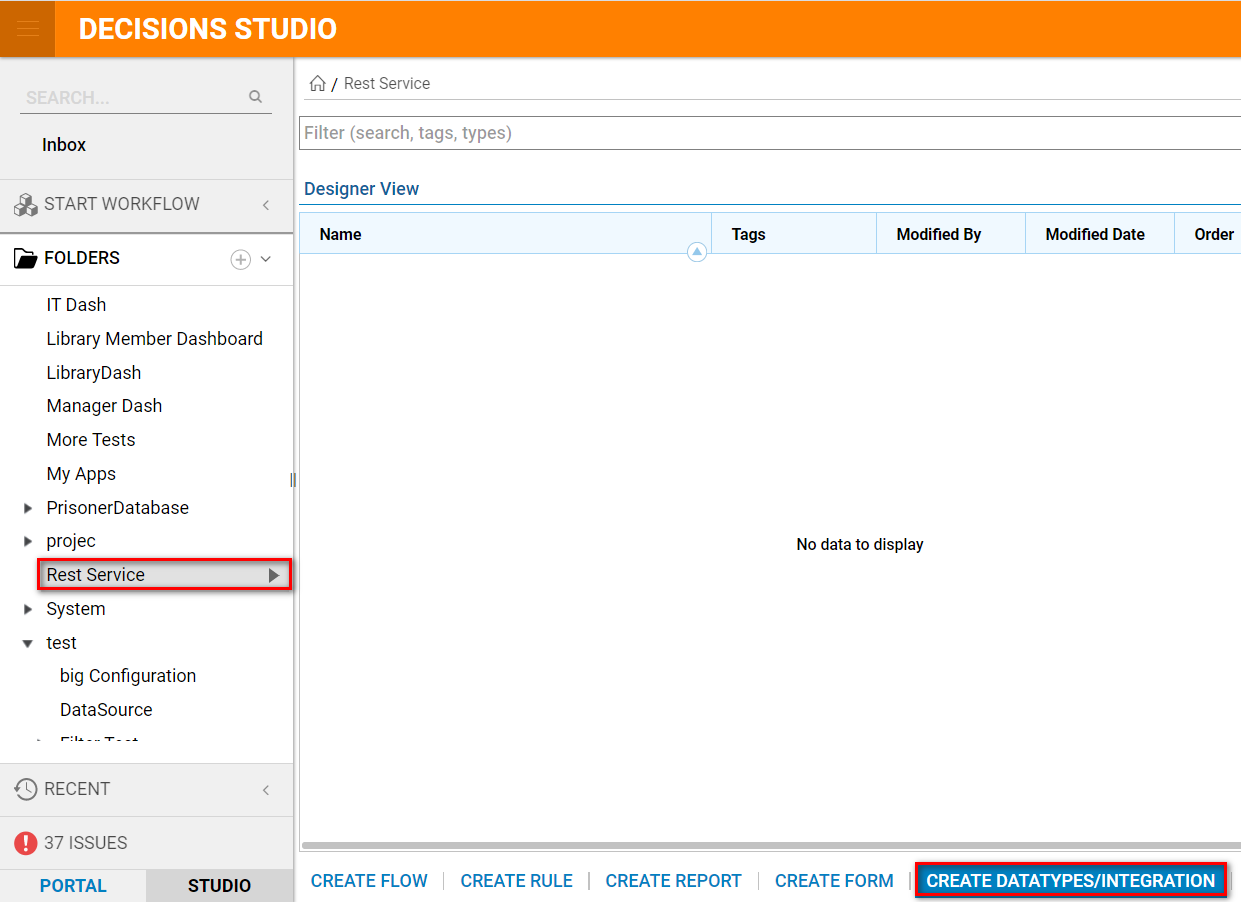 NoteIt is possible to create a REST integration via Add REST Service Integration within the Integrations Folder. It is advised to create the integration within a Designer Folder instead. This allows the user more mobility with the project, should they have to export/import the integration to another instance, and ease access purposes.
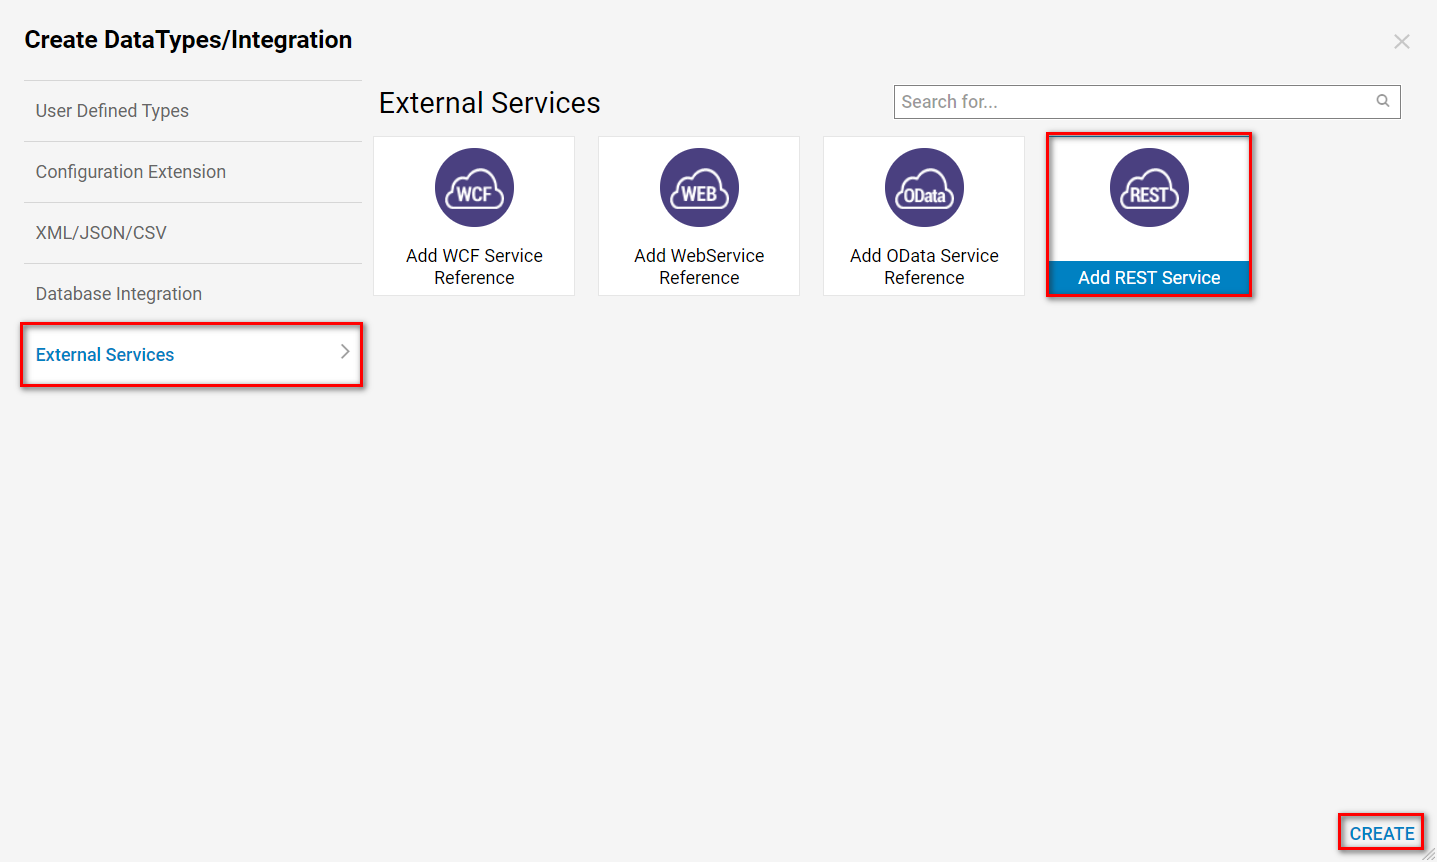
 - From the Create Datatypes/Integration panel, navigate to External Services > Add REST Service, and click CREATE.
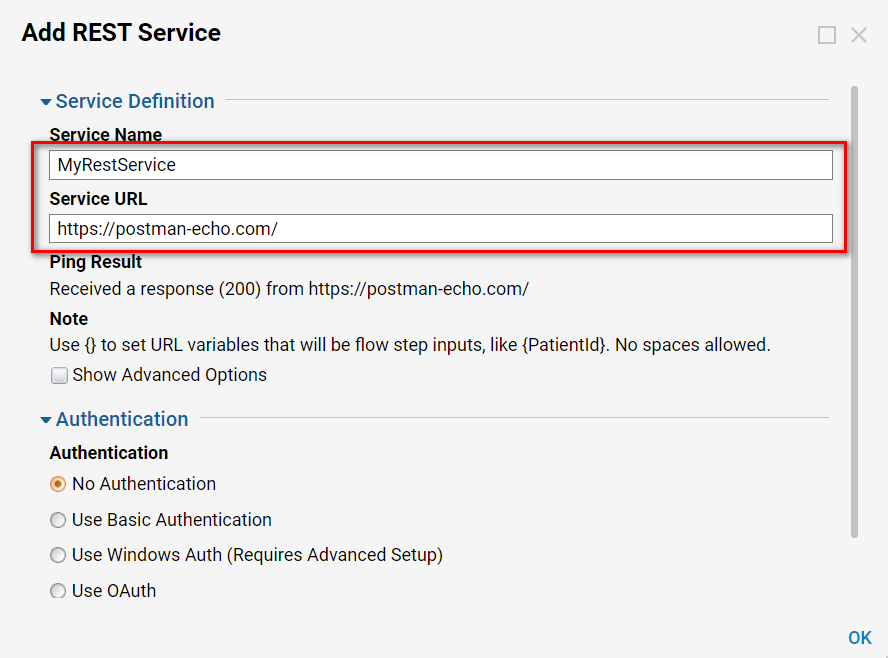
- In the resulting window, define the Service Name then the Service URL (https://postman-echo.com/). Notes of ConfigurationThough the following example does not use them, authentication settings may be established if required.
When defining the Service URL, make sure the Ping Result is 200 to indicate a successful connection to the Service URL. - After configuring these initial settings, click OK to save and exit.
- Next, from within the Rest Service Folder, click the Add Method to Service button on the bottom toolbar.

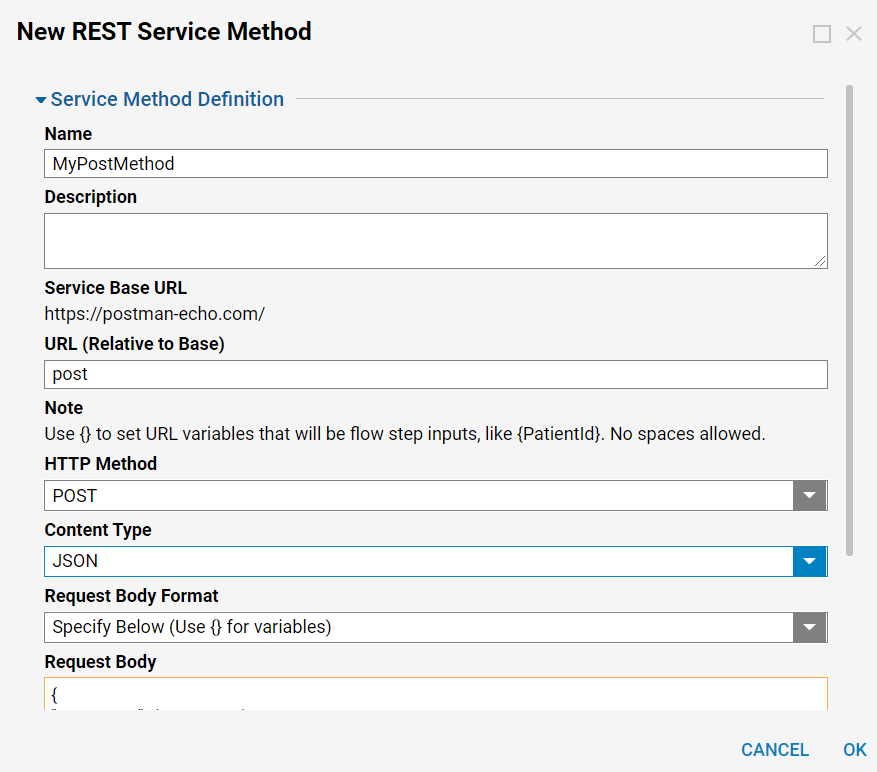
- Begin by first naming the Service.
- Next, under URL (Relative to Base), type post.
- Then, click the drop down arrow for the HTTP Method, and select POST.
- Continue configuring the method by selecting JSON for Content-Type and Specify Below for Request Body Format.
- Finally, copy and paste the following code into the Request Body. This will create inputs within the REST service for a user to submit account information.
- Then click OK to save and close.
{ "accountID": {AccountID}, "dob": {DateOfBirth} } - Lastly, create a Flow to test the Rest Service Integration. In the Designer Folder, select CREATE FLOW from the Folder Actions Panel.
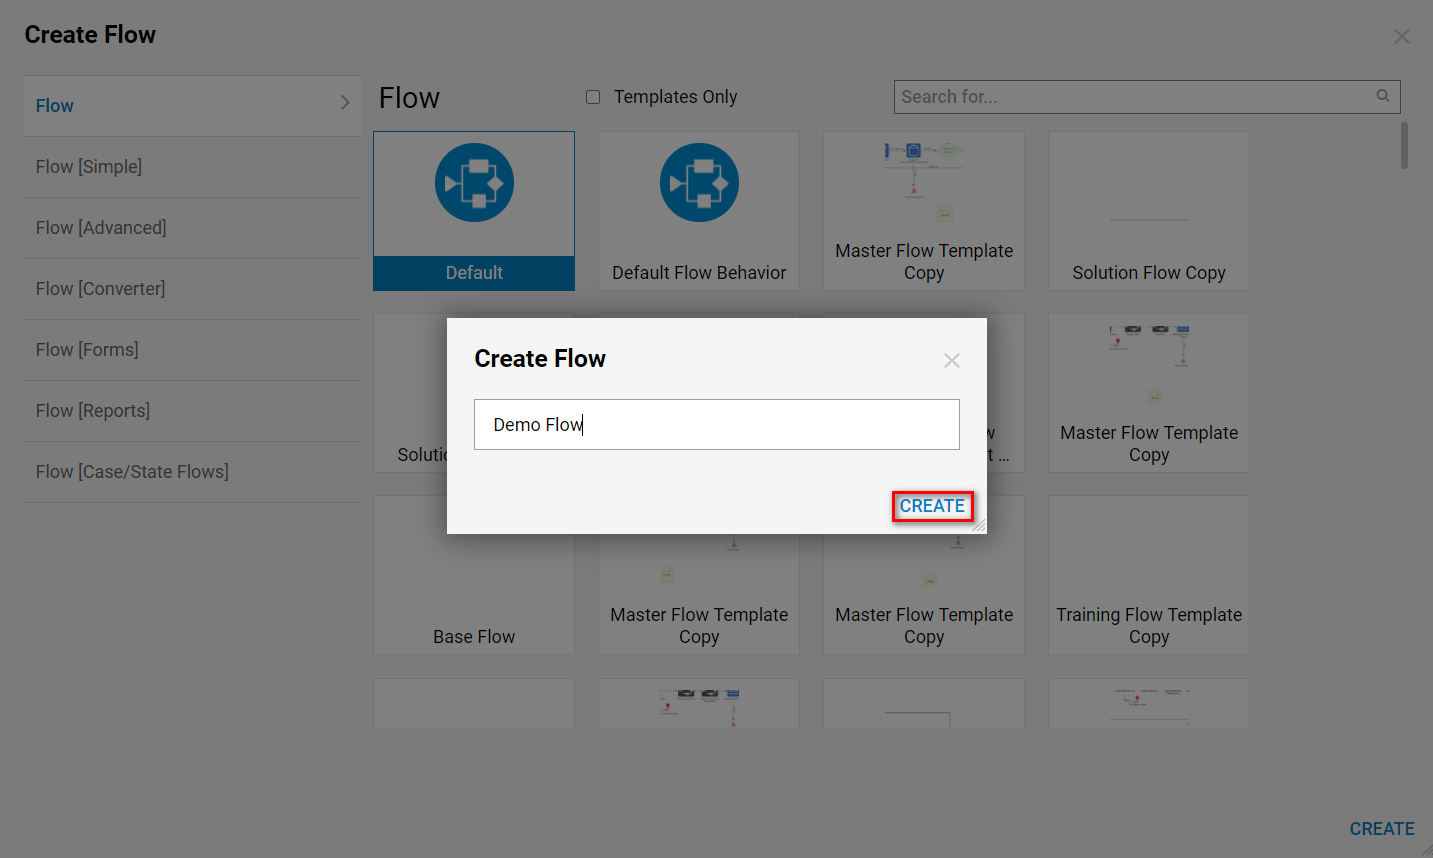
- Name the Flow and select CREATE to proceed to the Flow Designer.
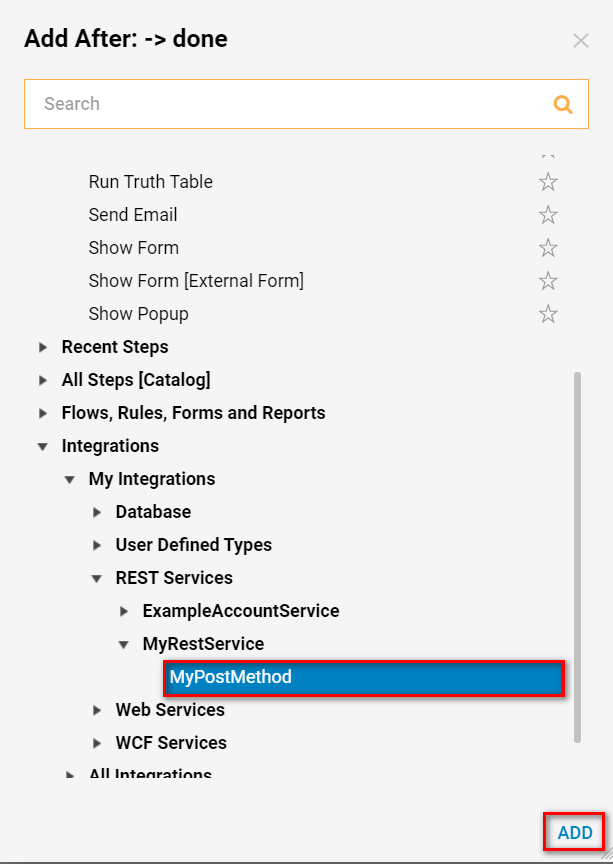
- In the Flow Designer, add the Service step from the Integrations > My Integrations > REST Services category.
- Next, from the Properties panel for the REST service, configure data send Inputs by Constant mapping values into Account ID and Date of Birth.

Debugging
- Select Debug from the top panel of the Flow Designer to test the Rest Service request.
- If properly configured, the Flow will follow the Done path.
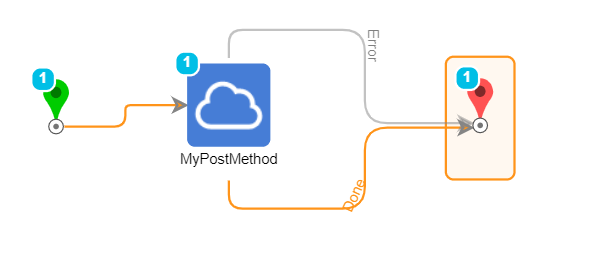
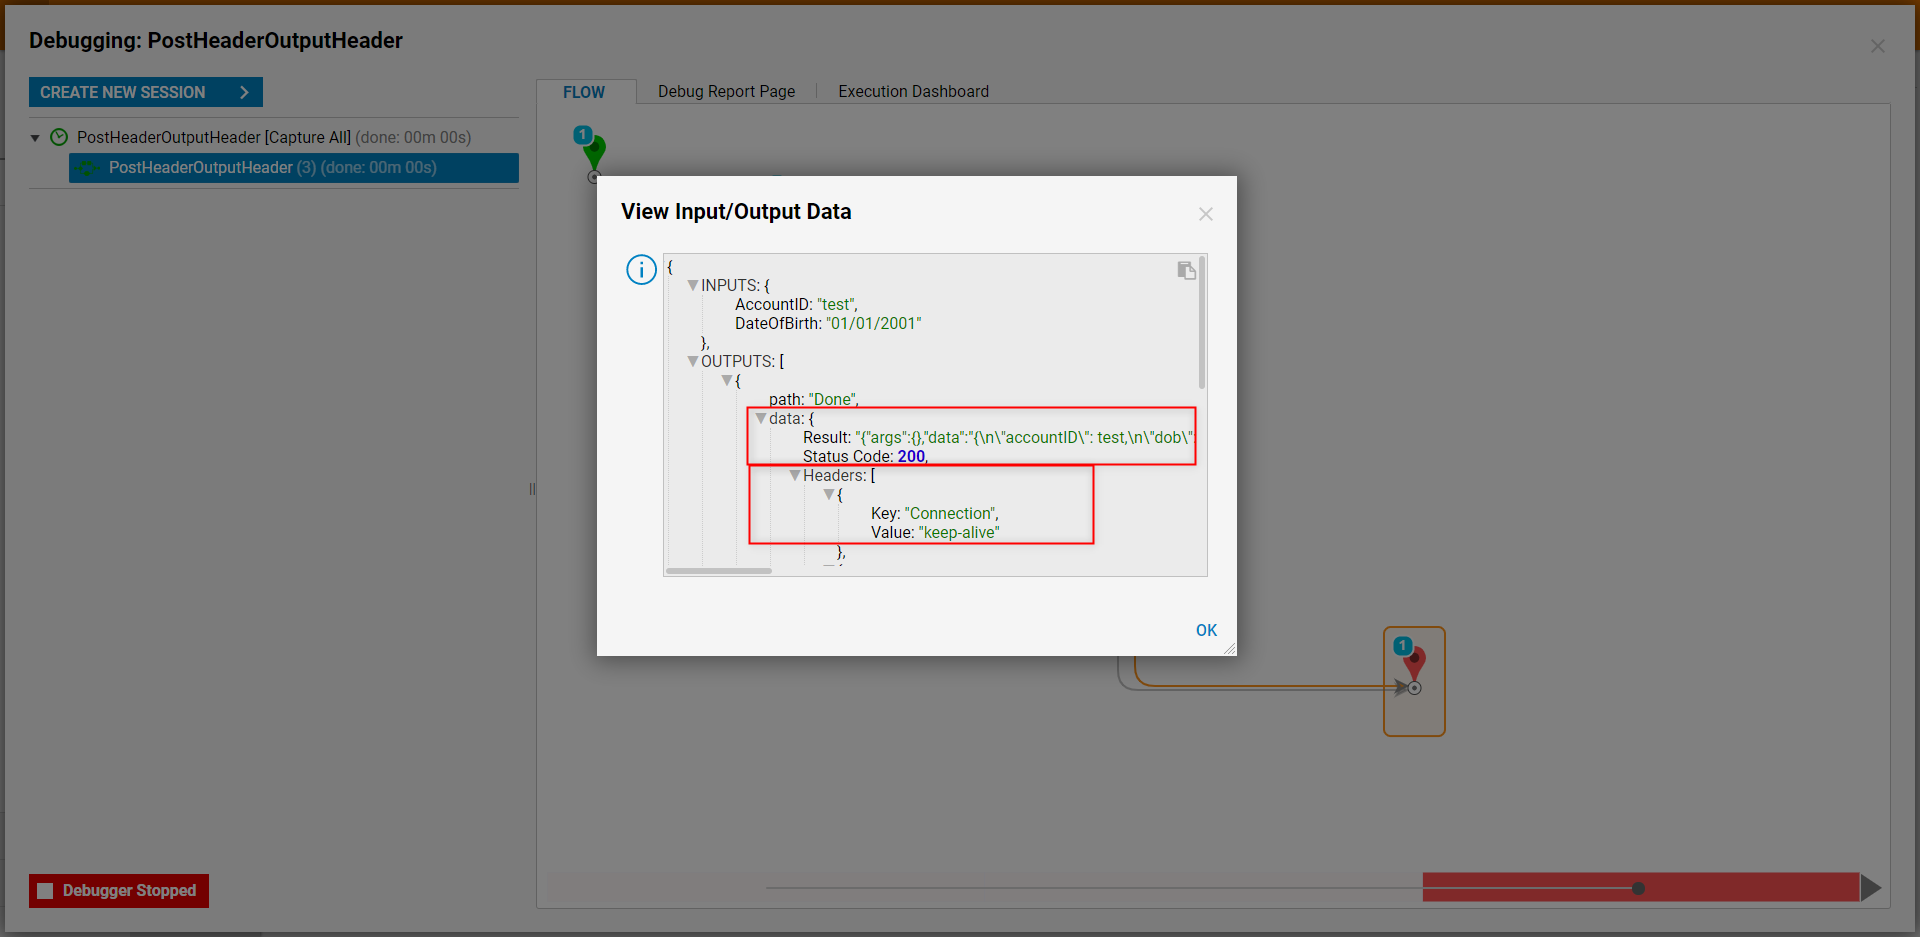
- To view the REST service results, select the REST Service step, and choose View Input/Output Data.Output ResultsIf the Flow runs successfully, it will return the expected data return, a Status Code of 200, and the data of the Headers from the POSTcall.
