Email Templates
- 20 Jul 2022
- 2 Minutes to read
- Print
- DarkLight
Email Templates
- Updated on 20 Jul 2022
- 2 Minutes to read
- Print
- DarkLight
Article Summary
Share feedback
Thanks for sharing your feedback!
Overview
Email Templates are HTML documents that define the look and feel of Emails sent from a Flow via the Send Email step. Email Templates are useful in that they provide an opportunity for demonstrating brand identity and consistency in correspondence sent from a Decisions-based environment.
The following document demonstrates how to apply the Default Email Template, as well as how to create and apply Custom Email Templates to an Email.
Creating an Email Template
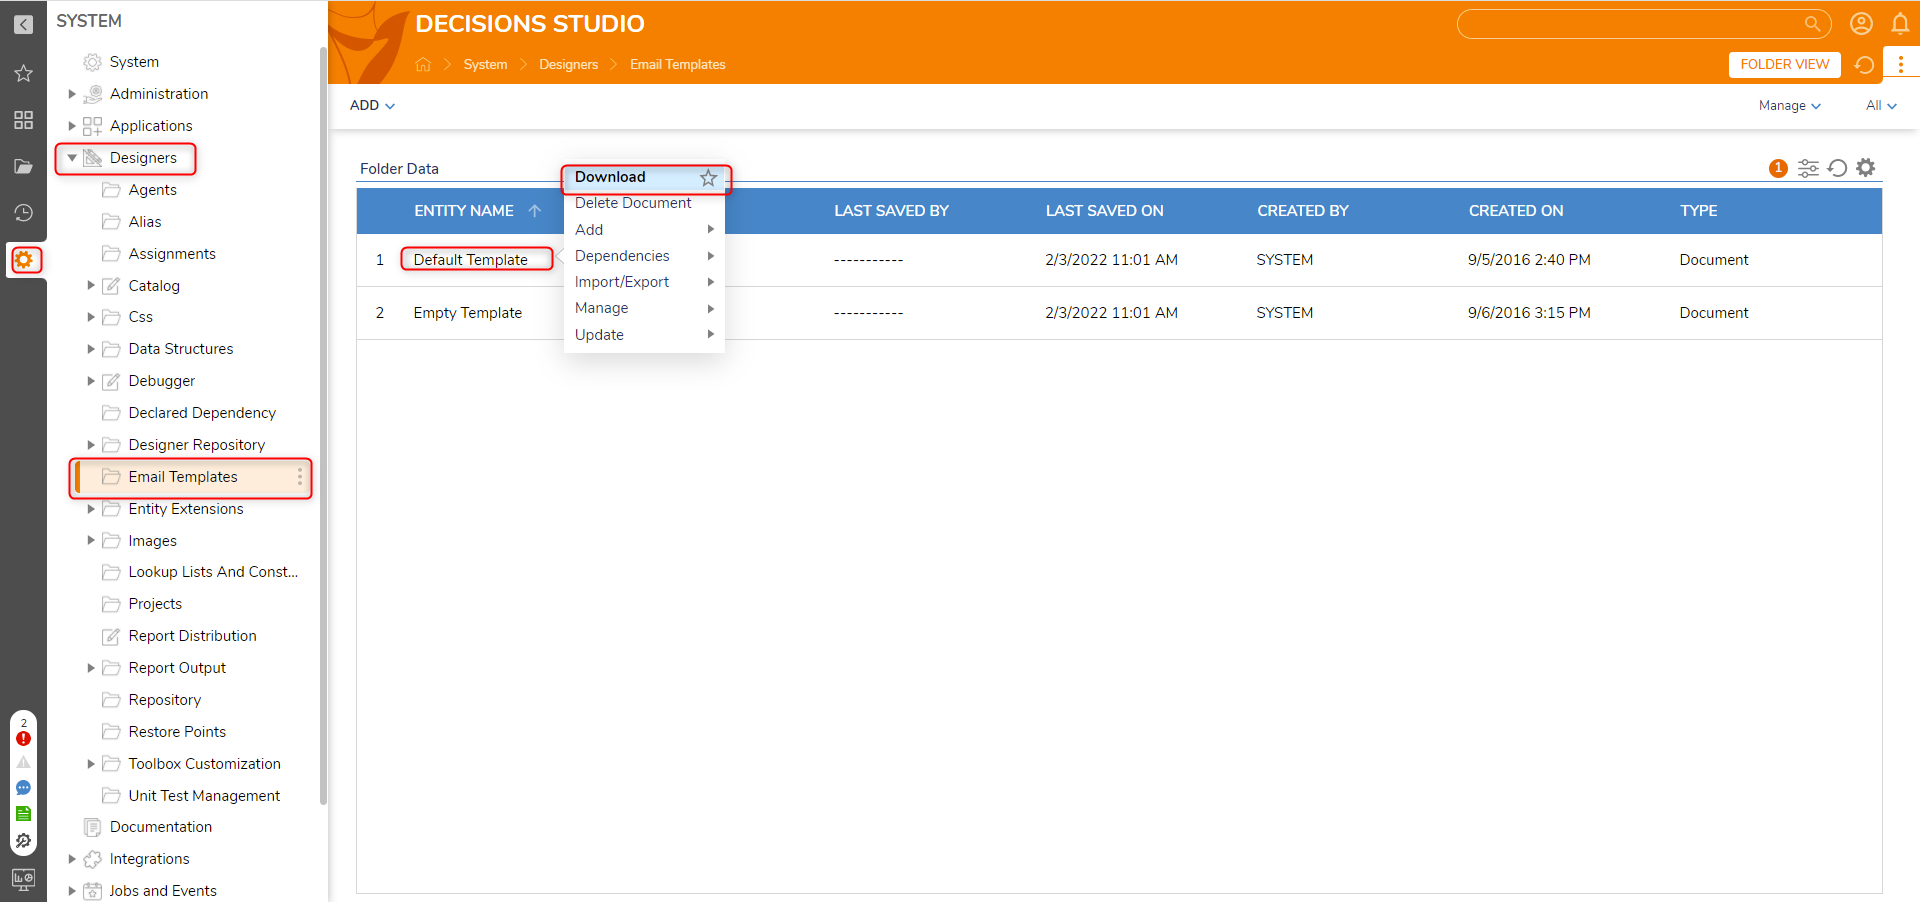
- In the Decisions Studio, navigate to System > Designers > Email Templates. This is where Email Templates are stored including the Default Template. Right-click Default Template and select Download.
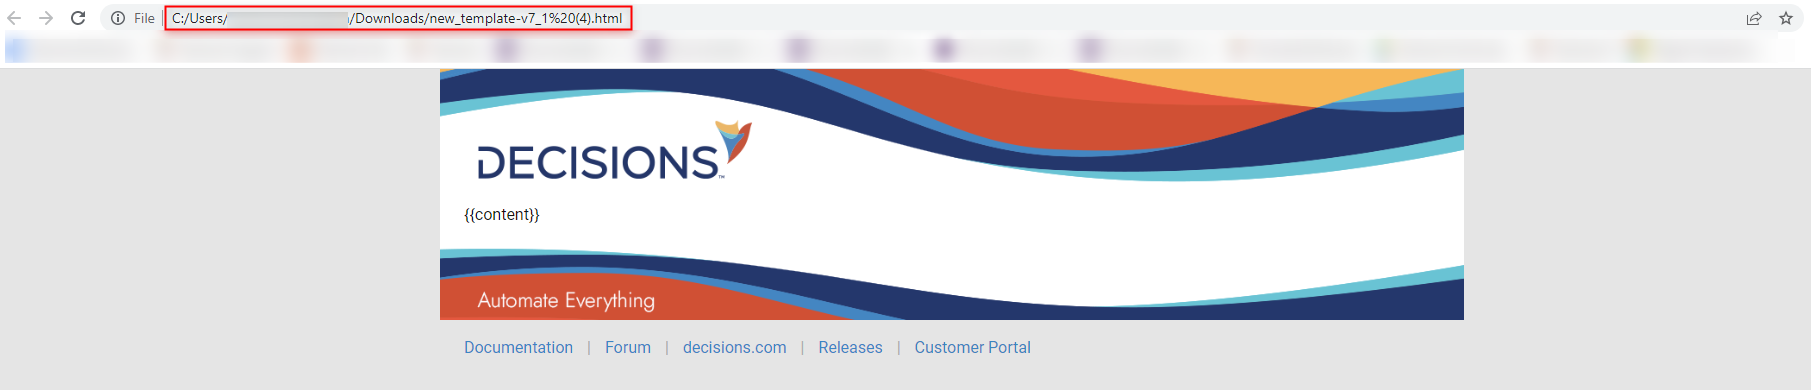
- Navigate to the download location displayed in the address bar.
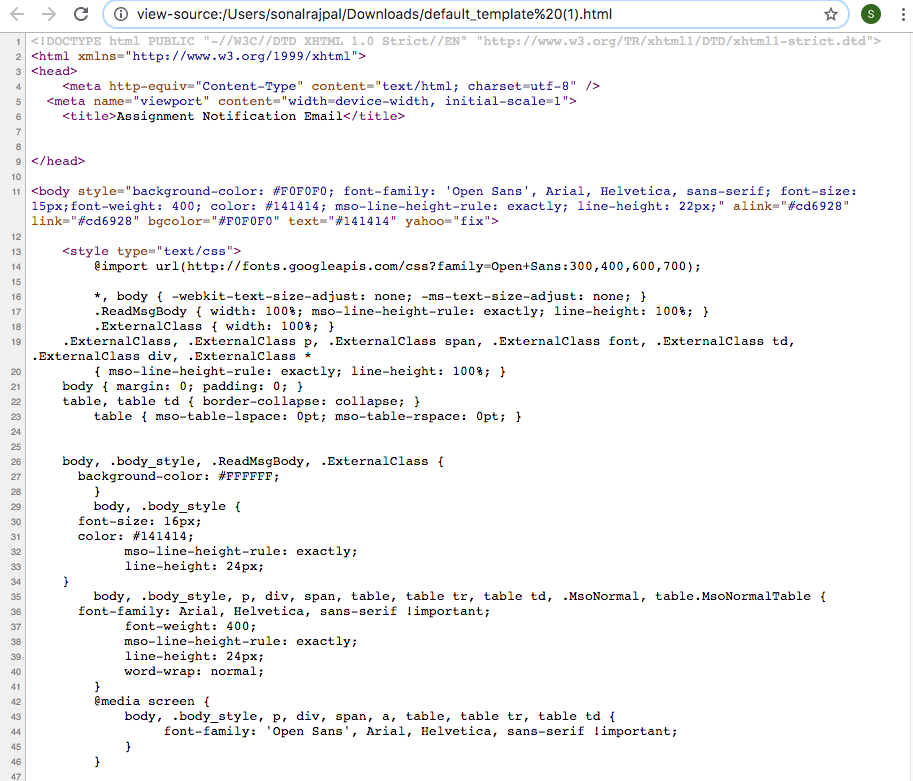
- Open, edit, and Save the Default Template as desired.
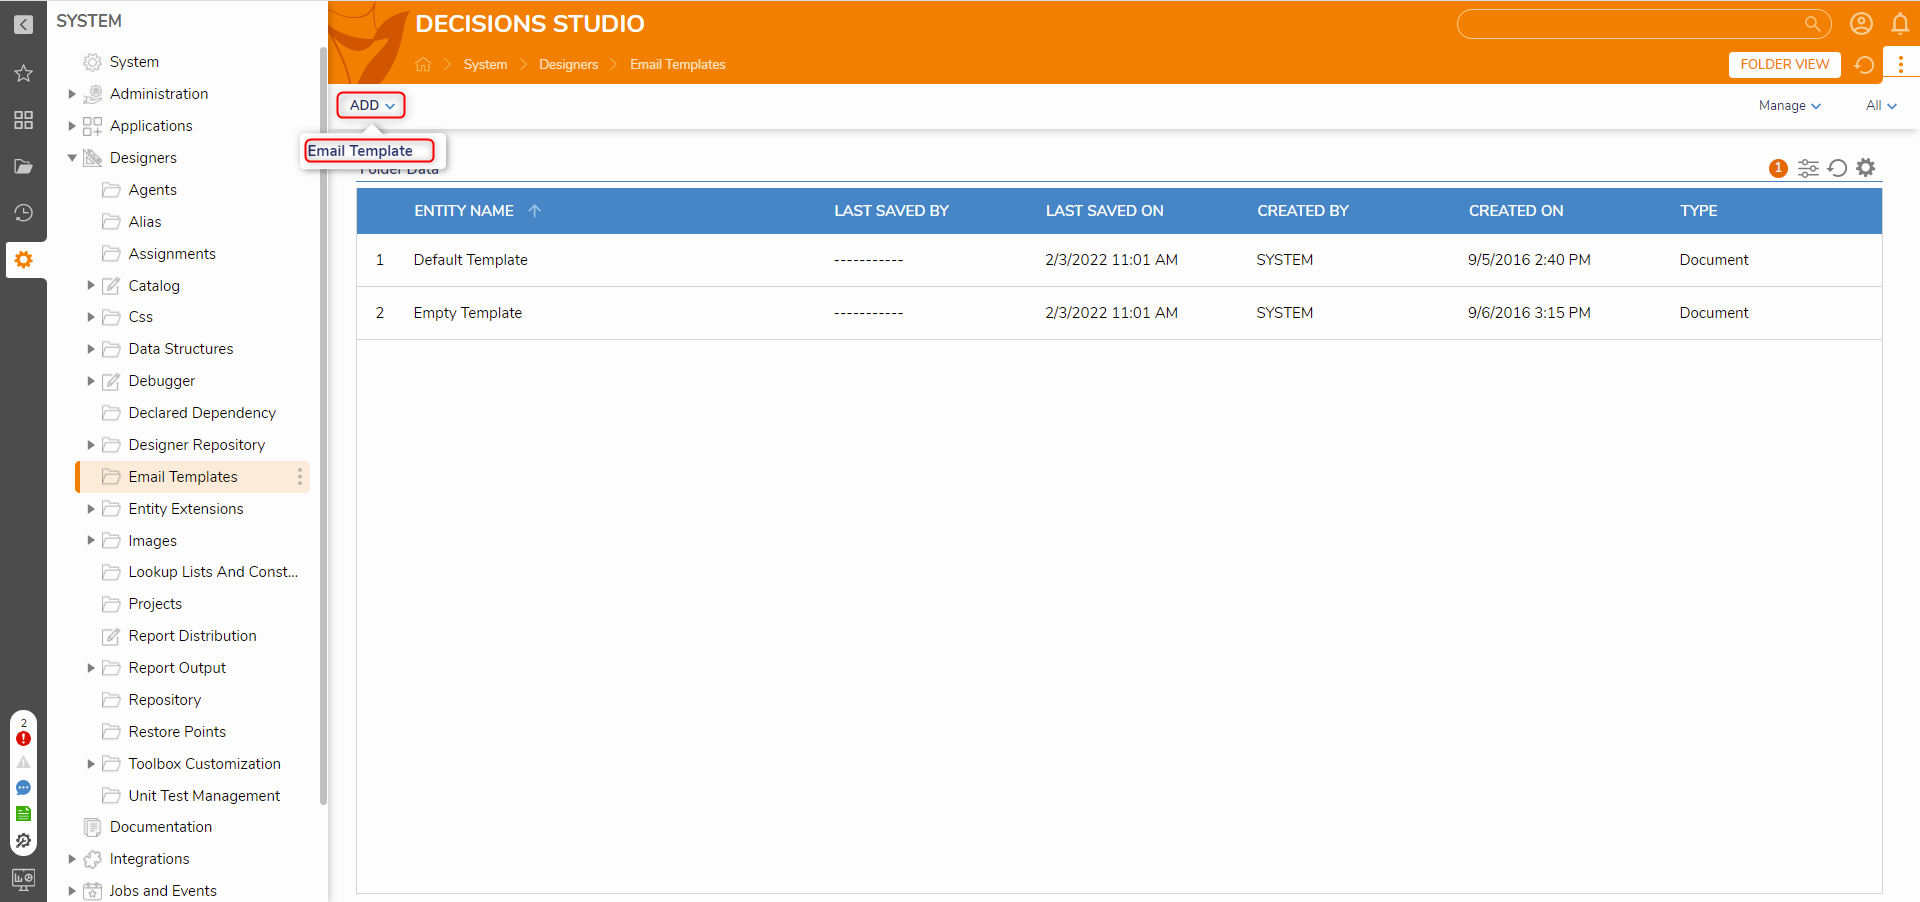
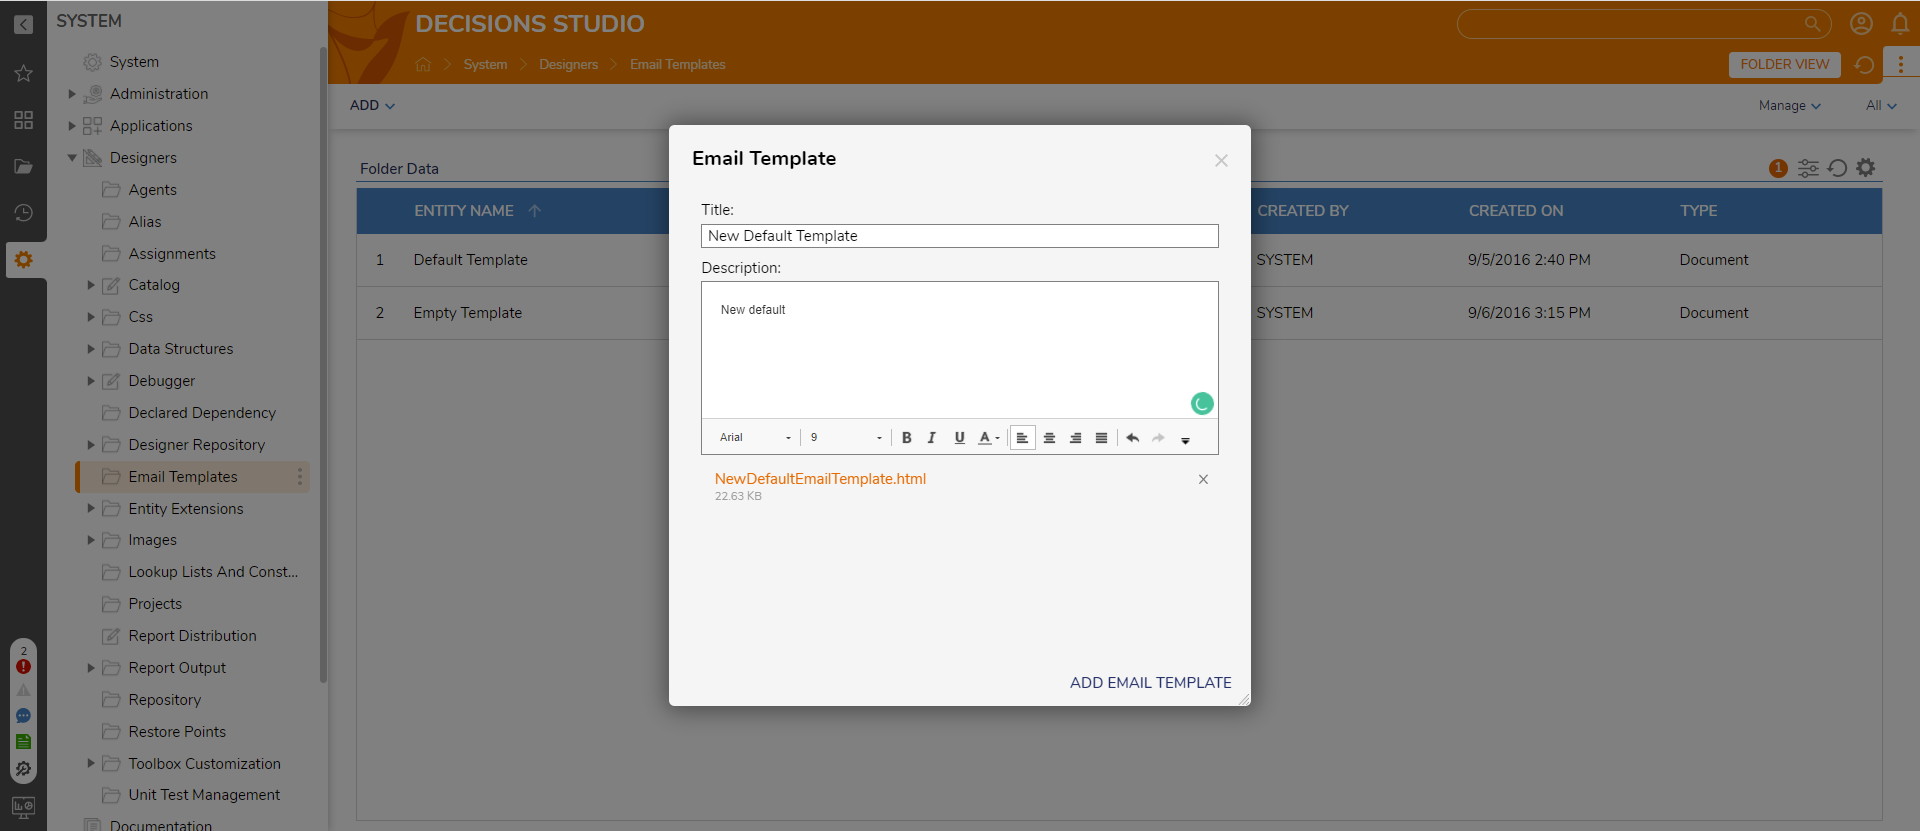
- After editing or creating an Email Template, navigate to System > Designers > Email Templates, click ADD, and select Email Template.
- In the Email Template window, enter the Title and Description. Then, drag and drop or choose the Email Template HTML document and click ADD EMAIL TEMPLATE.
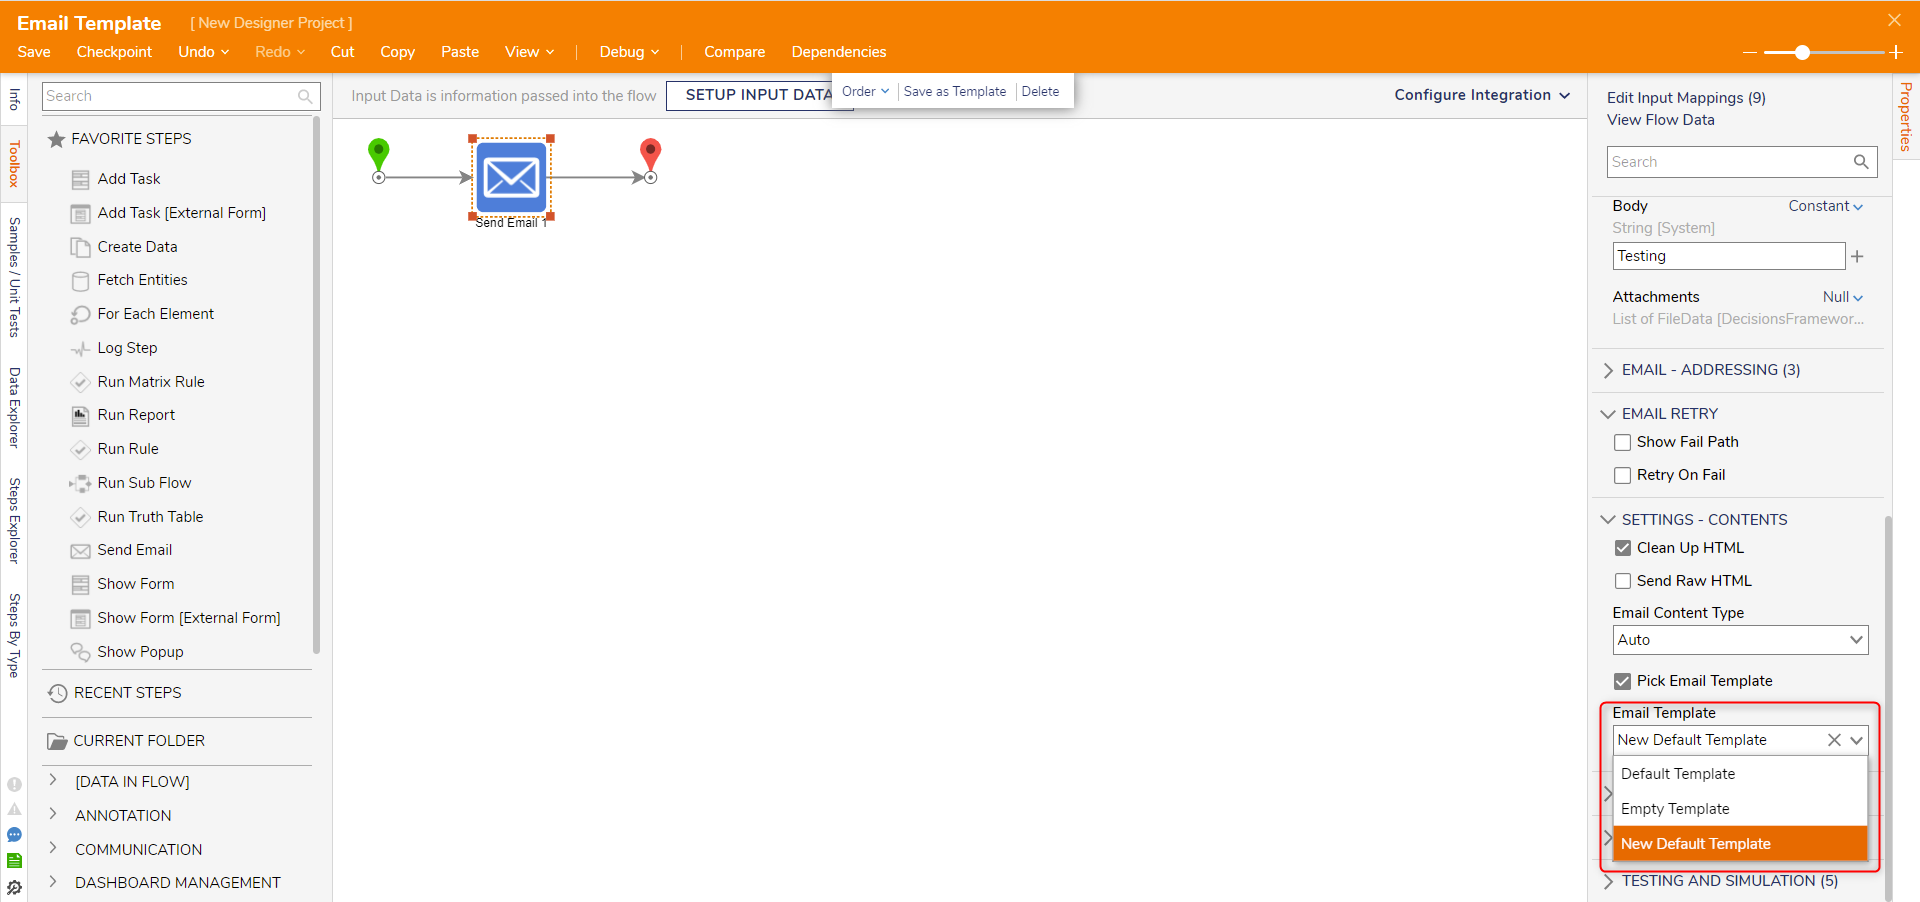
- Navigate back to the Flow. In the Flow Designer, select the Send Email step. From the Email Template, dropdown menu, select the added Email Template. Click Save and close the Flow Designer.
- Back in the Designer Project, run the Flow again. This time the Email is decorated with the customized Email Template.
The {{content}} variable can be modified by the Body input from the Send Email steps. Since the Body input is a String, the inputted values can be modified with HTML.


Applying an Email Template
- Begin in the Designer Project, click CREATE FLOW and select Flow. Name the Flow and click CREATE.
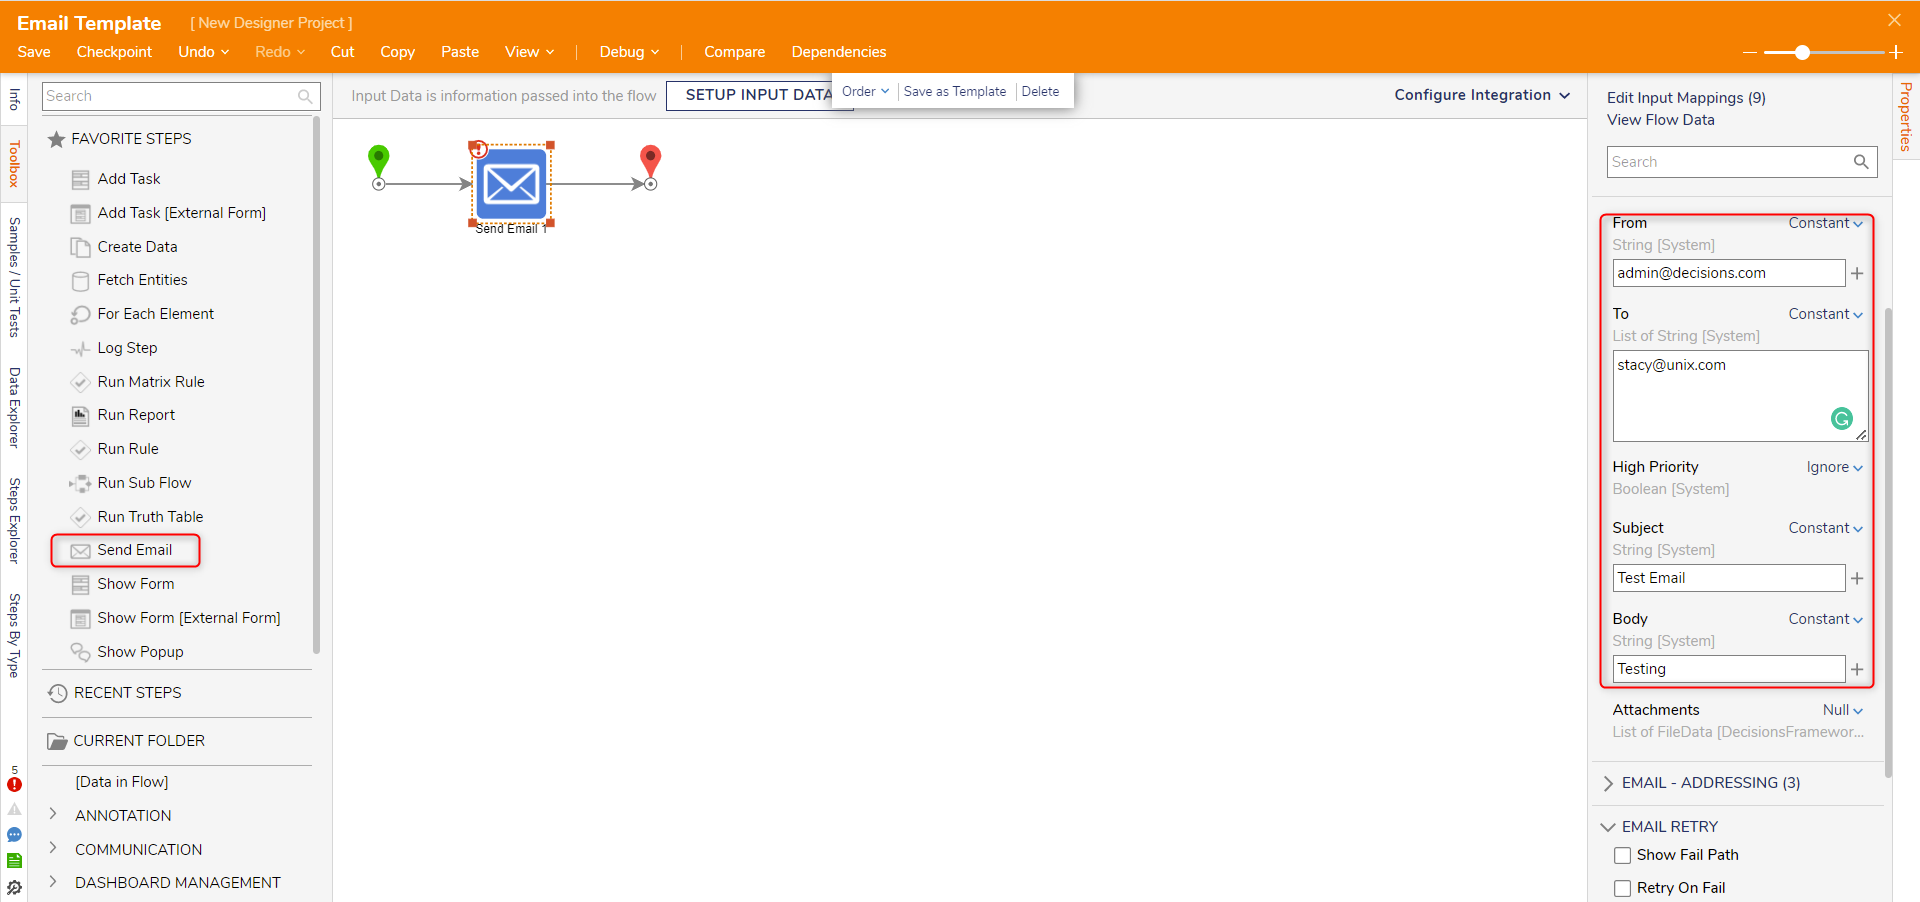
- In the Flow Designer, add a Send Email step from the FAVORITE STEPS category in the Toolbox panel to the Start and End steps.
- On the Properties panel, enter Constant values in the From, To, Subject and Body fields.
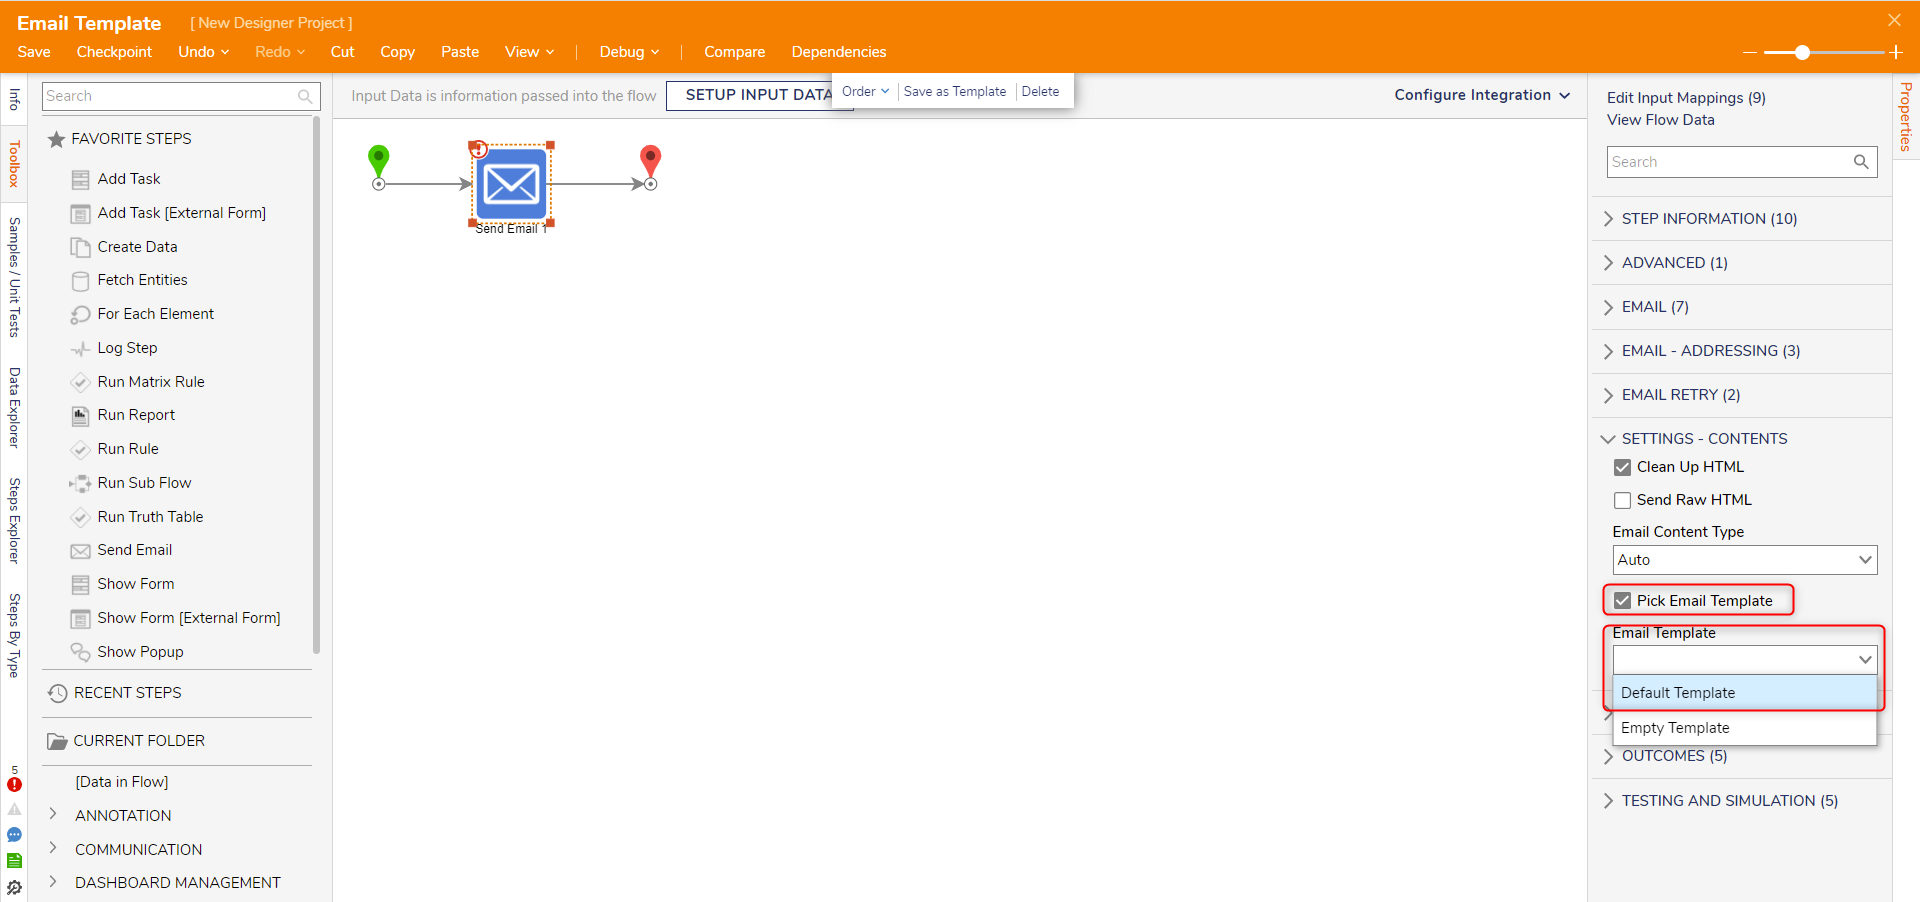
- In the SETTINGS _ CONTENTS category, select the Pick Email Template box and select Default Template. Click Save and close the Flow Designer.
- In the Designer Project, right-click the Flow and select Run Flow.
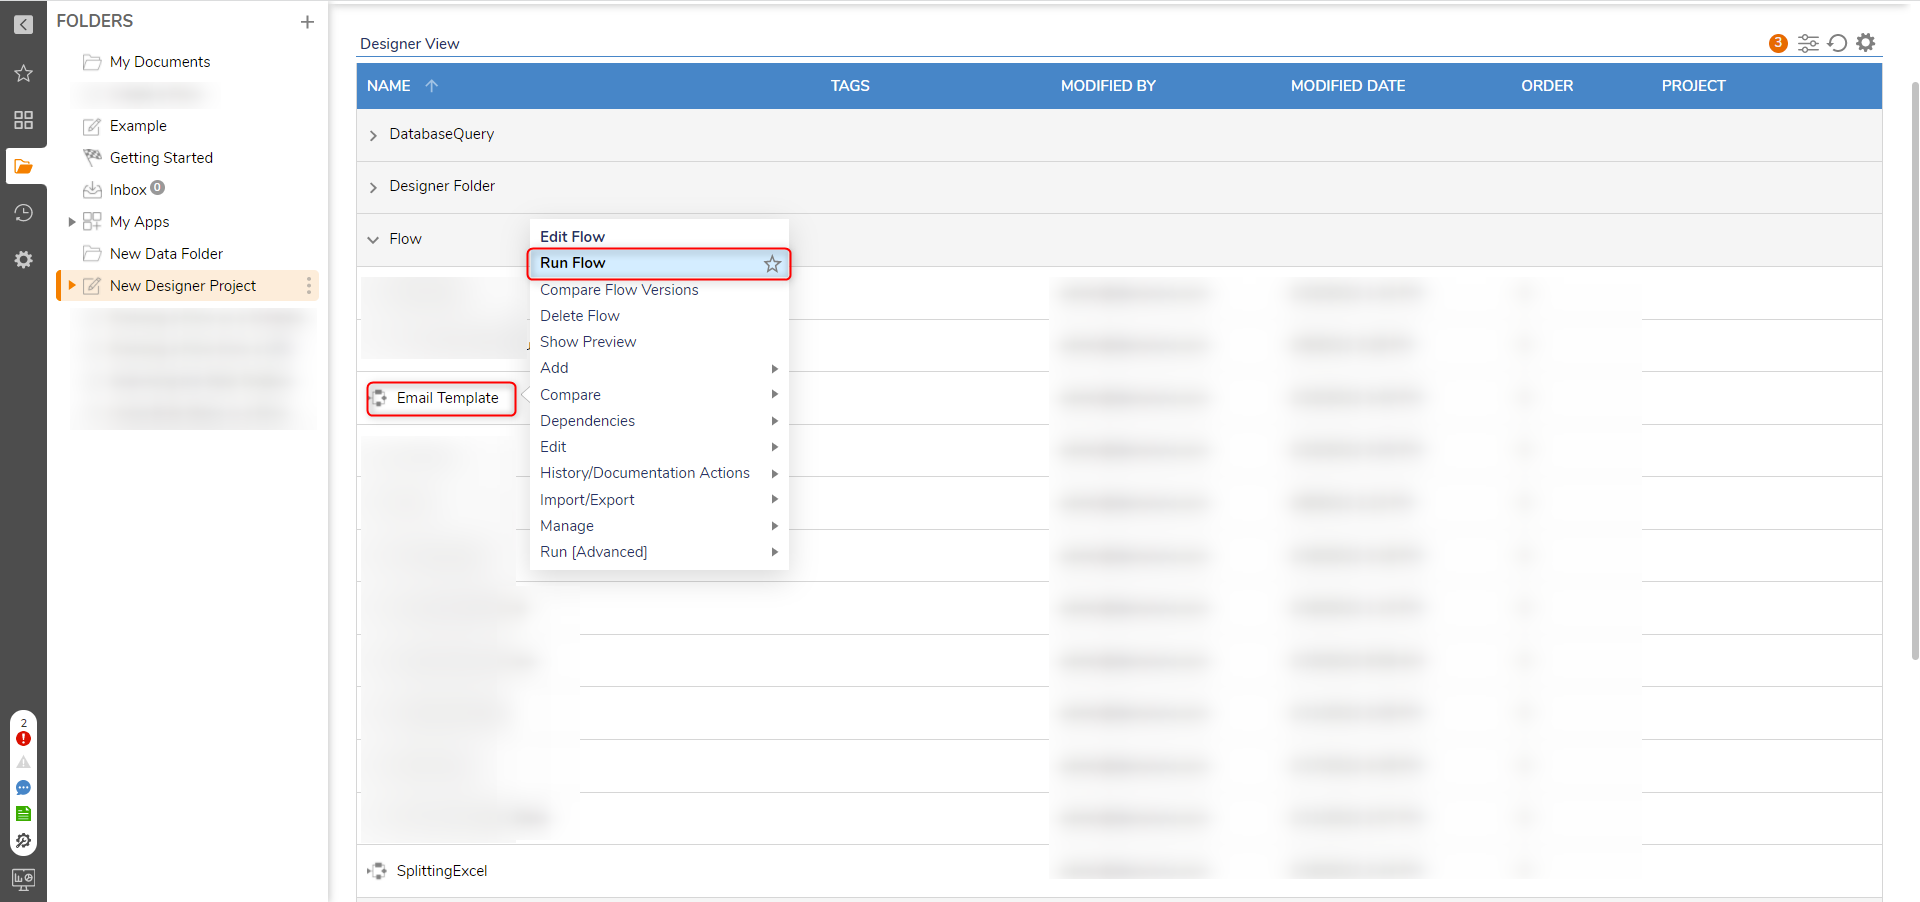
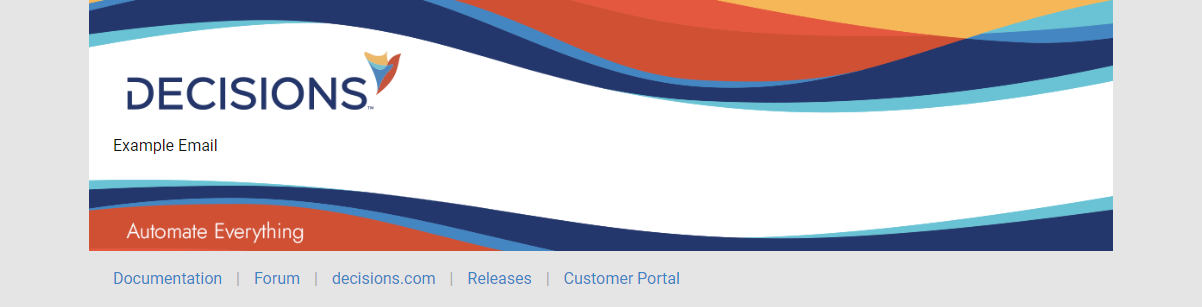
- The Flow sends the Email that looks as follows and the selected Email Template applied to it.


SETTINGS-CONTENT Properties
Adjusting the parameters within the SETTINGS - CONTENT category allows further customization options.
| Property | Description |
|---|---|
| Clean Up HTML | Converts HTML codes containing "&" to their standard characters. |
| Send Raw HTML | Sends Email in Raw HTML format. |
| Email Content Type | Allows the user to select the formatting for an Email. Selecting Auto, auto-selects an option, selecting HTML sends the Email in HTML format, and selecting Plain sends the Email as plain text. |
| Pick Email Template | Enables the ability to select from a list of pre-existing Email Templates. |
| Email Template | The Input is utilized for mapping in an Email Template. Can be dynamically mapped (Pick Email Template unchecked), or selected via dropdown (Pick Email Template checked). |
For further information on Flows, visit the Decisions Forum.
Was this article helpful?