Editing Data Objects in a Wizard Property Grid
- 11 Oct 2022
- 2 Minutes to read
- Print
- DarkLight
Editing Data Objects in a Wizard Property Grid
- Updated on 11 Oct 2022
- 2 Minutes to read
- Print
- DarkLight
Article Summary
Share feedback
Thanks for sharing your feedback!
Overview
The Wizard Property Grid Form Control allows designers to create a wizard for defining data objects' properties easily. By defining the Form's data input as a data object, the Wizard Property Grid automatically includes all fields, in their proper formats, related to editing the object. For example, if an Account object is defined as the input for a Wizard Property Grid, the wizard that displays to the user will contain all of the fields that can be changed on a user account record, including text fields, date pickers, checkboxes, and drop-down lists.
Example
The example Flow will display a Form that can edit a single Account object. This account's properties display in three sections within a wizard property grid. Navigate between these sections using a Previous button and a Next button. In the first section of the wizard, the Previous button will not display. On the final section in the wizard, the Next button's label will change to Done.
- Begin in a Designer Folder, and select CREATE FLOW in the Global Action Bar.
- In the resulting dialog, select Flow, name the Flow, then select CREATE.
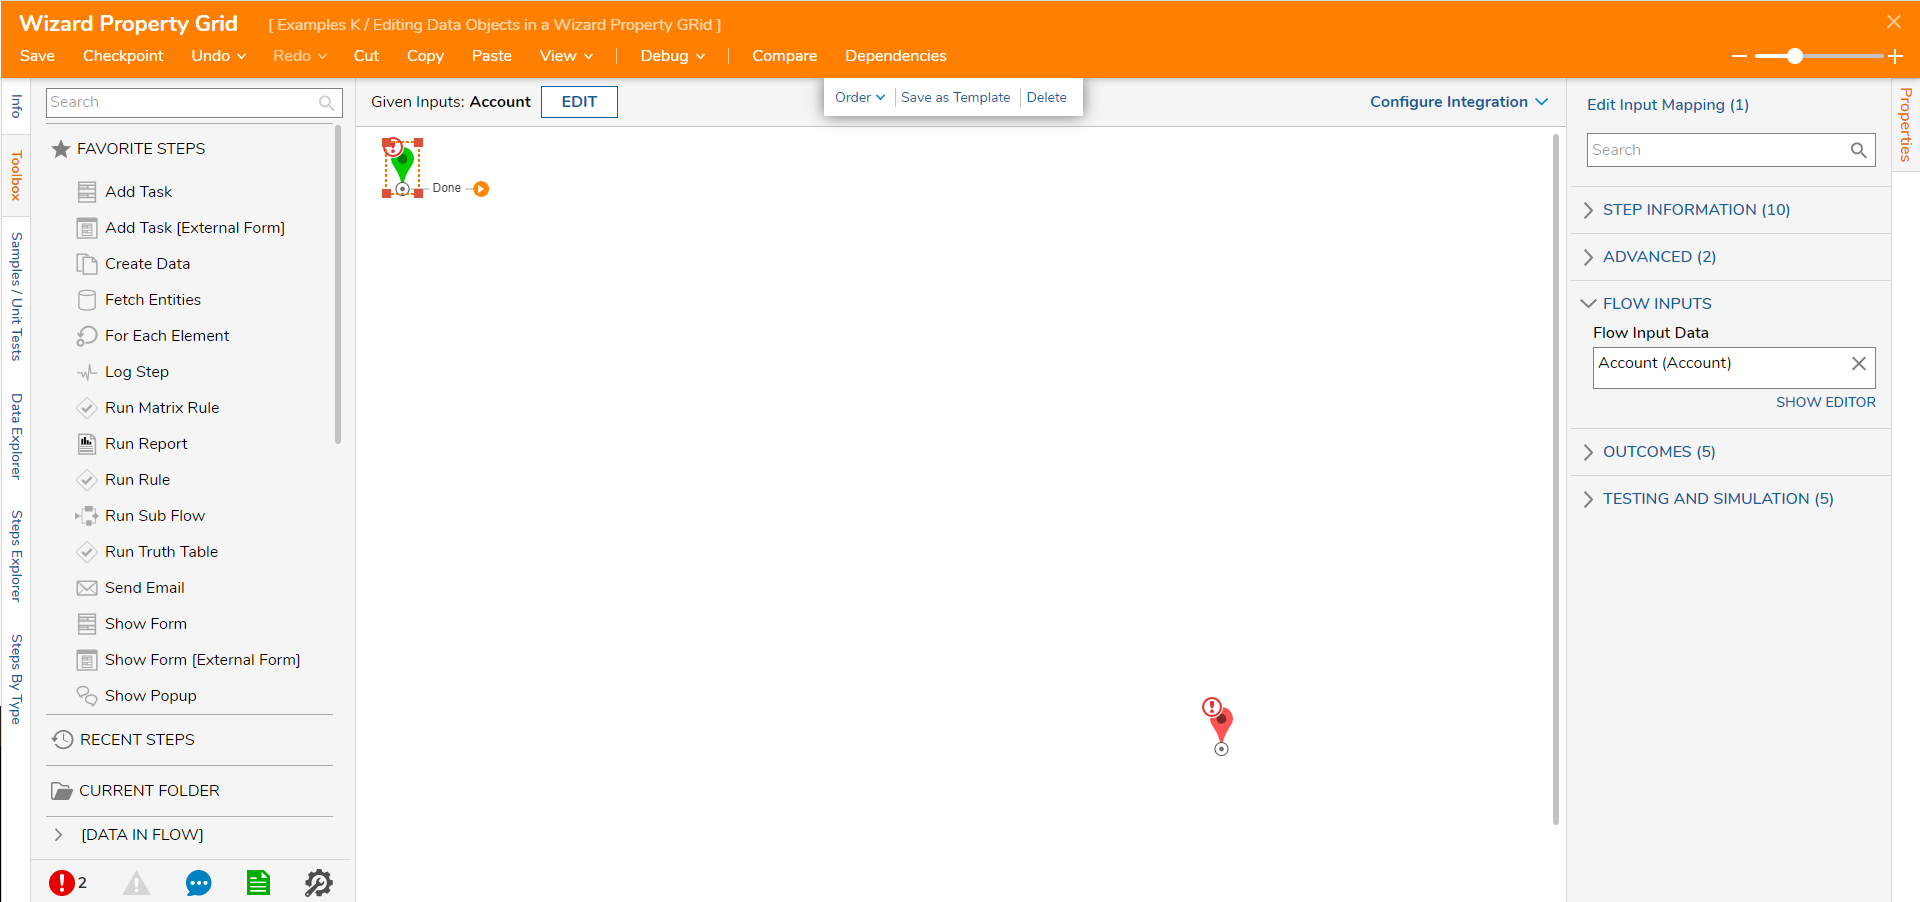
- In the Flow Designer, select the Start step. Select Show Editor under the Properties panel under FLOW INPUTS > Flow Input Data.
- In the Data Definitions dialog, name the data "Account" and select the Type's Account. Select CLOSE.
- In the Toolbox panel, drag a Show Form step to the workspace in the Favorite Steps category.
- Select PICK OR CREATE in the Properties panel.
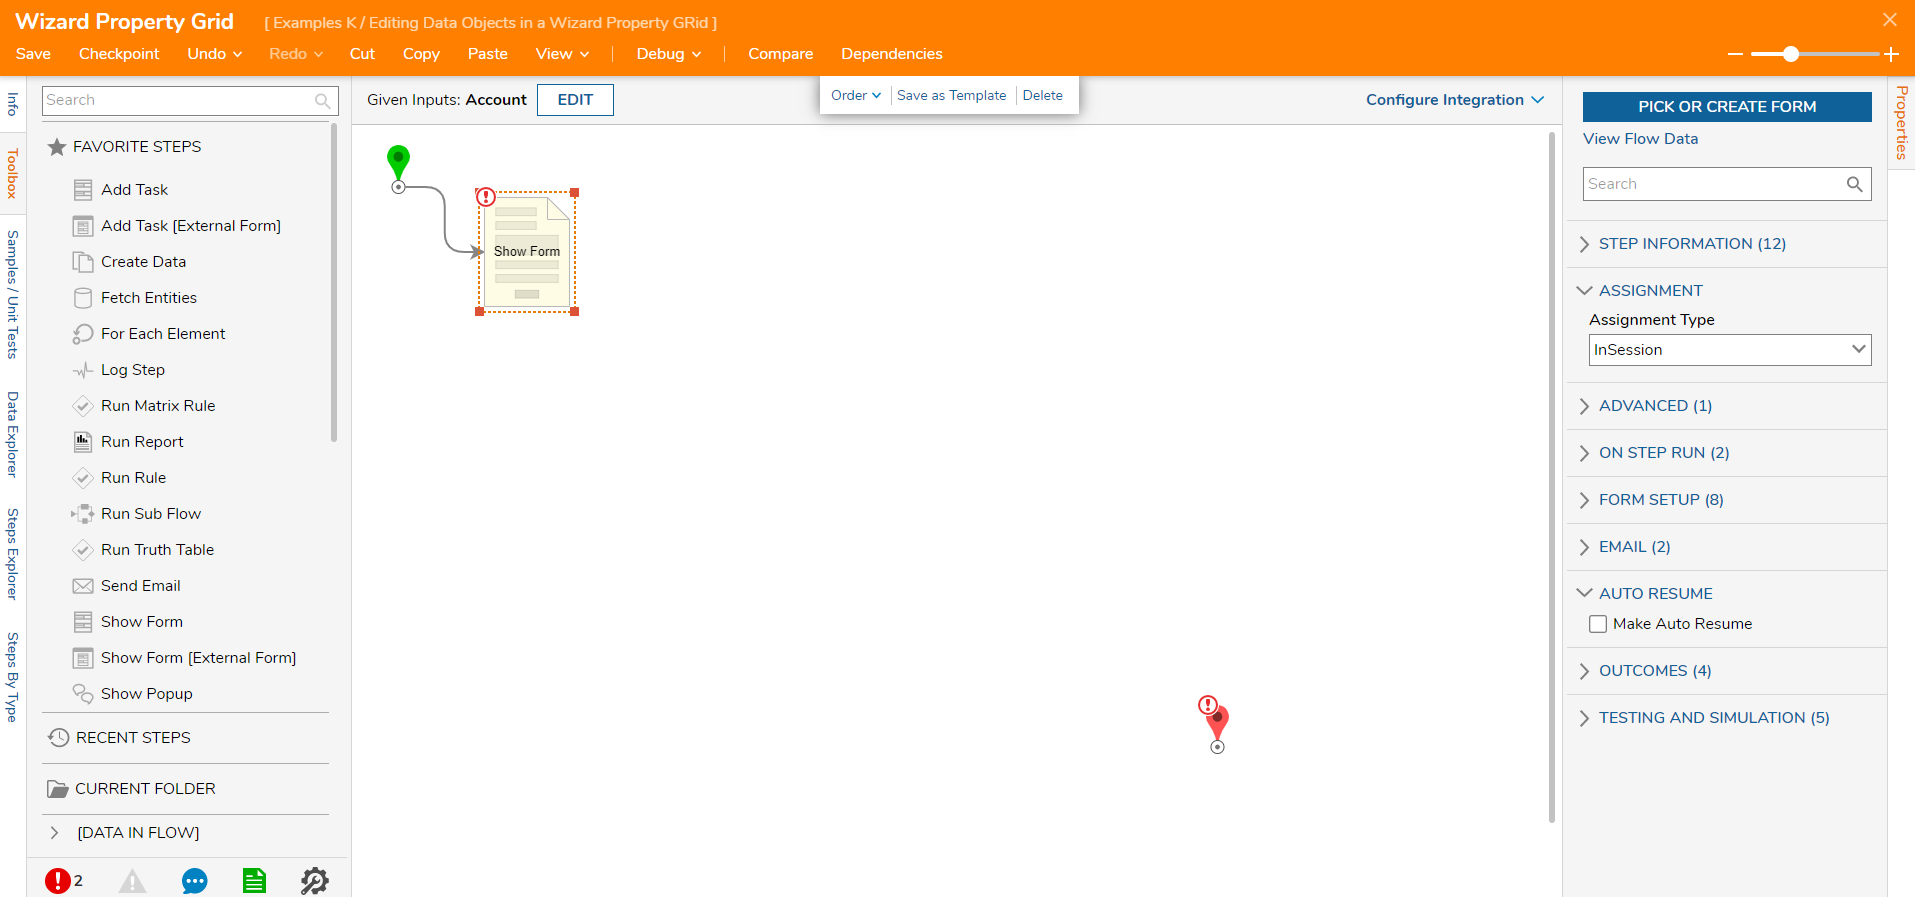
- Select CREATE under Create New.
- Choose Form. Name the Form. Select CREATE.

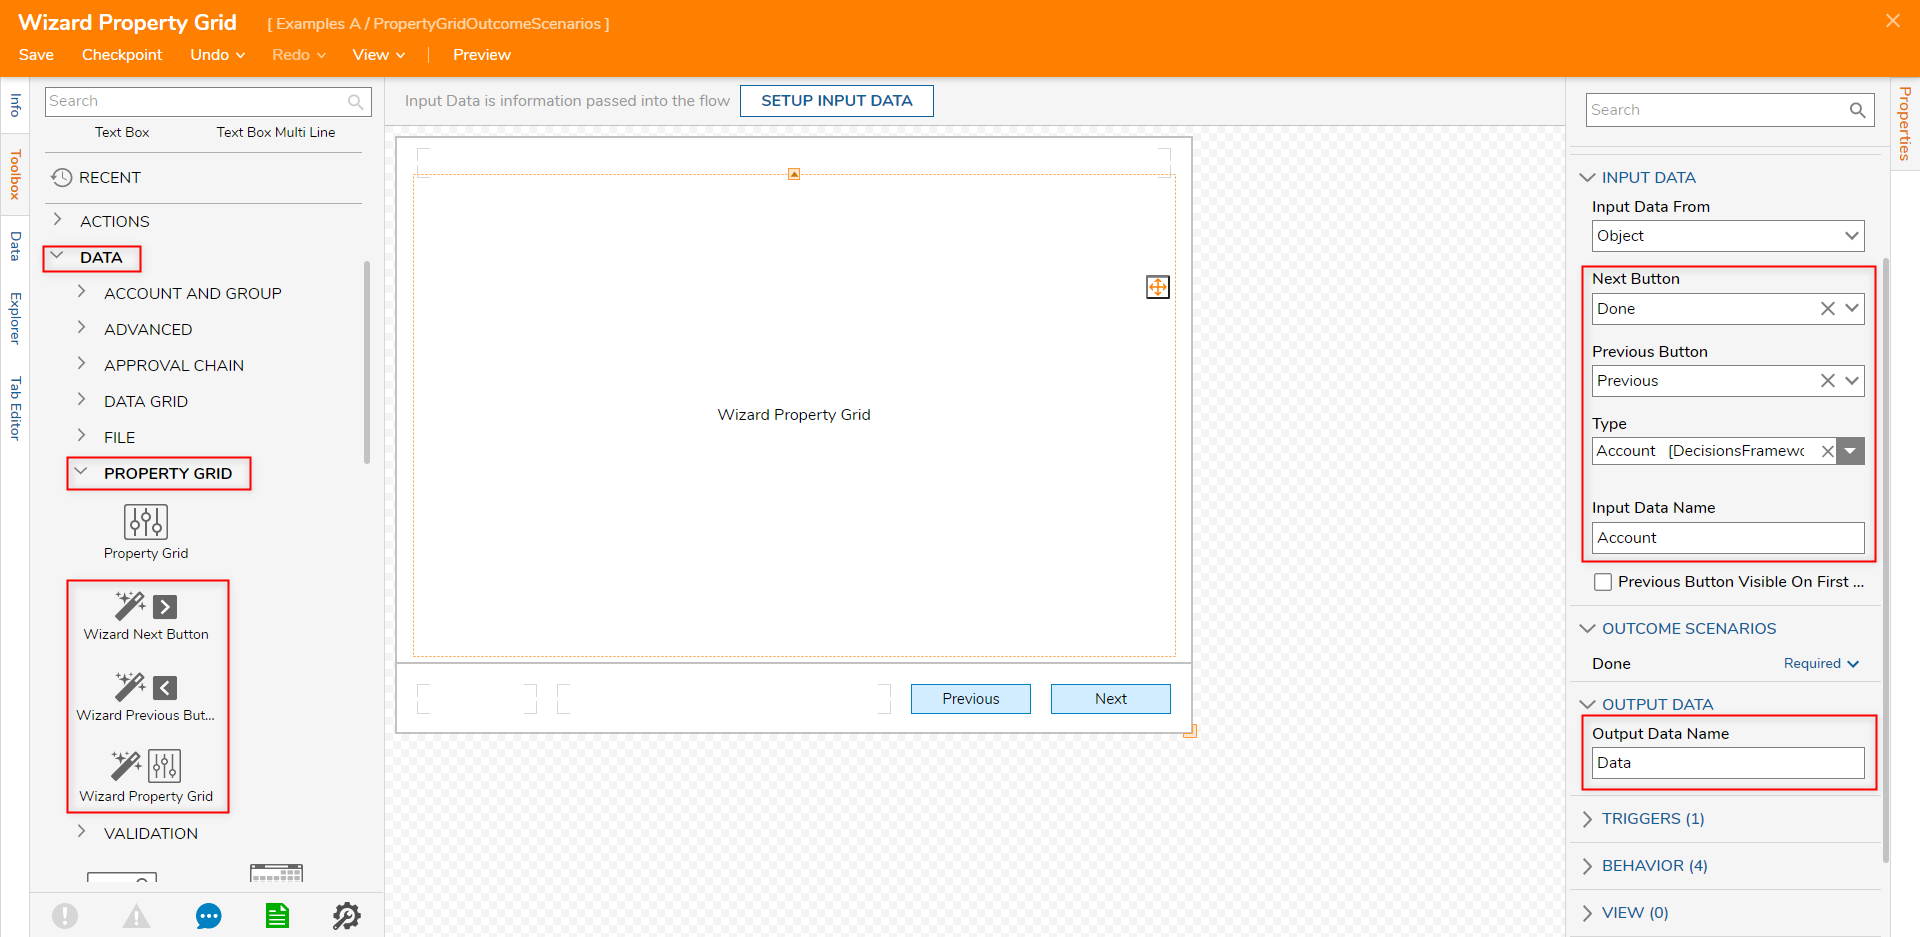
- In the Form Designer, navigate to the Toolbox, and expand the DATA > PROPERTY GRID category. Drag and drop a Wizard Property Grid onto the Form.
- Drag and drop a Wizard Next Button and a Wizard Previous Buttononto the Form from the same DATA > PROPERTY GRID category. The wizard property grid component uses two buttons to navigate between sections. The first button will be the Wizard Next Button when the object described by the wizard property grid has no more sections to display after the current one, its label changes to Done. The Wizard Previous Button will not display on the first section.
- Select the Wizard Property Grid and navigate to the Properties panel. Under INPUT DATA > Next Button, select Done. For INPUT DATA > Previous Button, select Previous.
- Under INPUT DATA > Type, choose Account.
- Define the Input Data Name as "Account" and the Output Data Name as "Data".
- Save and Close (X) the Form Designer.
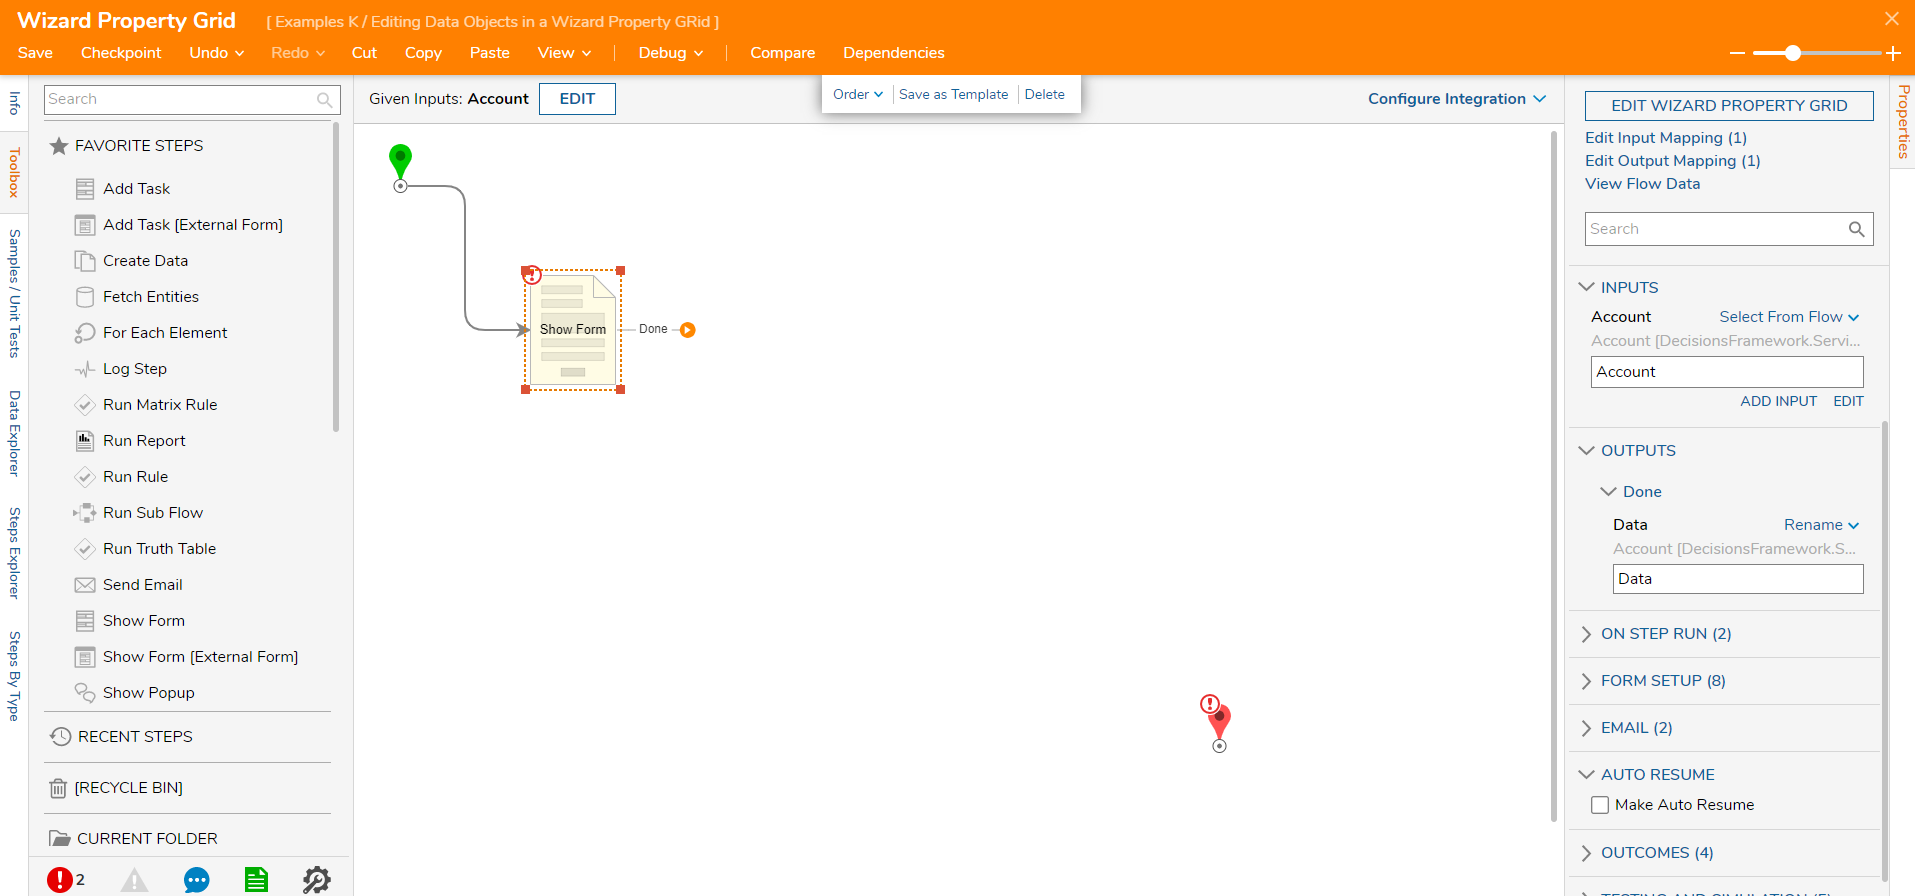
- Back in the Flow Designer, connect the outcome path of the Form to the End step.
- Select the Show Form step in the Properties panel; under INPUTS > Account, and select Account from the Flow.


Debug
- In the Flow Designer, select Debug in the top action panel.
- When the Flow runs, the user is prompted to select an account to fill in the fields.
- The first section is the Data section, the next is the Settings section, and the final section is Person Info.
- The fields within these sections can be edited and saved if the Flow is set up to save the changes.

Was this article helpful?