Updating Custom Modules
- 30 Oct 2023
- 1 Minute to read
- Print
- DarkLight
Updating Custom Modules
- Updated on 30 Oct 2023
- 1 Minute to read
- Print
- DarkLight
Article Summary
Share feedback
Thanks for sharing your feedback!
Overview
Custom modules may require updates to provide proper maintenance and/or new functionality.
Before updating a custom module, it is a recommended best practice to back up all files within C:\Program Files\Decisions\Decisions Server\modules\[CustomModuleFolderName].
There are 2 ways to update the Custom Modules.
- Through the Decisions Portal
- Through the File System
Updating through the Decisions Portal
Note:
Updating a custom module is only available on version 8.8 and later.
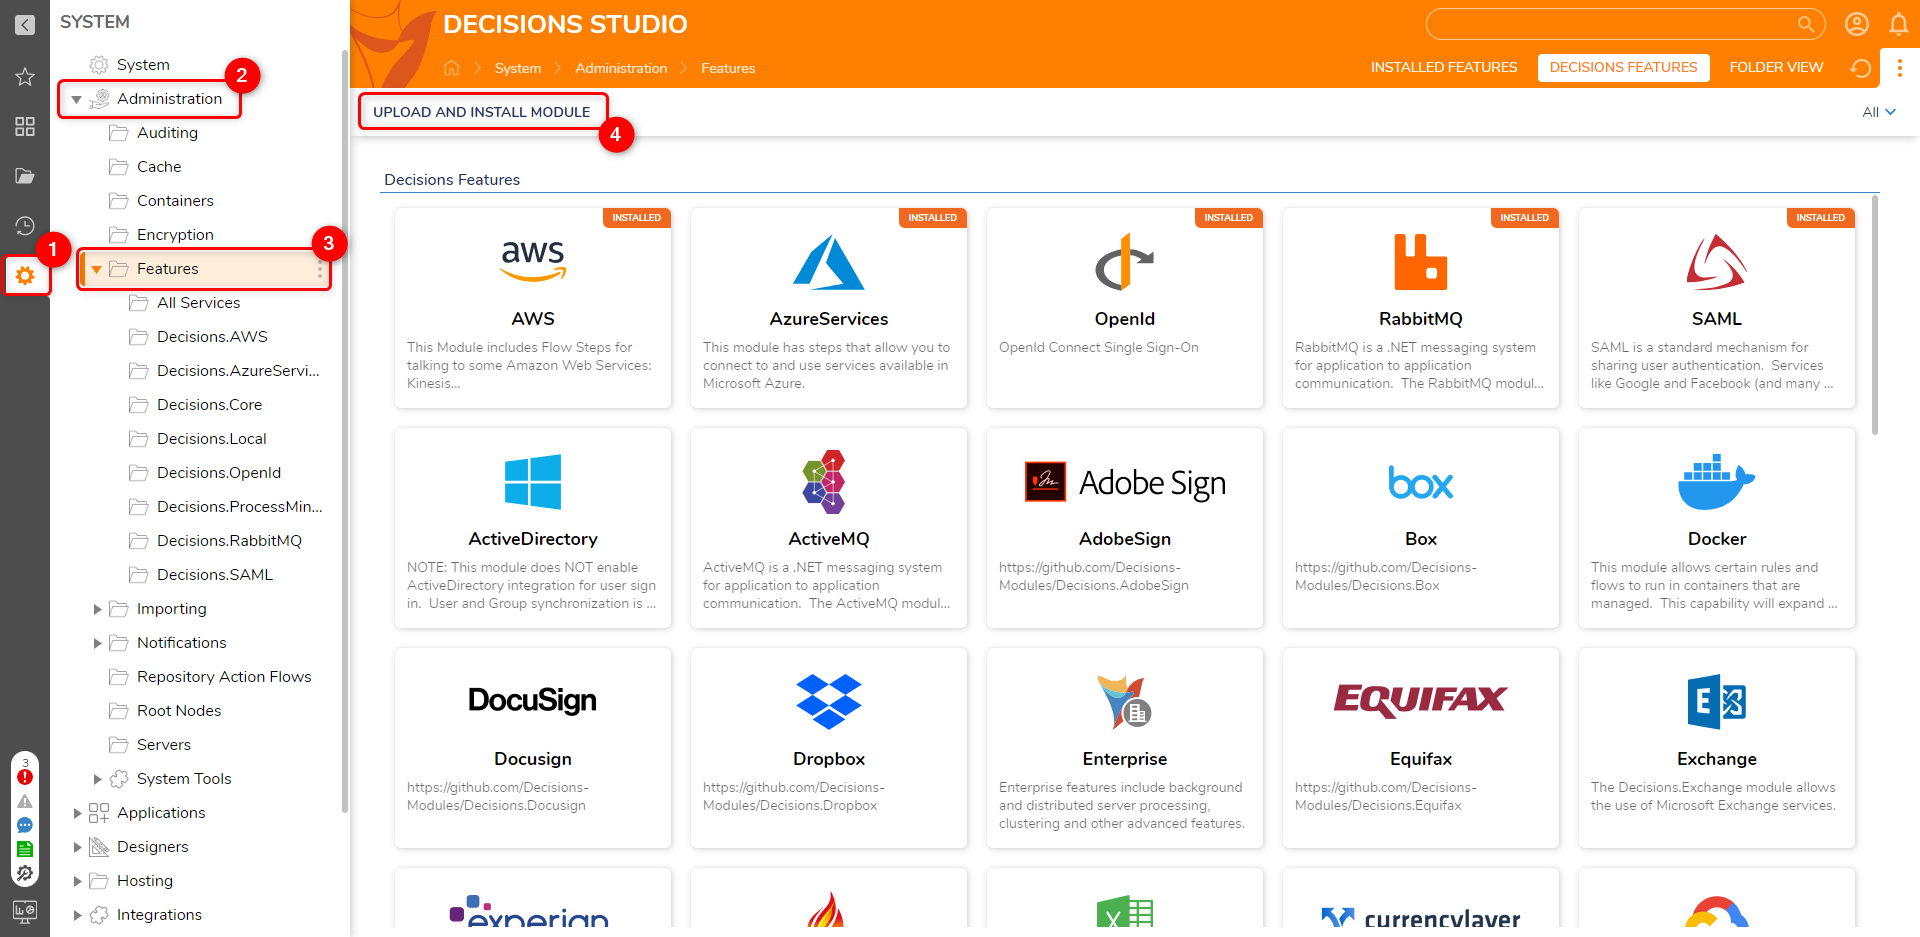
- Log into Decisions Studio, and navigate to System > Administration > Features. On the Features page, locate and click on Upload and Install Module.
- Drag .zip file to upload or click on Choose a File to upload. Only .zip files can be uploaded.
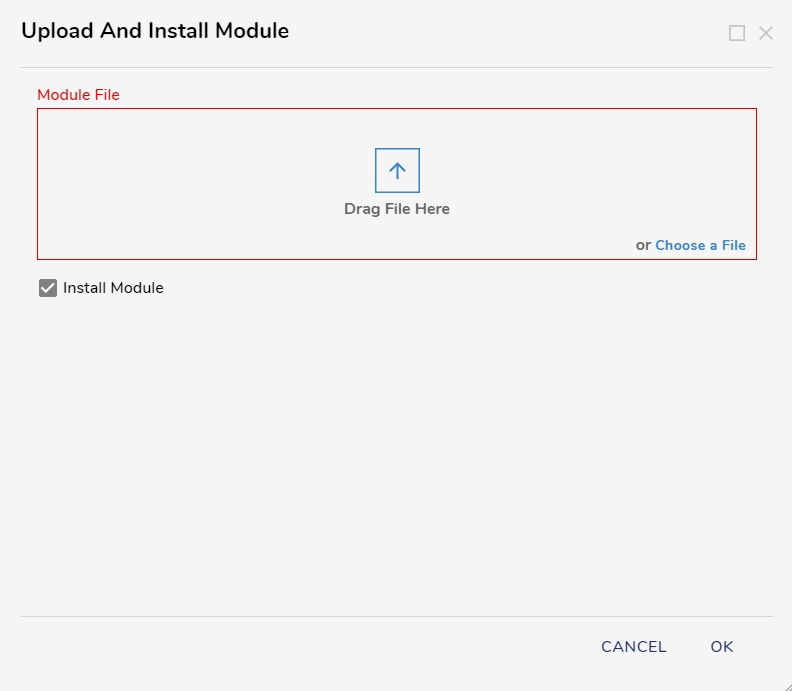
- Click OK. This will update the custom module.
- To reflect the changes to the custom module, restart the Decisions Server.


Updating through File System
The following steps demonstrate how to update a custom module file.
- Copy and replace the zipped module from
C:\Program Files\Decisions\Decisions Server\CustomModules.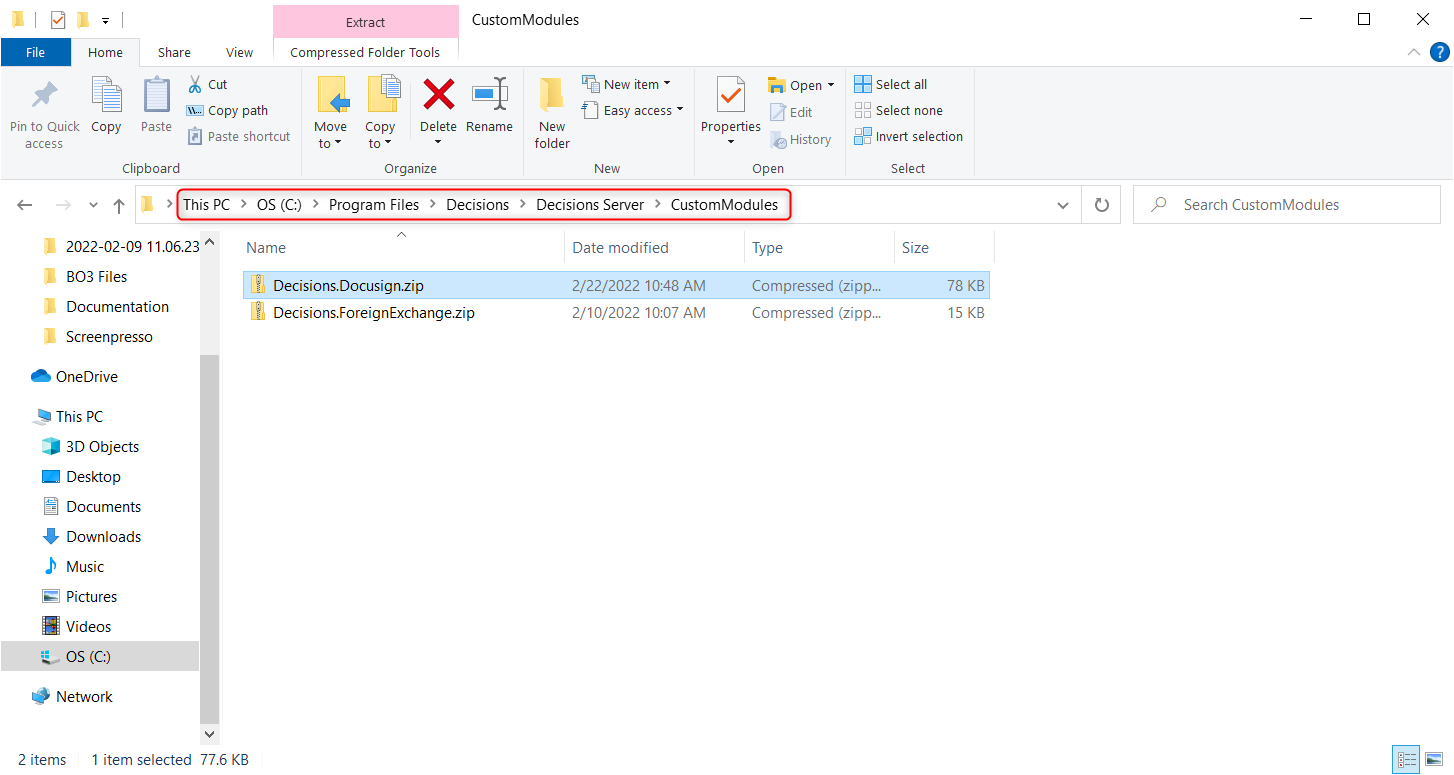
- Restart the Decisions Server.

Feature Changes
| Description | Version | Date | Developer Task |
|---|---|---|---|
| UI changes for the "My Apps" Page in the Designer Studio | 8.13 | August 11, 2023 | [DT-037963] |
Was this article helpful?