Overview
Tab Containers allow designers to group related content into navigational tabs, making complex Forms and Pages easier to scan, organize, and interact with.
Each tab provides its own workspace for controls. Tabs can be statically defined or dynamically driven using data, allowing both the active tab and tab headers to change at runtime. Tab Containers support configurable header placement, sizing, and iconography, giving designers flexibility to create clear, modern navigation experiences without custom styling or scripting.
By default, a new Tab Container includes three tabs, with additional tabs configurable through the Layout properties.
Configuration
Tab Containers may be configured via its Properties > Layout settings panel.

Tab Layout Configuration
| Setting Name | Default Value | Description |
|---|---|---|
| Tabs | [Tabs A,B,C] | Populates with names of created Tabs. The CLEAR ALL and ADD text deletes all Tabs or adds a new tab respectively. |
| Default Tab From Data Name | False | Toggles whether default tab is chosen based off a data name. Enable this for dynamically changing default tabs |
| Default Tab | [Tab A] | Allows selection of which Tab expands by default upon Form runtime |
| Headers Placement | Top | Allows selection of the Tab Headers orientation between either the Top or Left of the Layout |
| Tab Header Size | 0 | Controls the height of the Tab Header area. Increasing this value allows larger icons or a more prominent tab appearance. |
Hovering the mouse over a Tab presents icons to execute certain actions:
| Action Name | Description |
|---|---|
| Up Arrow | Allows moving of Tab position from right to left or bottom to top |
| Down Arrow | Allows moving of Tab position from left to right or top to bottom |
| Pencil | Allows to edit the tab name:
|
| Delete | Deletes the tab |
Tab Configuration
| Setting Name | Description |
|---|---|
| Get Header From Data Name | When enabled, the tab label is dynamically set using a data value provided at runtime. Designers must specify a data name, which can be populated from a Flow when the Form is shown. When disabled, the tab label uses the static Name value. |
| Name | Defines the static display name of the tab when Get Header From Data Name is disabled. |
| Get Icon From Data Name | When enabled, dynamically assigns the Tab icon using a value provided at runtime. This allows the icon to change based on form state, data, or user interaction. |
| Icon Data Name | Specifies the data name used to dynamically assign the tab icon. This value must be provided by the Flow or form data at runtime. |
| Icon Placement | Controls where the icon appears relative to the Tab label. Options include Left, Right, or Icon Only. |
| Icon Alt Text | Specifies alternative text for the tab icon. This text is used by screen readers to improve accessibility. |
| Icon Size | Controls the size of the icon displayed in the Tab Header. |
| Translate Text | When enabled, the tab label is translated based on the configured application languages. |
Example
This example demonstrates how to configure a Tab Container with icons and dynamic behavior to organize a Form into multiple sections.
- In a Designer Folder, create a new Form and open it in the Form Designer.
- Add a Tab Container to the Form using one of the following methods:
- Drag the Tab Container Layout from the Layouts section of the Toolbox into the workspace, or
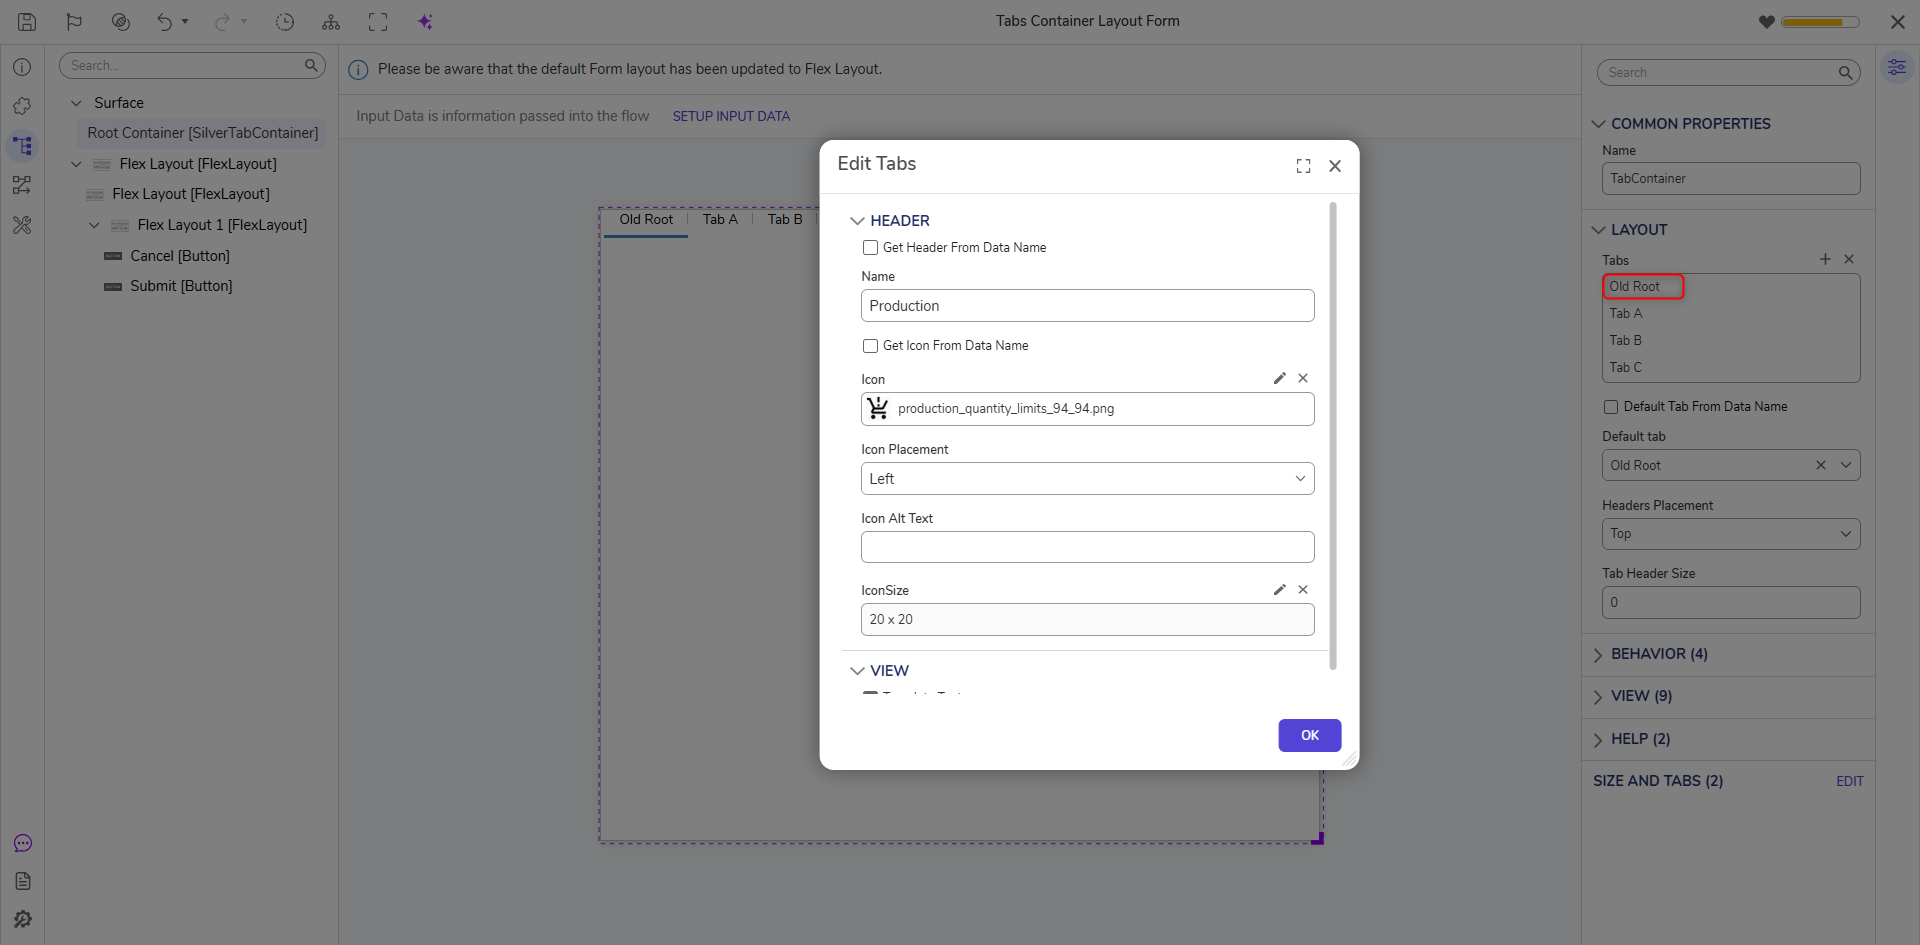
- Rename the default Tabs to the more descriptive. by hovering over the Tab in the Tabs setting and selecting the pencil icon to provide a name and icon.
Select Surface in the Explorer and change its Container Type to Tabs.
- Open the Tabs setting and edit each tab using the pencil icon to configure:
- A tab label (static or sourced from a data name)
- A tab icon
- Icon placement (for example, Left or Icon Only)
- In this example, icons are sourced from a data name to allow the tab icon to update dynamically at runtime.
- An Active Form Flow (AFF) evaluates the active tab at runtime and updates the corresponding icon. When a tab becomes active, the Flow matches the active tab name and applies a visual change to the tab icon.
- An Active Form Flow (AFF) evaluates the active tab at runtime and updates the corresponding icon. When a tab becomes active, the Flow matches the active tab name and applies a visual change to the tab icon.
- Set the Tab Header Size to accommodate the icon configuration and improve visual clarity.
- Select the first tab and add a Layout control to its workspace.
- Repeat this step for each tab.
- Important: Each tab should contain its own Layout control. Without a layout, the first control added to a tab will automatically expand to fill the entire tab container.
- Save and close and run the Form to evaluate the runtime behavior.

Feature Changes
| Description | Version | Release Date | Developer Task |
|---|---|---|---|
| Added the ability to pass dynamic names to the Tab Container header. | 9.8 | March 2025 | [DT-043366] |
| Added Icons to Tab Containers | 9.8 | February 2026 | [DT-046381] |