Overview
This article example uses a Flow to add a Tag to the current user's Email Address in the Decisions environment. Since the Account data type properties are readily available as Flow Data by default, this setup can reference the CurrentUserEmail property.
Adding a Tag to an Object in a Flow
- From the Flow Designer, navigate to INTEGRATION > INTERNAL SERVICES > TAGGINGSERVICE in the Toolbox tab.
- Attach an AddTag step to the Start and End step.
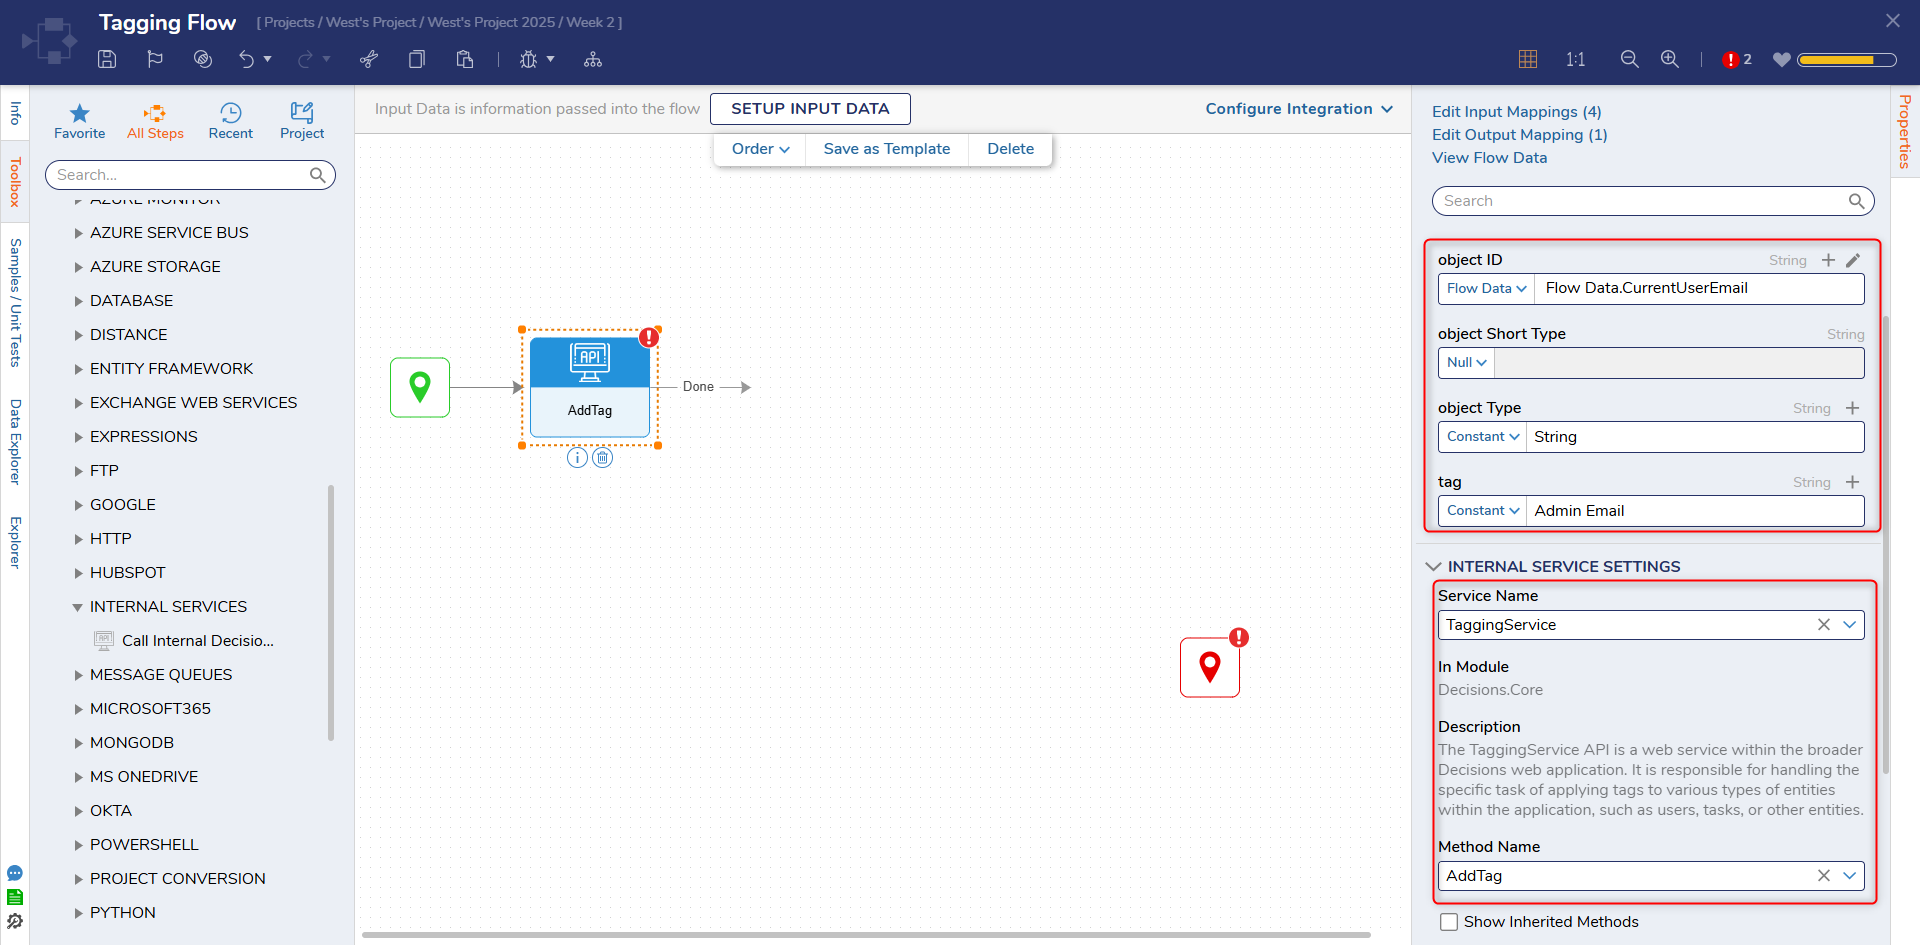
- From the AddTag step's Properties tab, Select From Flow map Flow Data.CurrentUserEmail to object ID. Set Object Short Type to Null, Constant map "String" to object Type, and Constant map the desired value under the tag. Then, under SECURITY CONTEXT, set the desired Context Type.
- The object ID determines which object the Tag will be applied to.
- The object Type is a mapped determination of the object's Data Type.
- The Context Type configures the environment in which the tag context is applied. By default, it is only applied to the current user; however, it may also be applied System-wide to a specific UserIDAndPassword combination or by a referenced Session ID.
- Save the Flow, then close via X.
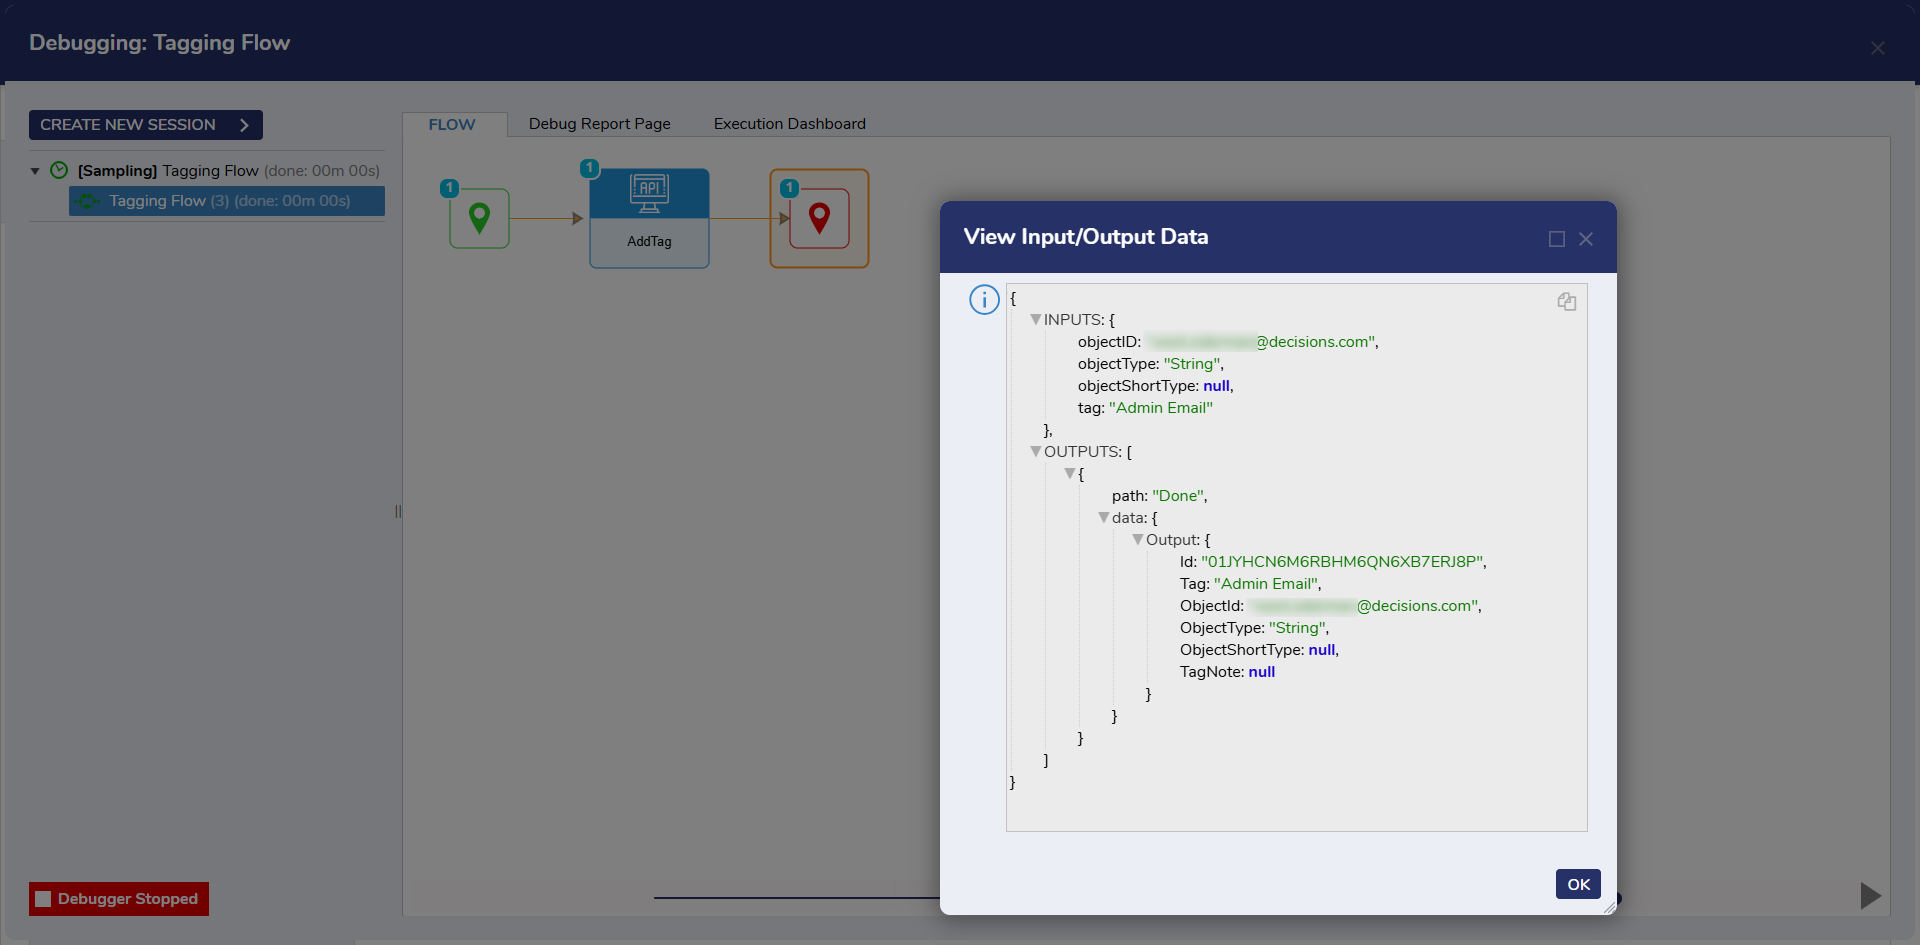
- From the Flow Designer, select the Debug link, then click START DEBUGGING.
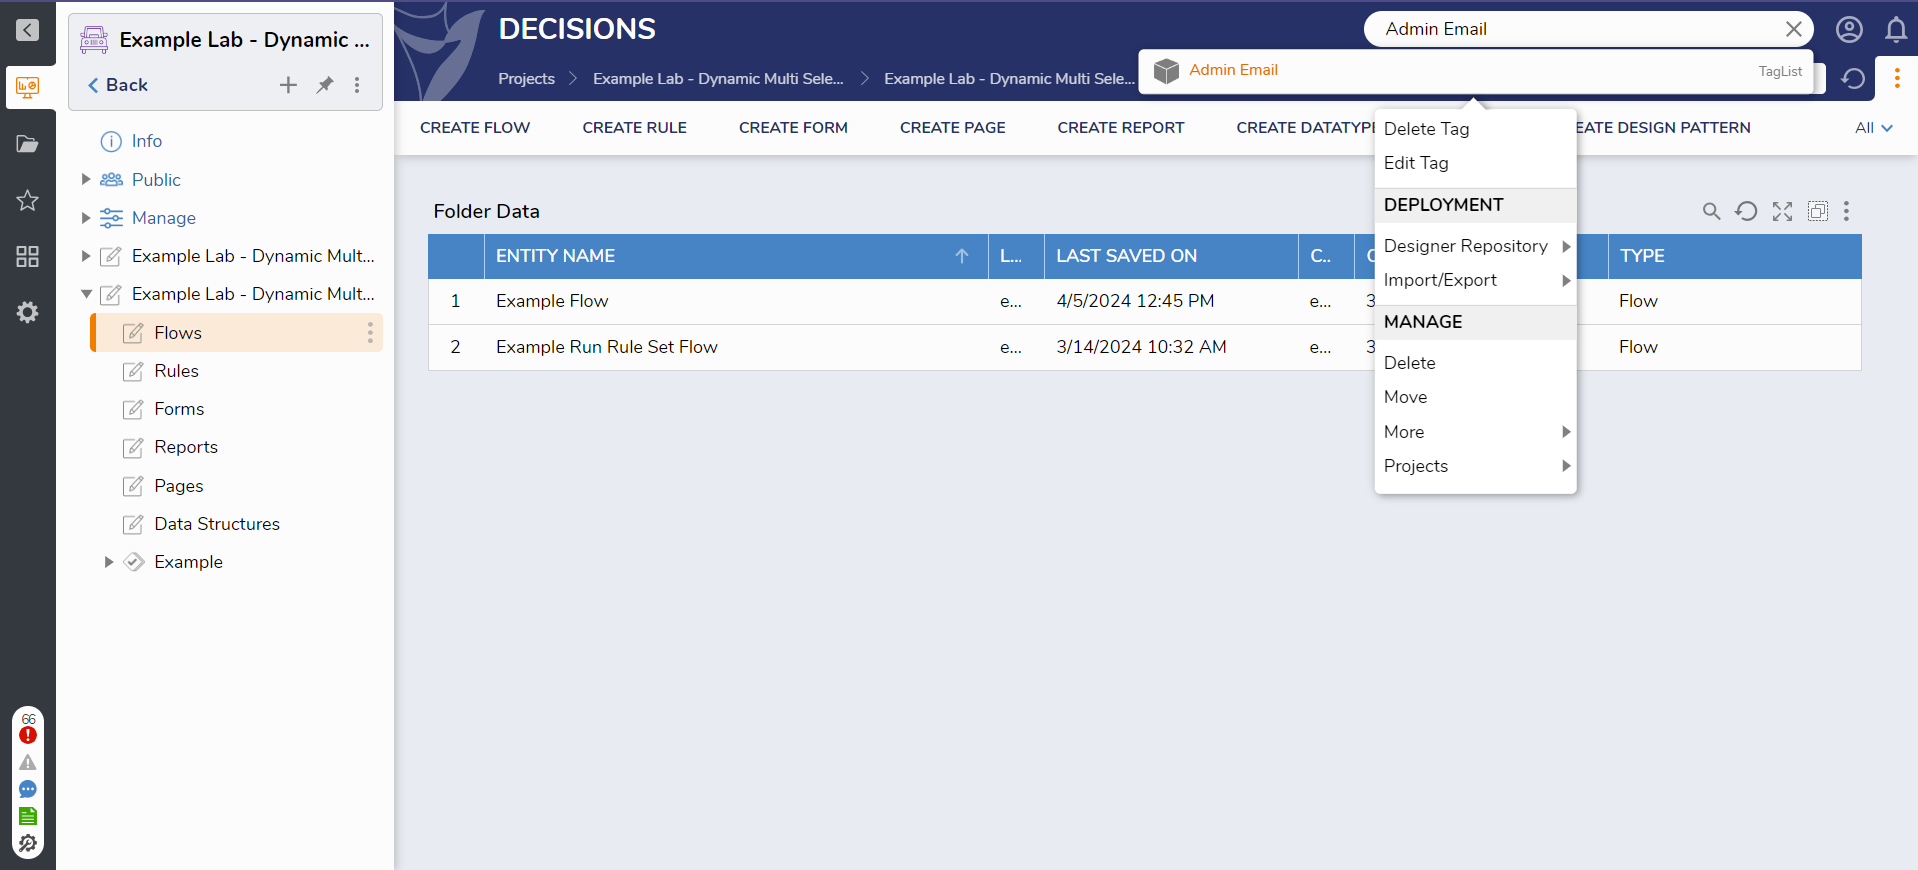
- After the Flow runs, navigate to the Designer Folder and search for the Tag to ensure that a Tag List has been made for the new Tag.
Adding a Tag in a Designer
- Select the Info tab in a Designer to reveal administrative details about the created Decisions object.
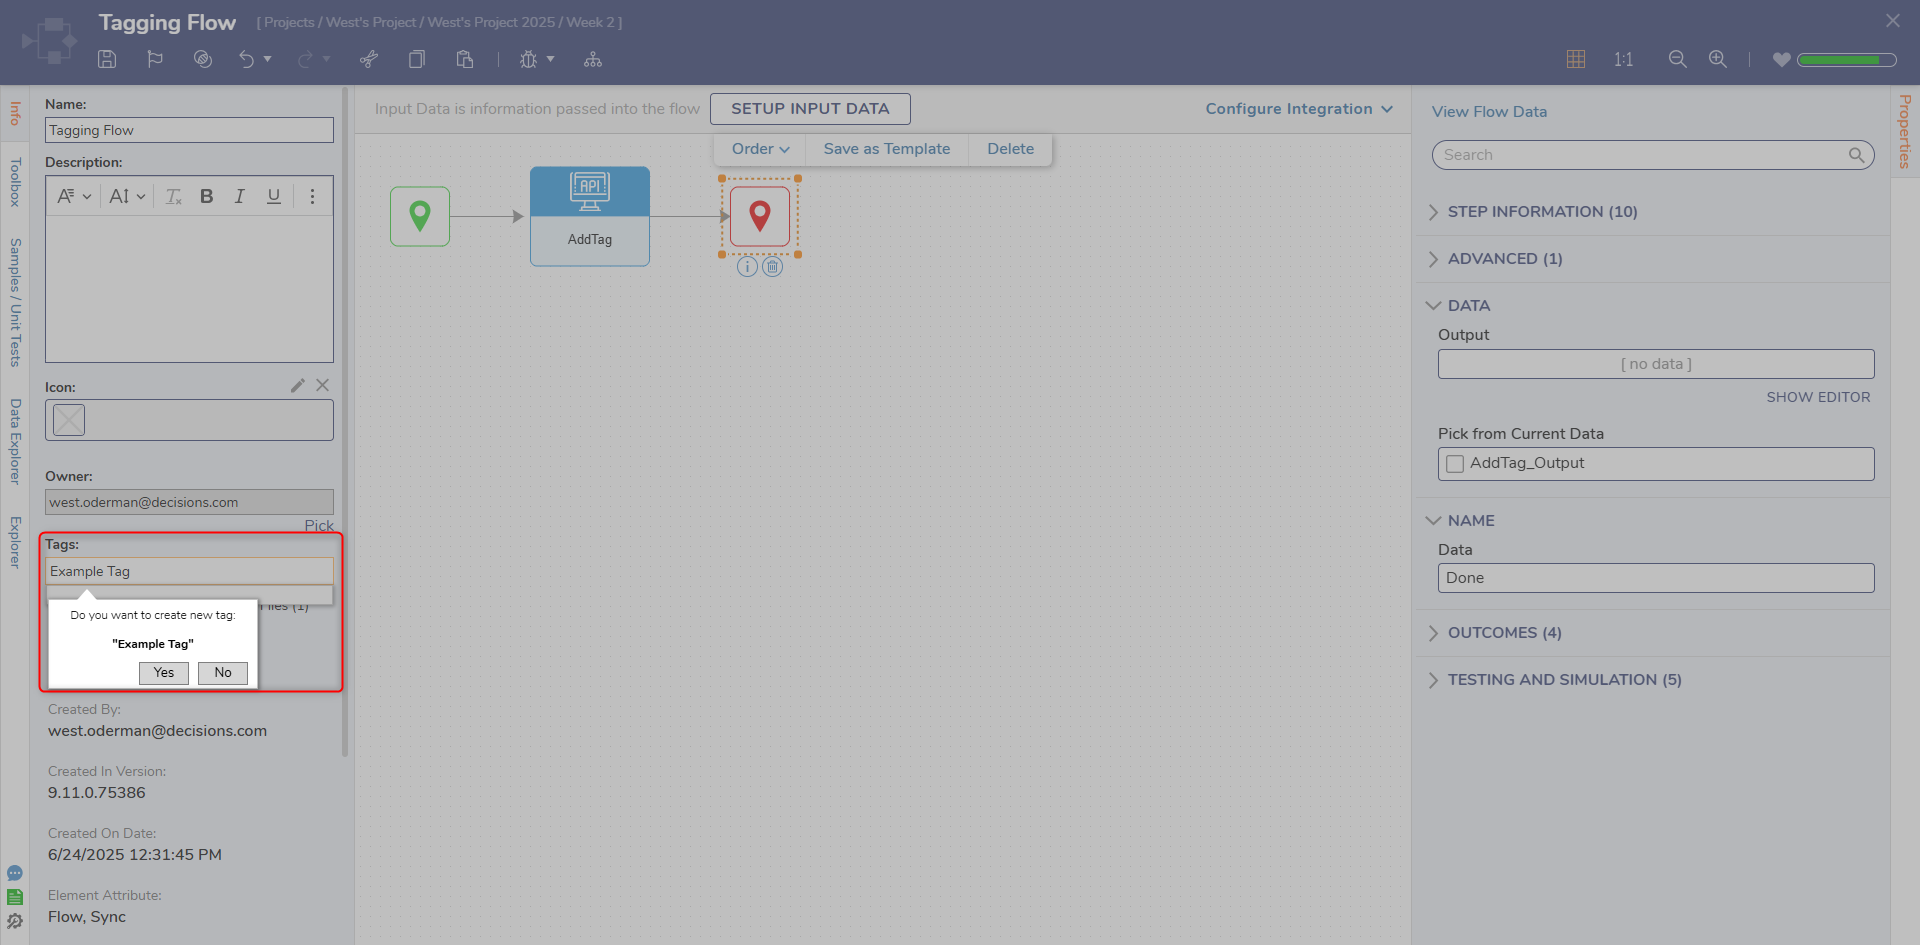
- Use the dropdown list under the Tag section to select an existing Tag, or start typing the name of a new tag and press "Enter" on the keyboard.
- If utilized, a confirmation prompt will appear; click Yes to verify the new Tag.
Adding a Tag from the Action Menu
- Right-click the object's name and navigate to More > Manage Tags.
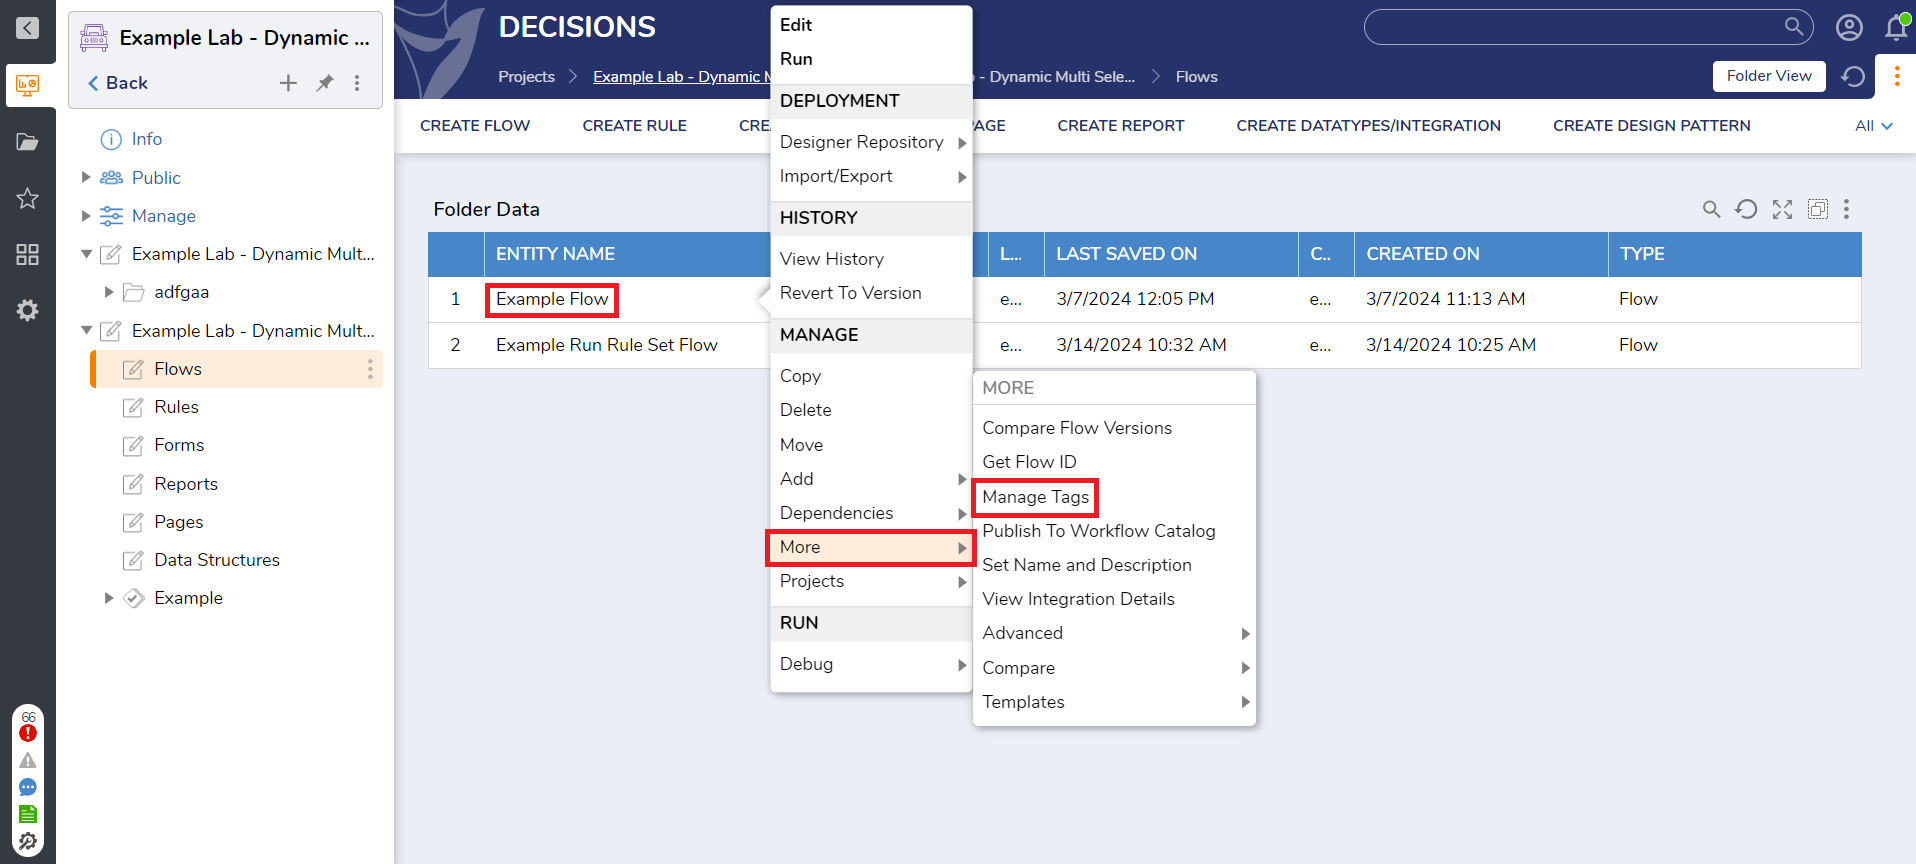
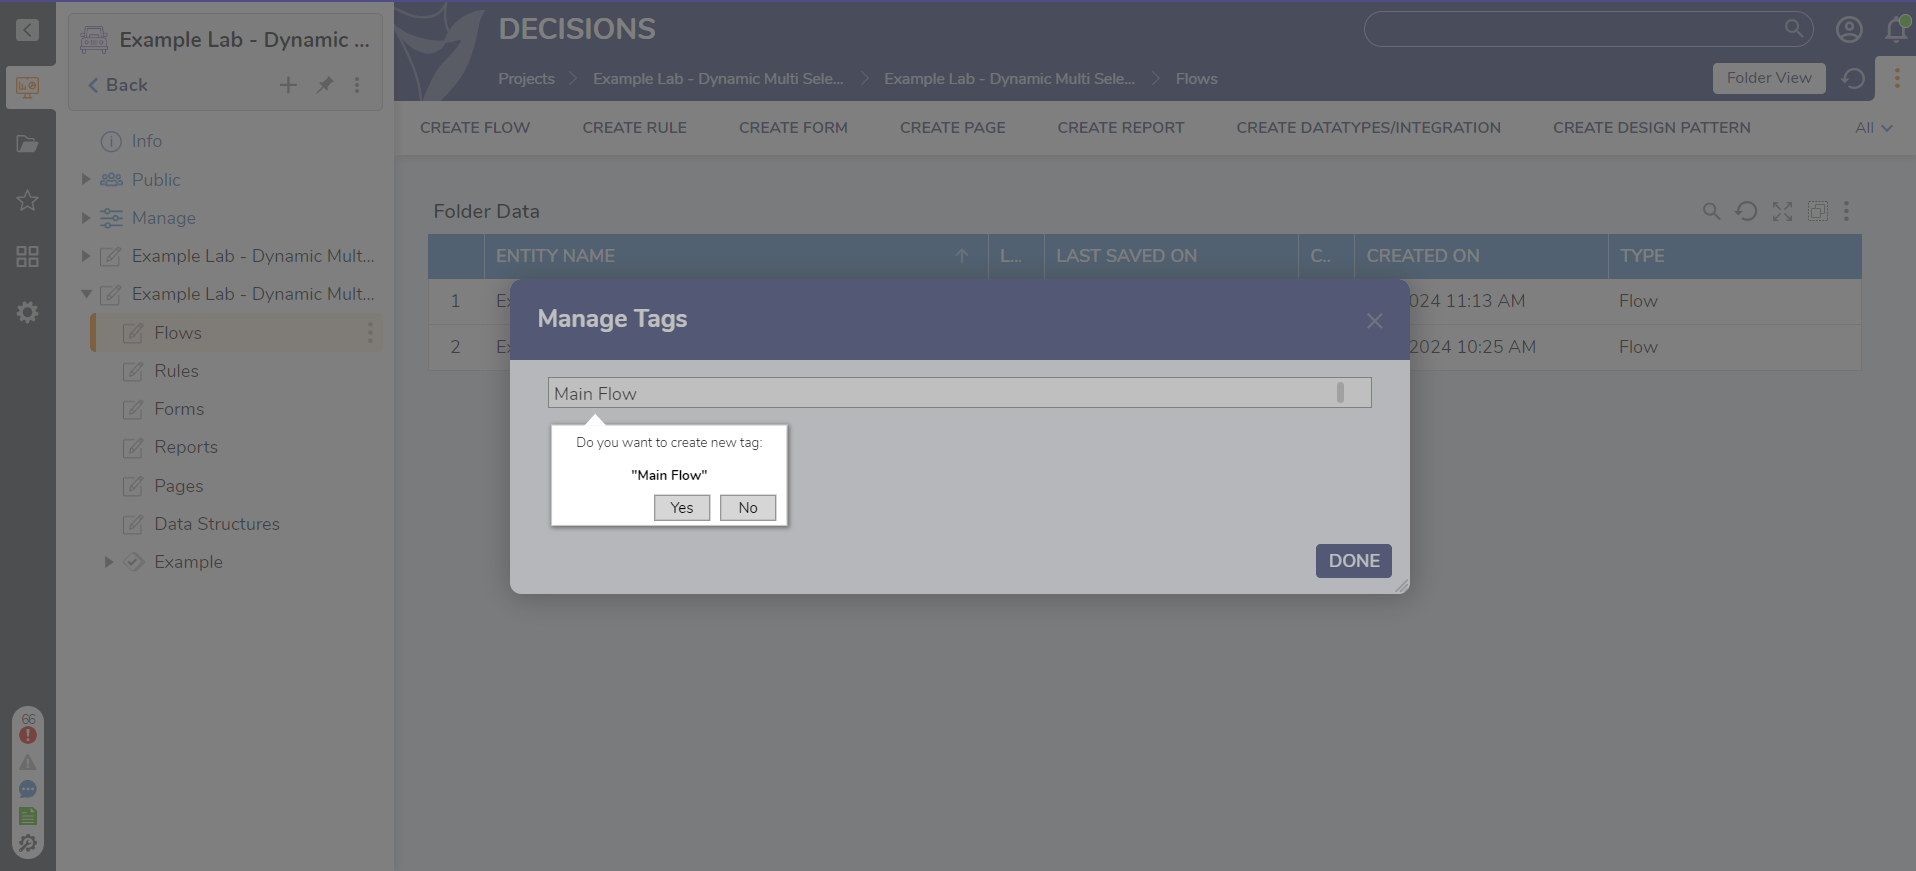
- From the Manage Tags window, a tag can be selected or created, as shown.
