Overview
List Container Rules are implemented in Decisions in the Rule Engine. These Rules are designed to process a list of items and apply desirable conditions to each item in the list. The List Container Rules have three options:
- Contains All – Each item in the list should satisfy the condition for Rule to evaluate as True.
- Contains Any – At least one item in the list should satisfy the condition for Rule to evaluate as True.
- Does Not Contain Any – None of the items on the list should satisfy the condition for Rule to evaluate as True.
Example
In this example, the Rule will take in an array of Accounts. It should evaluate as True if all Accounts in the array have an email address that contains “decisions”. This example requires List Container Rules to test each Account in the array. Below is a downloadable example to import into Decisions.
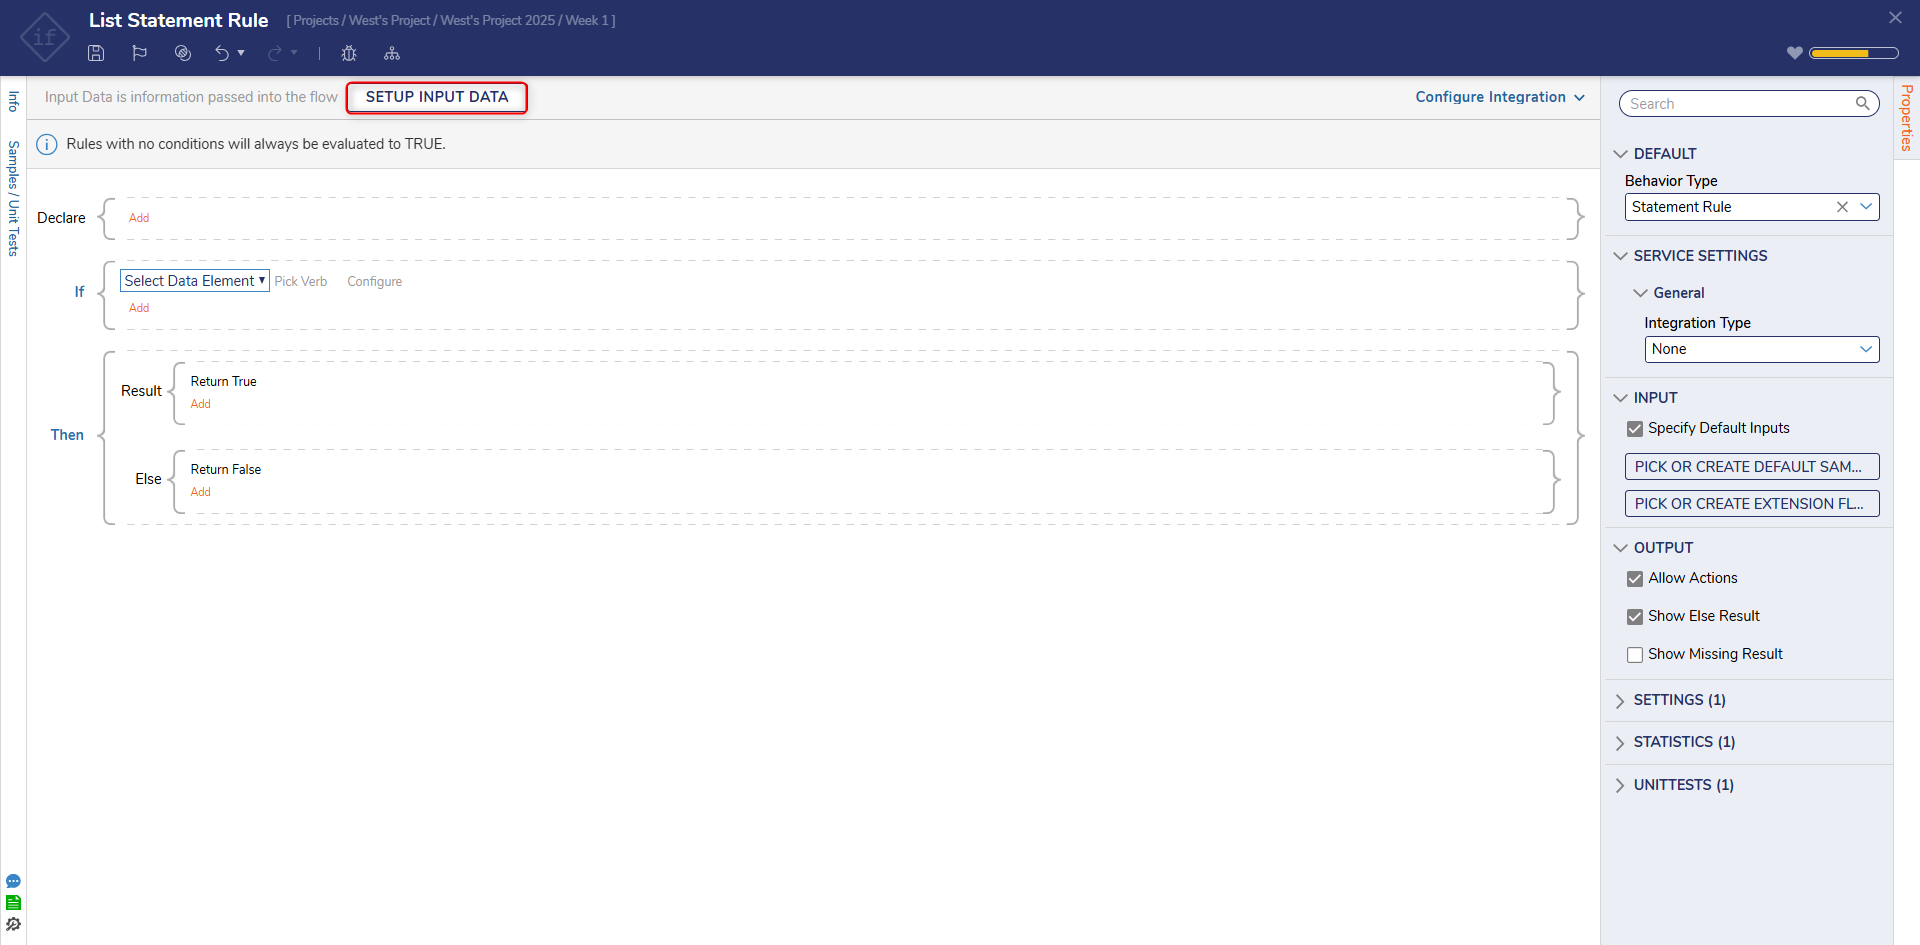
- In a Designer Folder, select CREATE RULE from the top action bar. When the Create Rule window appears, select Statement Rule, enter a name for the Rule (List Container Rule) and click CREATE.
- In the Rule Designer, select SETUP INPUT DATA.
- Click DEFINE under Define Input Data on the Rule Input Data dialog box that appears.
- To set up the data, enter Accounts in the Name field. Next, click the dropdown list under Type and search for "account". Select Account and click PICK.
- Next, check the Is List checkbox, this will enable this data to be an array that will display the Contains All, Contains Any, or Does not Contain Any as options when selecting the condition to check.
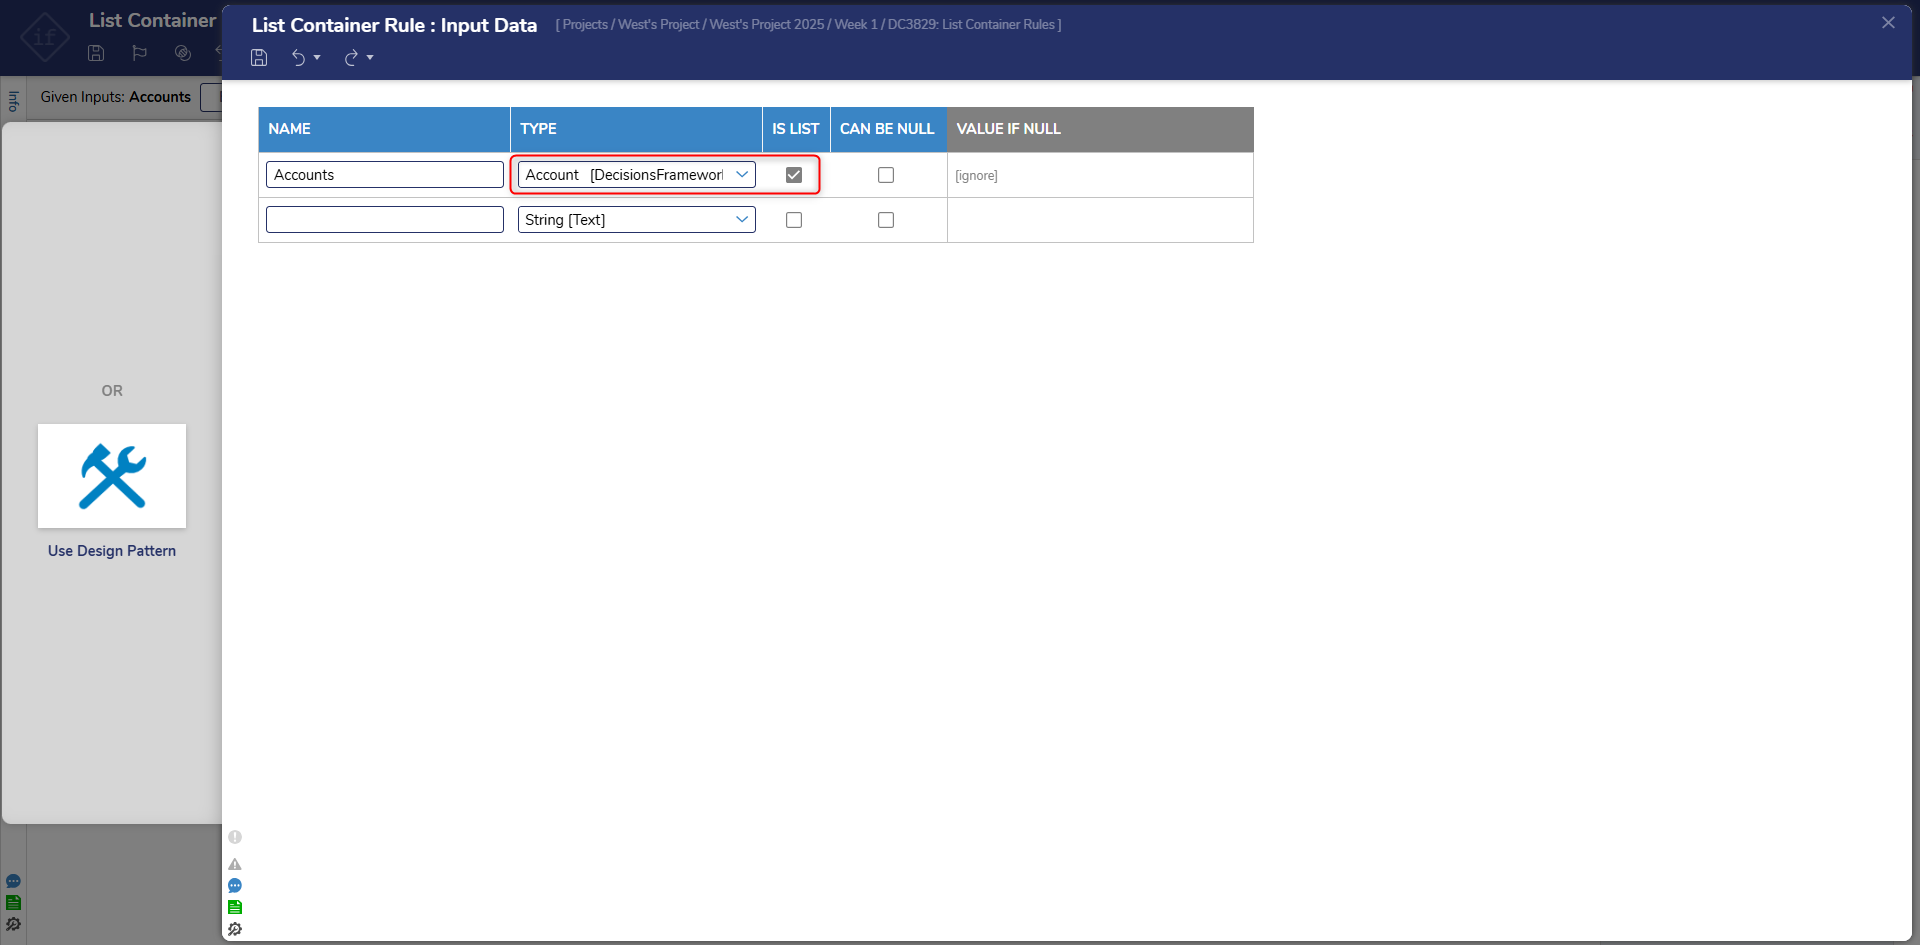
- Click Save then close the Input Data Designer window.
- Click the Select Data Element dropdown. Choose Accounts then click NEXT.
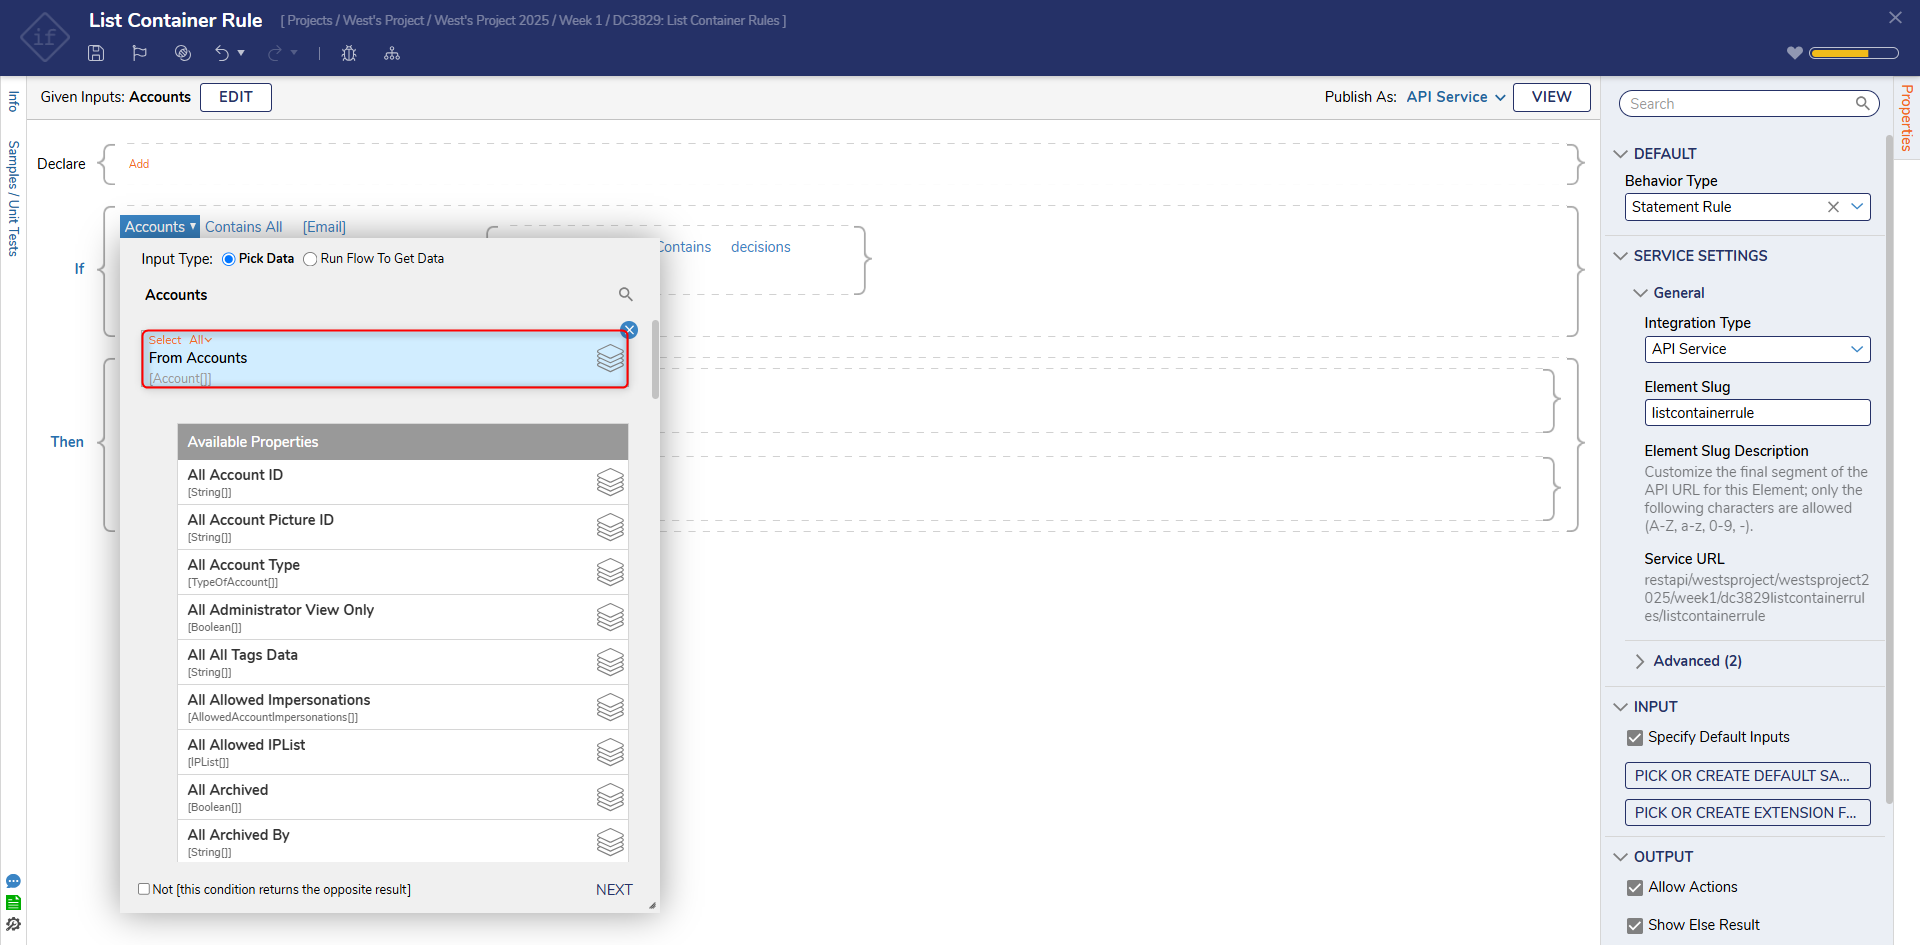
- Choose the Contains All option under the List Container Rules category and select NEXT.
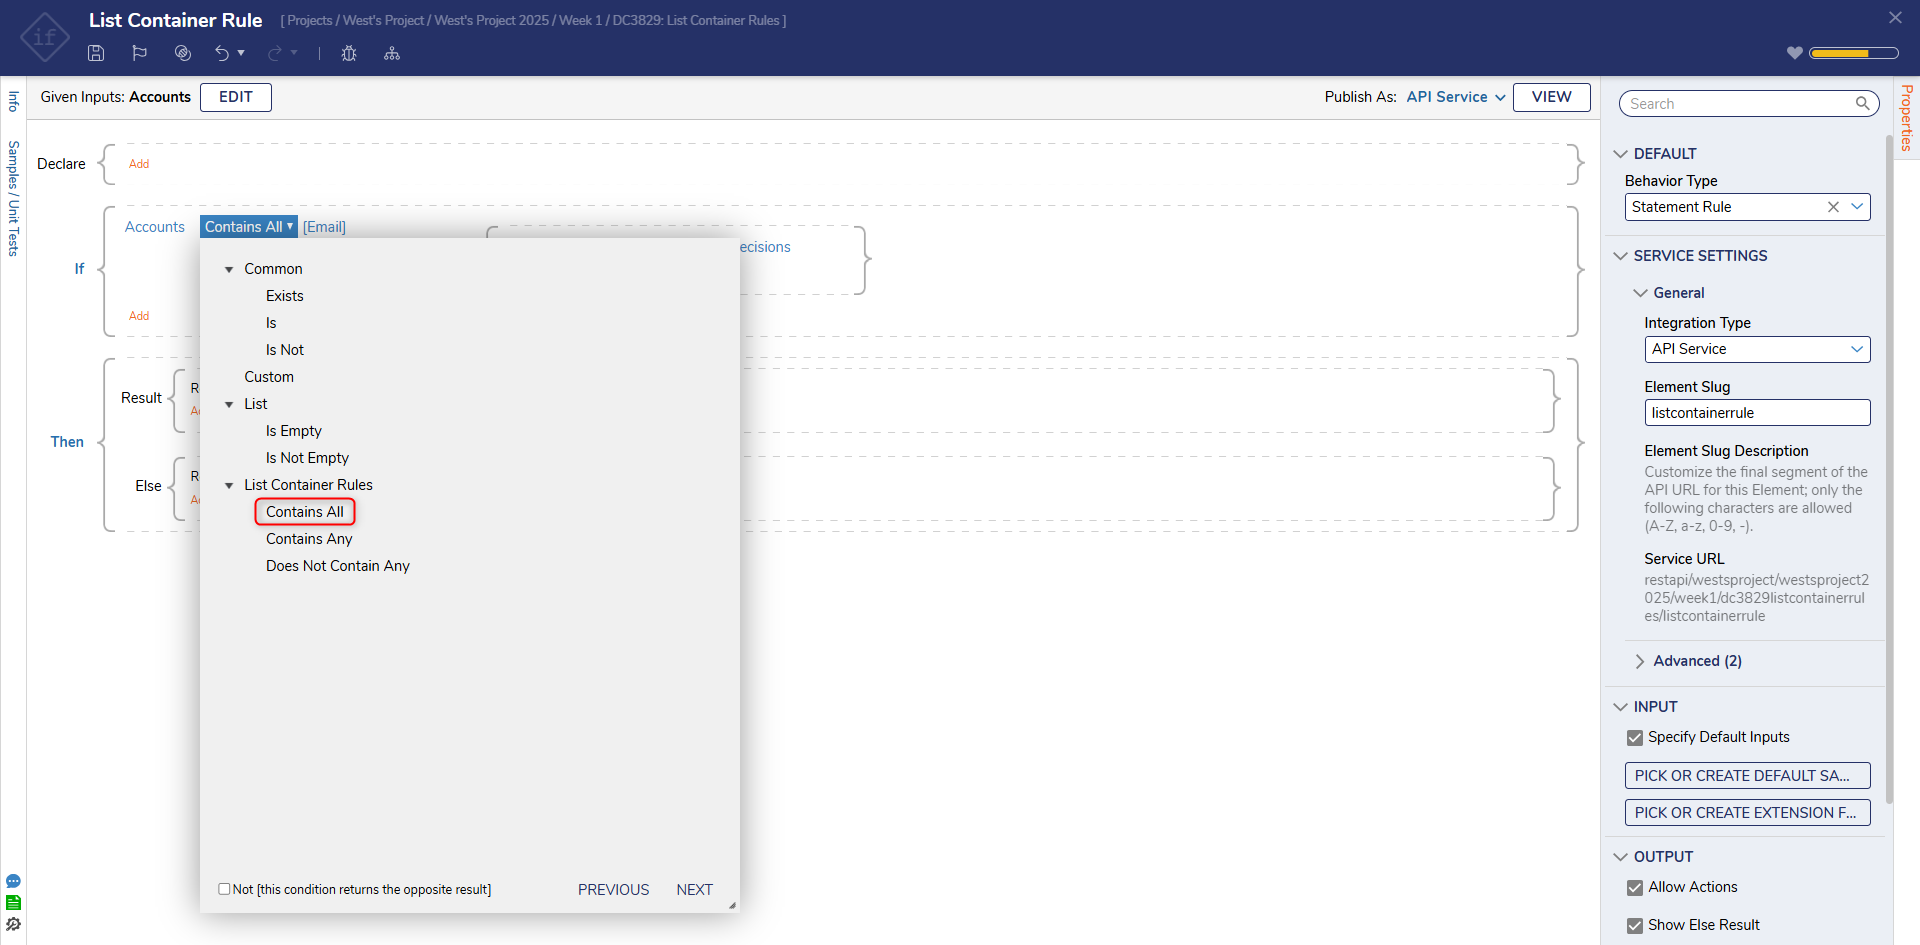
- Under the Collection Information category, in the Each List Item Name field, enter "Email" as the Item Name and select DONE.
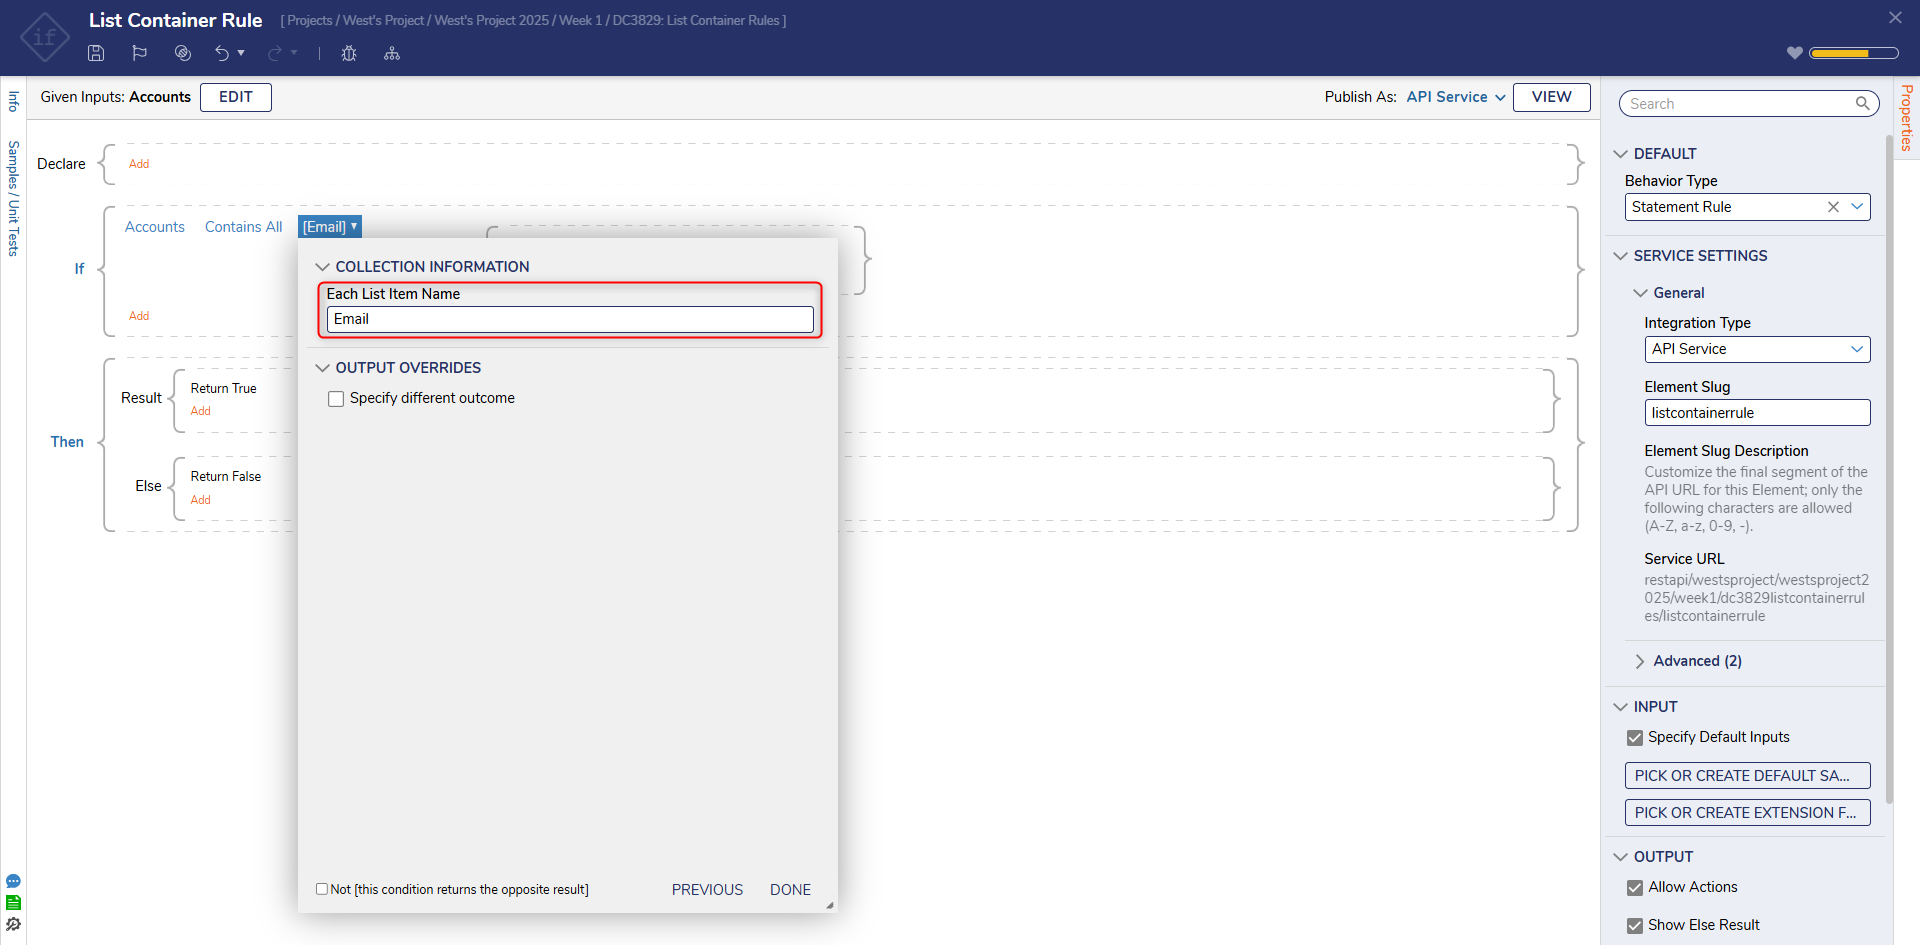
- Click CLOSE to save the Rule statement.
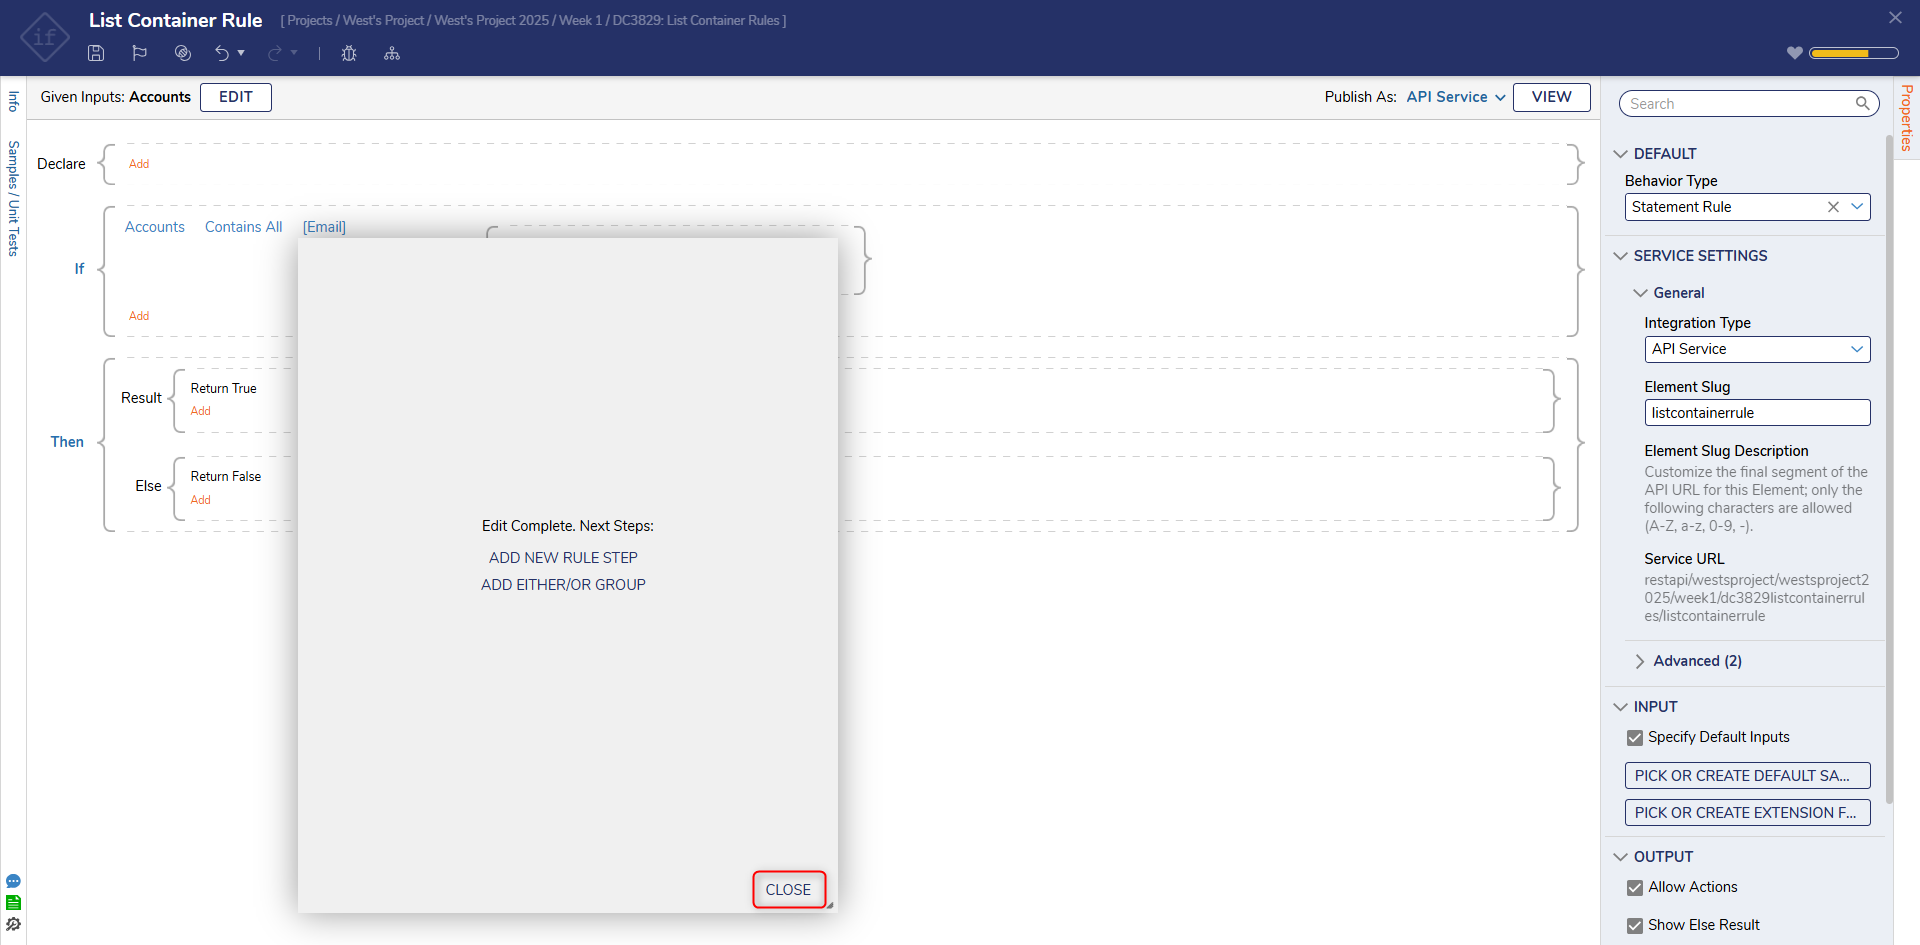
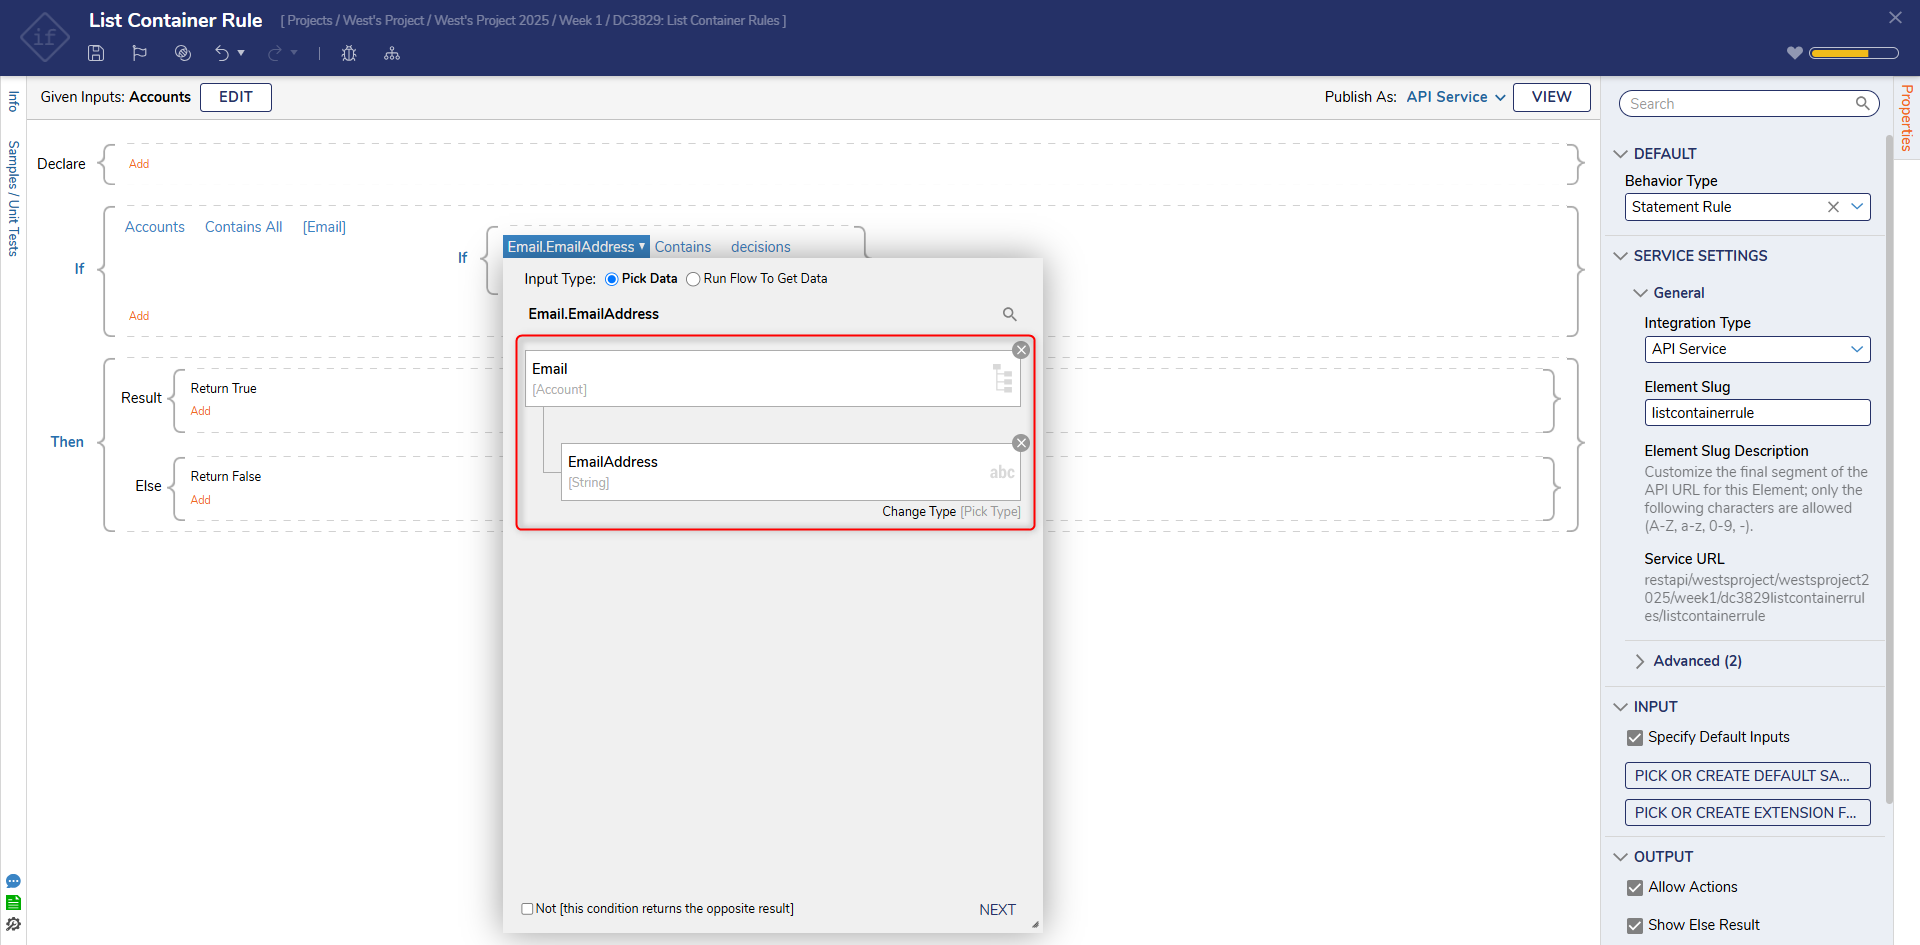
- In the new If Statement block, click Add and then choose Add Condition. Each item passed through the Rule will need to pass this condition that will check to see if Account.EmailAddress contains "decisions".

- Click Select Data Element, click Email, then scroll down to select EmailAddress [String]. Click NEXT.
- Select the Contains option under the Text Rules category then click NEXT.
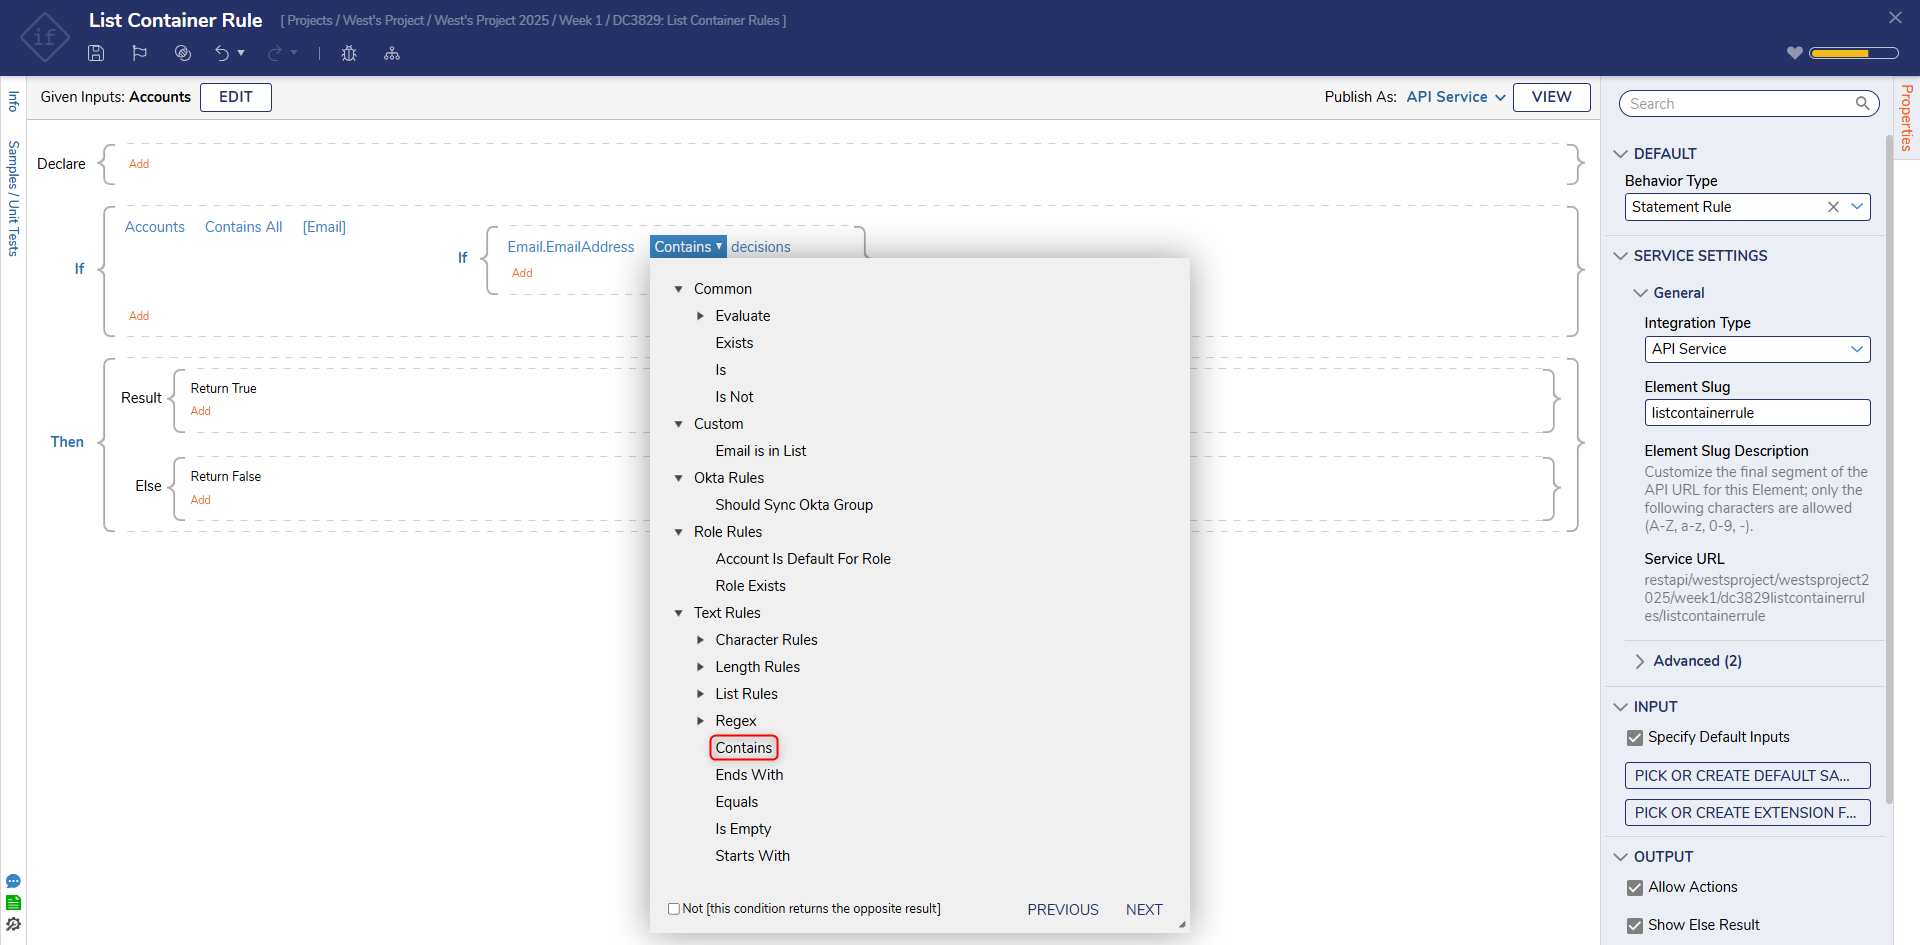
- Under the Inputs category, enter "decisions.com" as the value and select DONE.
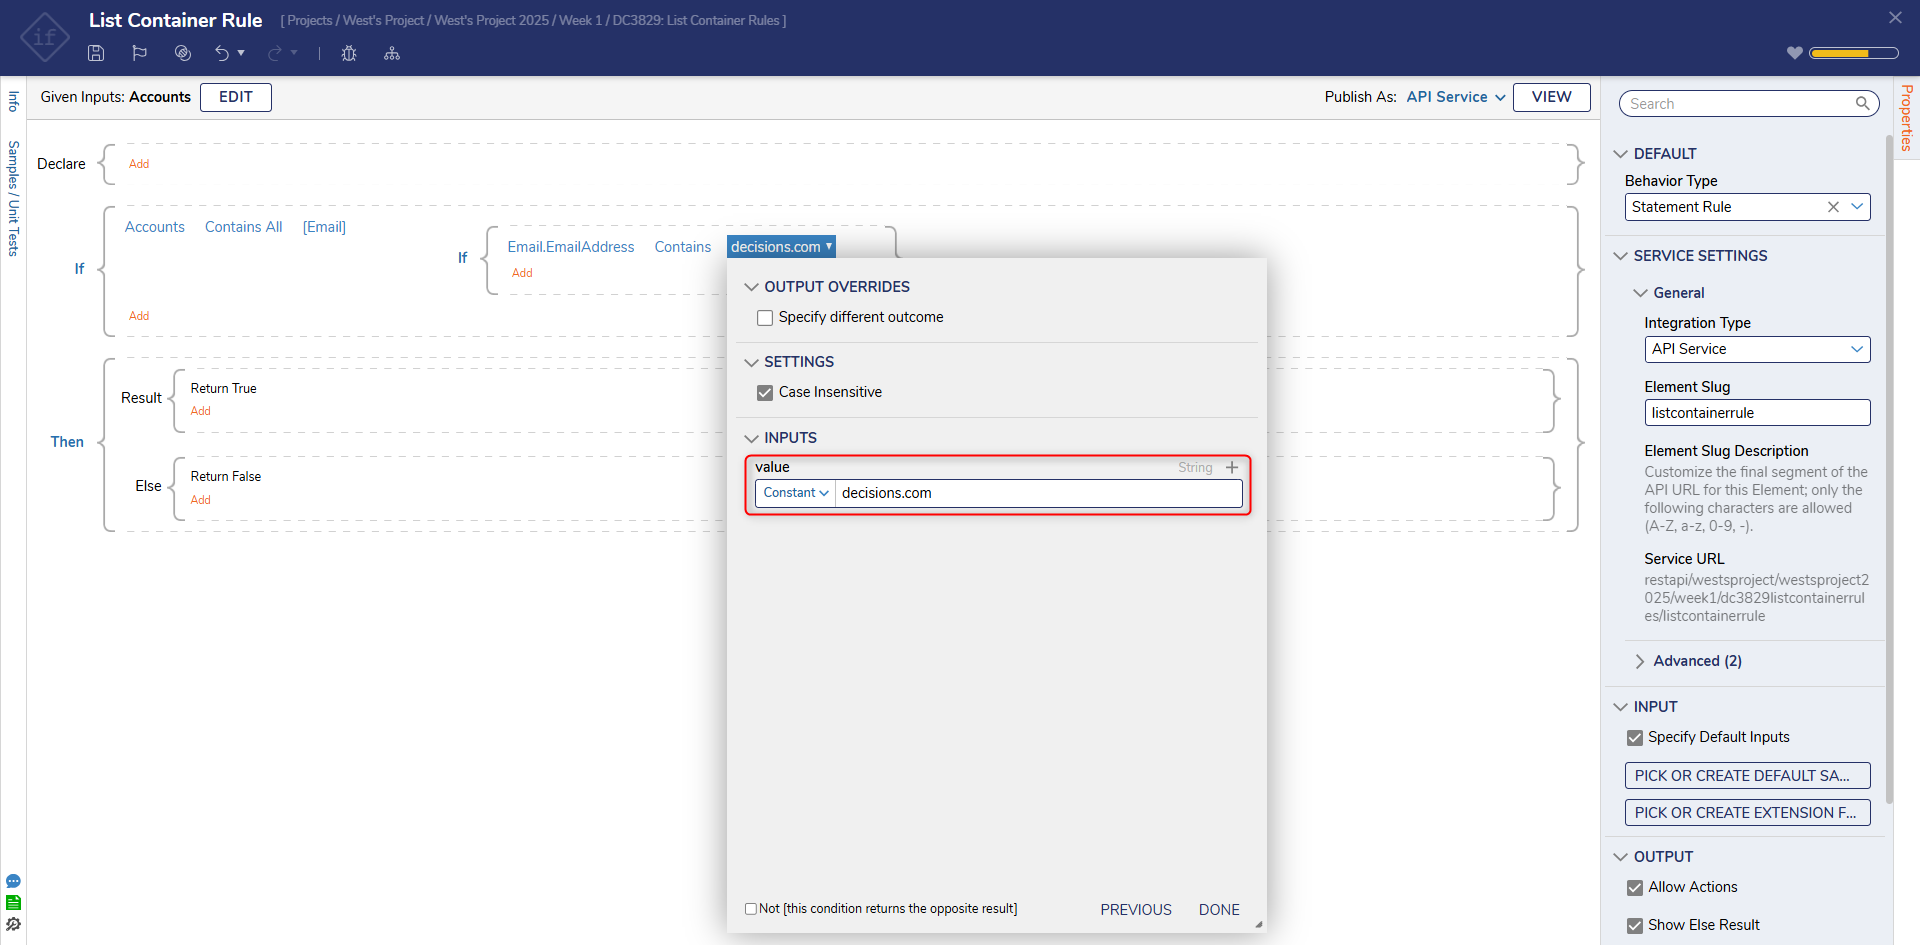
- Click CLOSE to save the Rule and return to the Rule Designer.
Debug
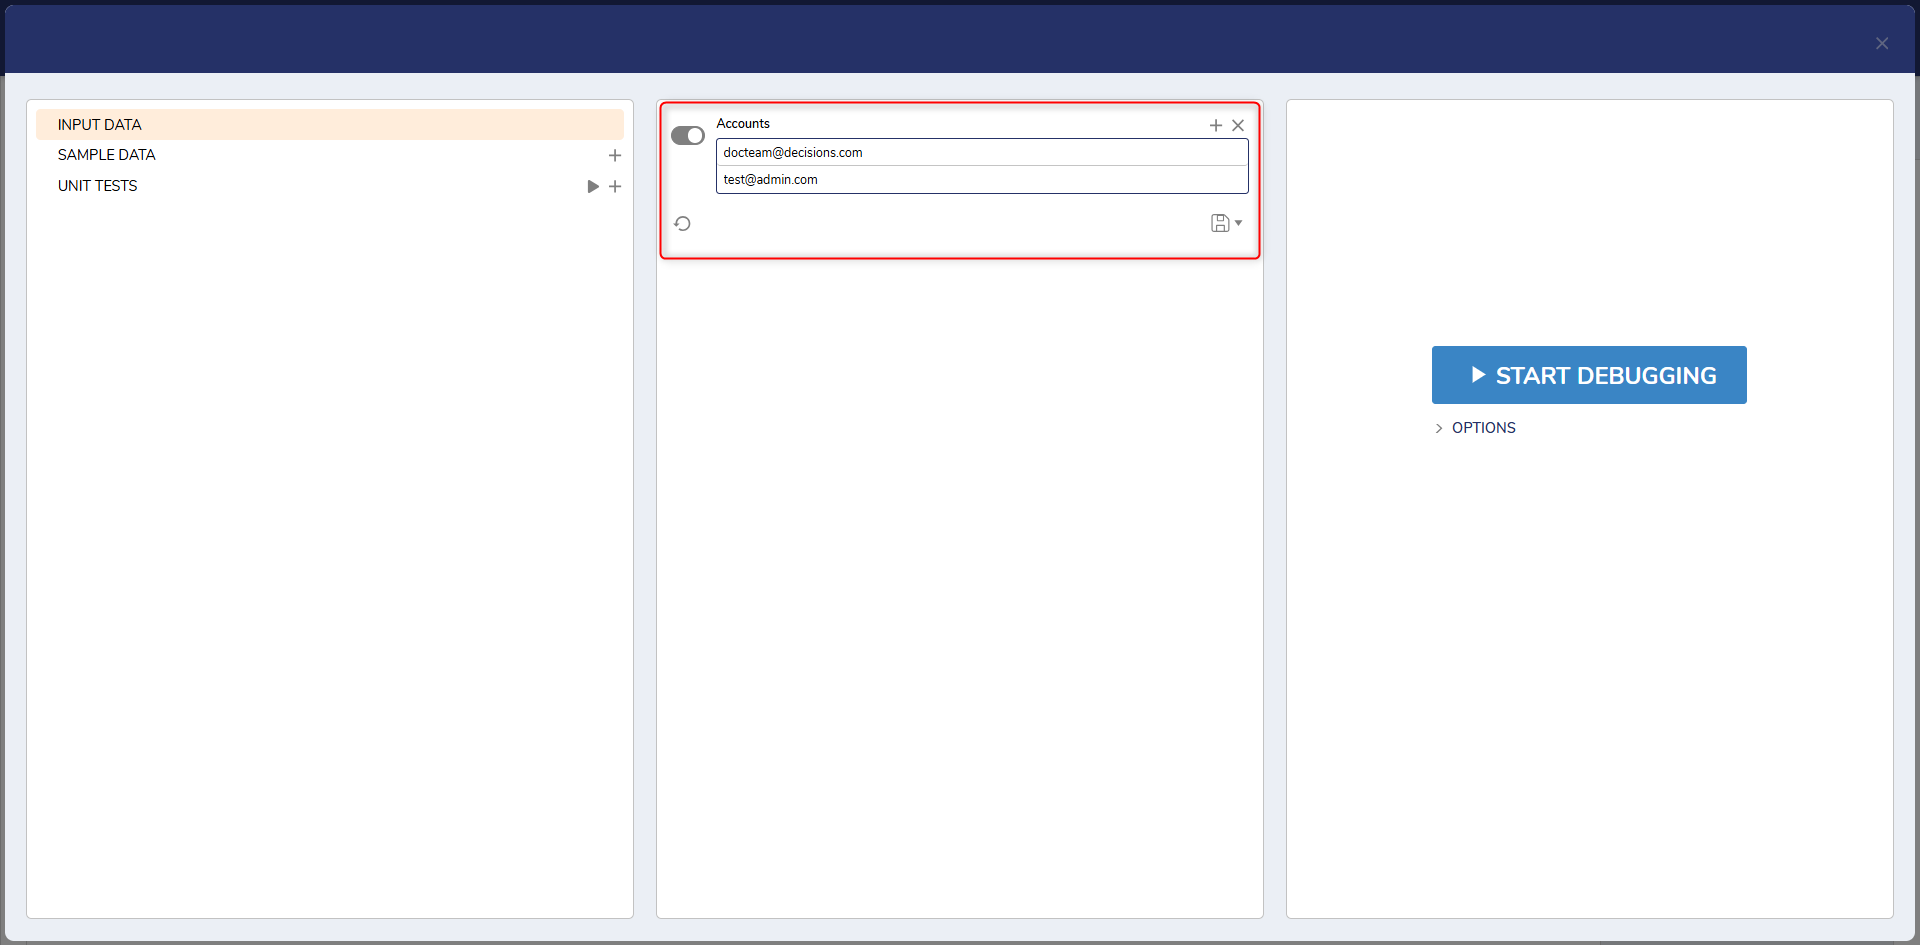
- To ensure the Rule works, select Debug on the top panel of the Rule Designer.
- To add accounts to test, click ADD NEW under Accounts.
- Enter a name in the Name field. Under the Settings category, enter an email address under the EmailAddress field.
- Click DEFINE to save.
- After adding the desired number of accounts, click START DEBUGGING.
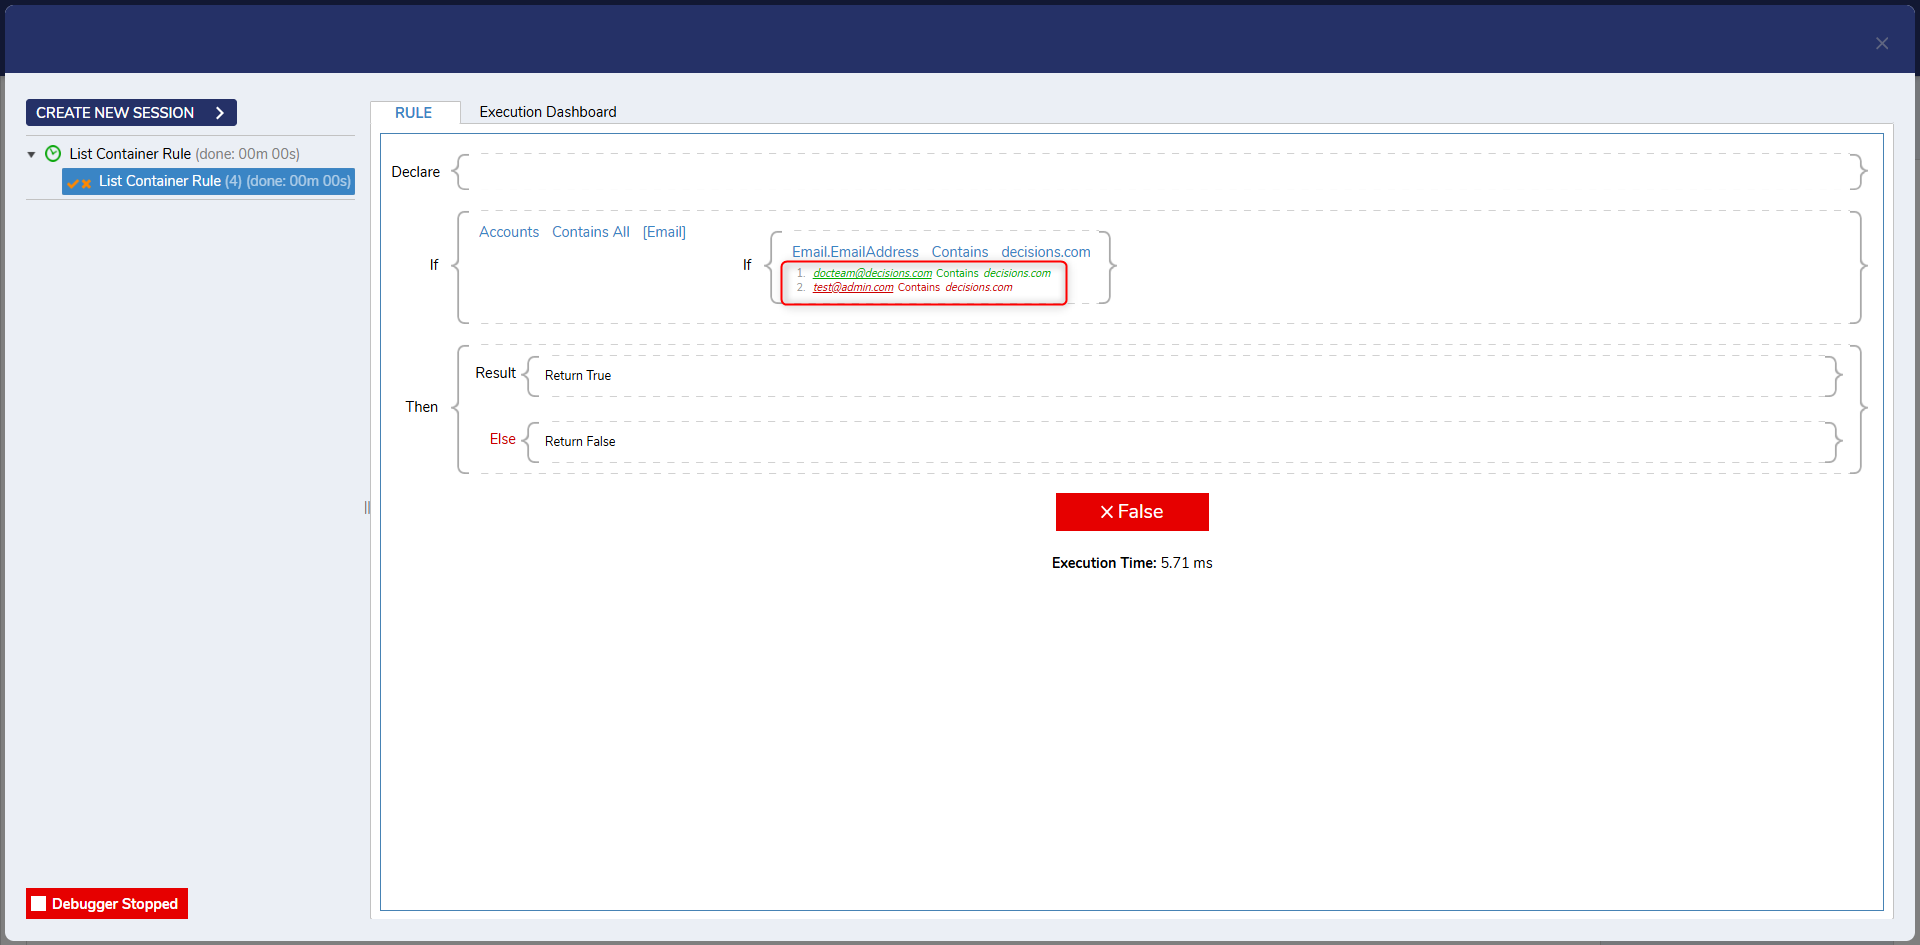
- The Rule runs and stops at the first False result evaluating the entire Rule as False since the Rule was built using the Contains All option and the email that was first found did not match the condition.
For further information on Rules, visit the Decisions Forum.