Overview
This article describes how Modules are installed and managed, and key considerations for Module Dependencies and removal.
Considerations
Module Dependencies
Users must create a project dependency after installing a Module; otherwise, associated Flow steps will not be available in the Flow Designer toolbox. Once a Project Dependency is created, associated steps will be exposed in the specified Project. For more details, see Project Dependencies.
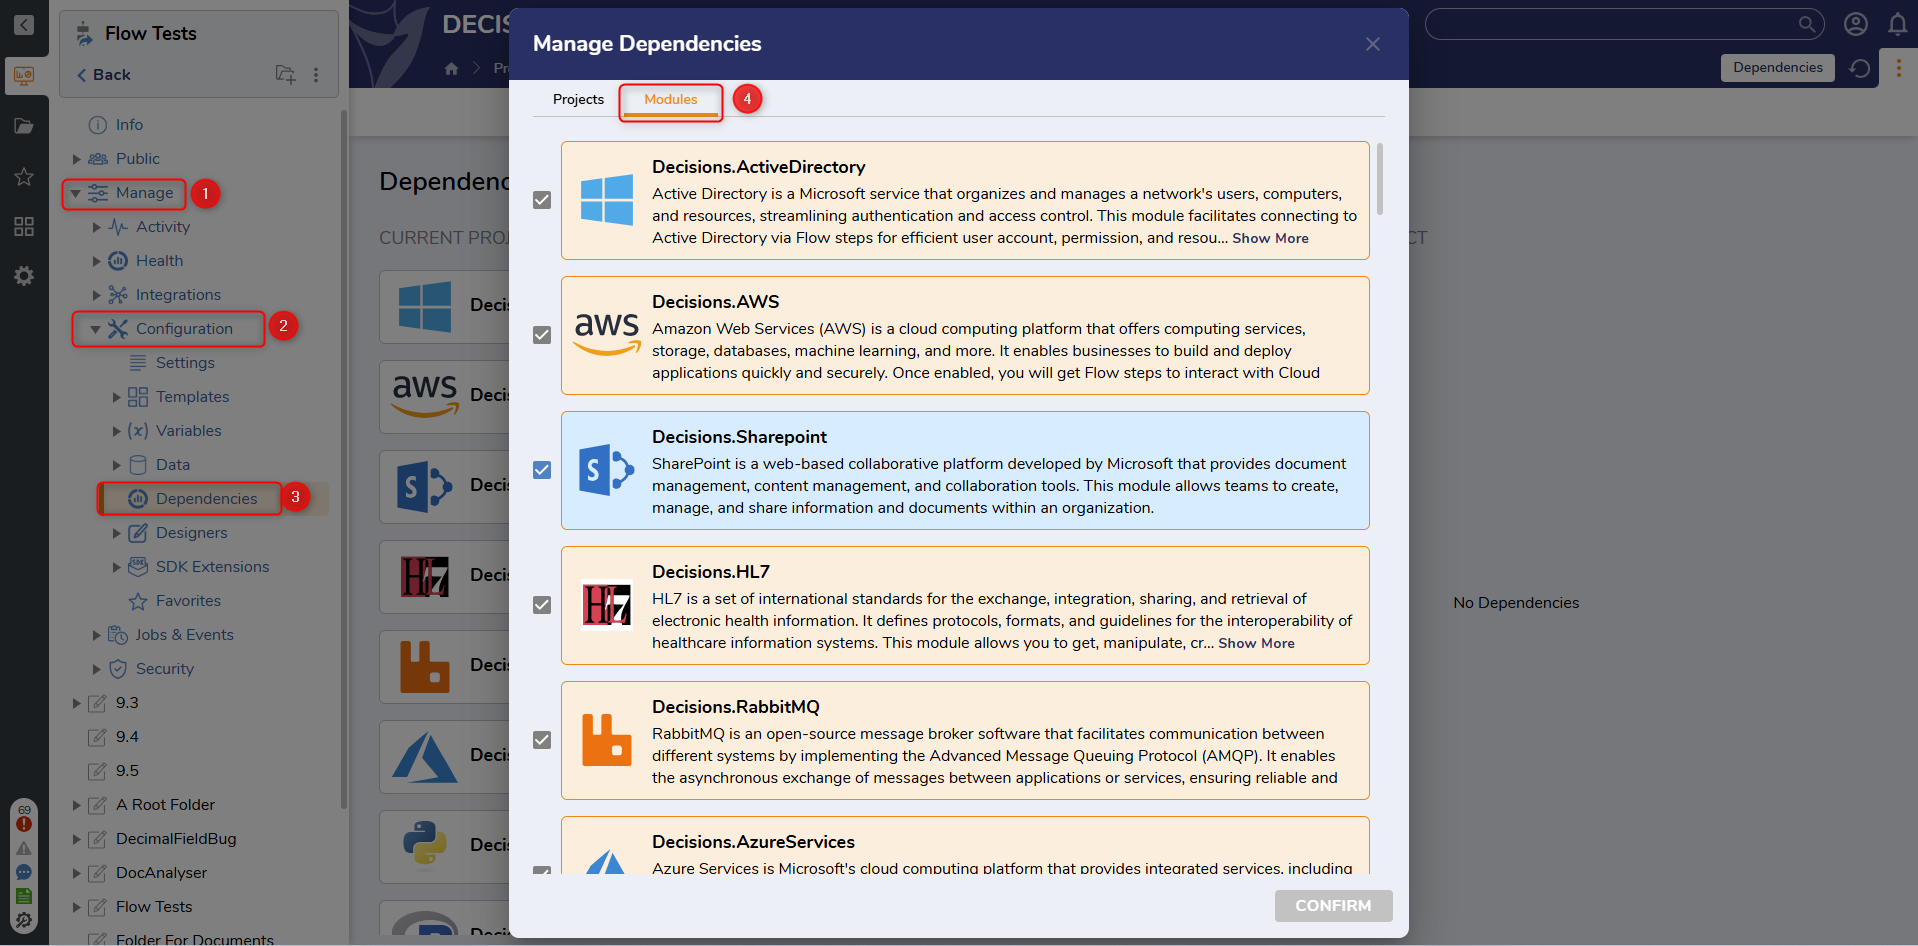
- Navigate to the desired Project.
- Select Manage> Configurations > Dependencies.
- Select Manage, then select the Modules category.
- Pick the desired Module.
Uninstalling Modules
Uninstalling Modules without a clear understanding of associated dependencies can lead to issues that can potentially break the functioning of other components. Users are not advised to uninstall a Module and should contact support@decisions.com for further assistance.
From the Platform
All the Modules can be directly installed from the platform. The following section demonstrates how to install a Module from the platform.
Access the list of Modules by navigating to System > Administration > Features.
Hovering over the Modules will show two buttons at the bottom.
Details: Clicking this will reveal a dialog box with module details and links to documentation sites.
Install: Button to install the Module.
Click on Install. A confirmatory dialog box appears. Click on Continue. A window will appear indicating the installation progress of the Module and its dependent Modules.

After the Module is installed successfully, the window will display Installed in orange to indicate completion.
Version 9 Changes
Starting in v9, Identity Provider Modules such as Okta, OpenID, and SAML will not be stored with the rest of the available Modules. Instead, they will be able to be found by navigating to System > Security > Identity Providers.

Installing Modules from GitHub
When the Decisions Server is unable to make external requests to GitHub, admin users can download and install the GitHub Modules manually. The following section demonstrates how to download and install a Module from GitHub.
Visit the GitHub Modules Page and click on the desired Module.
Click on Releases.

Expand the appropriate version and click on the
Decisions[Module_Name].zip. A .zip file then gets downloaded.To install the Module in the platform, refer to the next section, Uploading and Installing a Custom Module.

Uploading and Installing a Custom Module
Navigate to the System > Administration > Features.
Click on the Upload and Install Module located at the top of the Features Page.
Upload the .zip file to the file upload area.
Ensure that the Install Module is checked. If unchecked, this will just upload the module into the platform, and users can choose to install it later.
Click Ok. The Module will get installed.

Updating a Custom Module
Once a Custom Module is installed, Users can update it by repeating the same steps performed to upload the module. However, to reflect the changes, Users must restart the Decisions Server.
Scripting Modules
One exception to this is scripting Modules such as Python or R. Custom steps created through the use of those Modules can be available in Projects that do not have dependencies to the Module. However, the Project will need a dependency to the Project where the Module was used to create the Step.
Example:
Project A has a dependency to the Python Module. A user created a Step called SnakeDance.
Project B needs to use the SnakeDance step. It does not have any dependencies. The step does not appear in the Flow Designer Toolbox.
Project B creates a dependency to Project A. Now the SnakeDance step appears in the Flow Designer Toolbox.
Feature Changes
| Description | Version | Release | Developer Task |
|---|---|---|---|
| Entities created by Modules can now be viewed in dependent Projects. | 9.4 | November 2024 | [DT-042474] |