Overview
When a Scheduled Job is added to Decisions, it has the option to enable or disable it manually. Upon disabling the Job, the Job Schedule's settings remain are ineffective. Enabling the job continues its use and adheres to the Job Schedule's settings. These functions are only available when at least one Scheduled Job is added. With v8.13 a delete job action has been added that will remove the job permanently.
Enable Server as Job Server
Scheduled Job/Event features are not explorable until the appropriate Decisions Server has been designated as a Job Server. To do so follow these instructions:
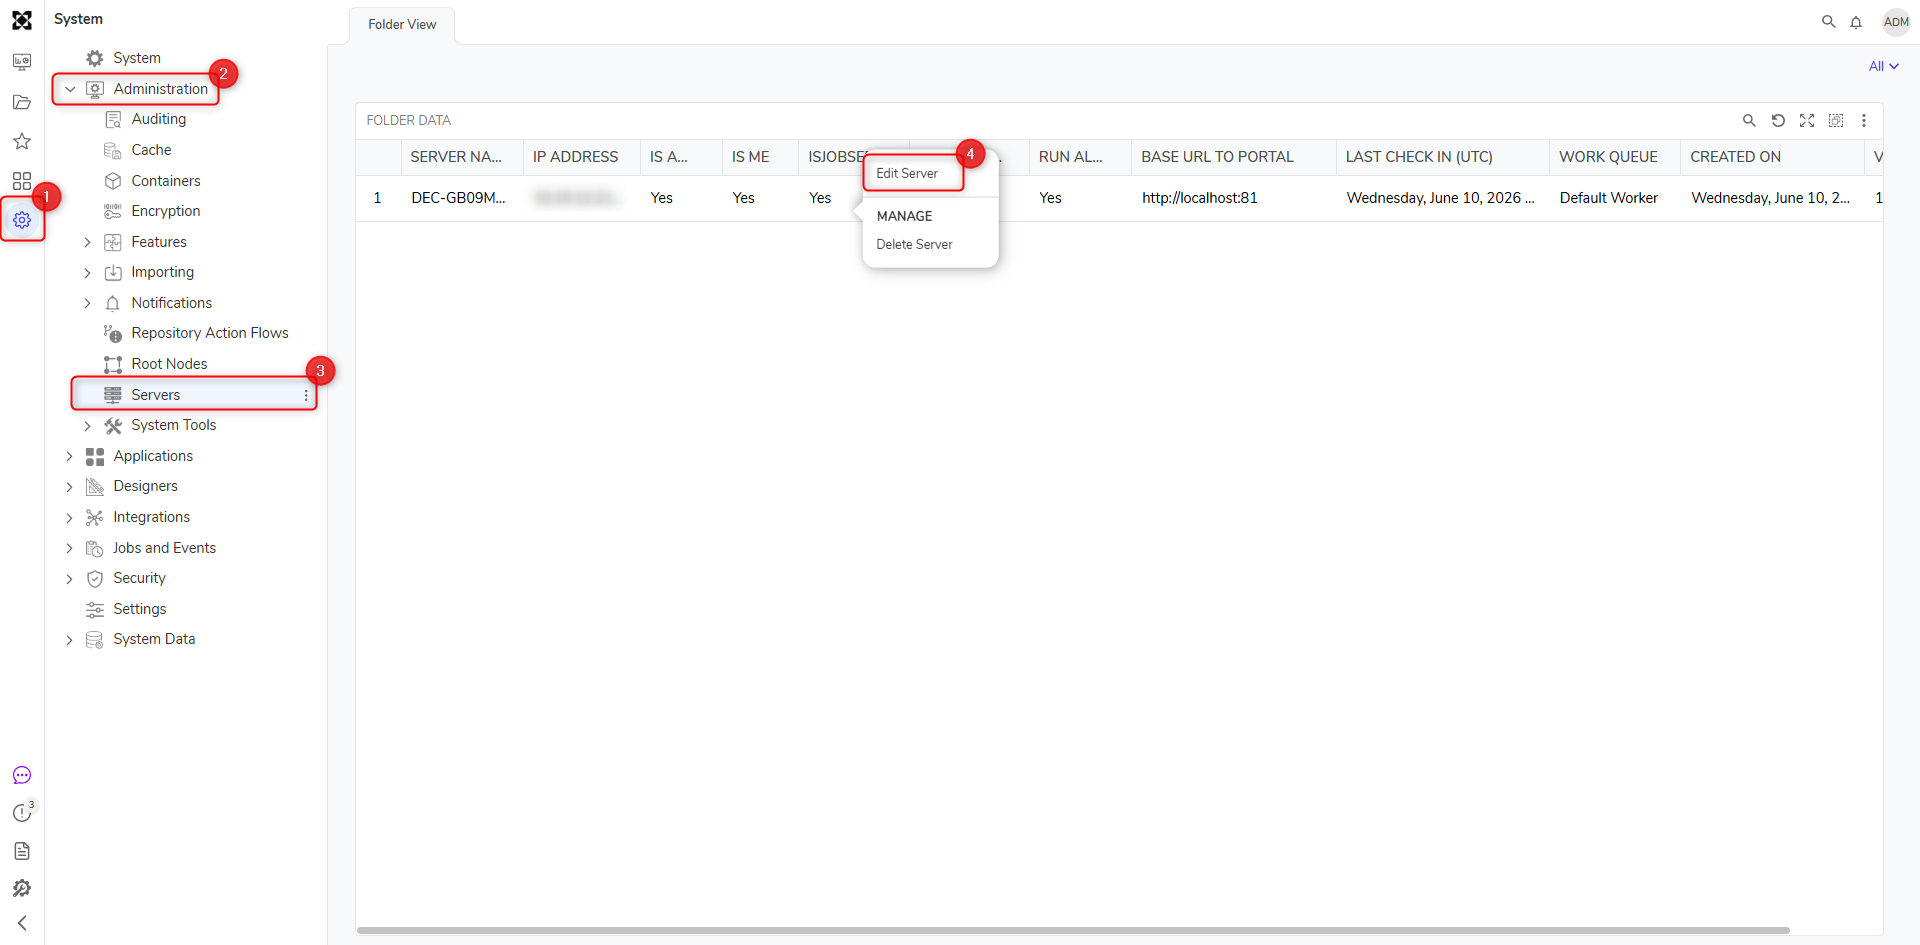
Navigate to System > Administration > Servers.
Right-click the correct Server Name where the IS ME column value is True.
Select Edit Server.
i
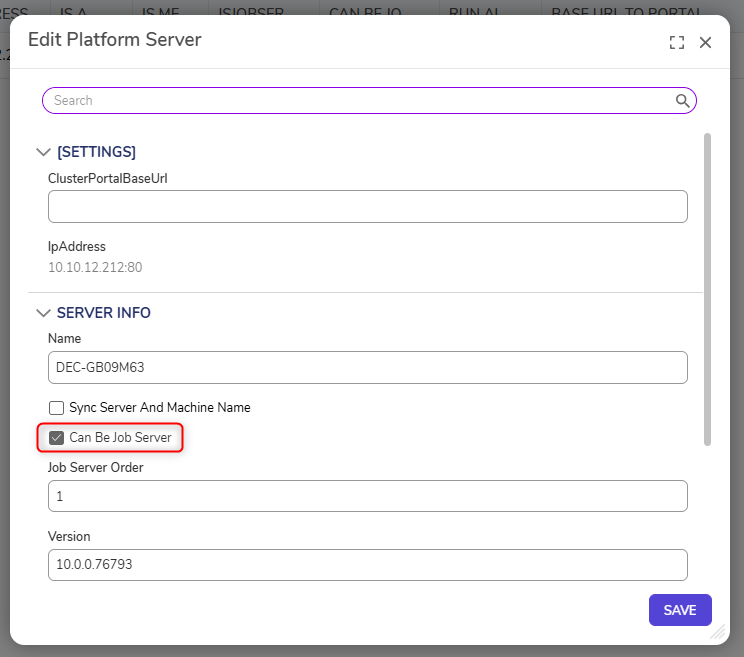
If not currently enabled, toggle the checkbox for Can Be Job Server under SERVER INFO.
Enable or Disable Scheduled Job
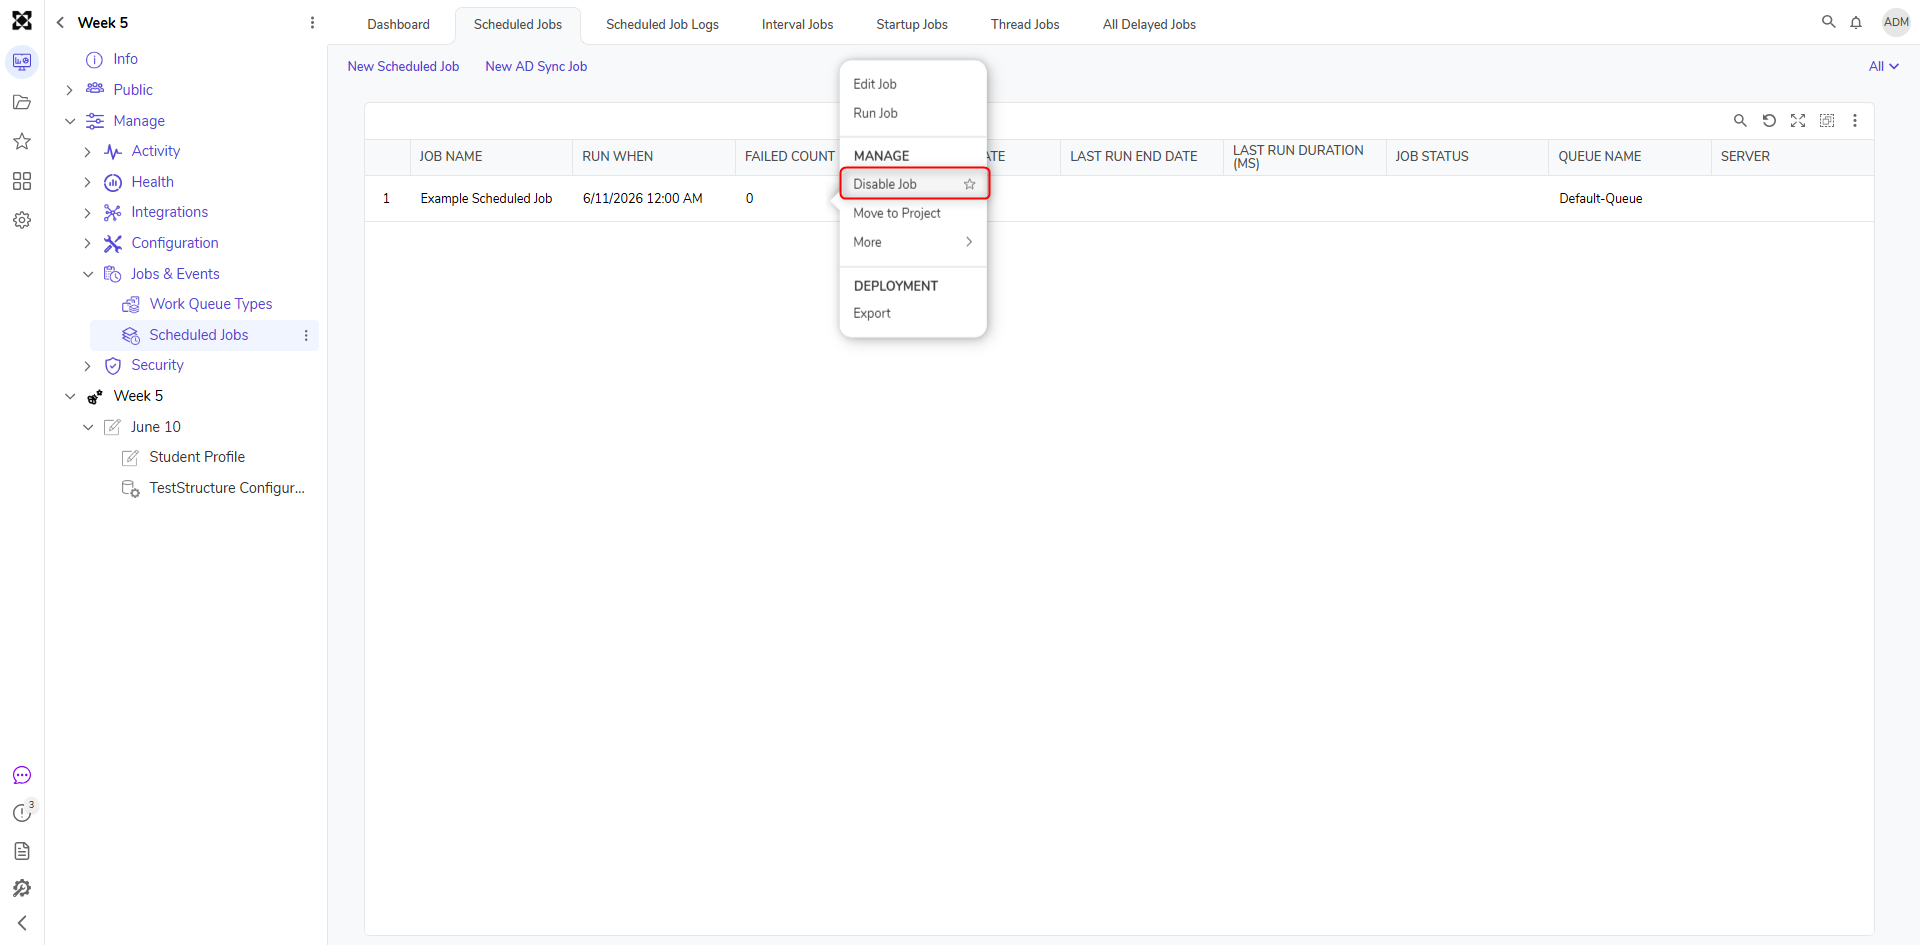
Navigate to System > Jobs and Events > Scheduled Jobs.
Right-click the name of a Scheduled Job and select Disable Job.
From the Disable Schedule Job screen, select YES.
Notice that the Scheduled Job has been removed from the Scheduled Jobs folder view.
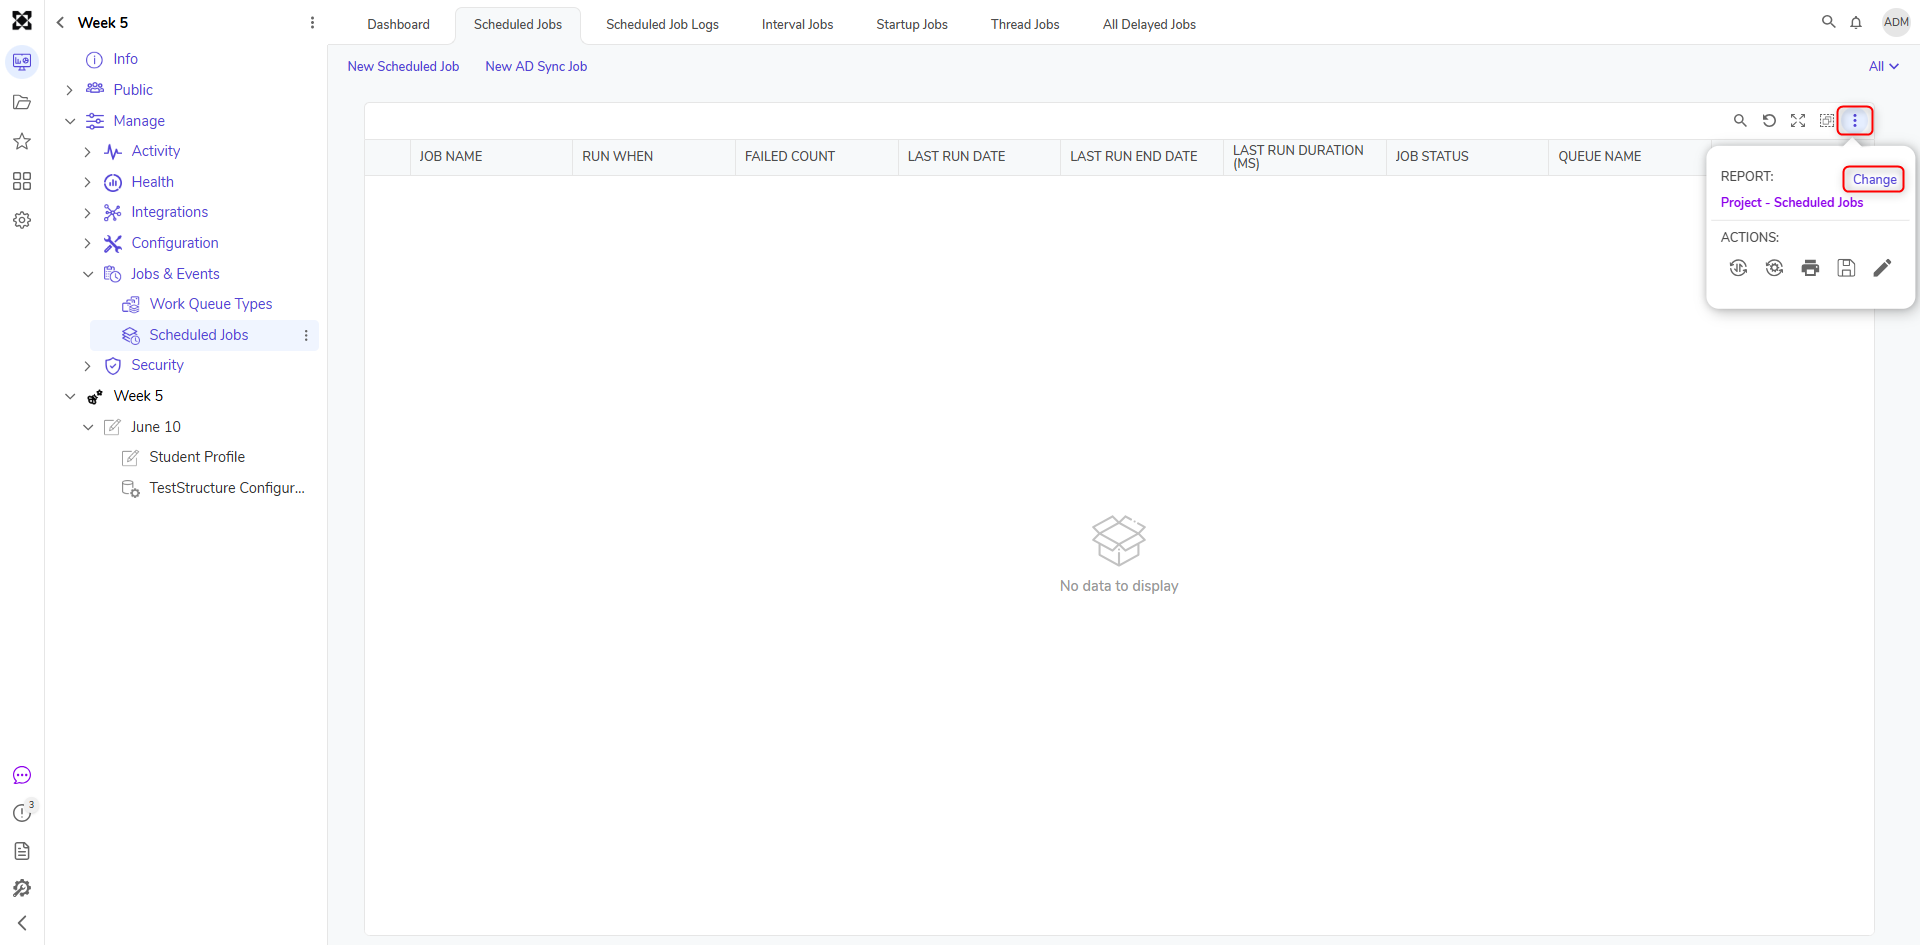
To view the Schedule Job to re-enable it, click the gear icon in the top right corner of the Folder View.
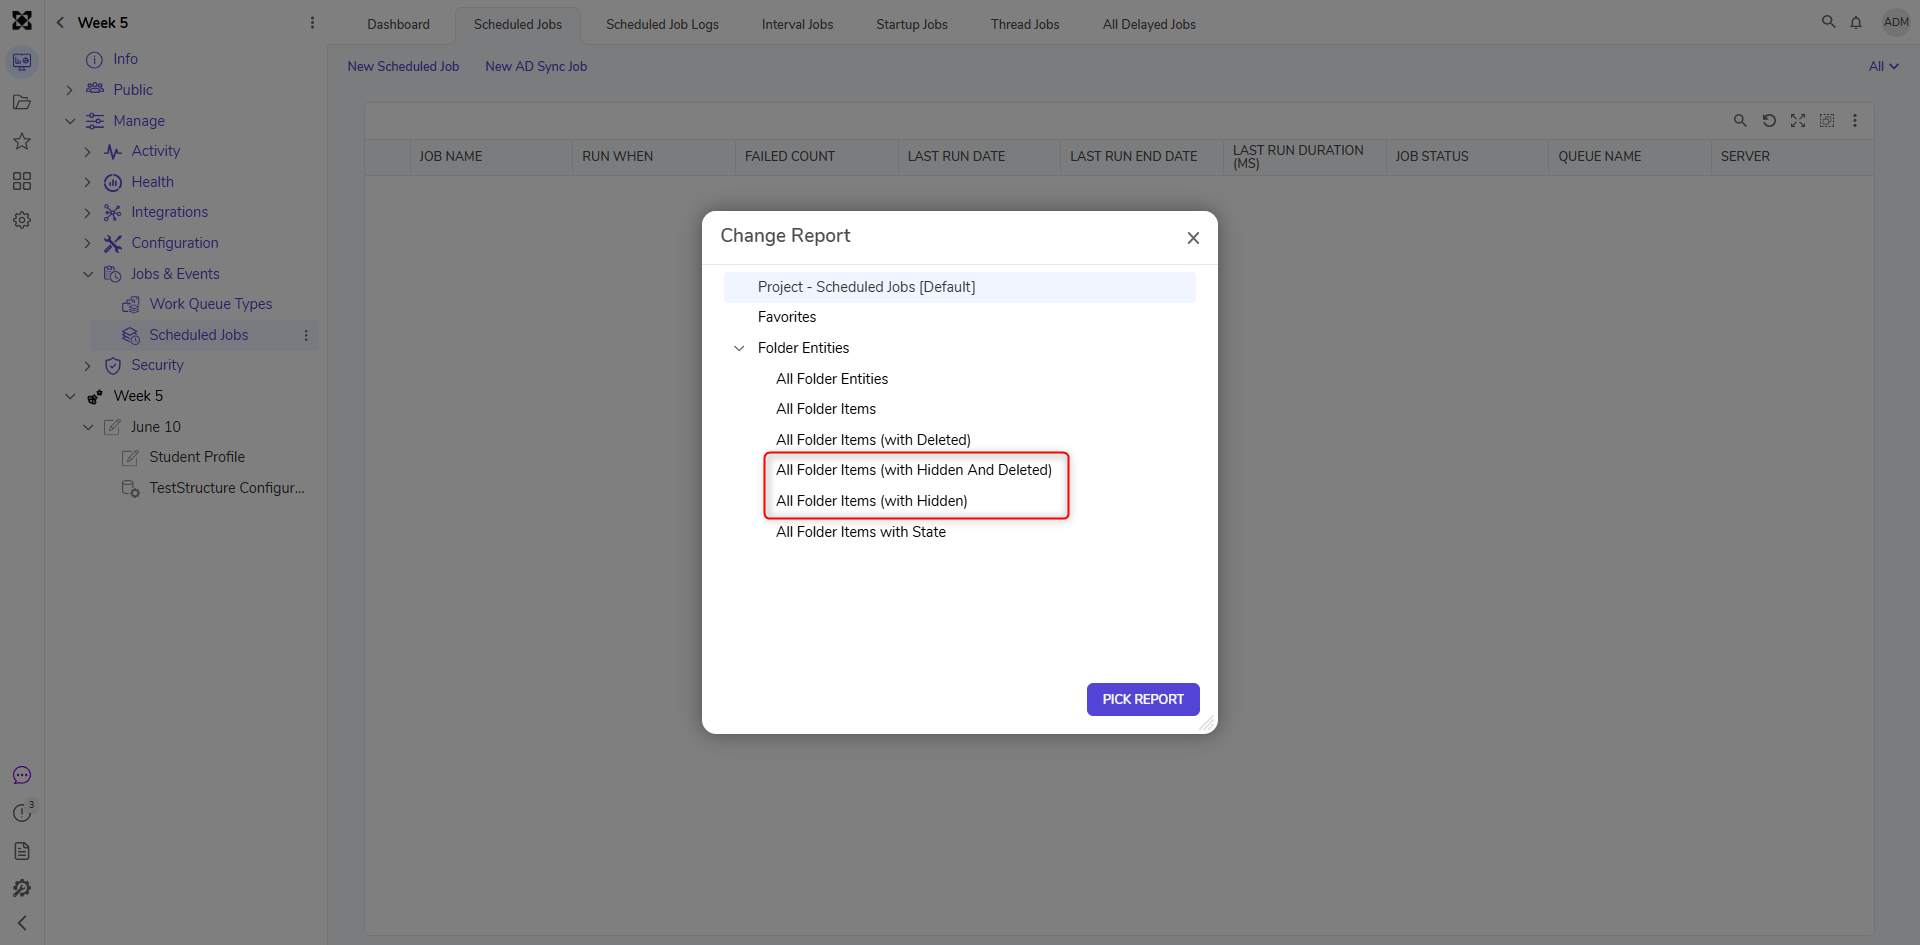
Select Change beside Change Report.
From the Change Report window, select Folder Entities > All Folder Entities (with Hidden), then click PICK REPORT.
Right-click the Job, then select Enable Job.

From the next panel, select YES.

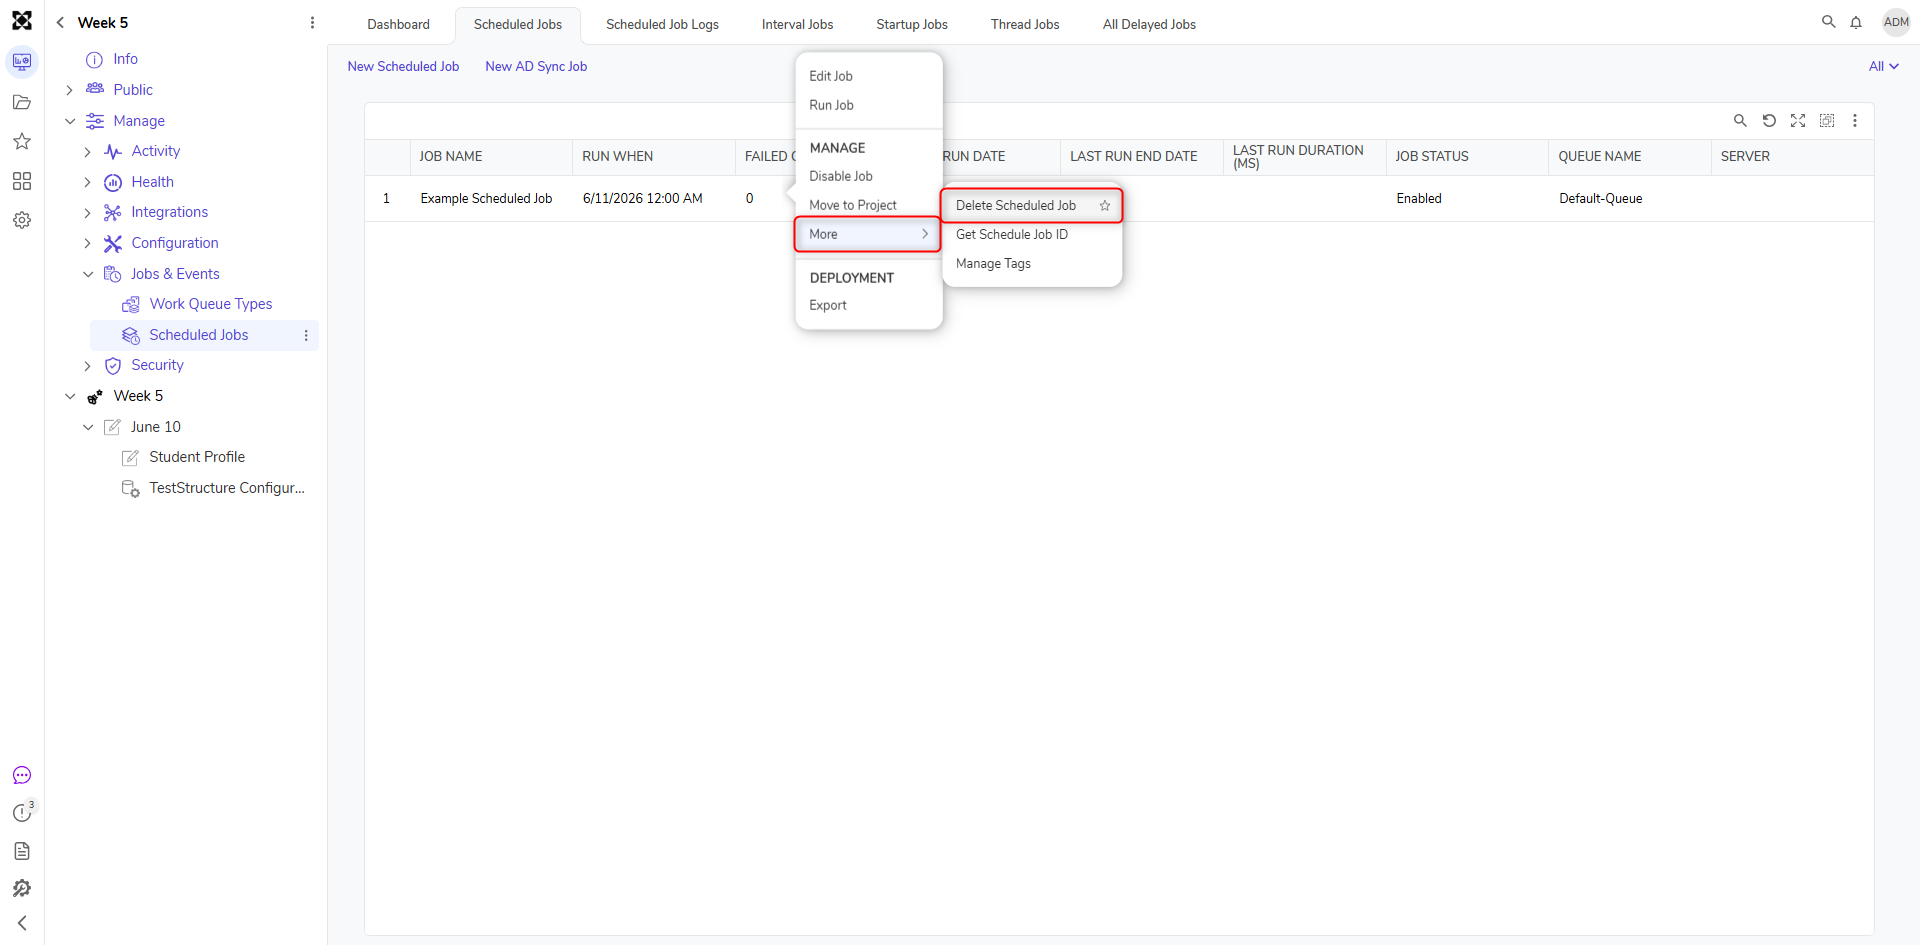
Delete a Job
In v8.13 users will also be able to delete scheduled jobs right from the report.
Feature Changes
Description | Version | Date | Developer Task |
|---|---|---|---|
Delete Schedule Job action added | August 11, 2023 | [DT-038110] |