Known Issue
This feature does not work in v9.0, v9.1, or v9.2 at the Project level.
Overview
By using the Report Output Folder in the Projects Folder, the Decisions Studio provides the option to create Excel Templates that can be applied to Reports upon user application. This feature allows organizations to provide additional customization and consistency of brand identity to their respective Reports before exporting them from a Decisions based environment.
The following document demonstrates how to create and apply an Excel Template to a Report, as well as how to export and download that Report in Excel Format.
System Level Example
Excel Templates can only be created at the System level by Admin users.
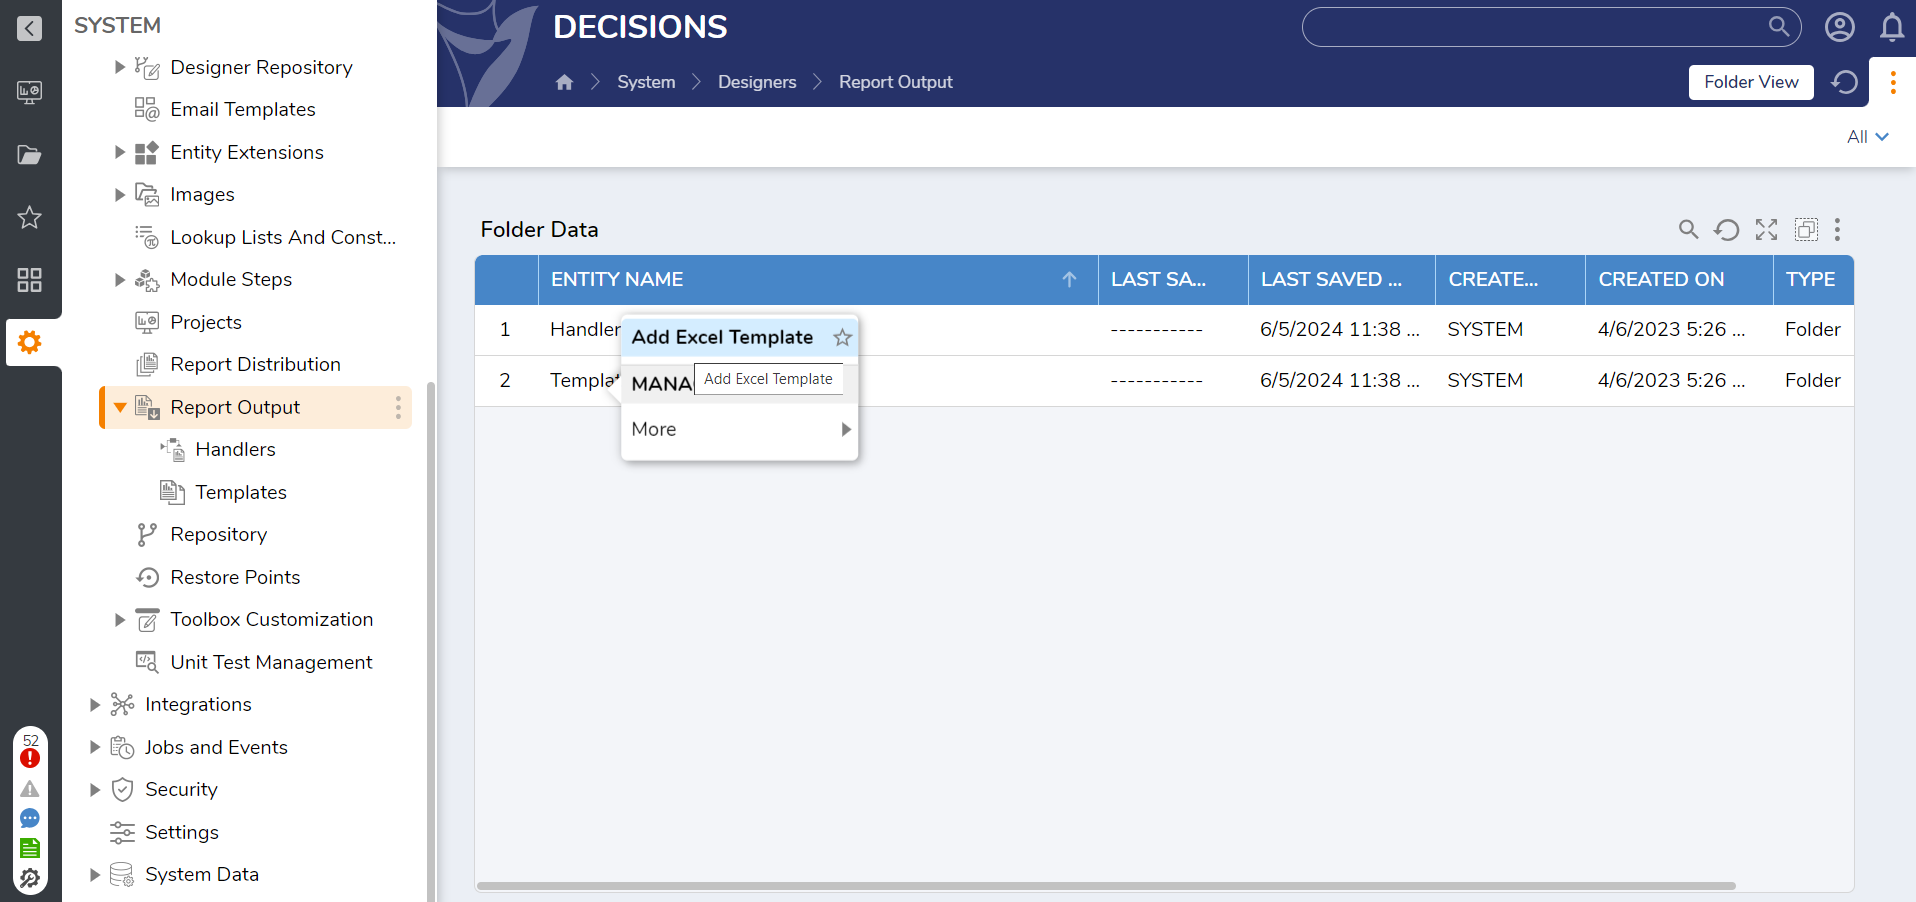
- Navigate to System > Designers > Report Output > Templates.
- Right-click on Templates.
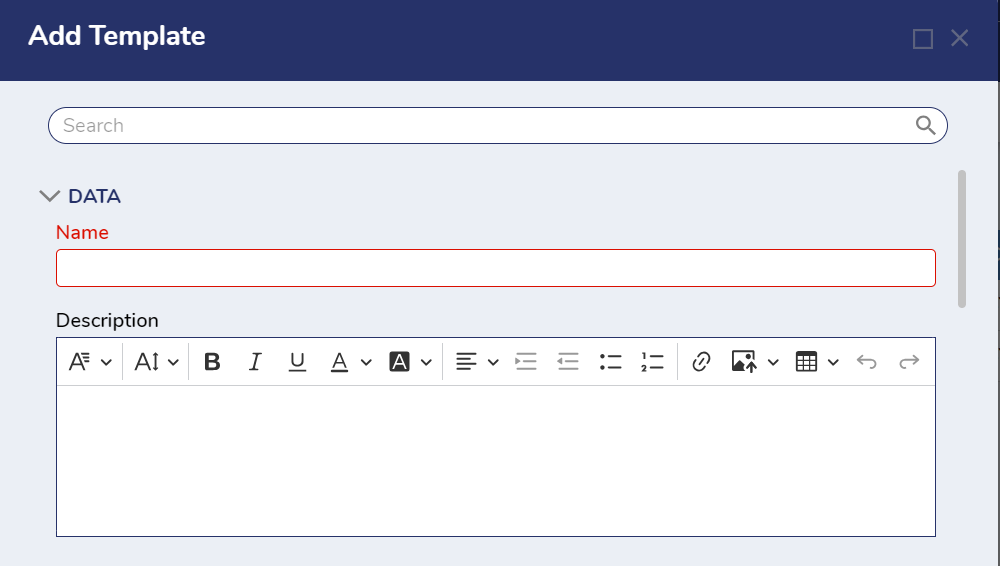
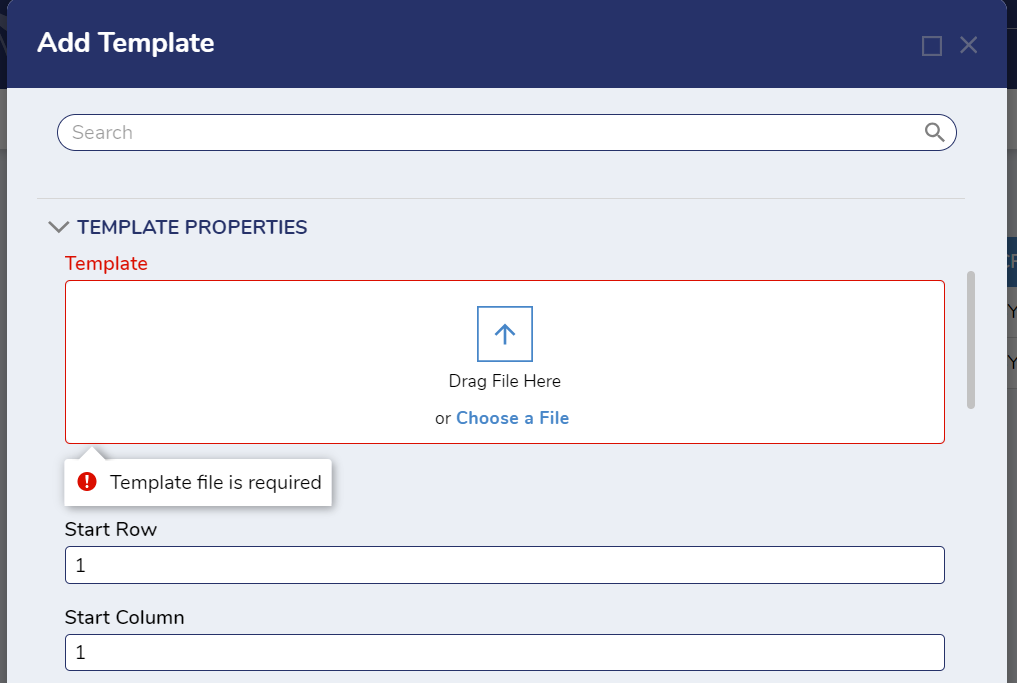
- In the Add Template window, provide a Name. A description can be added as well, but this is optional. Then, under TEMPLATE PROPERTIES > Template, add the desired Excel file via the Drag File Here field, or clicking Choose a File.
- Configure the Report Data to the Start Row and Start Column; this determines the point in the Report Output Template where the data begins populating. This example starts in Row 4 and Column 1. Then click SAVE TEMPLATE, and exit the window.
- After the Excel Template has been created, navigate to and Run the desired Report. From the resulting window, select Download/Send Report (denoted by printer icon).
- In the Download/Send Report dialog, under SETTINGS >Format, select Excel. Under Output Type, choose the previously created Excel Template, and click PROCEED.
- In the resulting Export View window, click Download Exported Report.
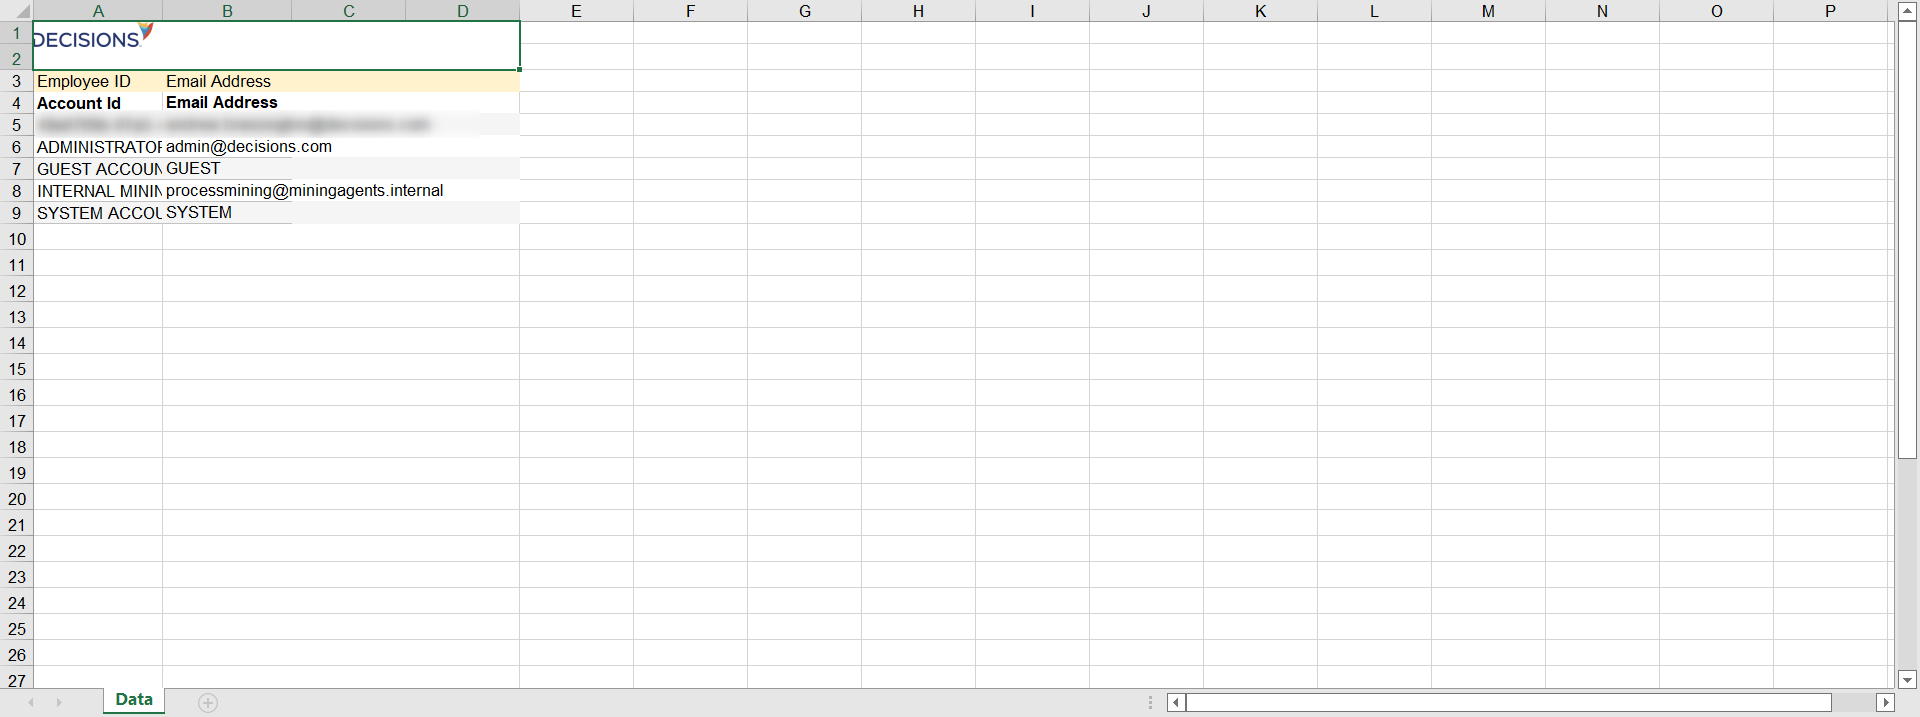
- After the Excel formatted Report downloads, open in and verify that the Report Output Template was properly applied to the Excel file.
Project Level Example
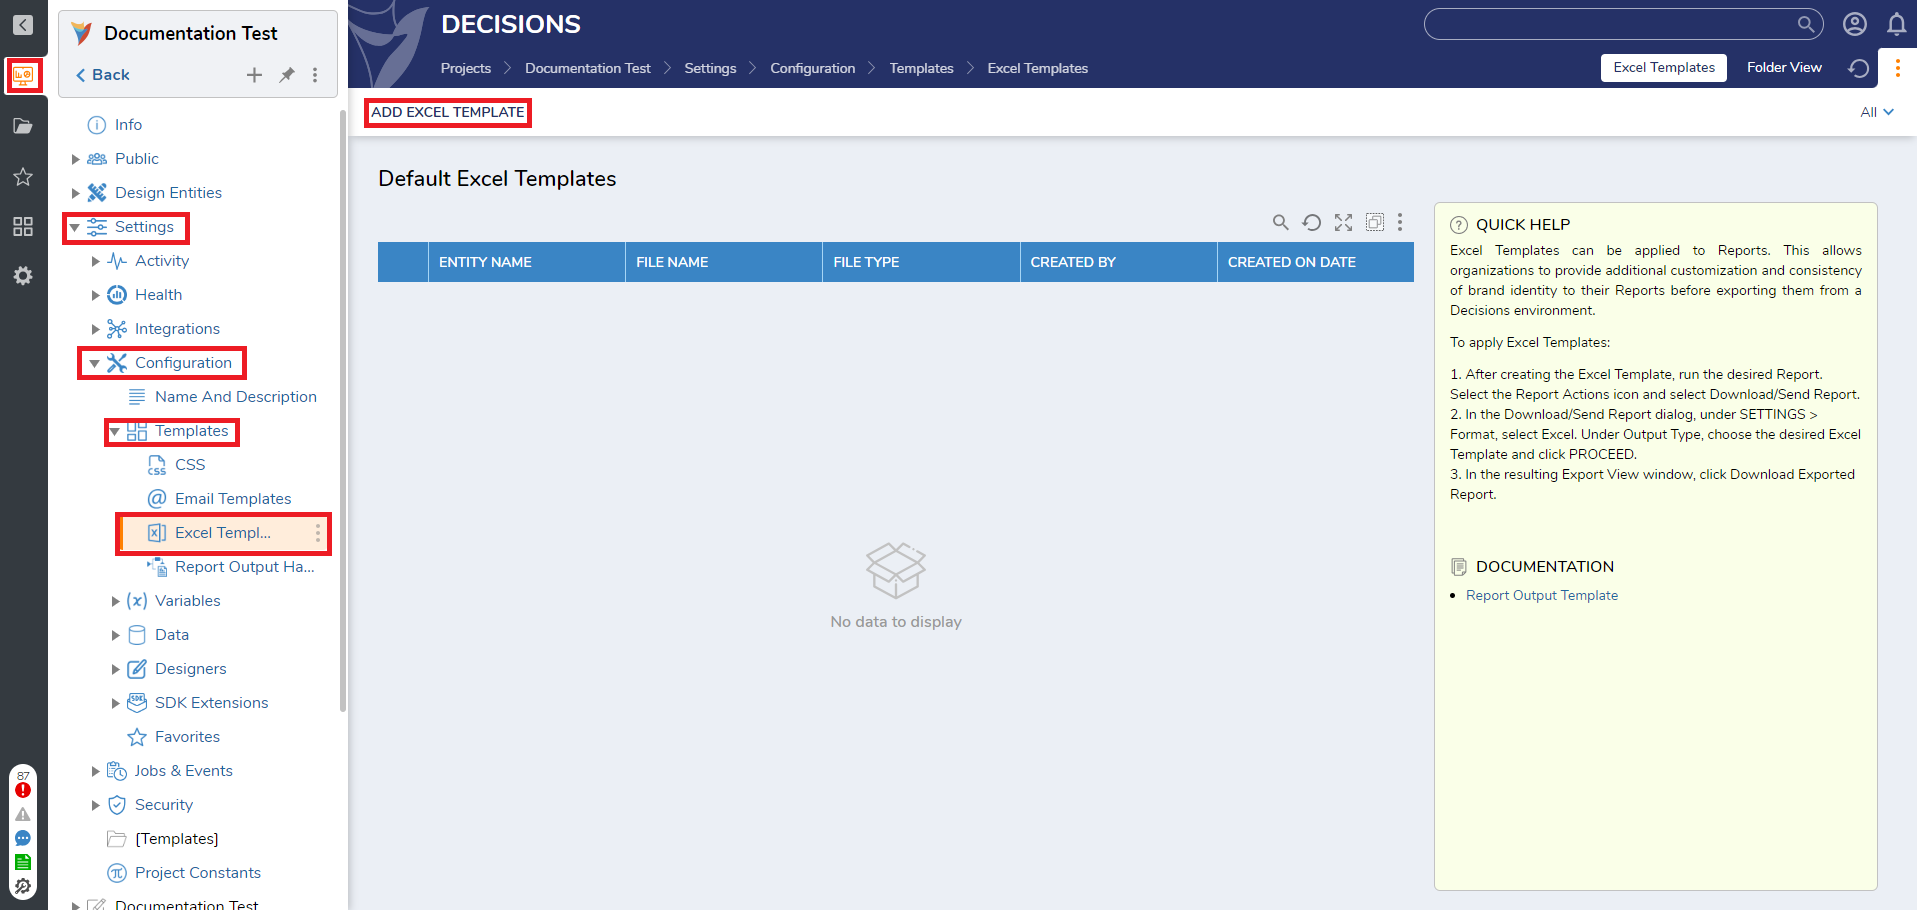
- Navigate to Projects> Desired Project > Settings > Configuration > Templates > Excel Templates. Then, click the ADD EXCEL TEMPLATE button.
- In the Add Template window, provide a Name. Then, under TEMPLATE PROPERTIES > Template, add the desired Excel file via the Drag File Here field, or clicking Choose a File.

- Configure the Report Data to the Start Row and Start Column; this determines the point in the Report Output Template where the data begins populating. This example starts in Row 4 and Column 1. Then click SAVE TEMPLATE, and exit the window.

- After the Excel Template has been created, navigate to and Run the desired Report. From the resulting window, select Download/Send Report (denoted by printer icon).

- In the Download/Send Report dialog, under SETTINGS >Format, select Excel. Under Output Type, choose the previously created Excel Template, and click PROCEED.
In the resulting Export View window, click Download Exported Report..png)
- After the Excel formatted Report downloads, open in and verify that the Report Output Template was properly applied to the Excel file.
For further information on Reports, visit the Decisions Forum.