Overview
The Import Excel or CSV (Runtime Mapping) step takes in a CSV/Excel file data and maps the desired columns to an Object List as output. This step is similar to the Import Excel or CSV step but differs in that it allows the user to add a List of mappings dynamically at runtime.
The below file is a Project that can be downloaded and imported. To learn how to import, see Importing and Exporting Projects.
Simple Example
The following Excel file can be downloaded and used with the below example.
Simple Example
The following Excel file can be downloaded and used with the below example.
Example
- From a Designer Project, click CREATE FLOW and select Flow. Enter a Name, and click CREATE.
- In the Flow Designer, click SETUP INPUT DATA and select DEFINE.

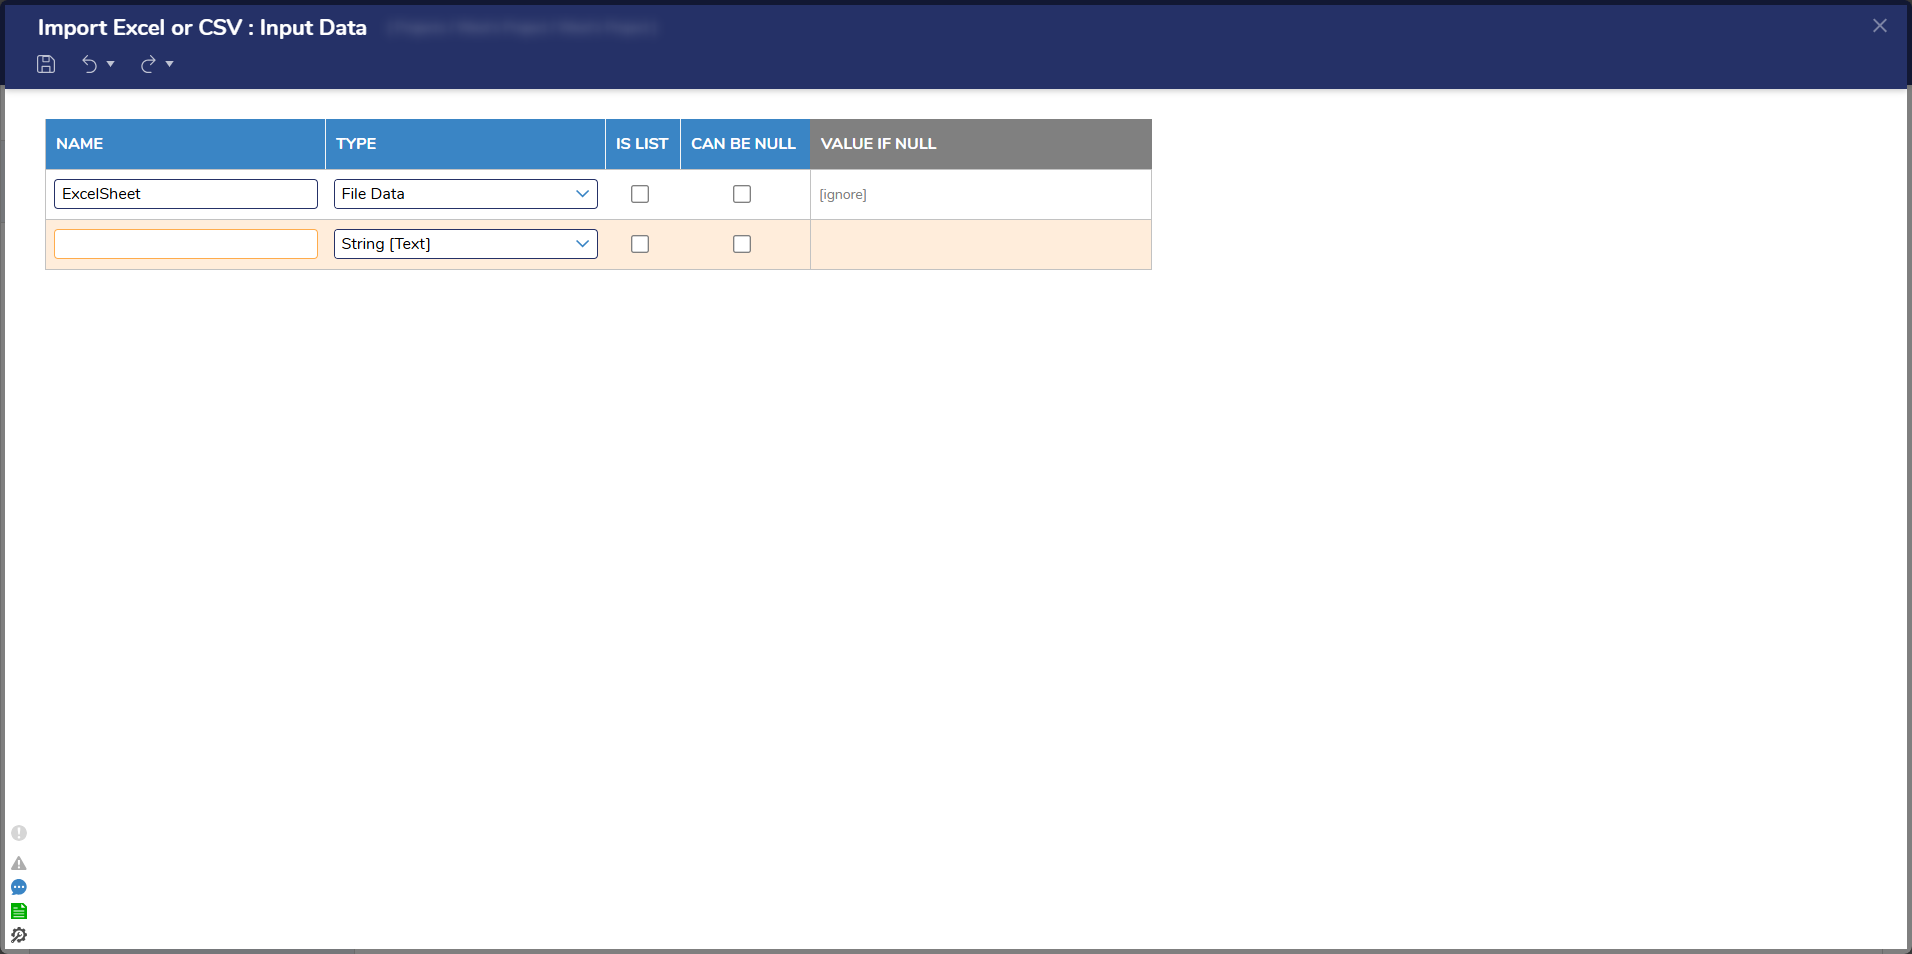
- In the Input Data window, enter "ExcelSheet" under NAME and click the dropdown list under TYPE and select FIle Data. Click Save and close the window.
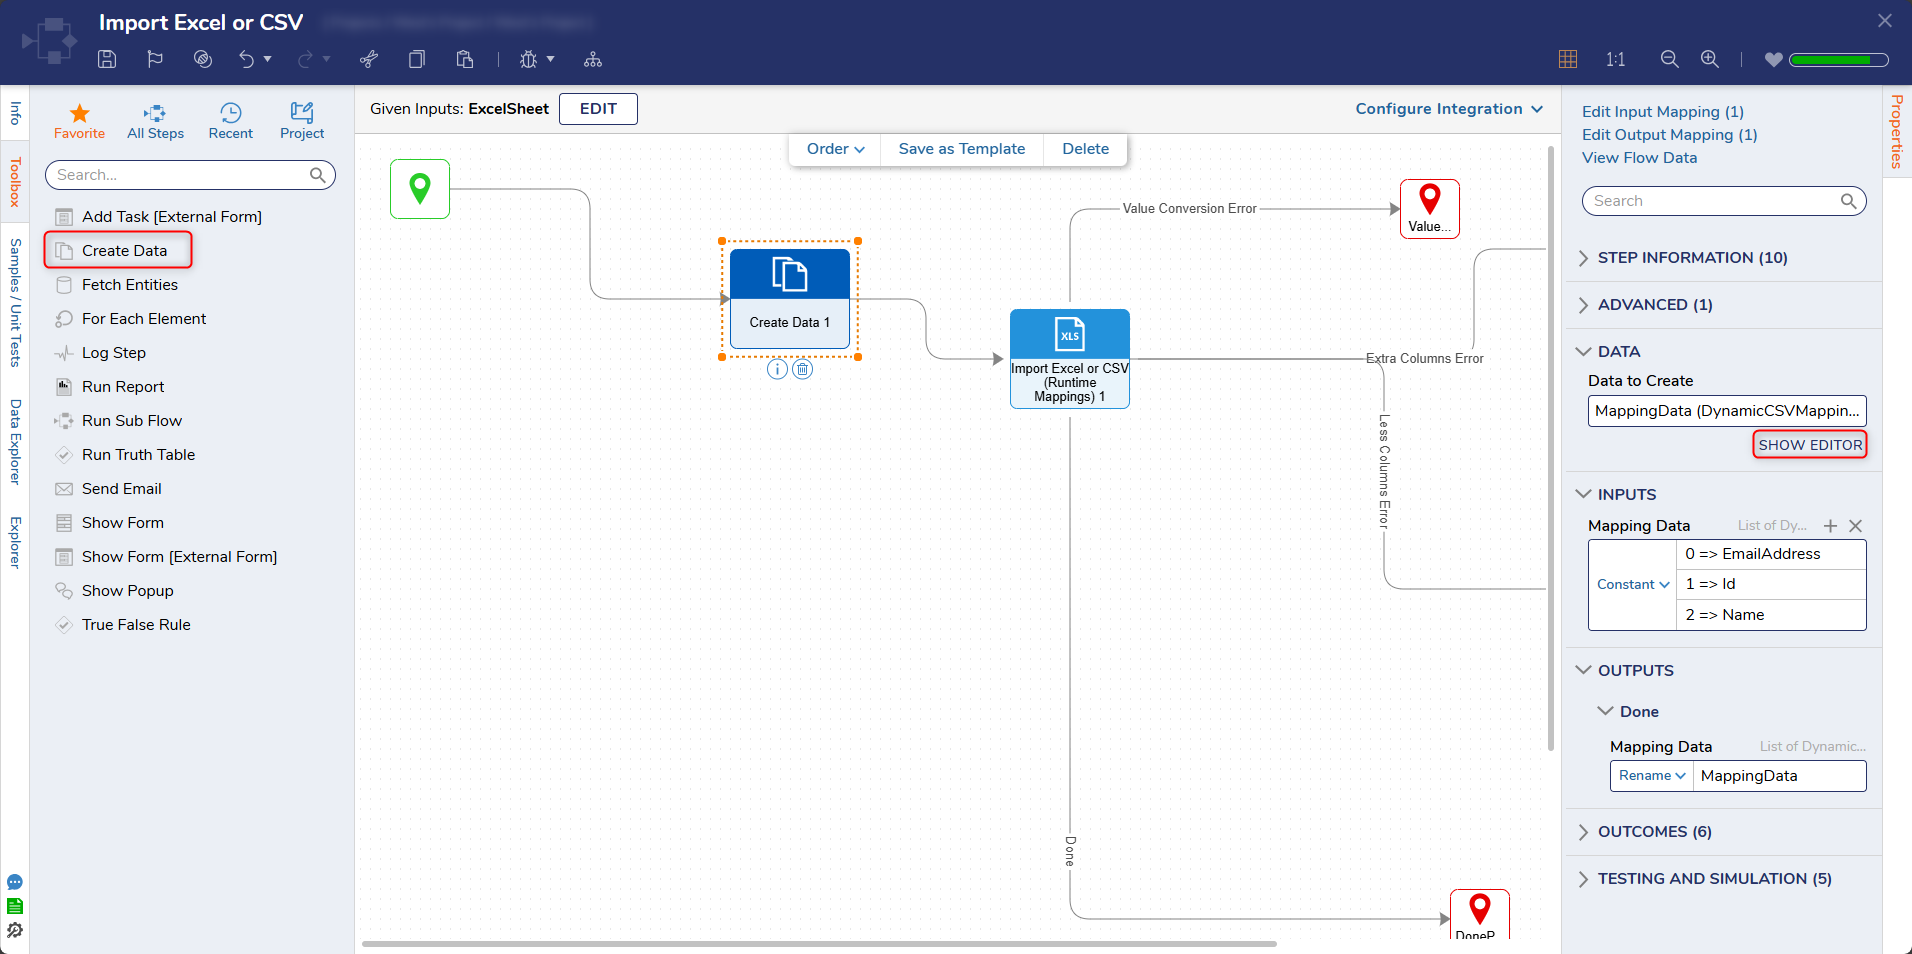
- Next, from the FAVORITE STEPS category in the Toolbox panel, attach a Create Data step to the Start step. Then, on the Properties panel, click SHOW EDITOR. The Create Data step will be used to establish the required DynamicCSVMapping input to help the Import step know how to distribute data to the desired columns.
- From the Data Definitions window, enter "MappingData" under NAME and change the TYPE to DynamicCSVMapping, and check Is List. Click Save and close the window.

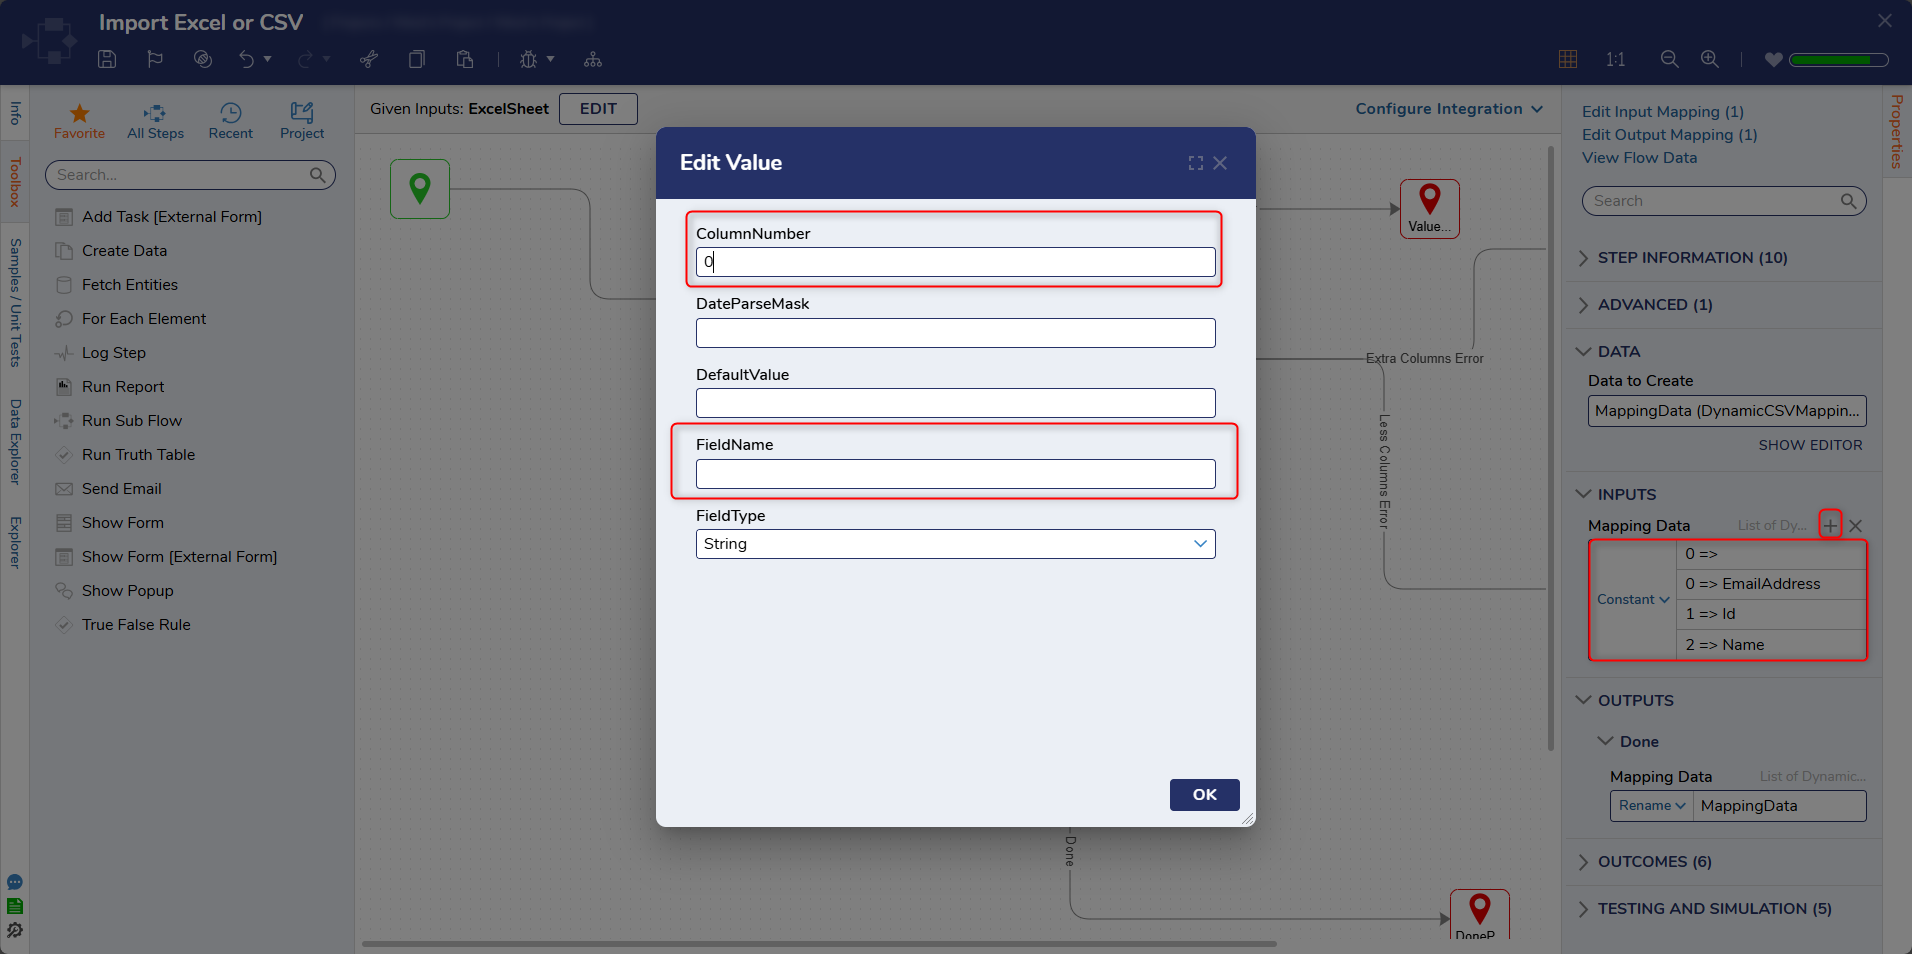
- On the Create Data, click ADD under the Mapping Data field.
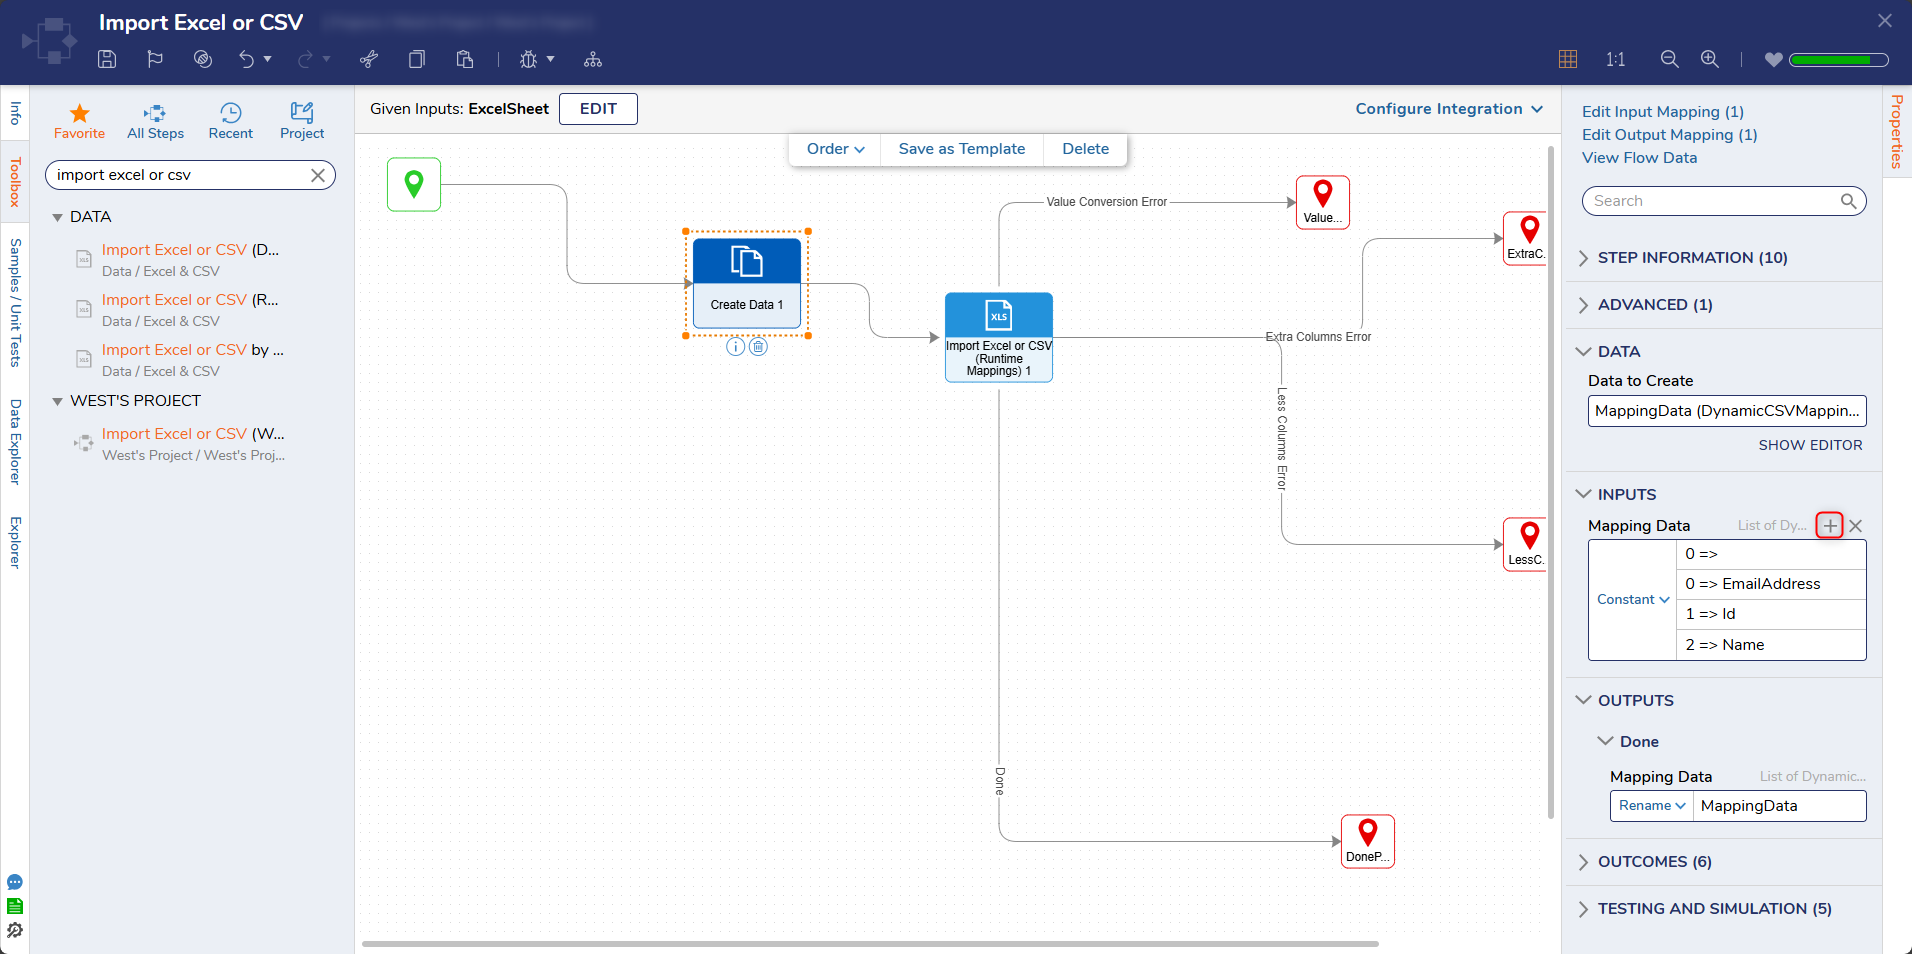
- Each field will represent a different column in the spreadsheet. Each field will correspond to a column number, starting with Column 0. In the Field Name for Column 0, enter "EmailAddress" and click OK. Repeat this process to create Column 1 with a Field Name of "Id" and Column 2 with a FIeld Name of "Name".
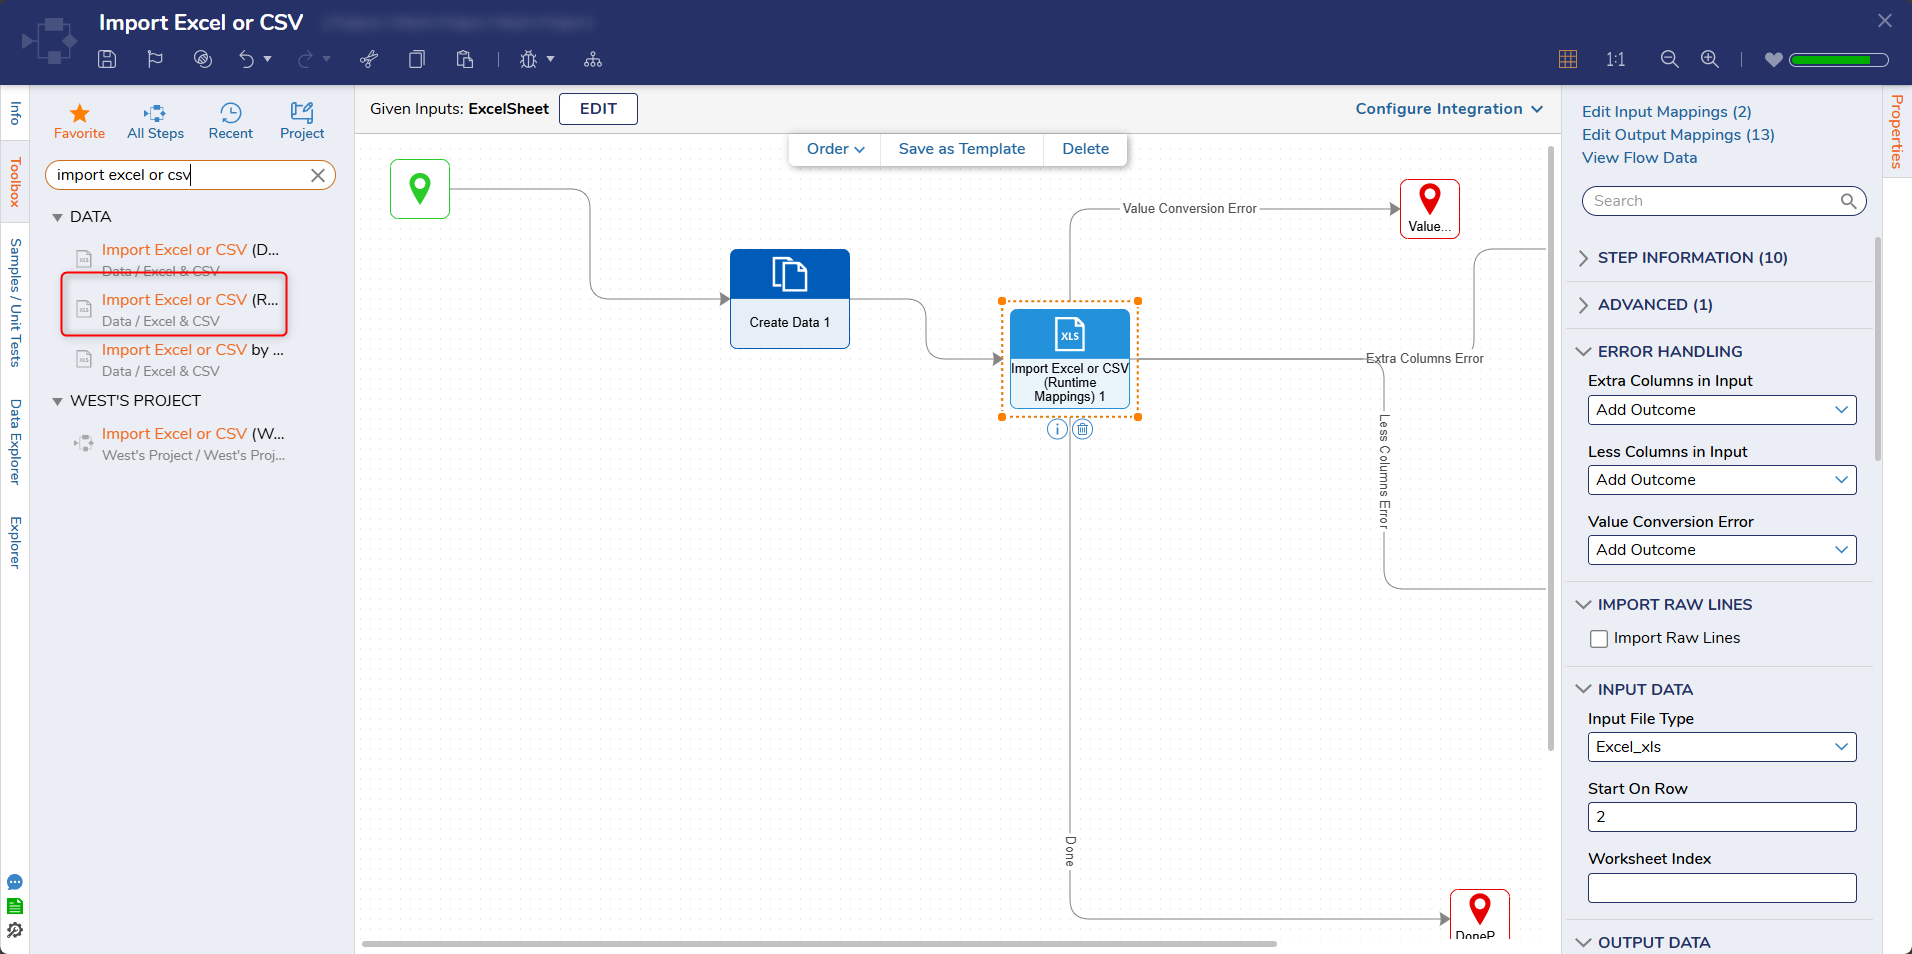
- Attach an Import Excel or CSV (Runtime Mappings) step from the DATA > EXCEL & CSV category in the Toolbox panel to the Create Data step.
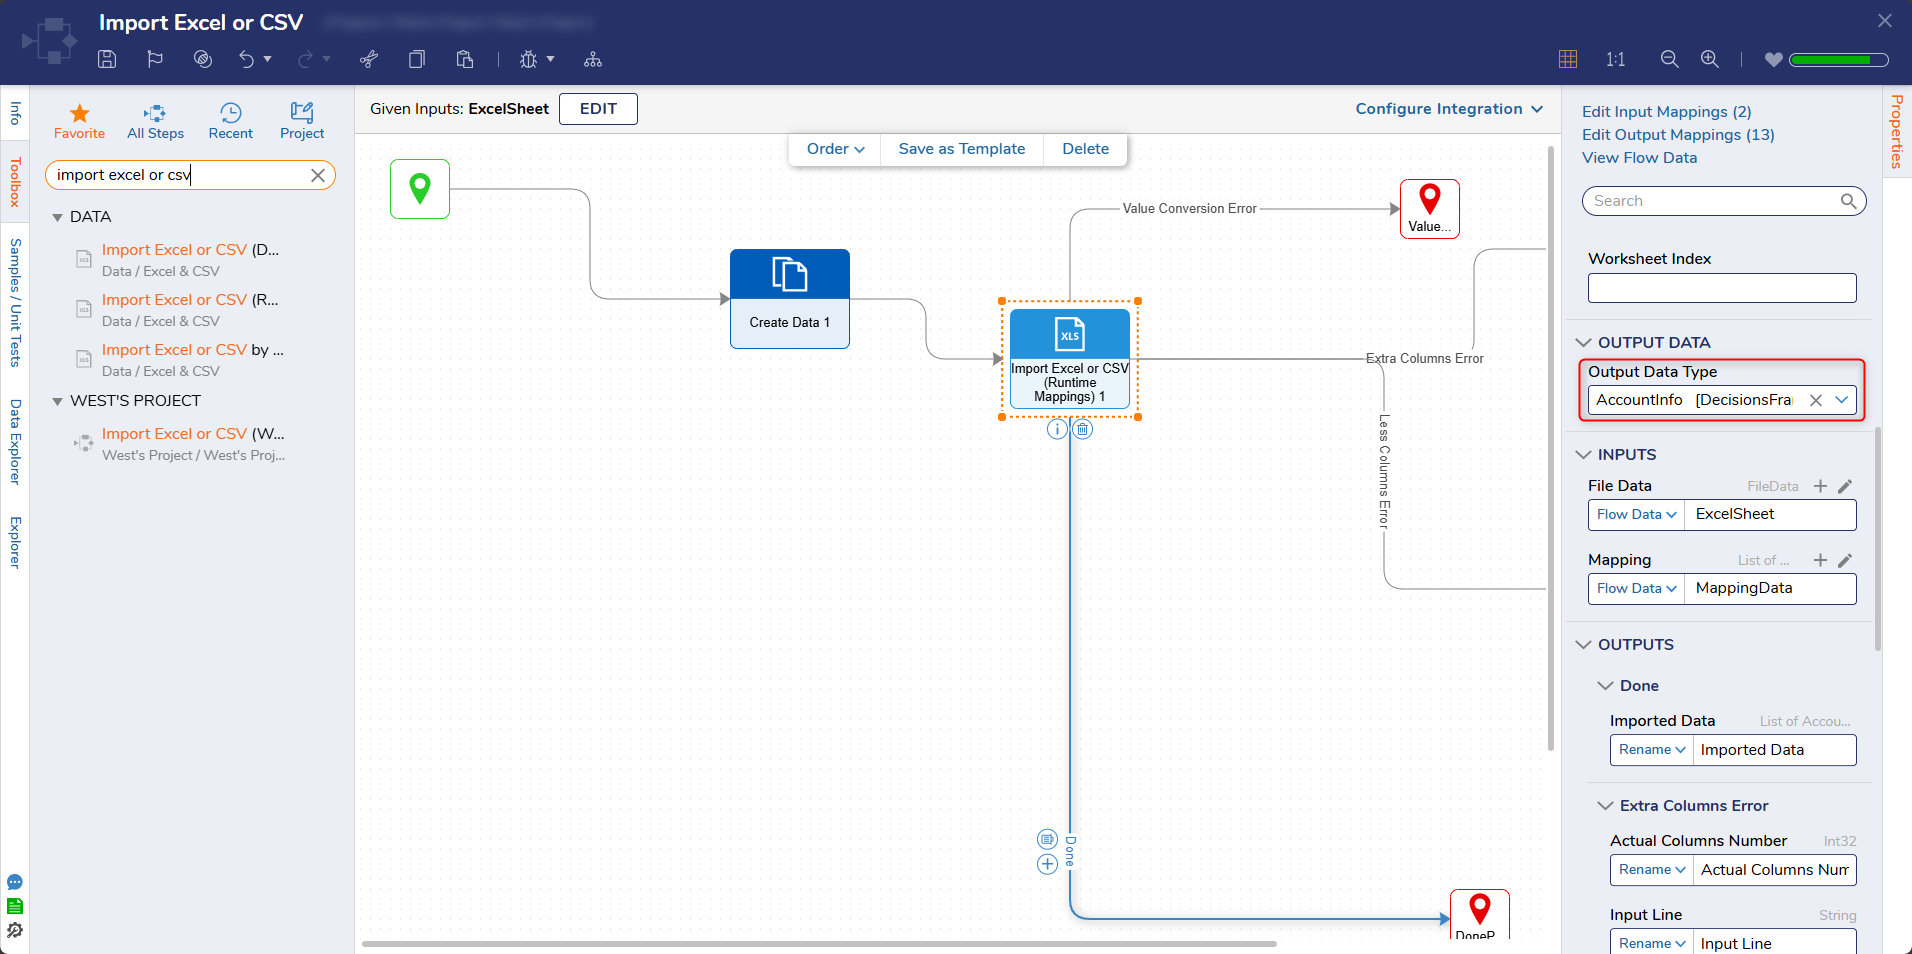
- On the Properties panel, set the Output Data Type to AccountInfo by entering "account" in the field and selecting it.The Output Data Type must output a Data Type that contains Data Members whose Names and Types match the desired Columns and Column Data Types respectively. For this example, a Flow Structure will work. If there are Data Member Names that are missing from the Data Structure and the DynamicCSVMapping expects those Column Names, then an error will occur.
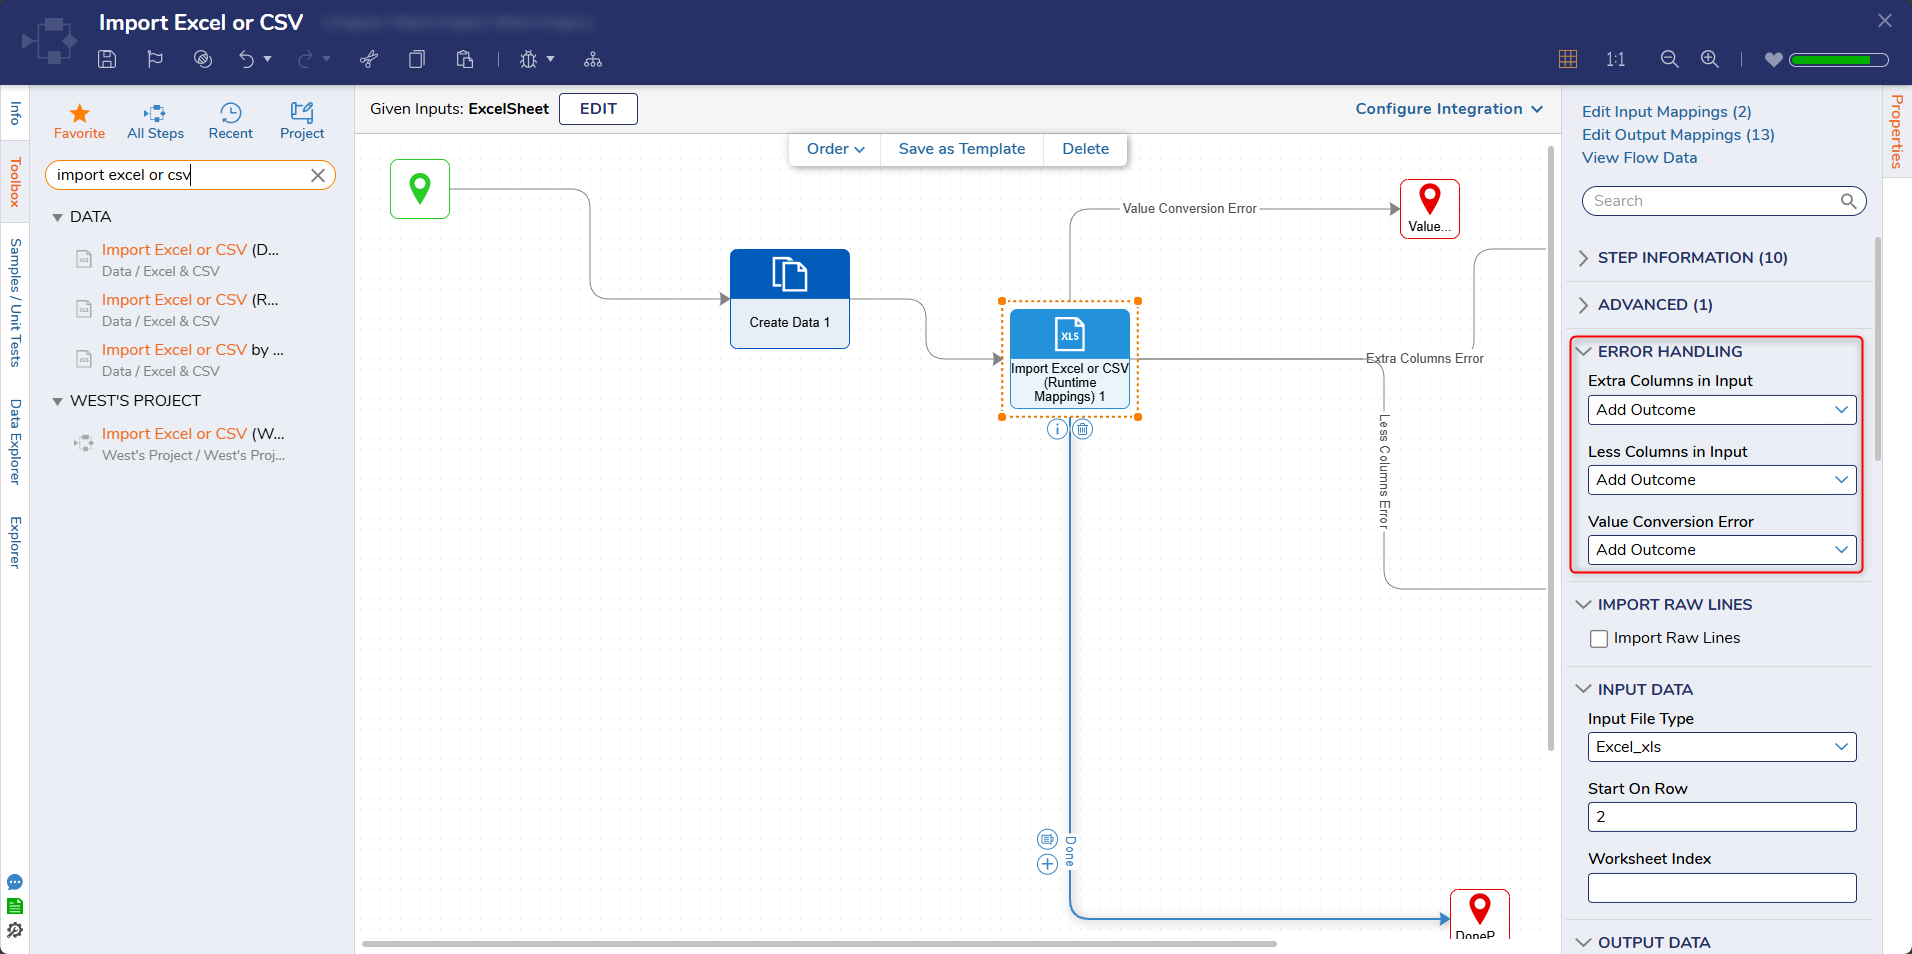
- Leave each option under ERROR HANDLING set as Add Outcome.Alternately users have the option to also choose Throw Exception or Ignore and Continue.
- Under INPUT DATA > Input File Type, select Excel_xlsx from the dropdown list and set Start on Row to "2". For this example, setting Start on Row to 2 skips the first row in the Excel file which is occupied by a Header.
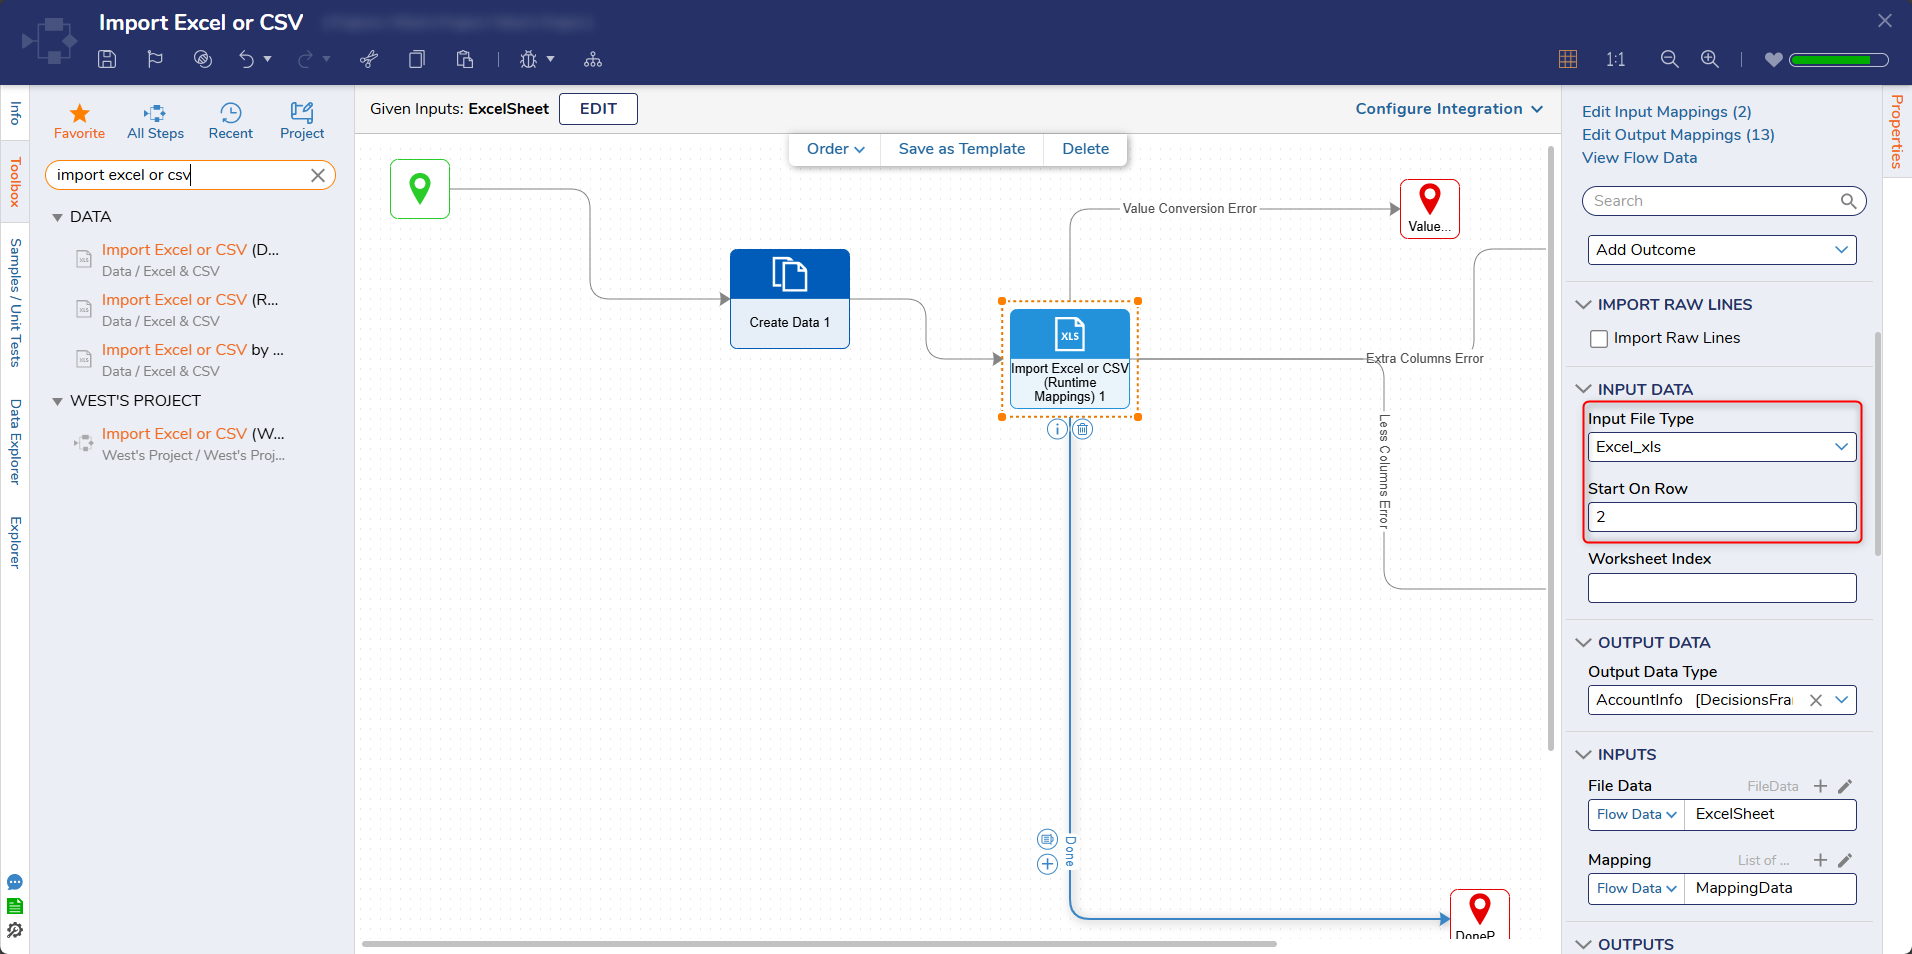
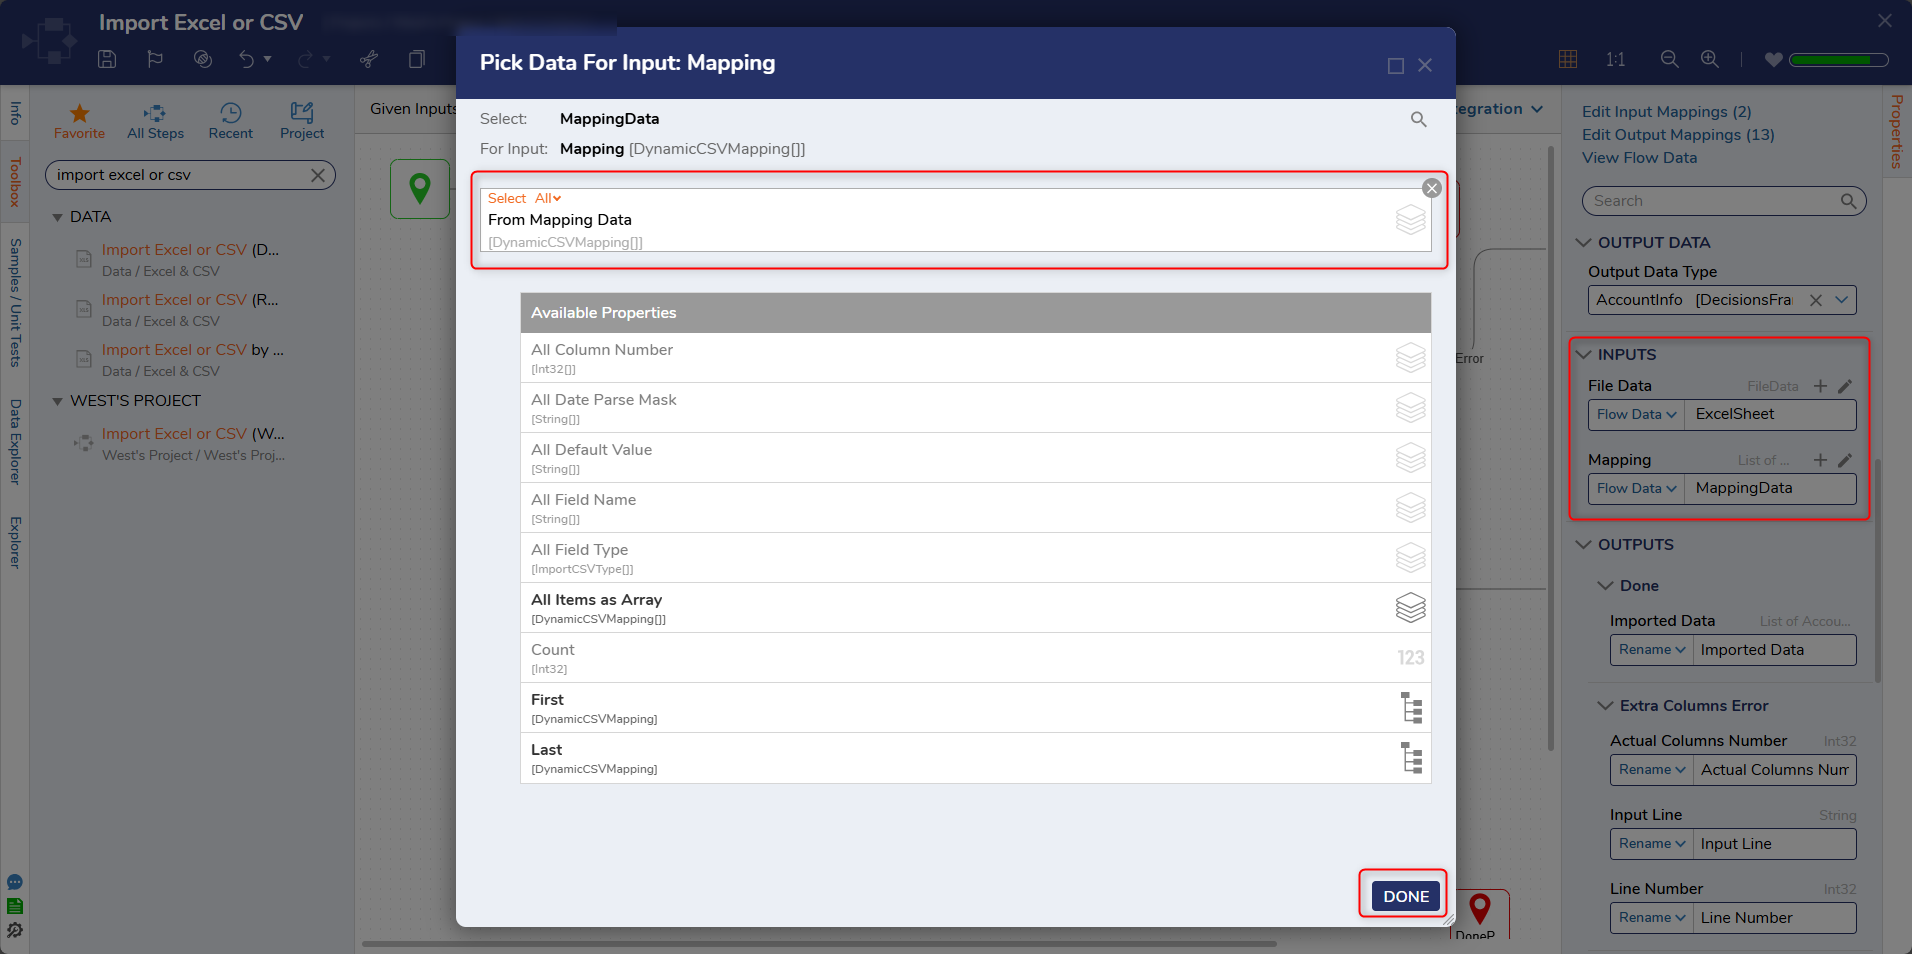
- Under the INPUTS category, click Unknown next to the File Data field and select Select From Flow. Select ExcelSheet and click DONE. Then, map MappingData to the Mapping field.
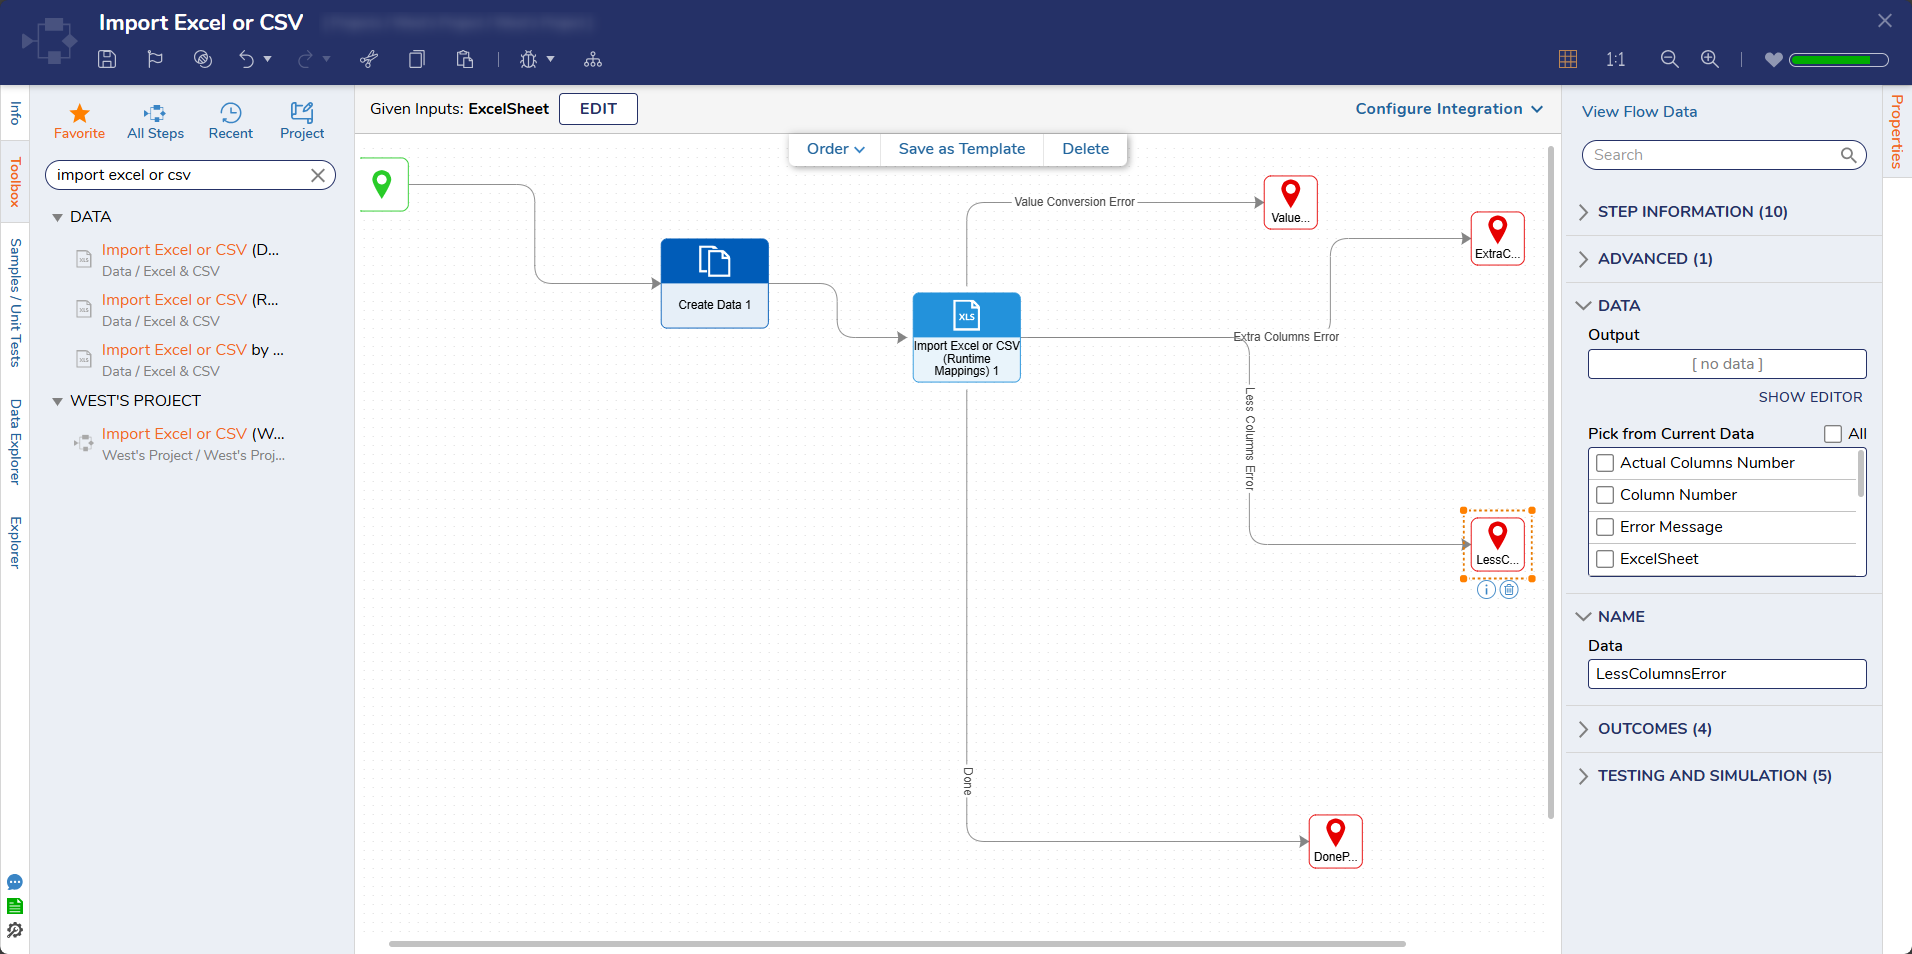
- From the FLOW MANAGEMENT category of the Toolbox, attach an End step to each path of the Import Excel or CSV (Runtime Mappings) step. Name each End step by providing a value in their Data field.
- Click Save to save changes to the Flow.
Debug
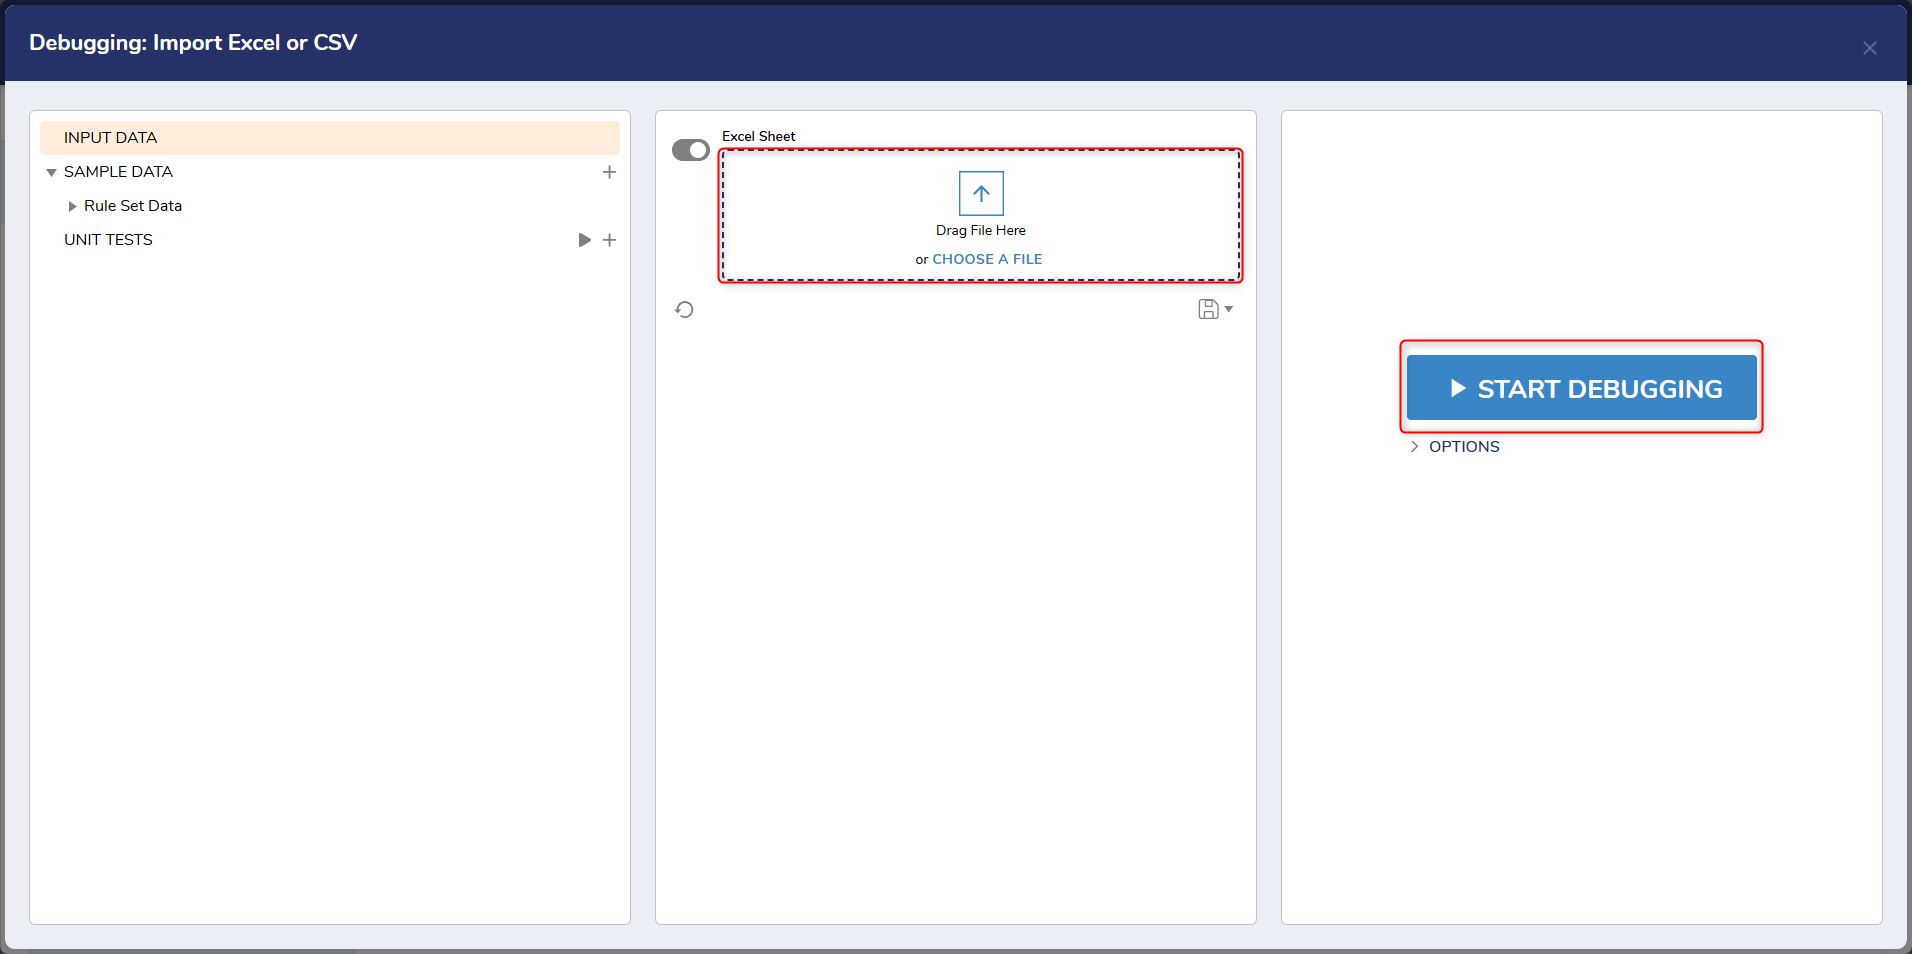
- Click Debug from the top action bar.
- Click and drag, or use the CHOOSE FILE button to add the Test Excel file. Then, click START DEBUGGING.
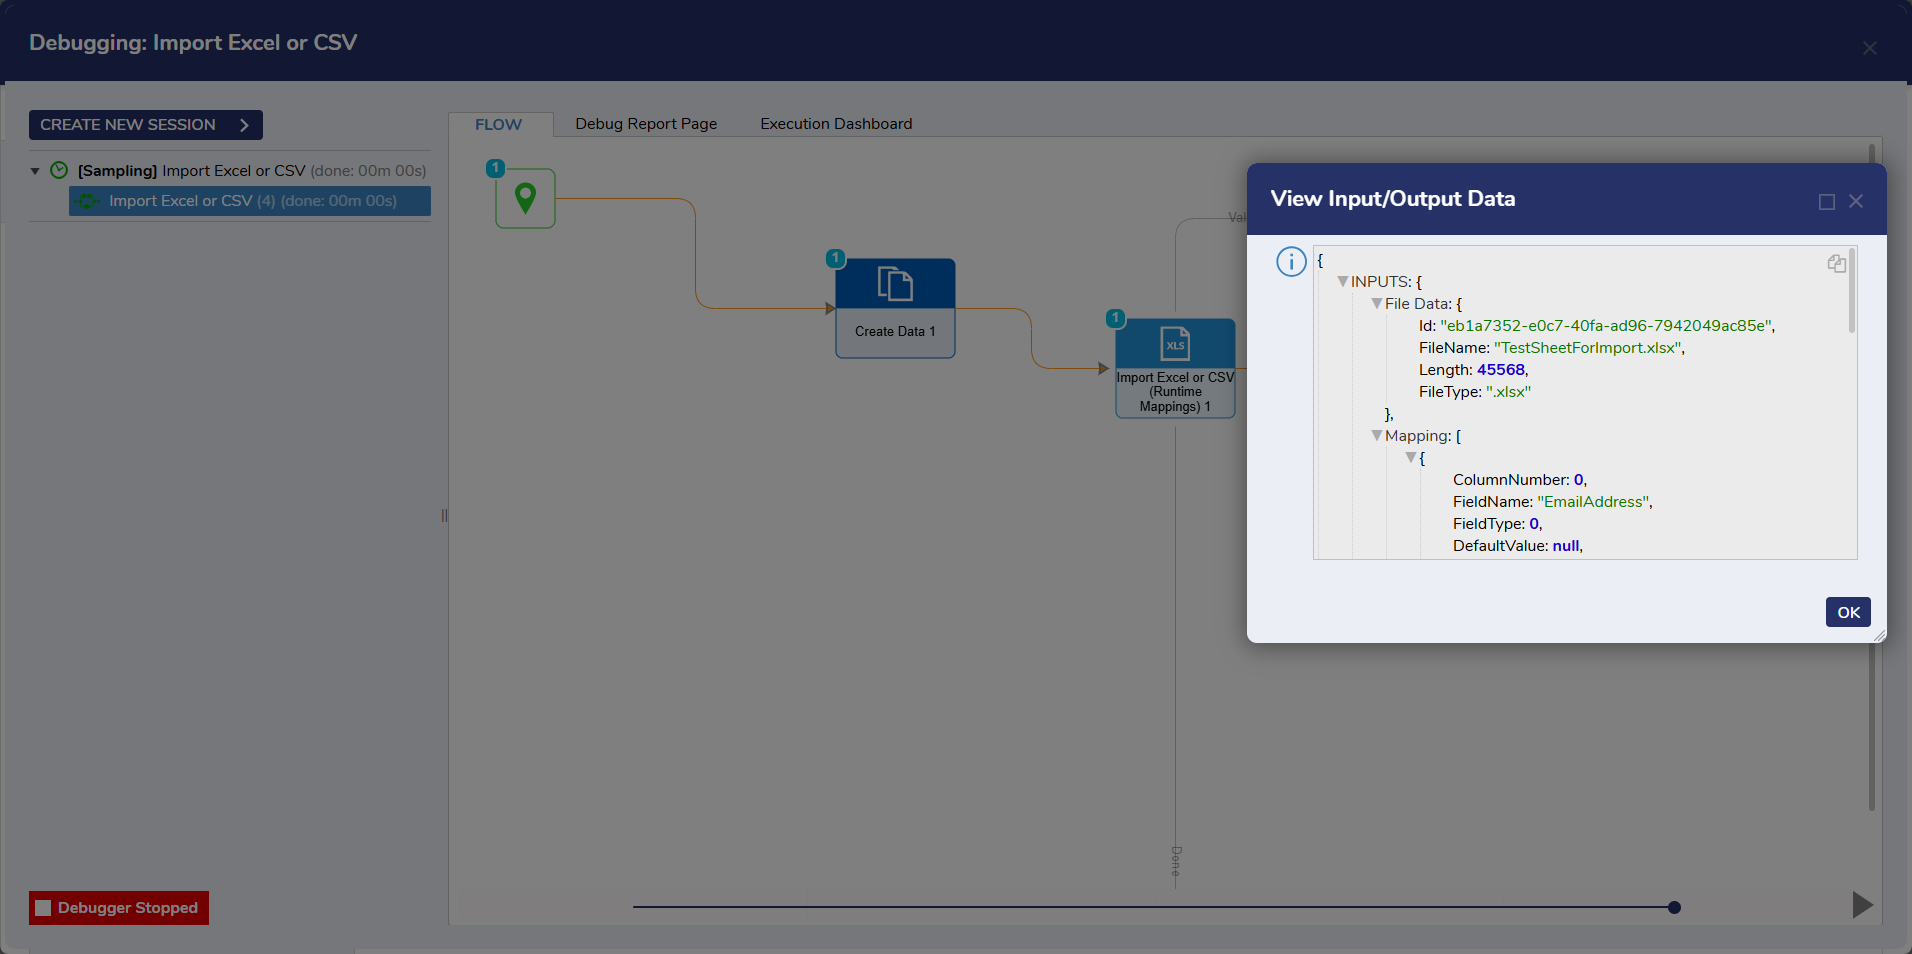
- After the Flow runs, select Import Excel or CSV (Runtime Mapping) > Execution 1 > View Input/Output Data. The resulting Output data will demonstrate the imported data from the Excel sheet sorted into each Column by the defined Mapping Data.