Handling Custom .DLL Files
- 01 Feb 2023
- 1 Minute to read
- Print
- DarkLight
Handling Custom .DLL Files
- Updated on 01 Feb 2023
- 1 Minute to read
- Print
- DarkLight
Article Summary
Share feedback
Thanks for sharing your feedback!
Overview
To understand how to add custom code to the platform, developers should be well acquainted with an integrated development environment (IDE) and on building Class Libraries in .NET Core.
This article details how to add, update, and delete a custom .dll file into a Decisions environment.
If experiencing issues with a custom .dll, refer to the Troubleshooting a Custom .DLL File article for further information.
.NET versions for .DLL:
Ensure to build the Class Libraries in .NET Core versions similar to the current Decisions using .NET core version.
Refer to the Installation Guide for more details.
Refer to the Installation Guide for more details.
Uploading a Custom .DLL File
This example will demonstrate how to add the .dll file created from a compiled .NET Core project. The following method will be used in this example.
Note:
Before compiling the following code in .Net Core, ensure to Install Decisions SDK with NuGet in Visual Studio.
C#
using DecisionsFramework.Design.Flow;

[AutoRegisterMethodsOnClass(true, "Documentation/Examples")]
public class DocumentationExample
{
    public static double GetSimpleInterest(decimal interest, int termInYears, double principal)
    {
        return principal * (double) interest * termInYears;
    }
}- After compiling the code in a .NET Core project, navigate to where the .dll Class Library file is located and copy the file.
- Navigate to
C:\Program Files\Decisions\Decisions Server\modules\Decisions.Local\CoreServicesDllsand paste the file to this folder.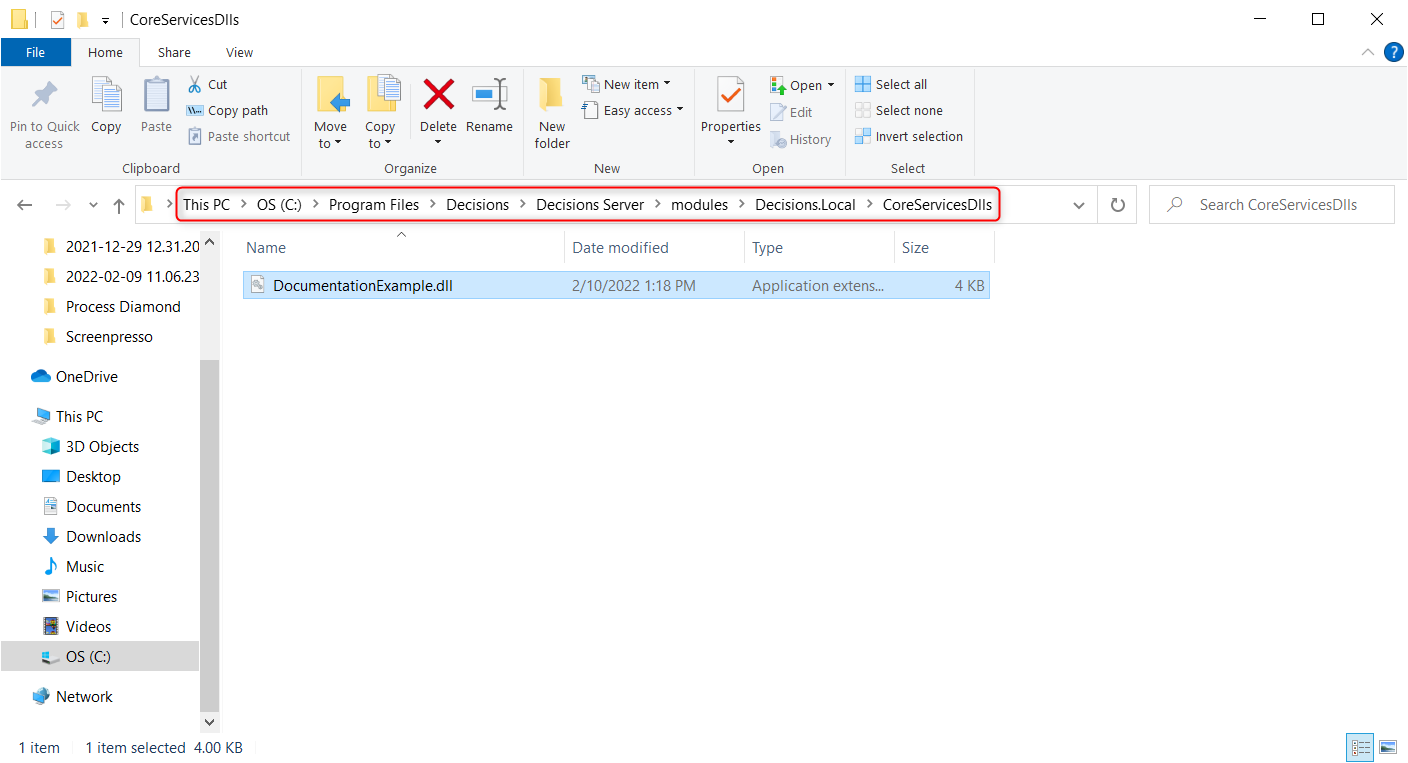
- Restart Decisions.
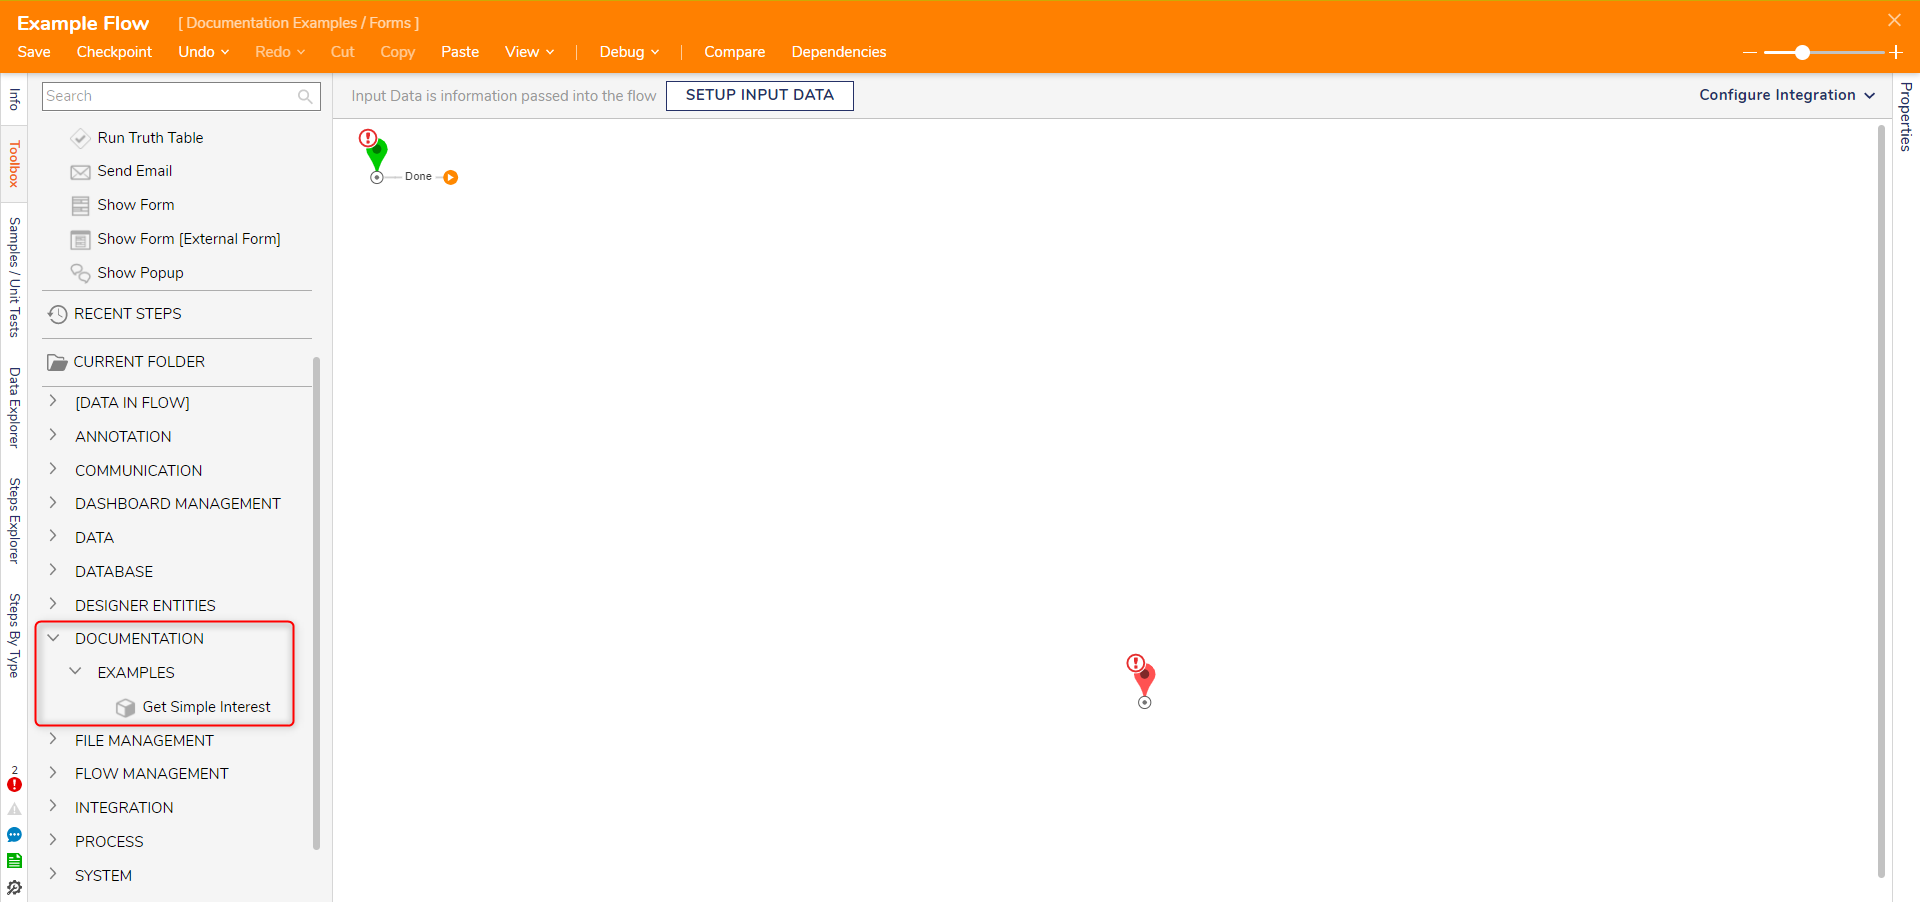
- In the Toolbox panel of the Flow Designer, navigate find the step within the category named off the dll's registered method on class. Steps that are not categorized when using the SDK will be displayed under the .NET Libraries category. To learn more about creating and customizing steps, see SDK: Flow Steps (Basic) and SDK: Flow Steps (Advanced)


Removing Custom .DLL Modules
Custom Modules for Decisions can be removed by performing the following:
Warning !!!
Performing the following steps will remove the custom .dll file-related steps from the Flow. It is recommended to backup any necessary data before proceeding with these steps.
- Navigate to
C:\Program Files\Decisions\Decisions Server\modules\Decisions.Local\CoreServicesDlls, move the custom .dll file to theDeletedfolder. - Navigate to
C:\Program Files\Decisions\FileStorage\Primary\Settings. - Create an empty text file named
ForceLocalModule.txtat this location. - Restart Decisions.
After restarting successfully, the newly added text file will be deleted, and custom steps will be removed from the decisions instance.
For further information on Modules, visit the Decisions Forum.
Was this article helpful?