Overview
The Property Grid Form Control lets users easily define data objects' properties. By defining the Form's data input as a data object, the property grid automatically includes all fields, in their proper formats, related to editing the object.
For example, if you define an Account object as the input for a property grid, the Form that displays to the user will contain all of the fields that can be changed on a user account record, including text fields, date pickers, checkboxes, and drop-down lists.
Example
- In a Flow, select the Start Step and add Account as Flow Input Data. Change the mapping type to Constant, and pick an existing account. This example uses admin@decisions.com.
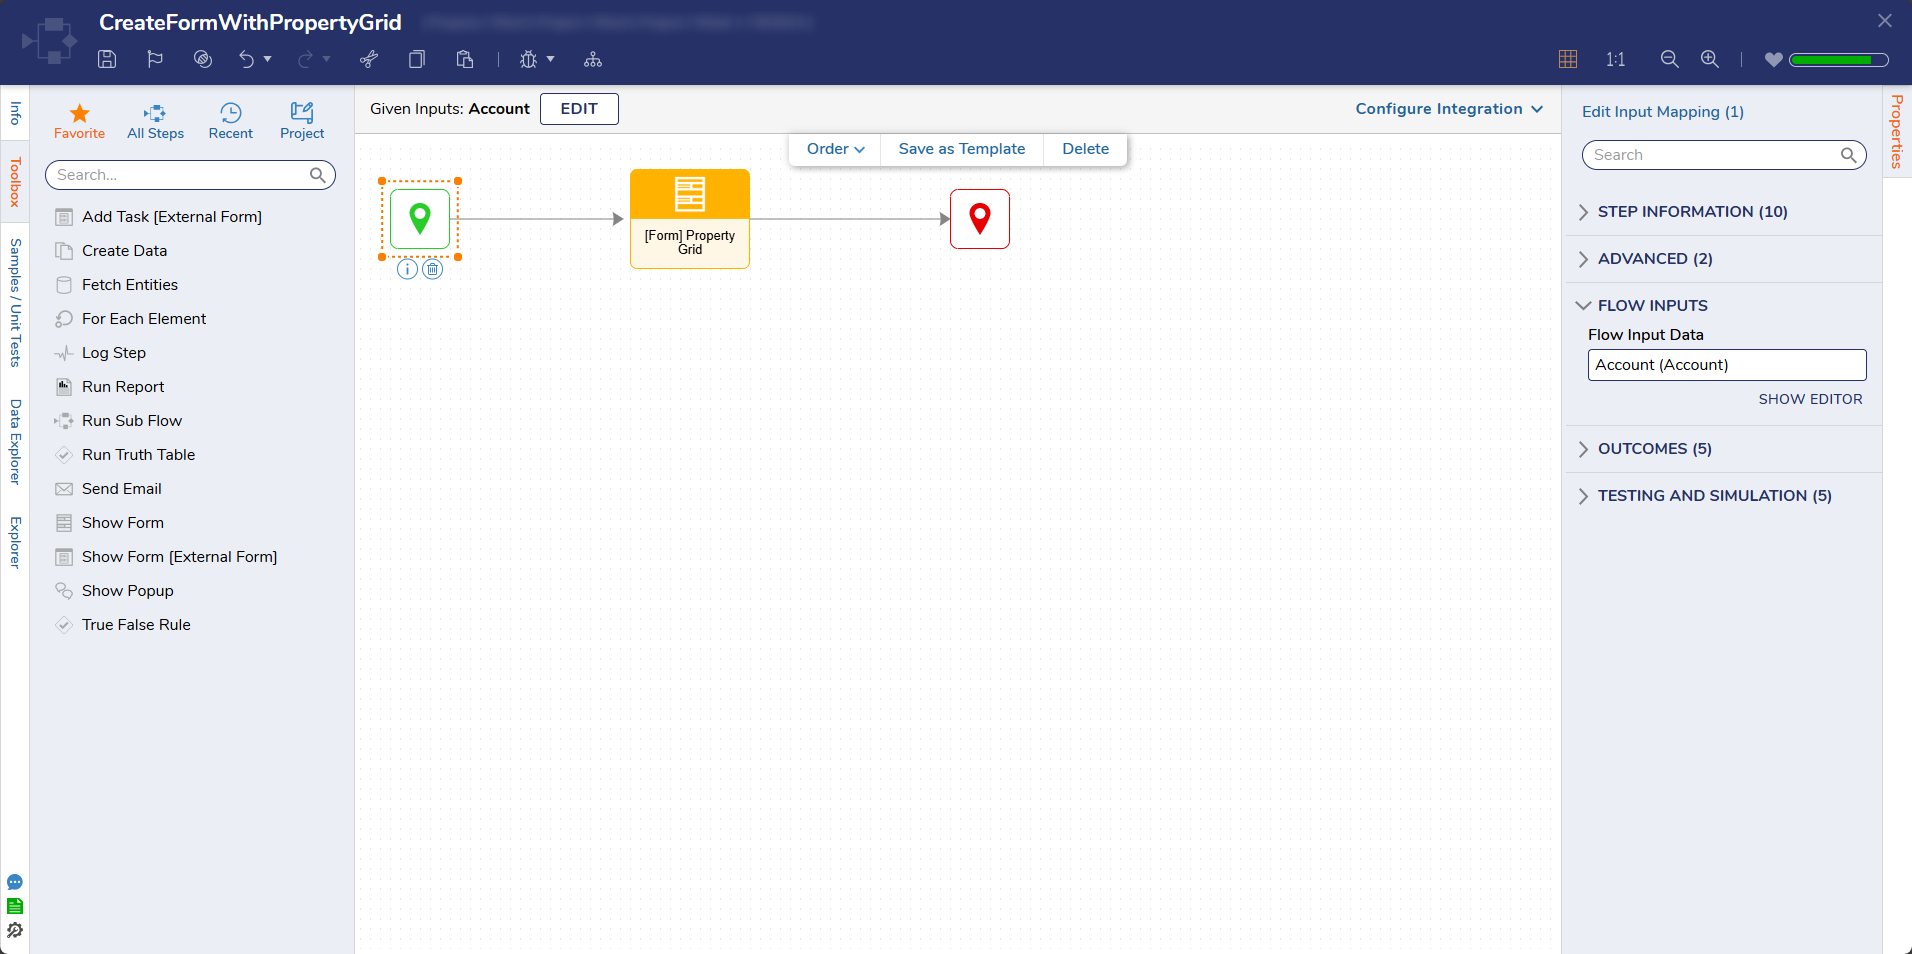
- Add a Show Form step and create a new Form. In the Form Designer, add a Button to the Form.
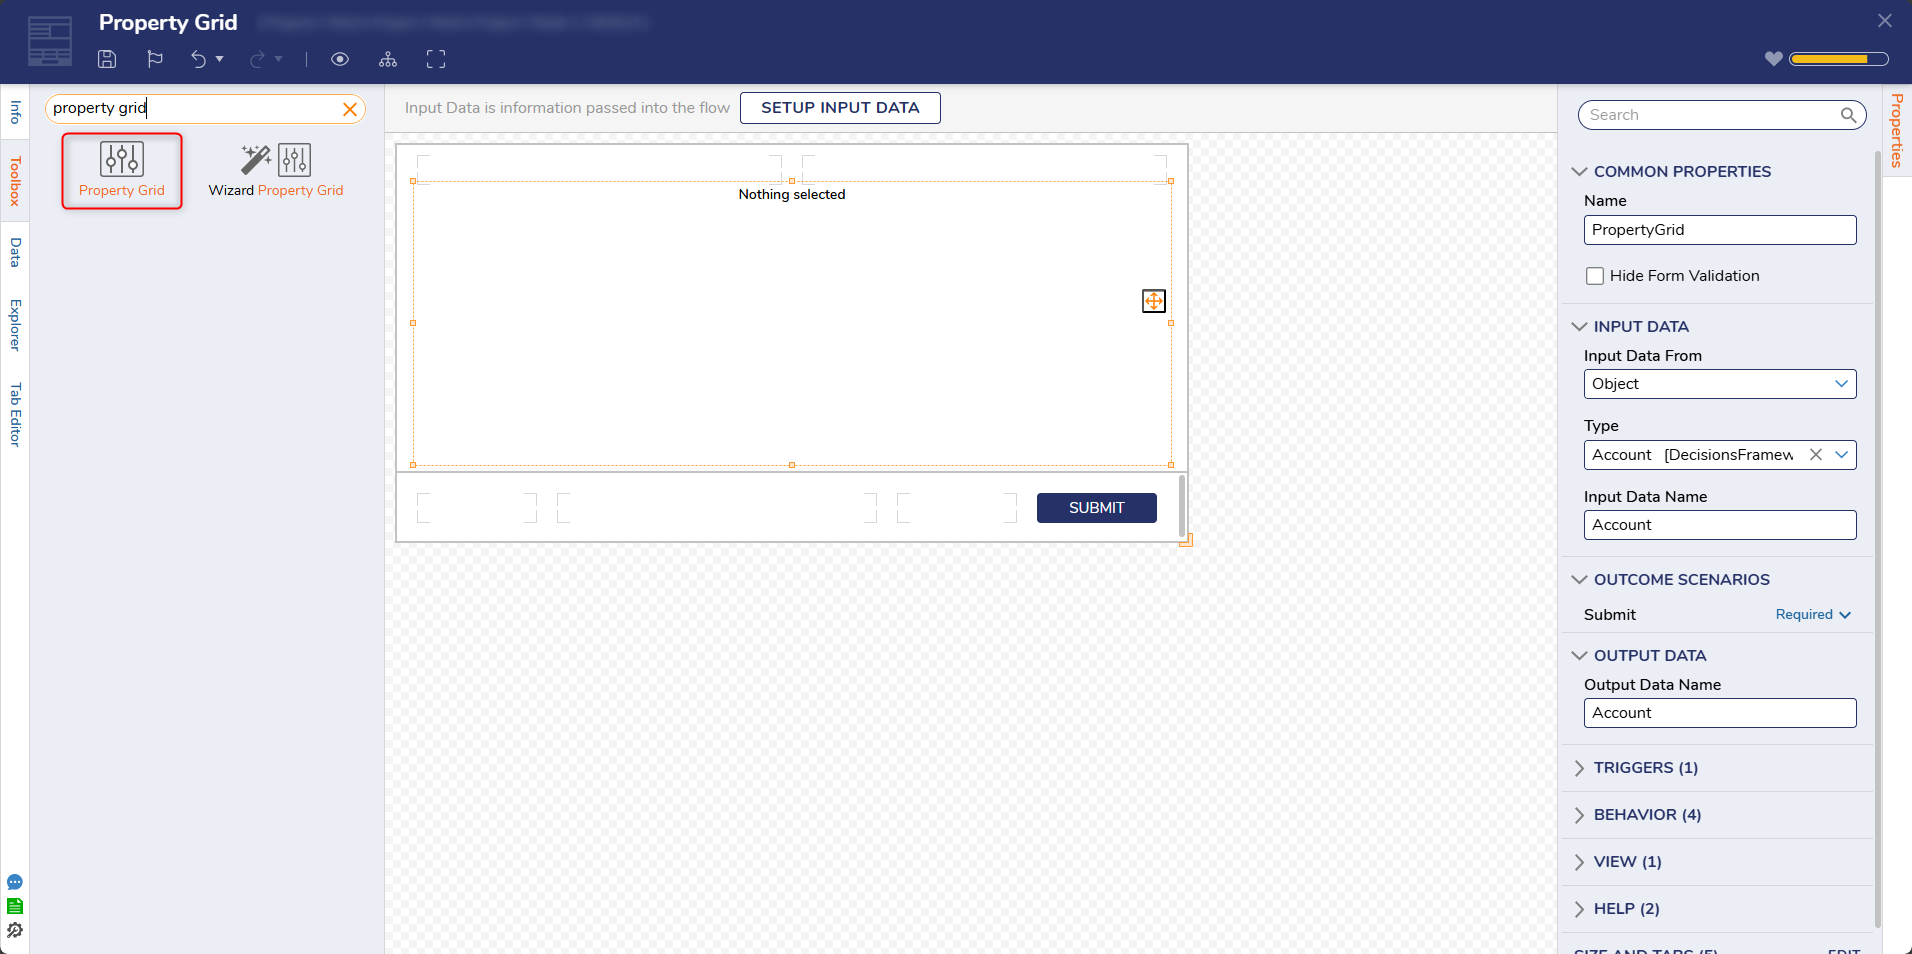
- Navigate to the Toolbox, expand DATA > PROPERTY GRID, and drag and drop the Property Grid control onto the Form.
- With the Property Grid selected, navigate to the Properties panel. Under INPUT DATA, change the Type to Account, and set the Input Data Name to "Account".
- Save and Close the Form Designer.
Debug
In the Flow Designer, select Debug in the top action panel. The Property Grid will display the fields of that data member. These fields can be edited and saved if the Flow is set up to save the changes.