Overview
The Data Designer creates pre-configured sets of Input/Output Data via a drag and drop method that may be reused from Flow to Flow. This, in turn, allows users to define data more efficiently and consistently each time.
In the Data Designer, both Simple and Composite Data Types may be referenced and defined by moving them from the Toolbox into the workspace to comprise a Design Pattern. Once the configuration is saved, selecting the CREATE EXAMPLE DESIGN PATTERN button and choosing an element will automatically preload the Example Design Pattern with data from the new Design Pattern.
The following document demonstrates how to utilize the Data Designer to create a Design Pattern for use in future Flows.
Data Designer Interface
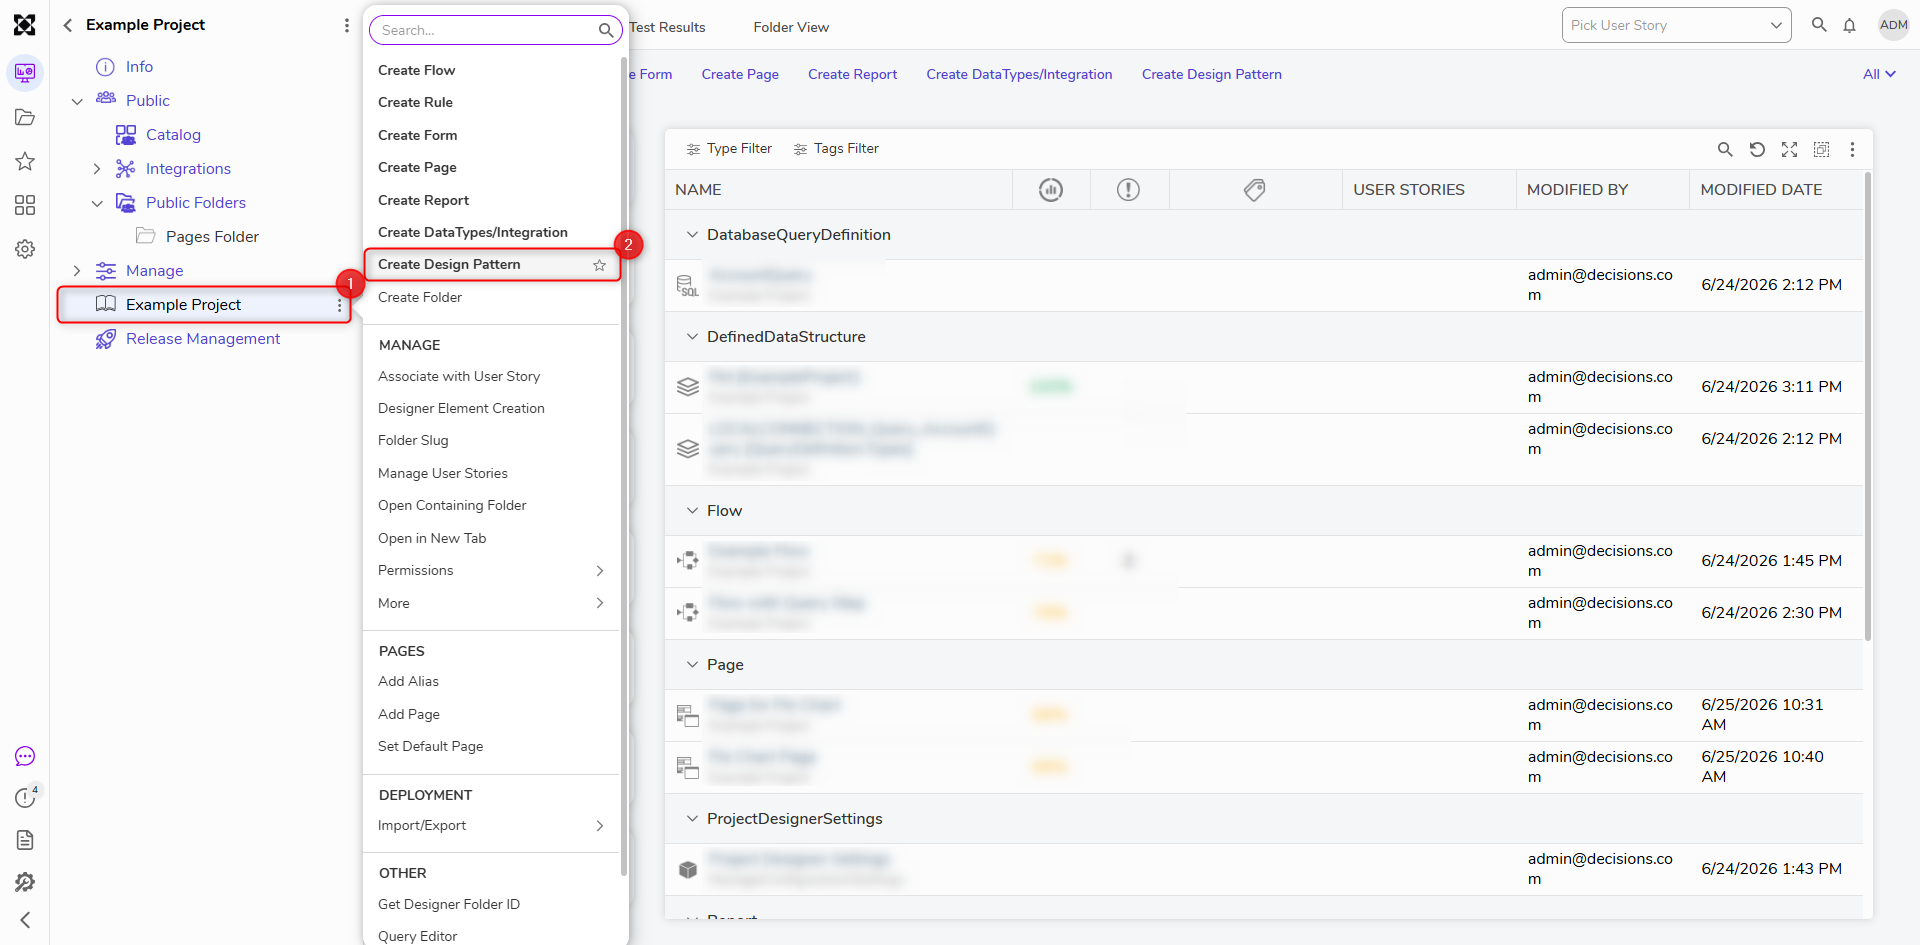
- Select the vertical three-dot icon next to the name of any Designer Project in the FOLDERS list.
- When the Action Menu appears for the Designer Project, select Create Design Pattern.
- Provide a name for the Design Pattern then select CREATE
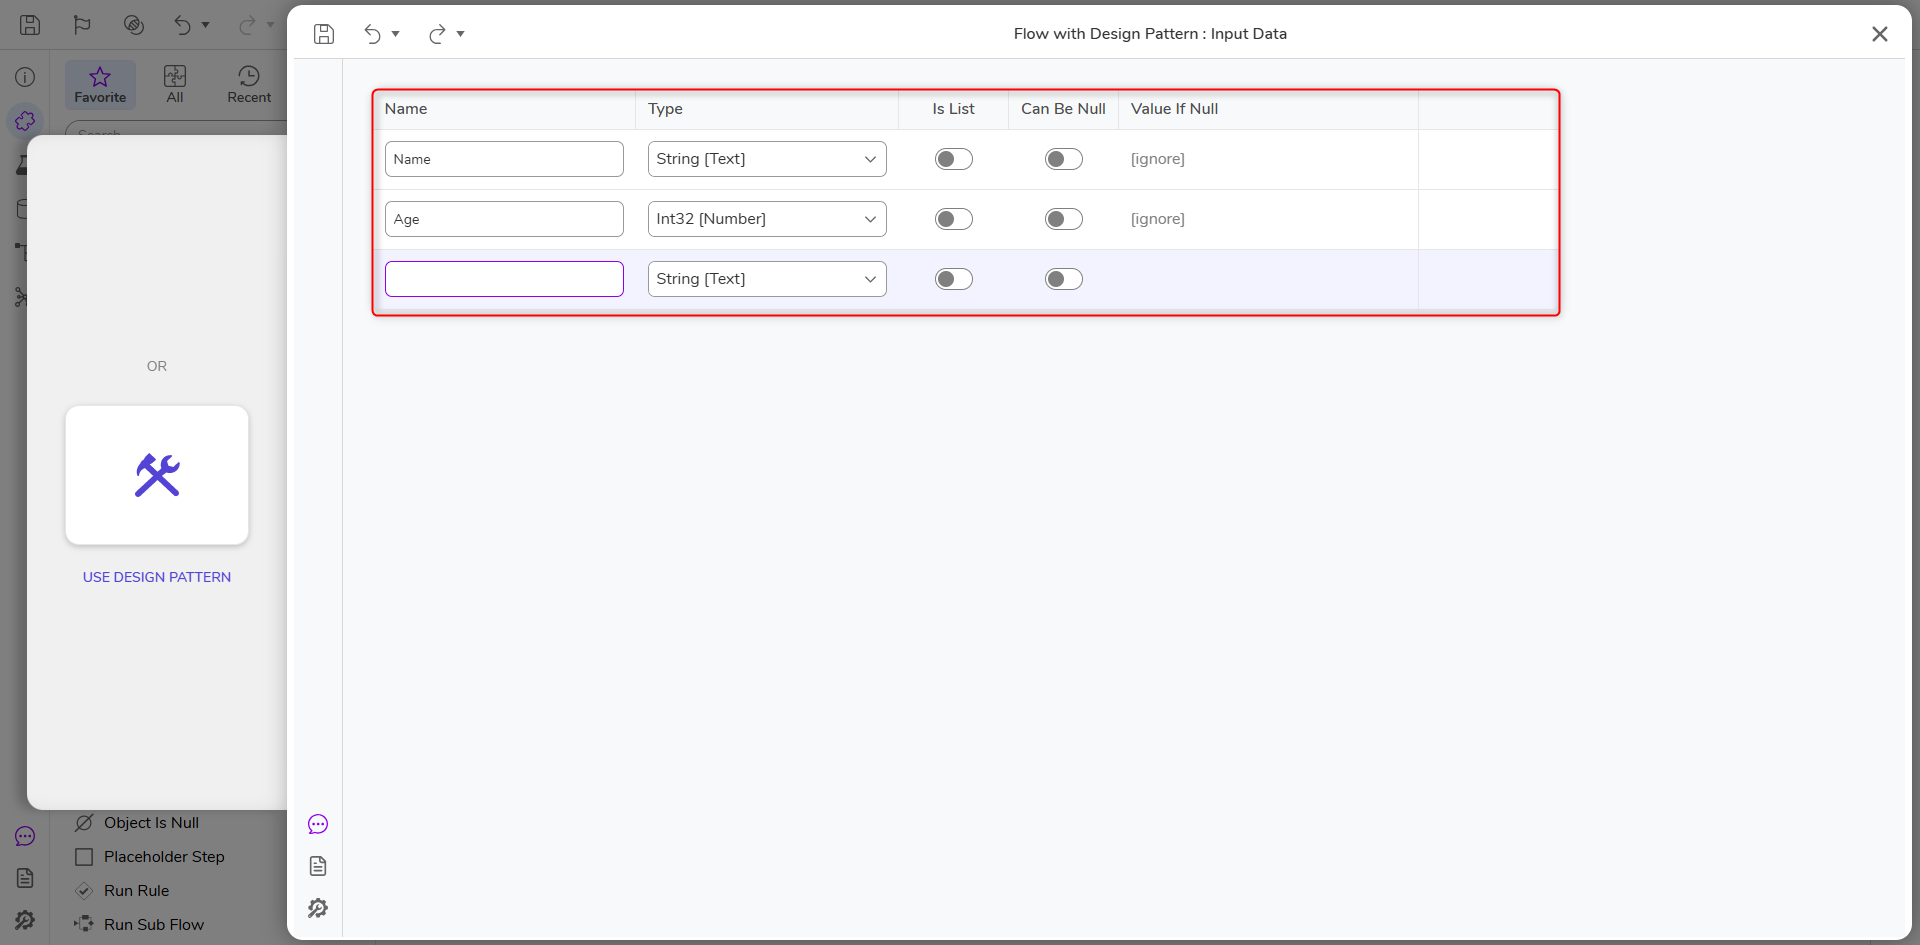
- Click and drag Data Types from the Toolbox tab as desired into the workspace. Then, provide a desired Input Name in the Set Input Name box (for this example, use a String with the name "Name", and an Int32 called "Age".
- User-defined composite data types can be added to the Design Pattern using the same method. The Vehicle structure was moved into the workspace from User Defined Types > Folder Extensions in the Toolbox.
If desired, provide a configuration for the Output Data view the OUTPUT DATA tab.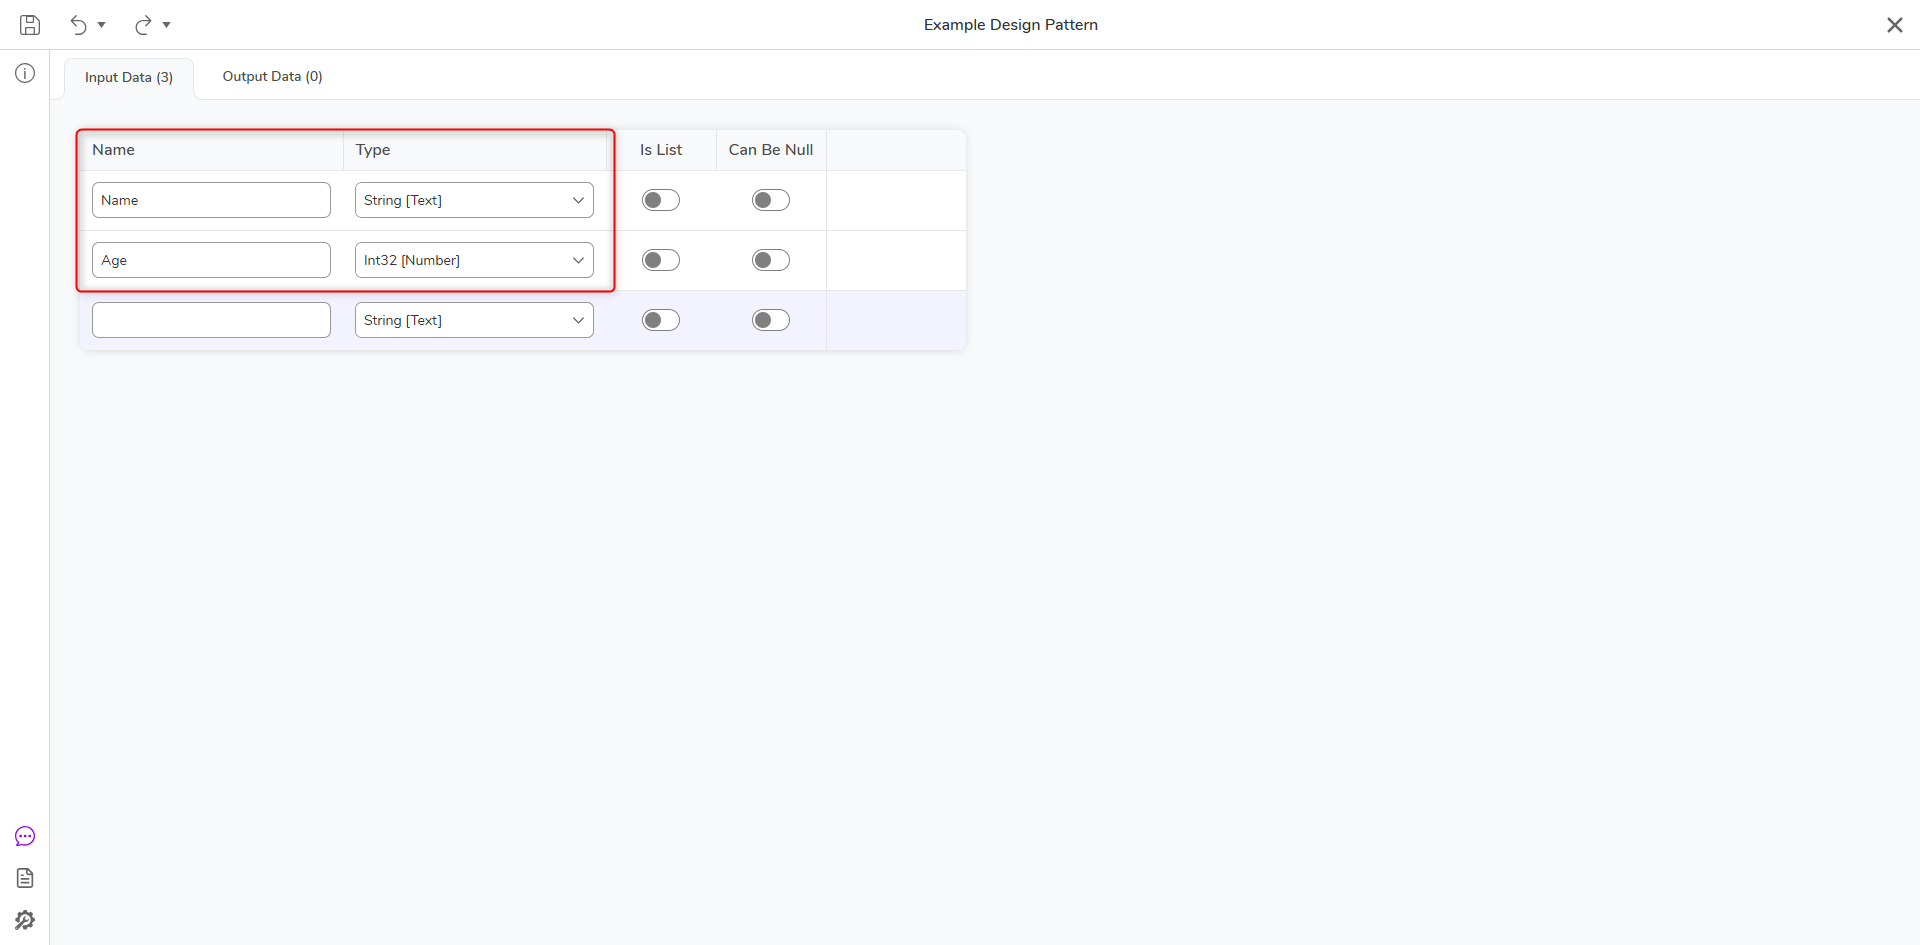
- Save and close the Design Pattern Designer.
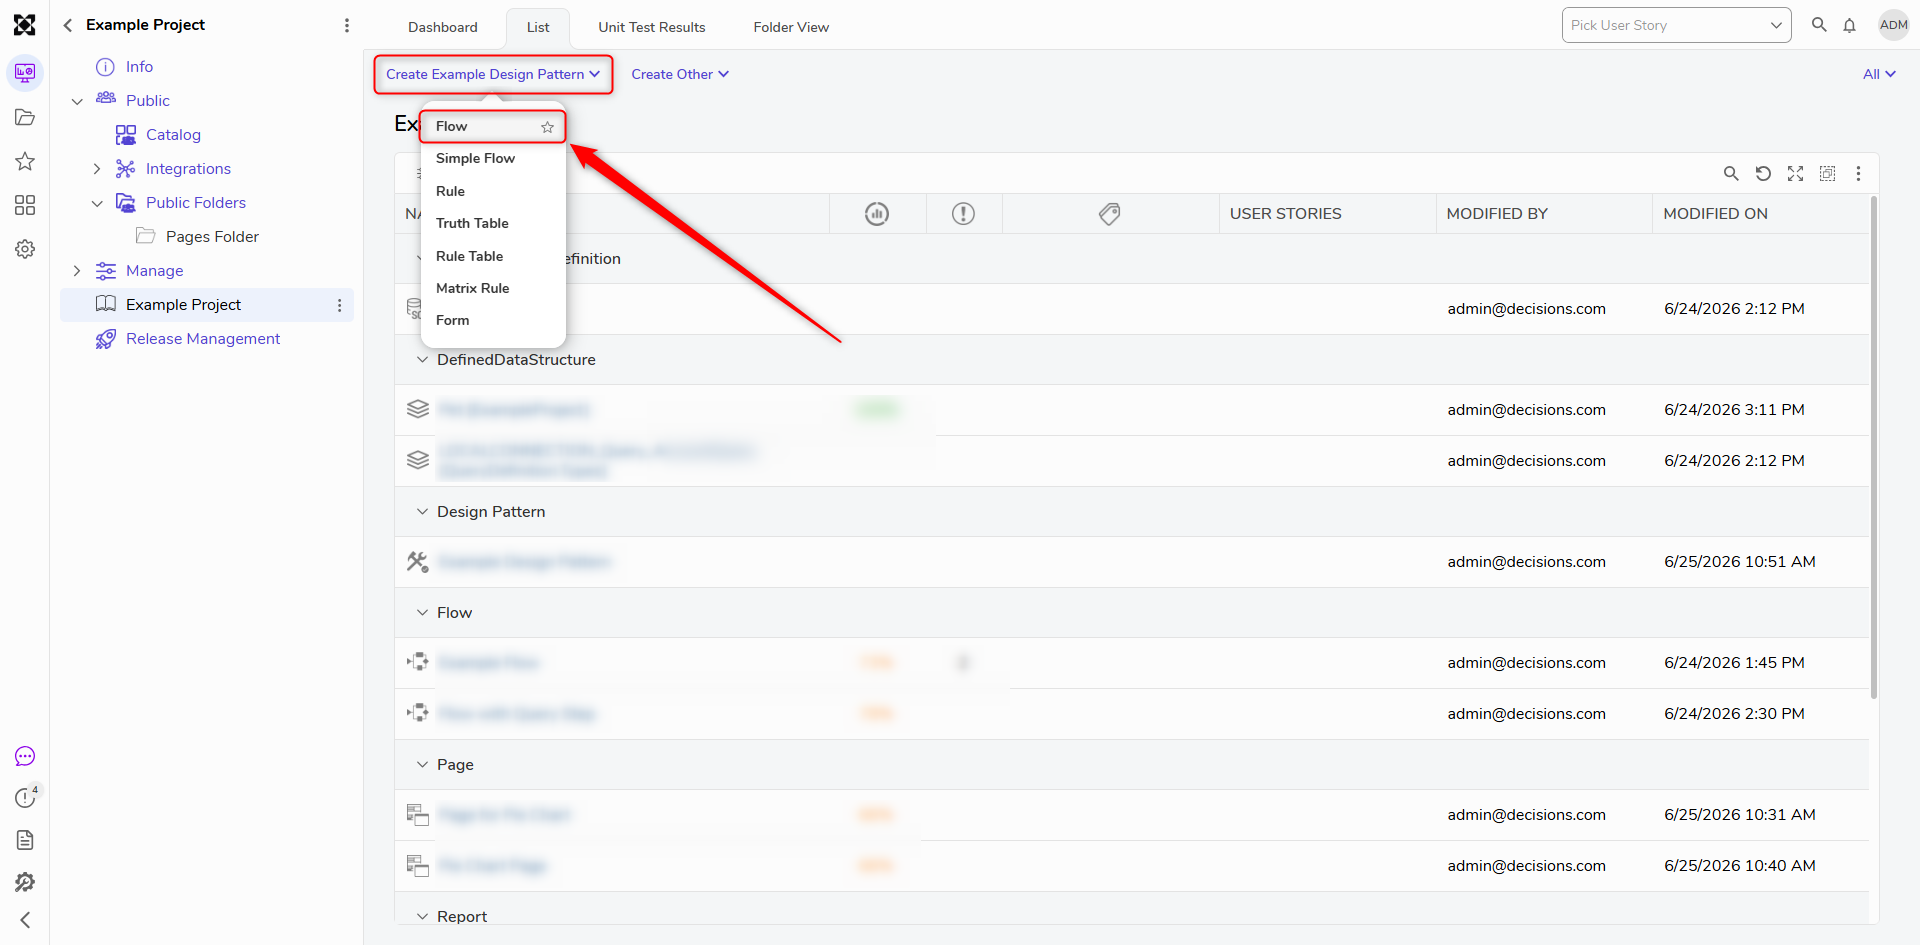
- Back in the Designer Project, select [NAME OF DESIGN PATTERN], then select the desired Designer Element; in this case, select Flow. Then CREATE a new Flow.
- Design the Flow as desired via the Flow Designer and access the Data from the Data Explorer tab and if desired, use it to configure values on Flow steps; this concept would still apply if the Design Pattern were used for a Form, Rule, Truth Table, etc.
Then Save and close the Flow Designer.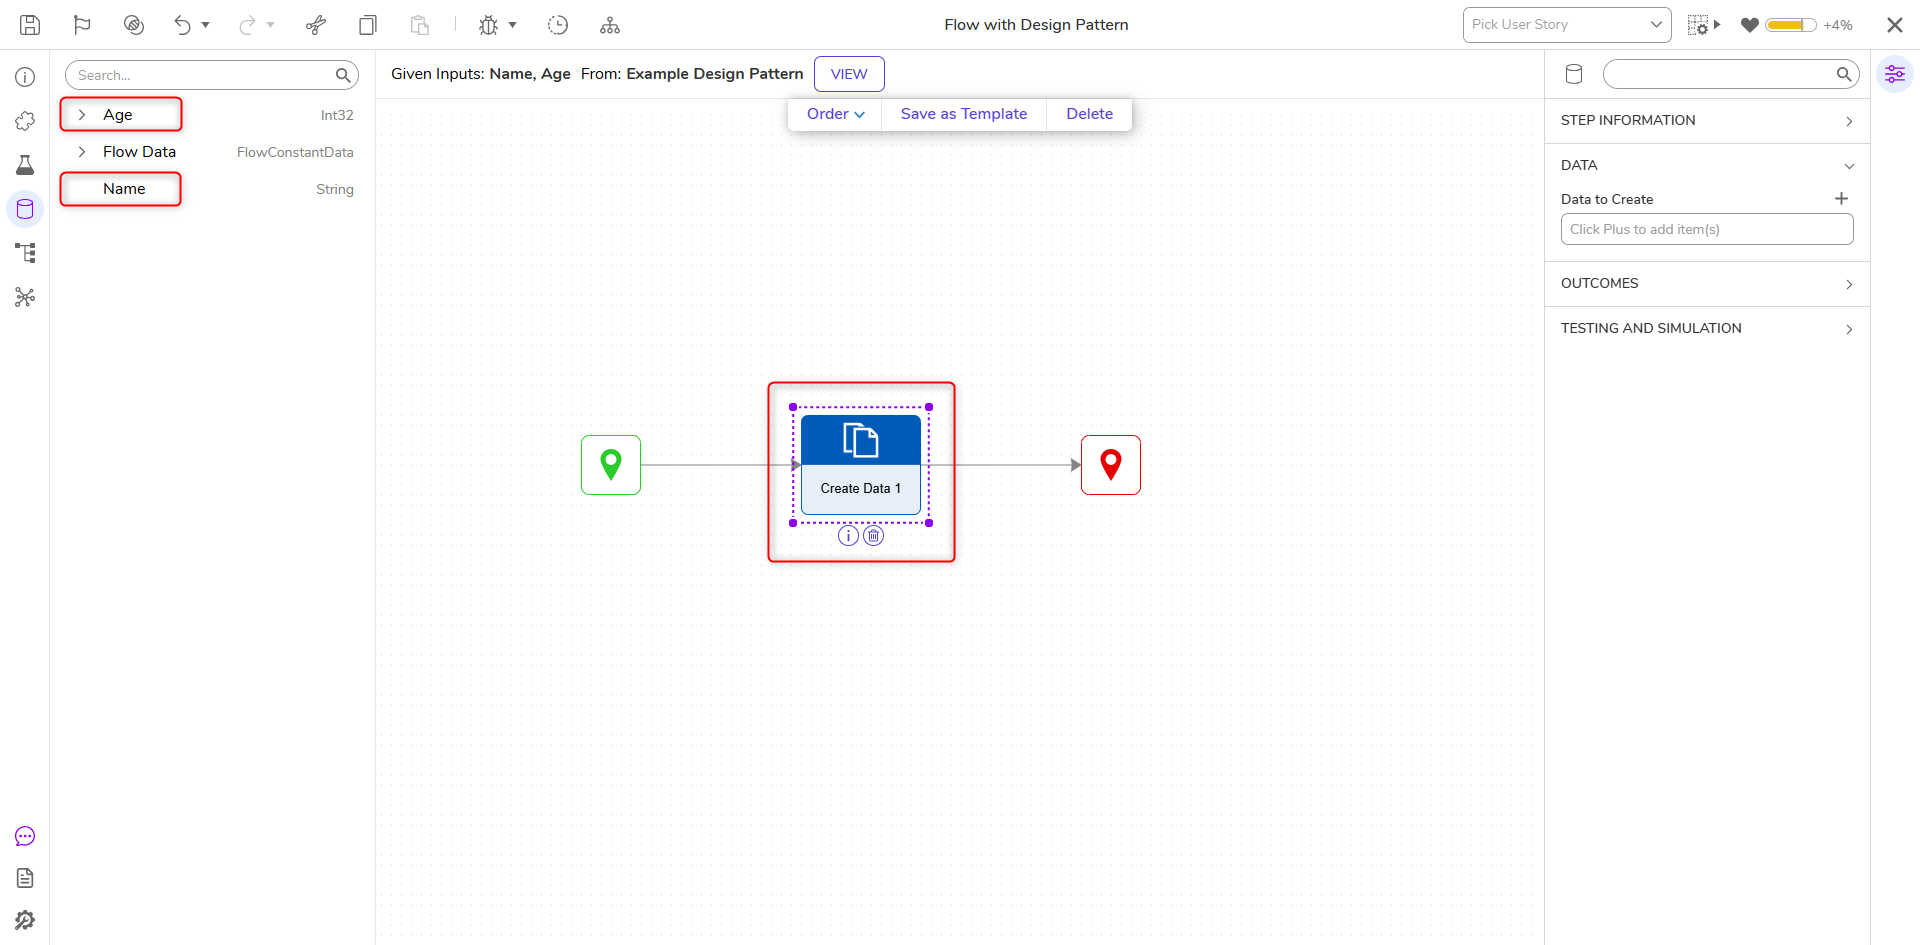
Design Pattern View Mode
Data Designer View Mode is a new enhancement added in v9.16 that allows users to open and review Design Patterns without making changes or breaking active user session locks. When one user is editing a Design Pattern, other users can still open the same Design Pattern in View Mode to examine its configuration in real time without interrupting the editing session.
The feature allows safe, read-only access to Design Patterns, preventing lock conflicts and enabling seamless collaboration. It streamlines reviews and approvals by allowing multiple users to view Design Patterns concurrently without risking unintended changes.
Accessing Design Pattern View Mode
Users can access Design Pattern View Mode in two ways:
- User Action: Right-click on any of the Design Pattern > Open in View Mode.
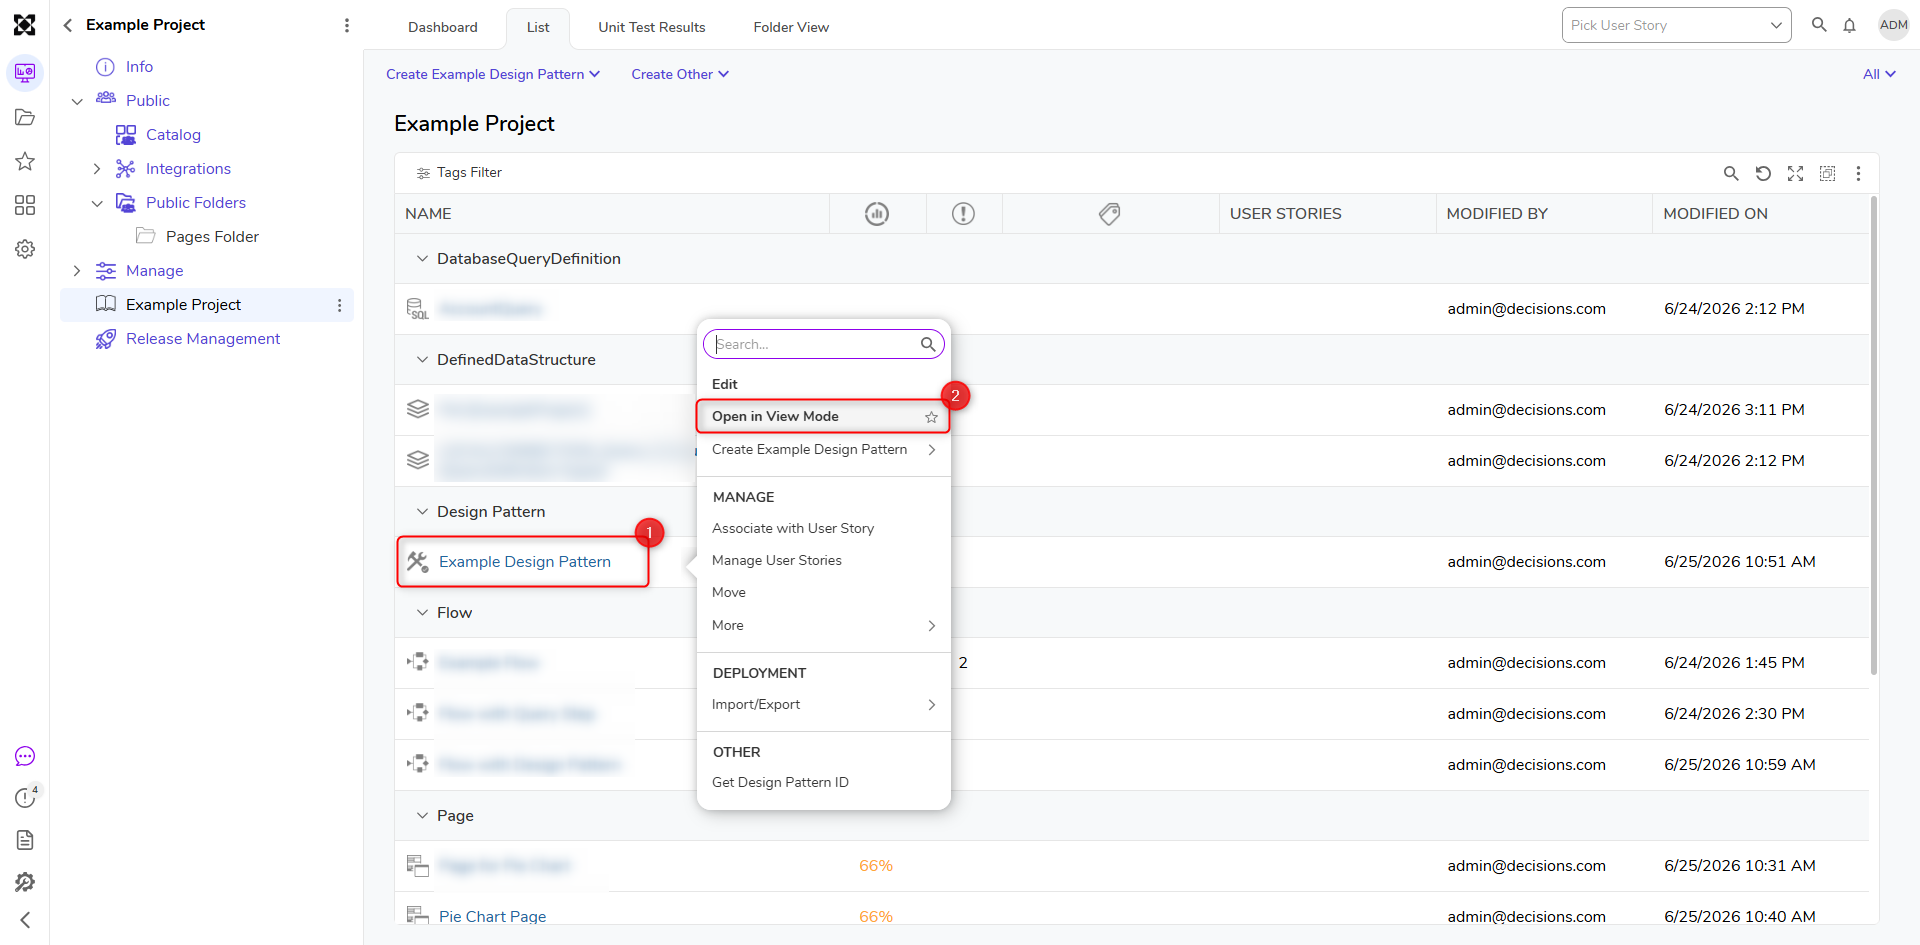
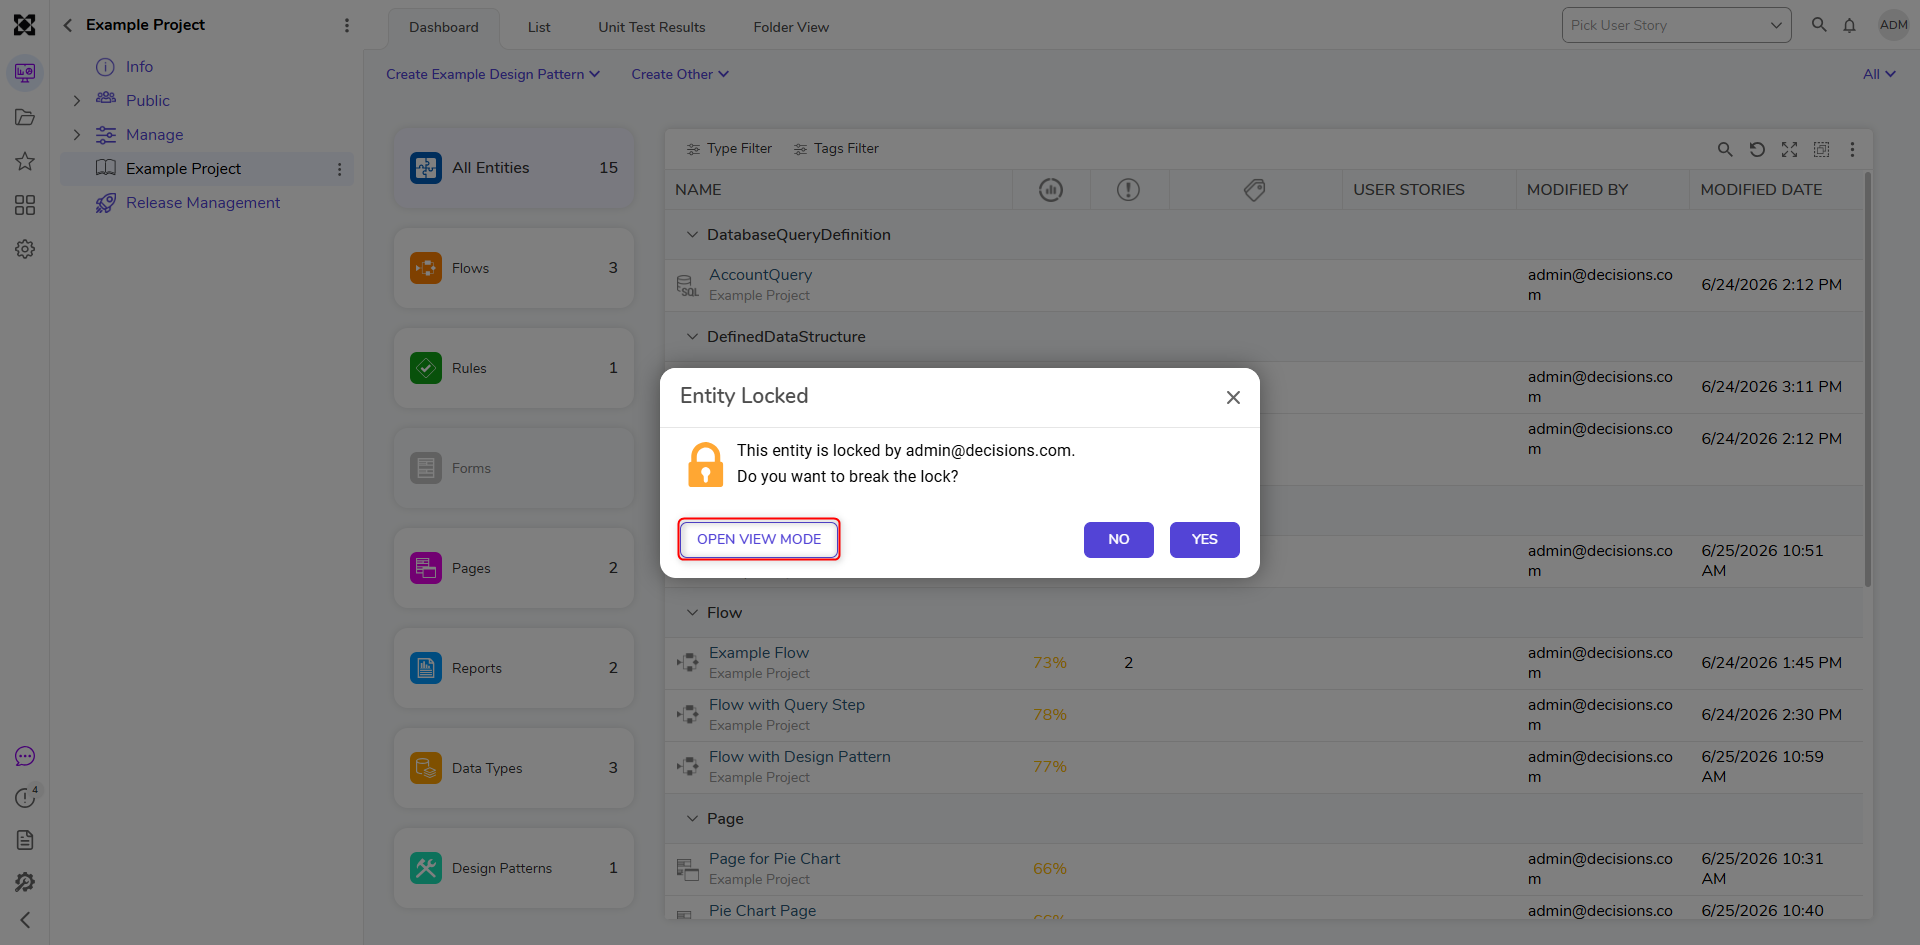
- Lock Entity Dialog: A Design Pattern can be opened in View Mode when it is locked by an active user session (i.e., another user is currently editing it). When a user opens a Design Pattern, a lock icon appears to indicate its status. Clicking on a locked Design Pattern will display a prompt with a newly added option to open it in View Mode.
Create Other
Selecting CREATE OTHER allows the ability to CREATE an object that isn't based upon the current Design Pattern. This may be another Design Pattern, a Flow, a Rule, a Form, a Report, or a DataType/Integration.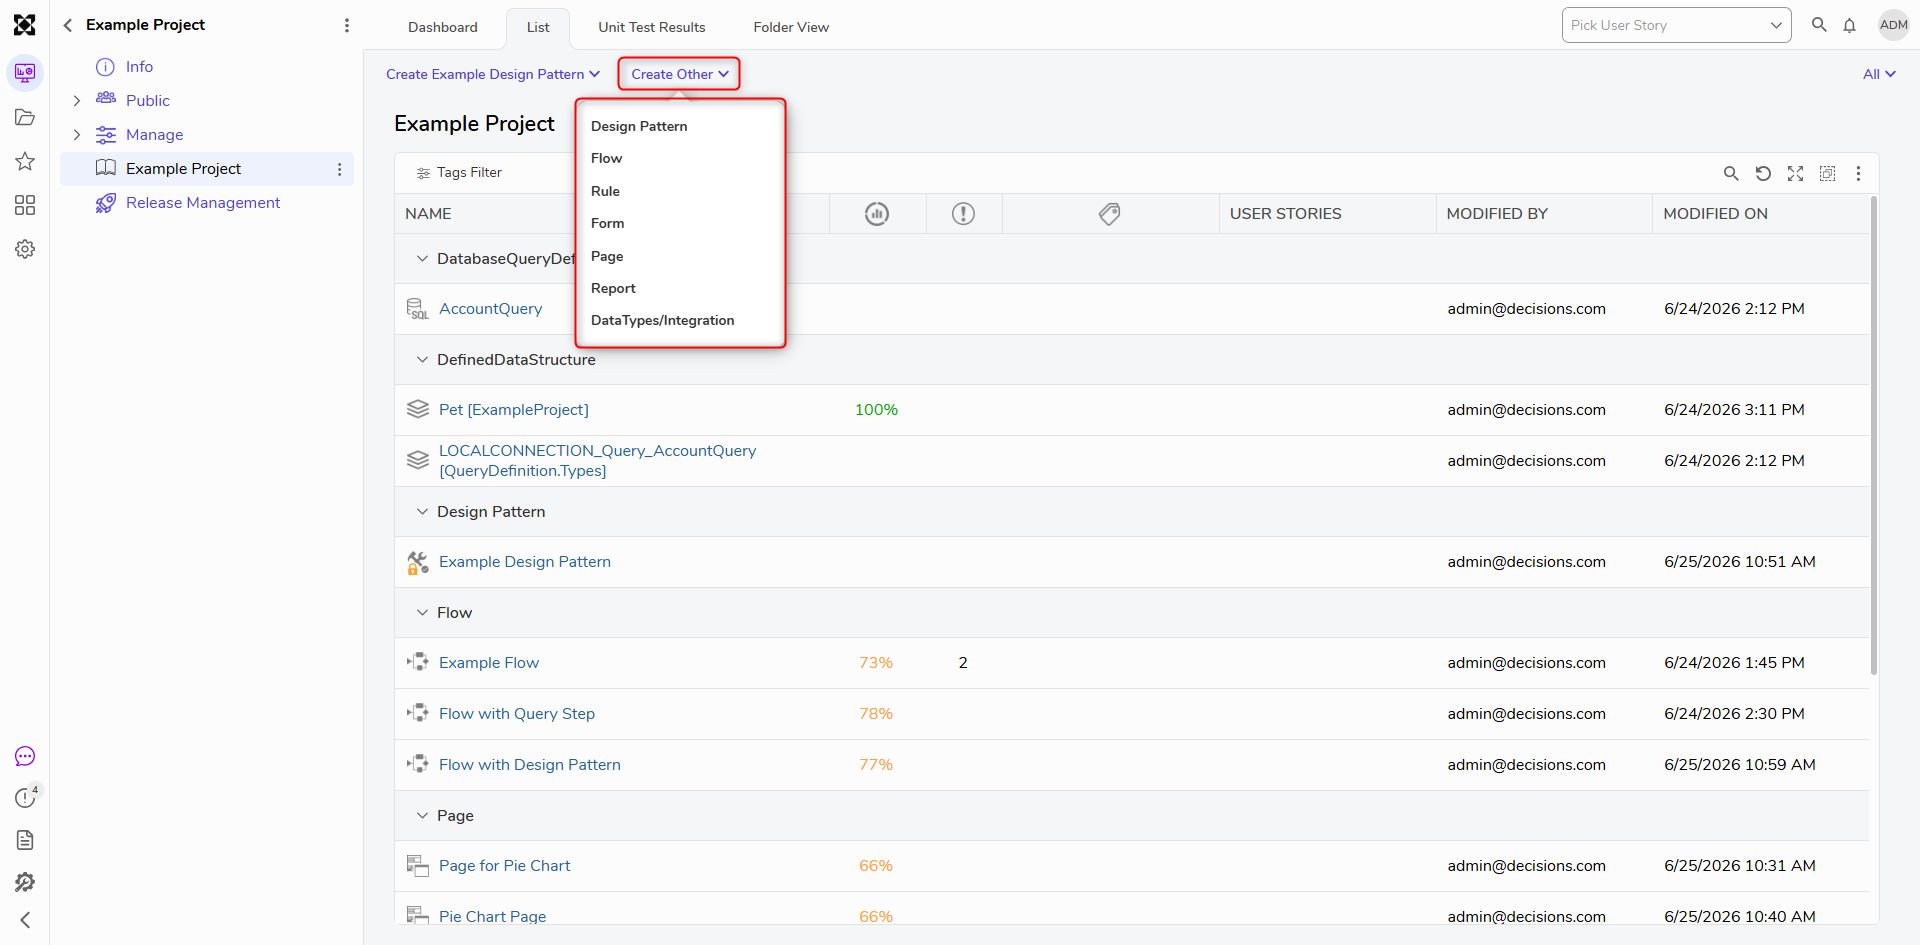
Upon selecting any option that isn't a Design Pattern, users are provided the option to either select to Create New to create the object without a Design Pattern, or Use Default Design Pattern which uses the Folder's Default Design Pattern.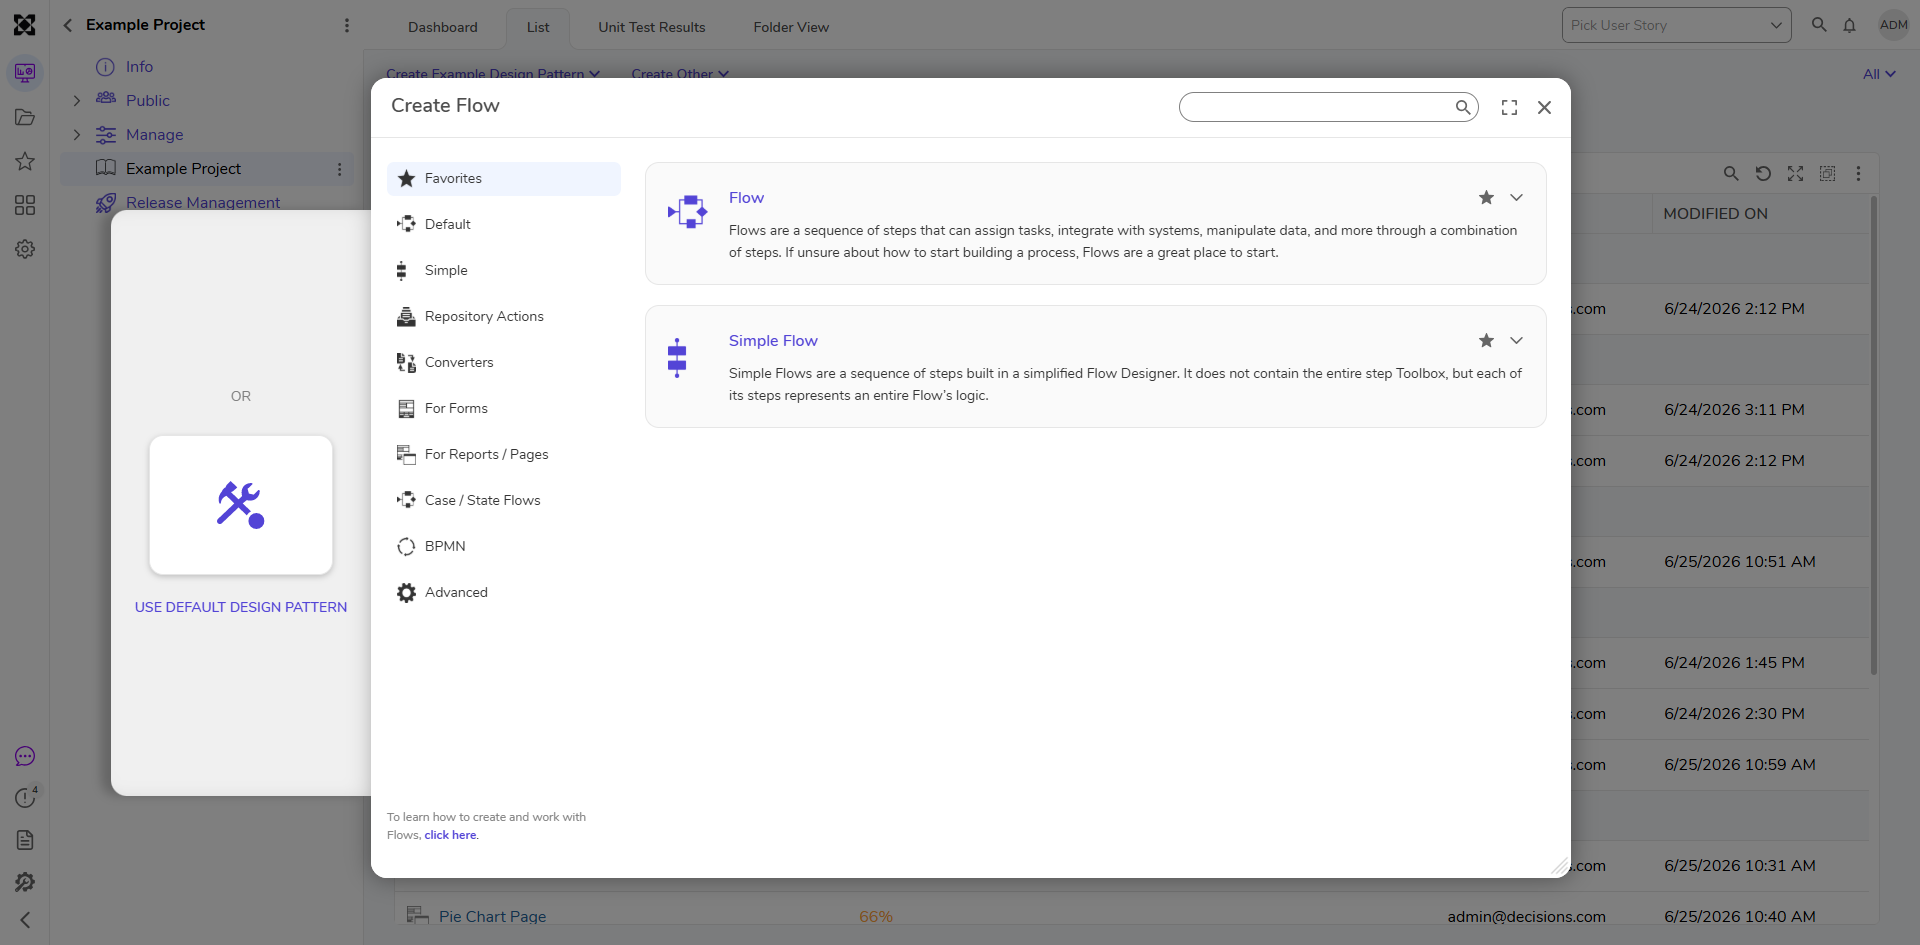
Removing Design Patterns
To remove a Design Pattern or edit Input/Output data from a Flow that was created with a Design Pattern:
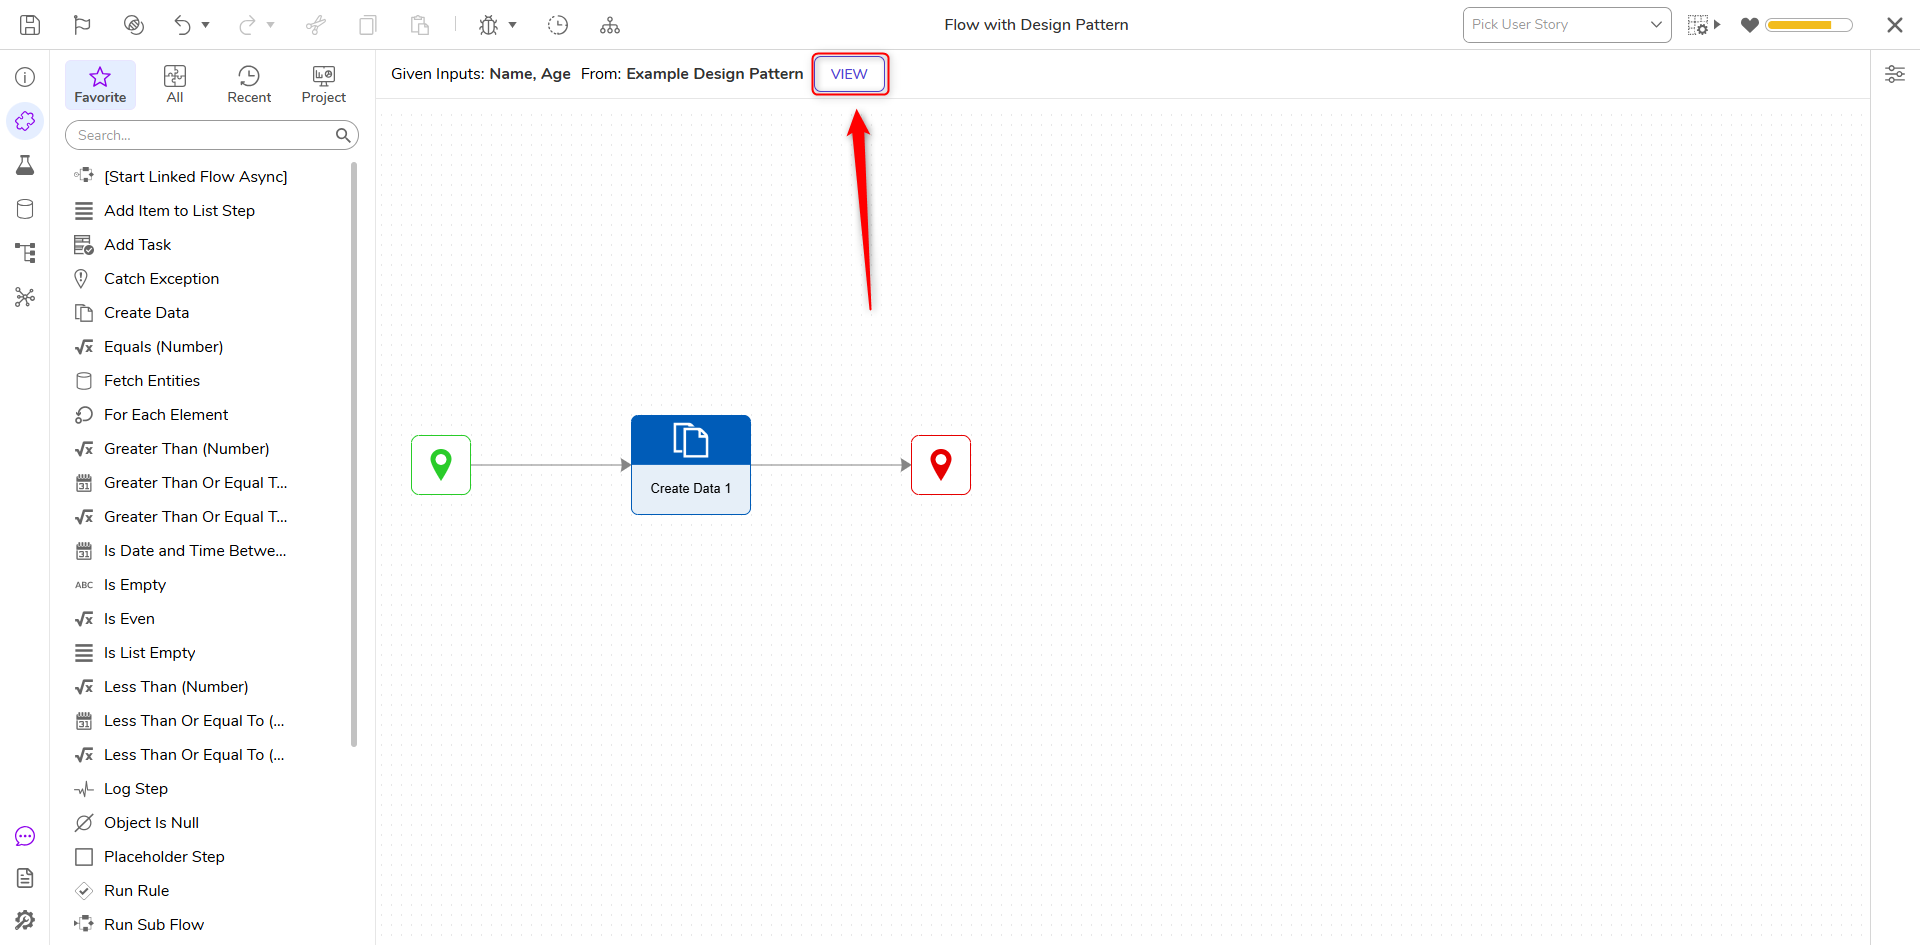
- Open a Flow/Form/Rule etc. that utilizes a Design Pattern.
- From the corresponding Designer, under the Top Action Bar, click the VIEW button.
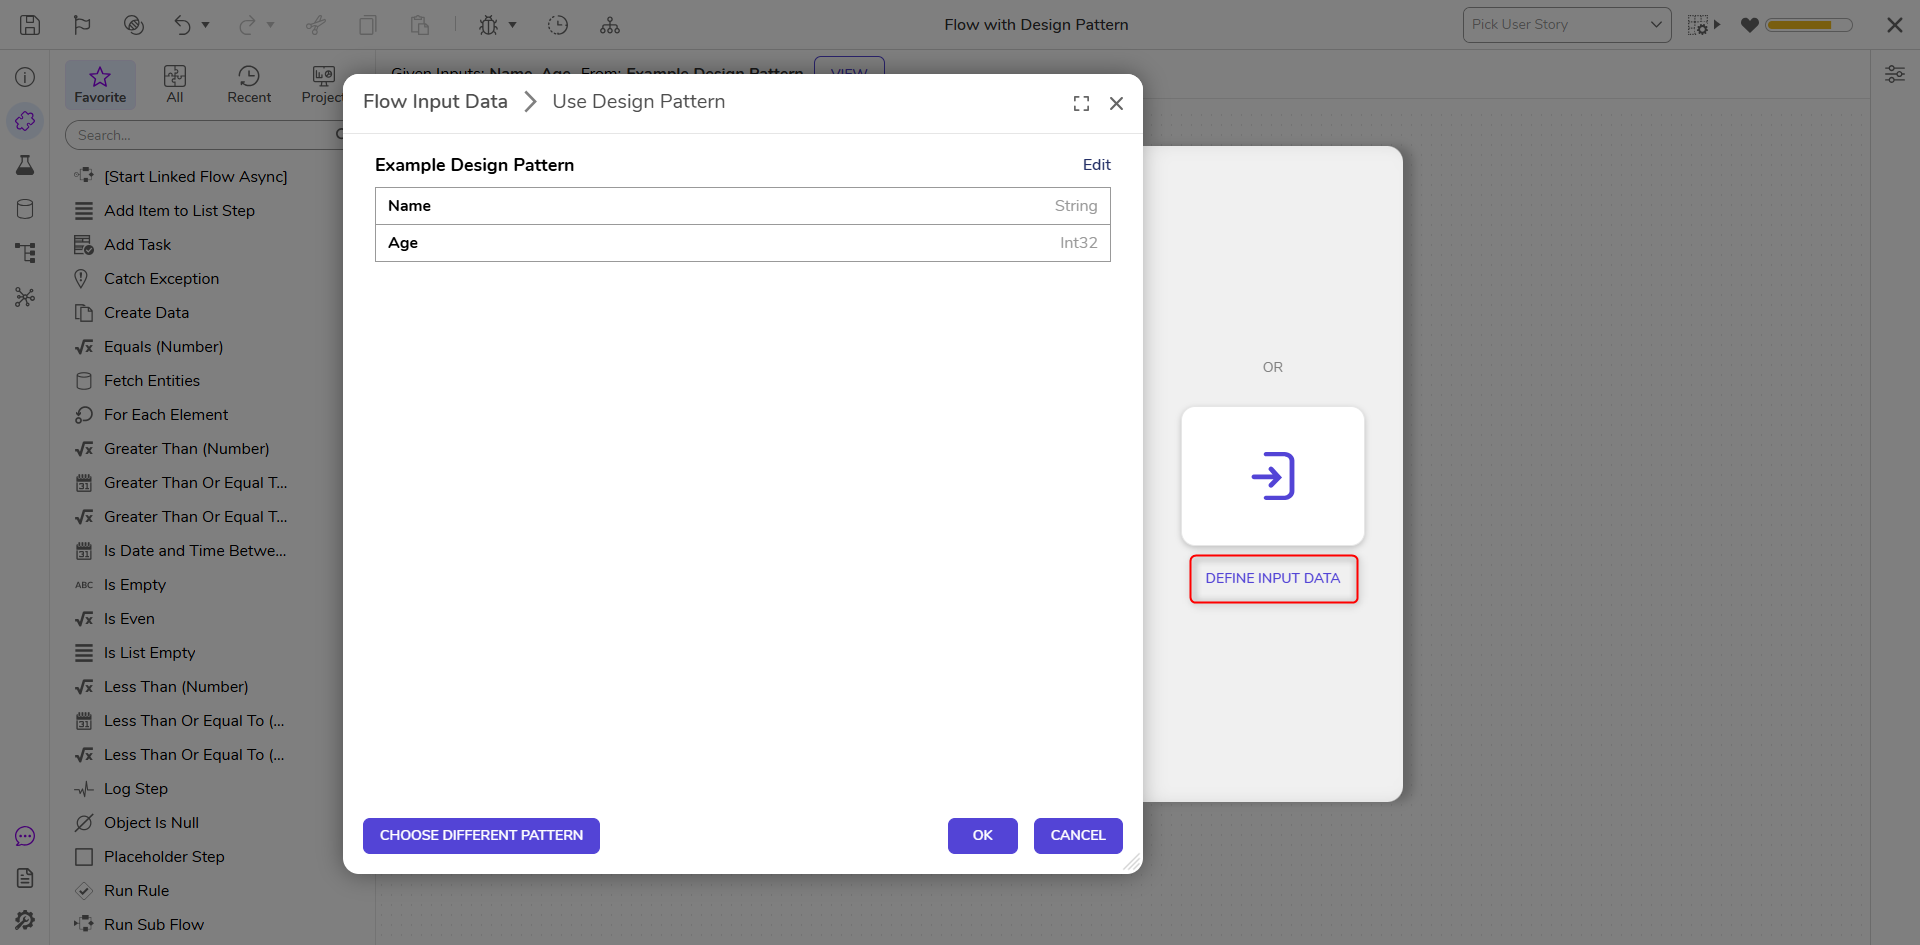
- From the Flow Input Data window, on the right-hand side, click Define.
 Changing Design PatternsIf desired, users may switch Design Patterns by selecting the CHOOSE DIFFERENT PATTERN button and then selecting the desired Design Pattern.
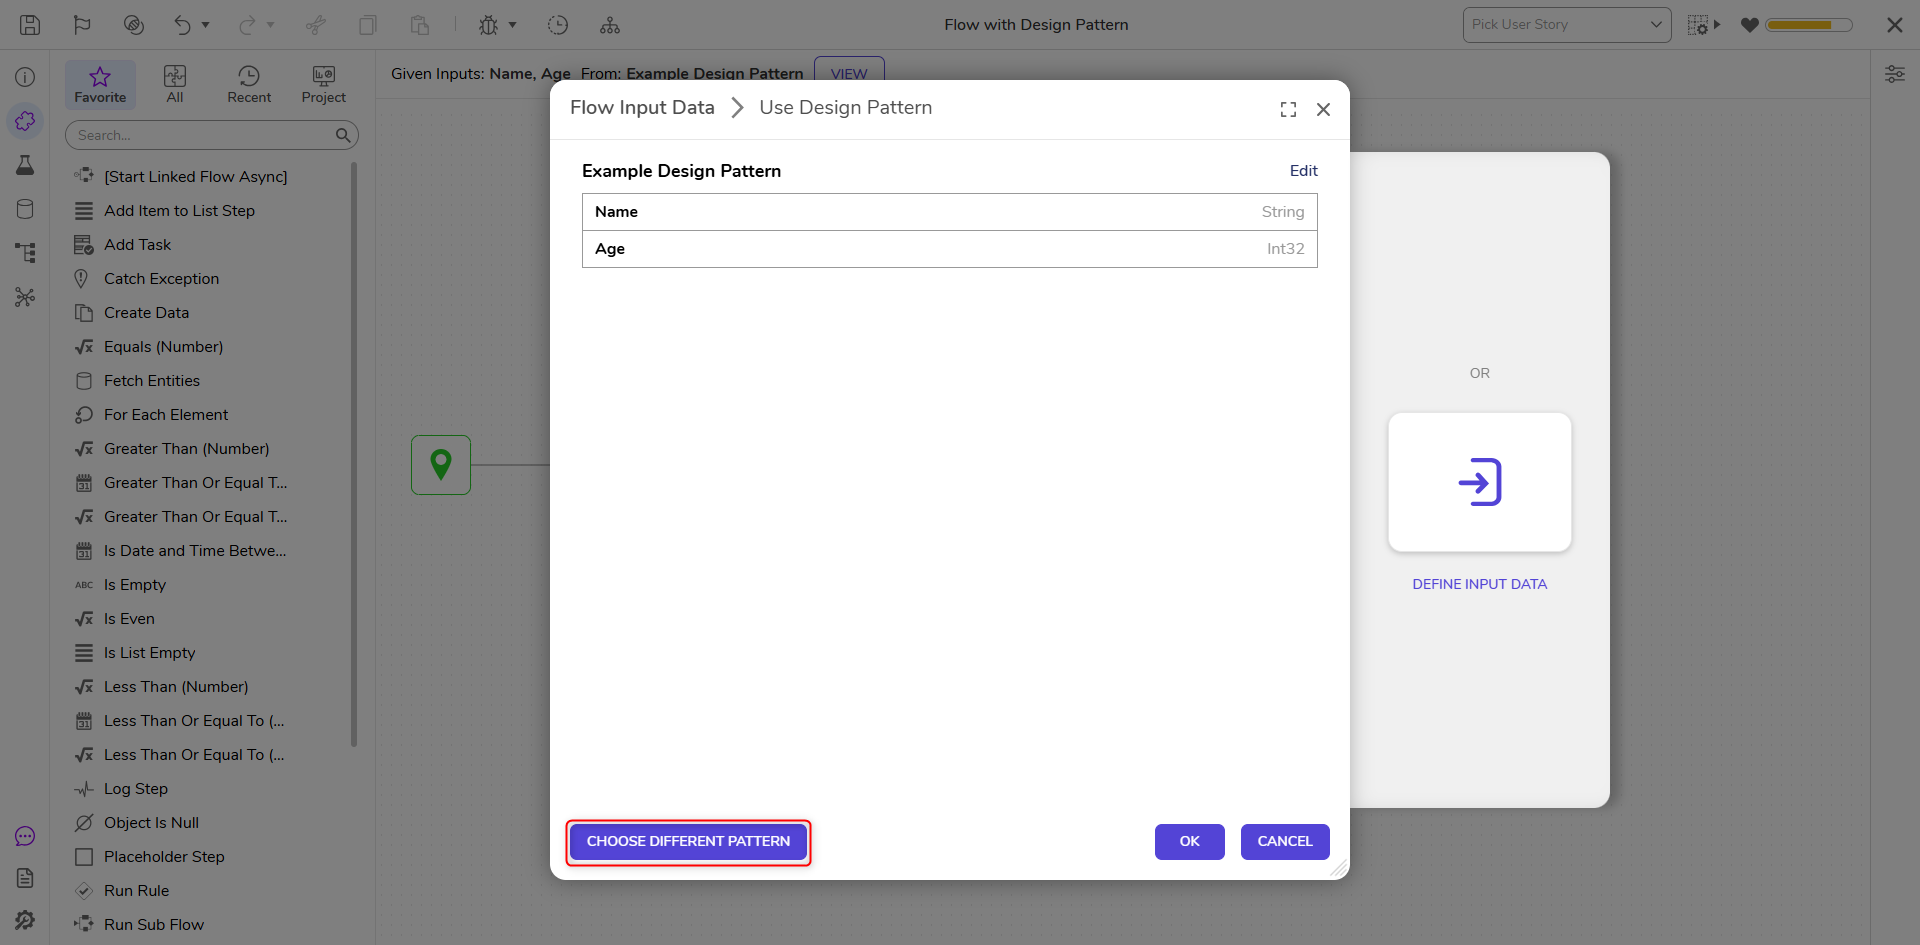
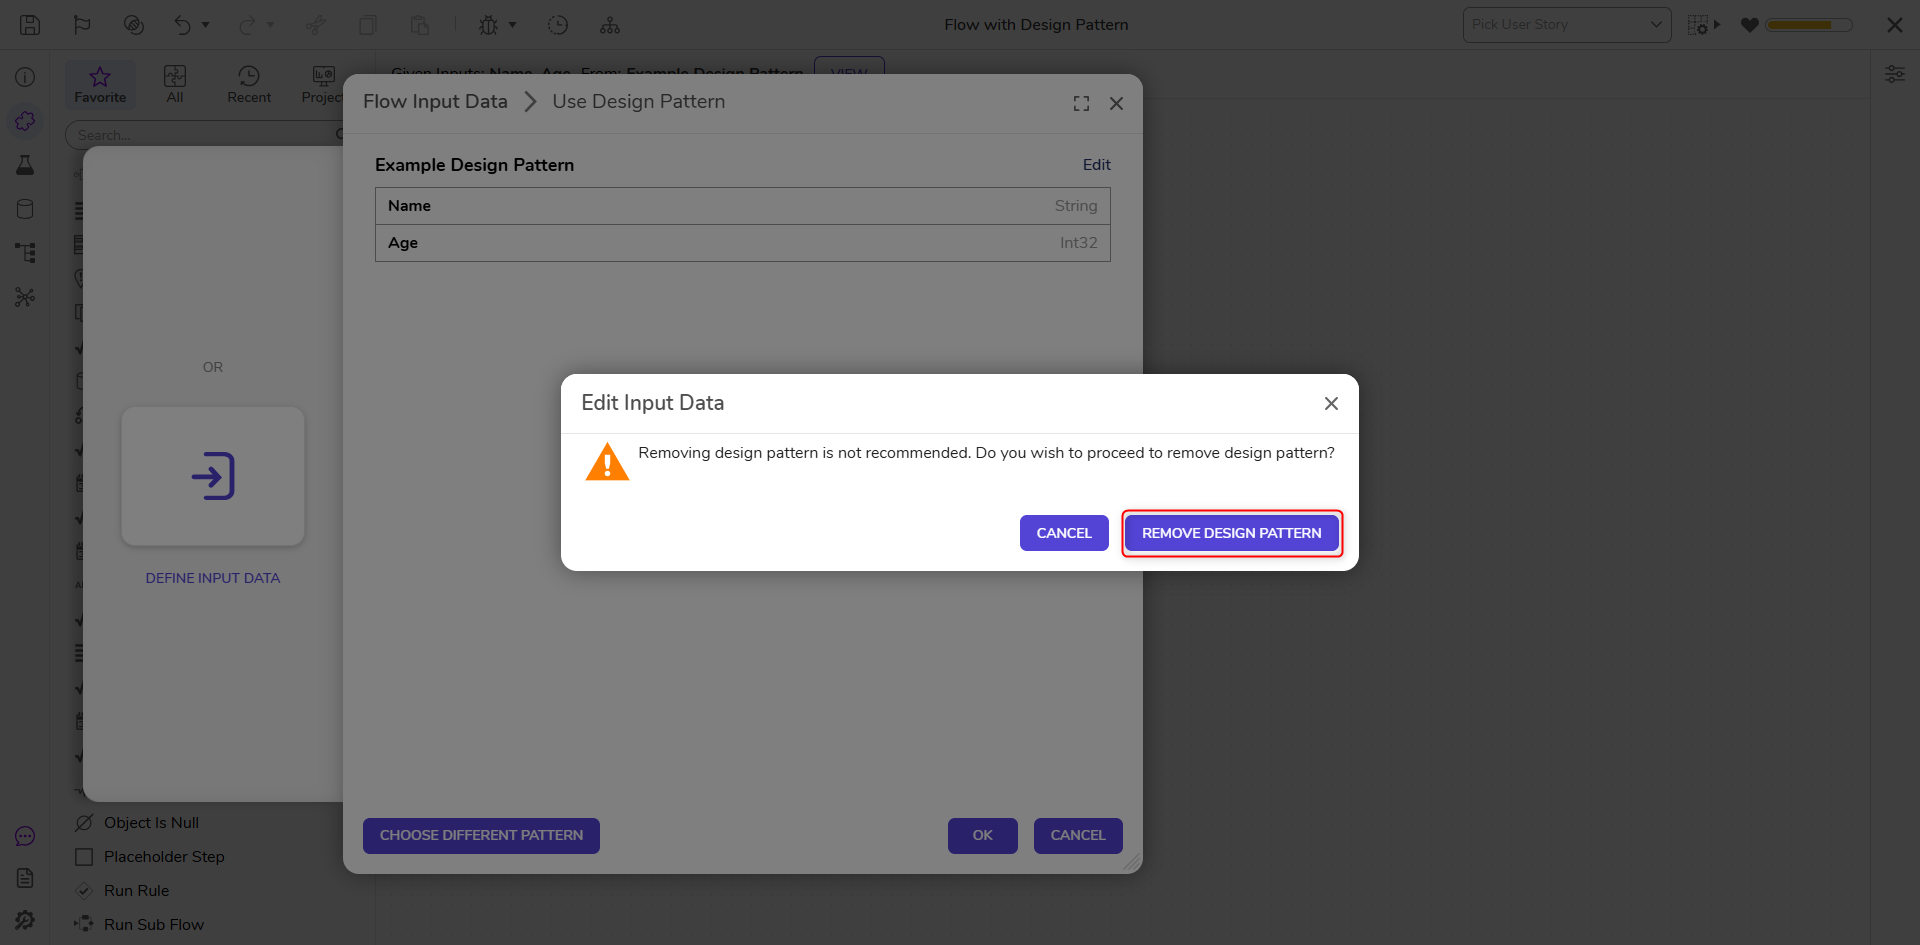
From the Edit Input Data pop up, confirm the removal by select REMOVE DESIGN PATTERN.
From the Input Data window, reconfigure the Data to the desired specifications, or click Pick Design Pattern and select a different Design Pattern.
Feature Changes
| Description | Version | Release Date | Developer Task |
|---|---|---|---|
| Added View Mode to Design Patterns. | v9.16 | October 2025 | [DT-045586] |