Overview
The Data Grid Form control displays a list of data objects in a grid, with each row representing an Object and each column representing an Object property.
Example
Import the below example file to examine the completed example build.
- In a Designer Project, create a new Flow.
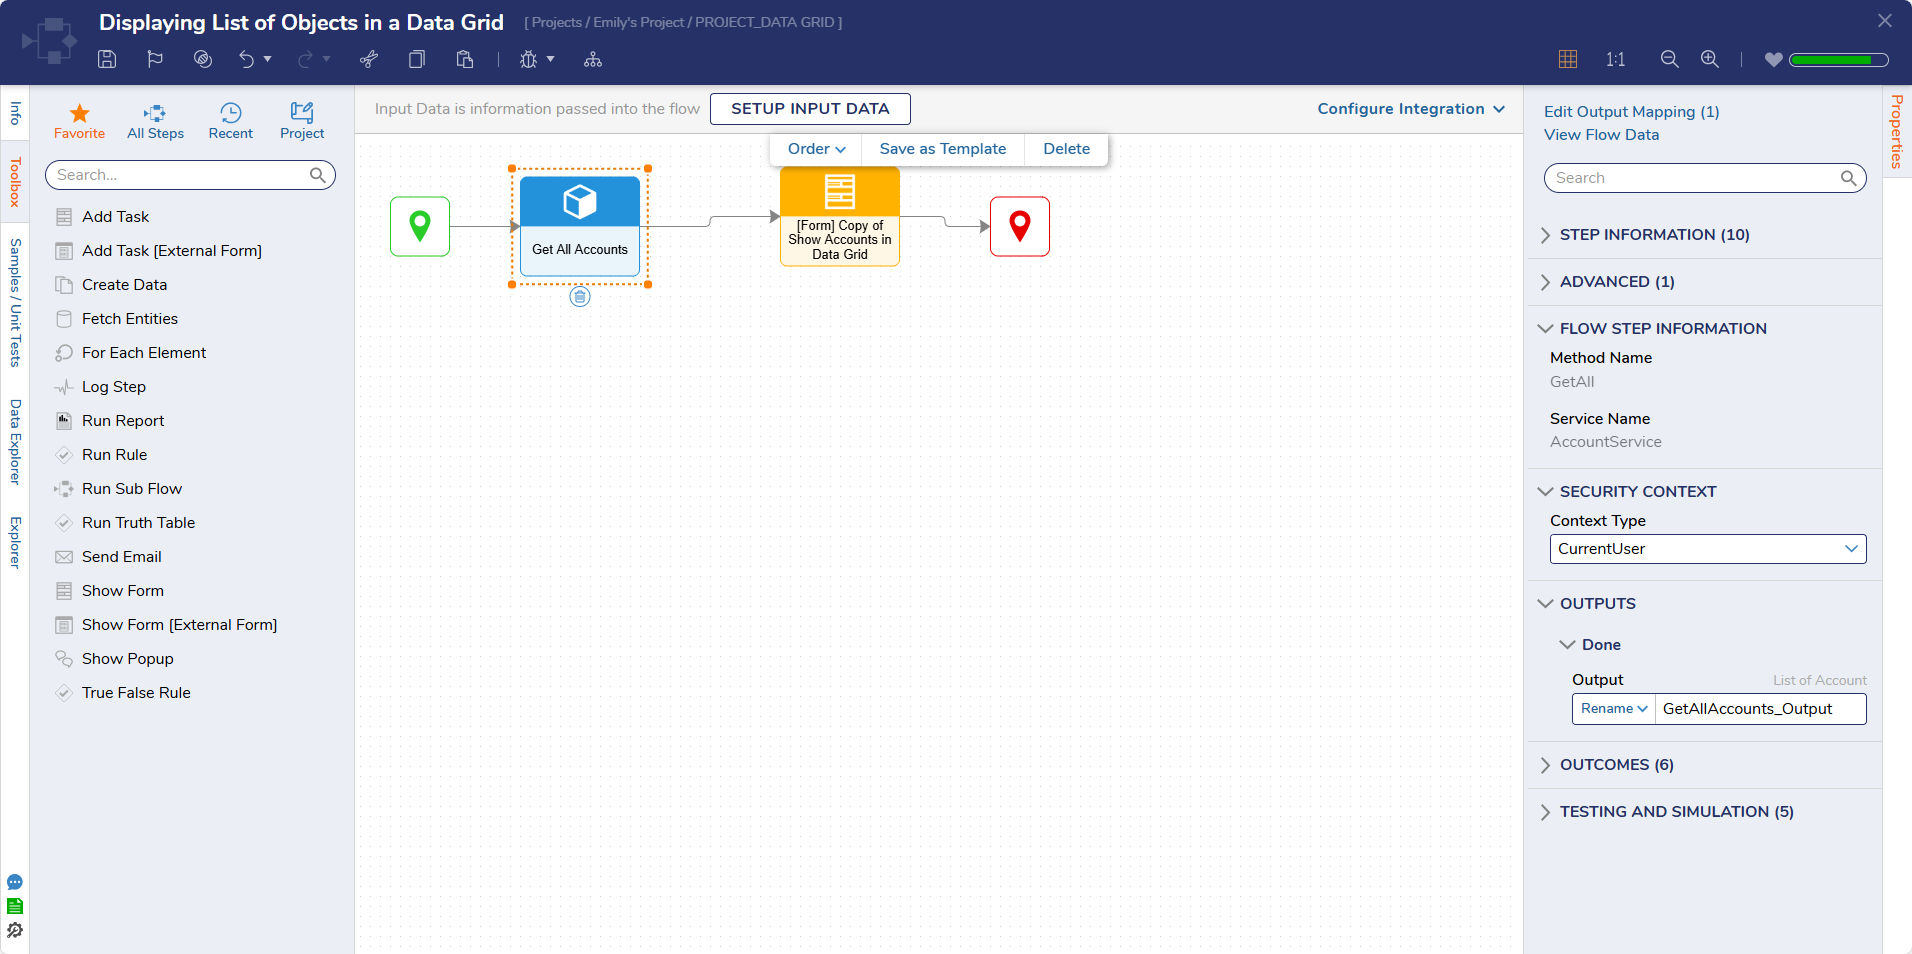
- In the Toolbox panel, add the GetAll step under INTEGRATION > INTERNAL SERVICES > ACCOUNTSERVICE to the Start step.
- After the GetAll step, add the Show Form step. On the Properties panel, click PICK OR CREATE FORM and create a new Form.
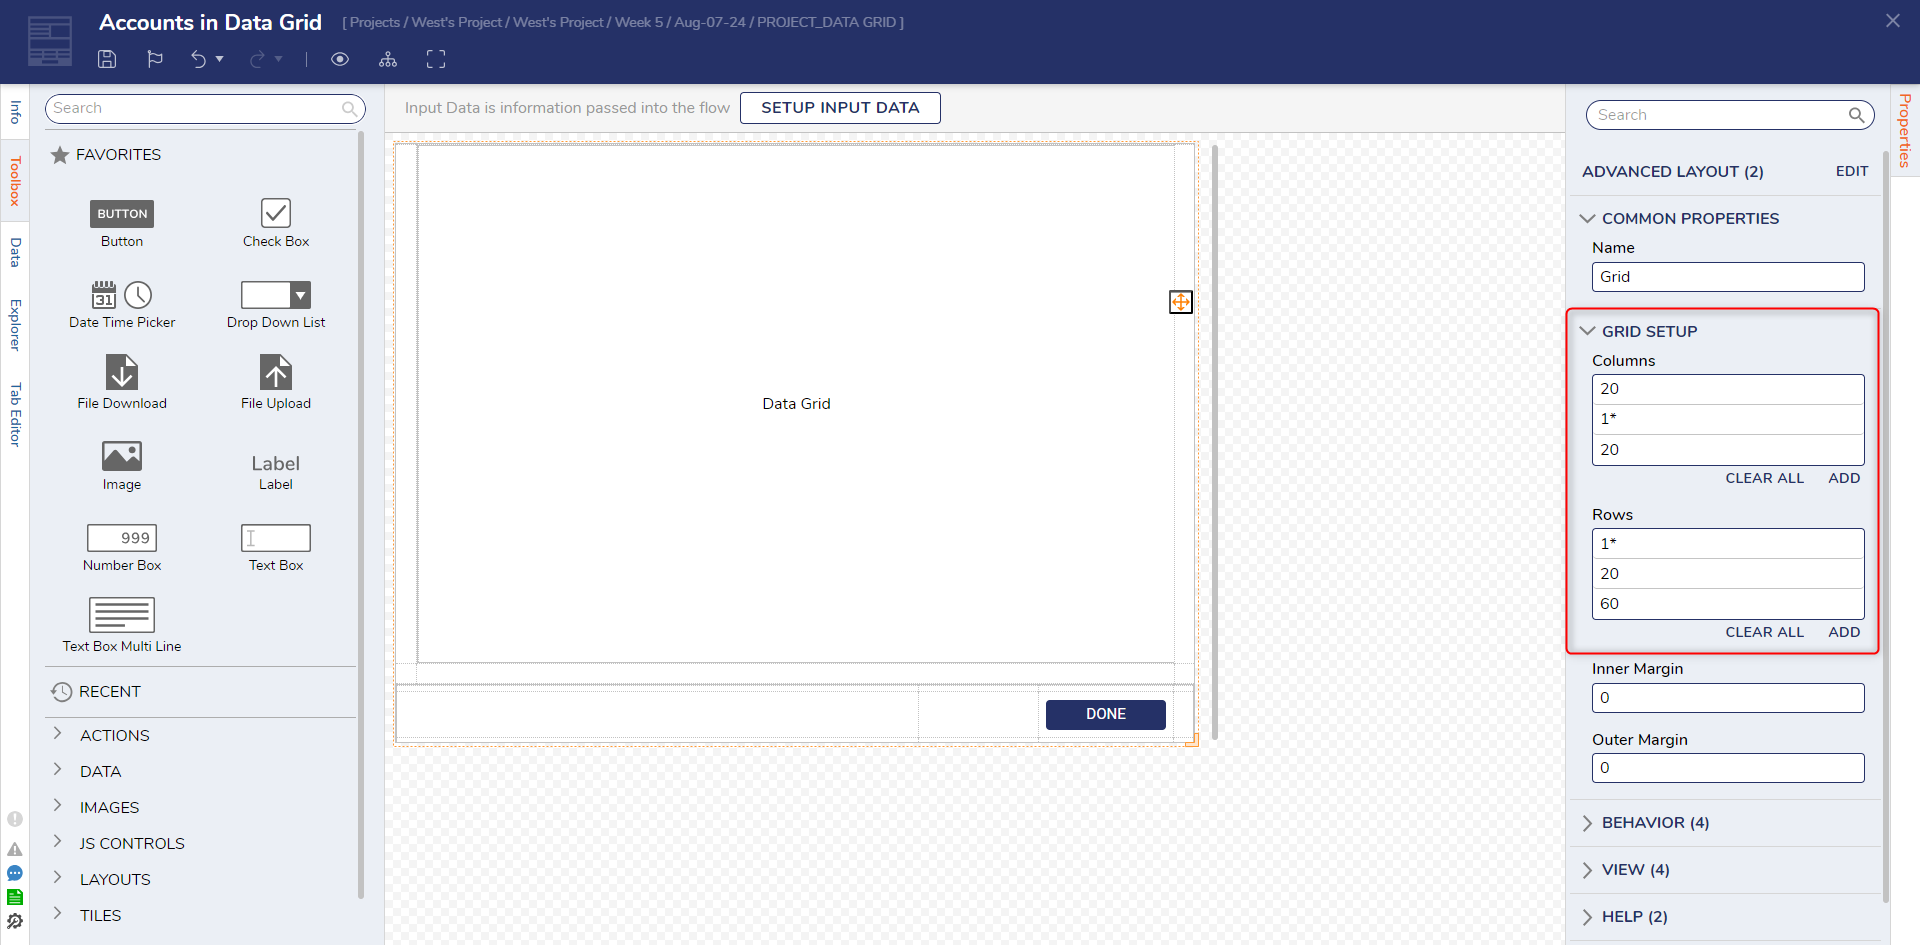
- Click and drag the Data Grid control to the Form and add a Button control (Done).Need help editing the Grid layout?Select the Form Grid and view its Properties > Grid Setup to edit its number of column and rows. This example replaces the center Grid with a single large cell via 1* to house the Grid for easier viewing.
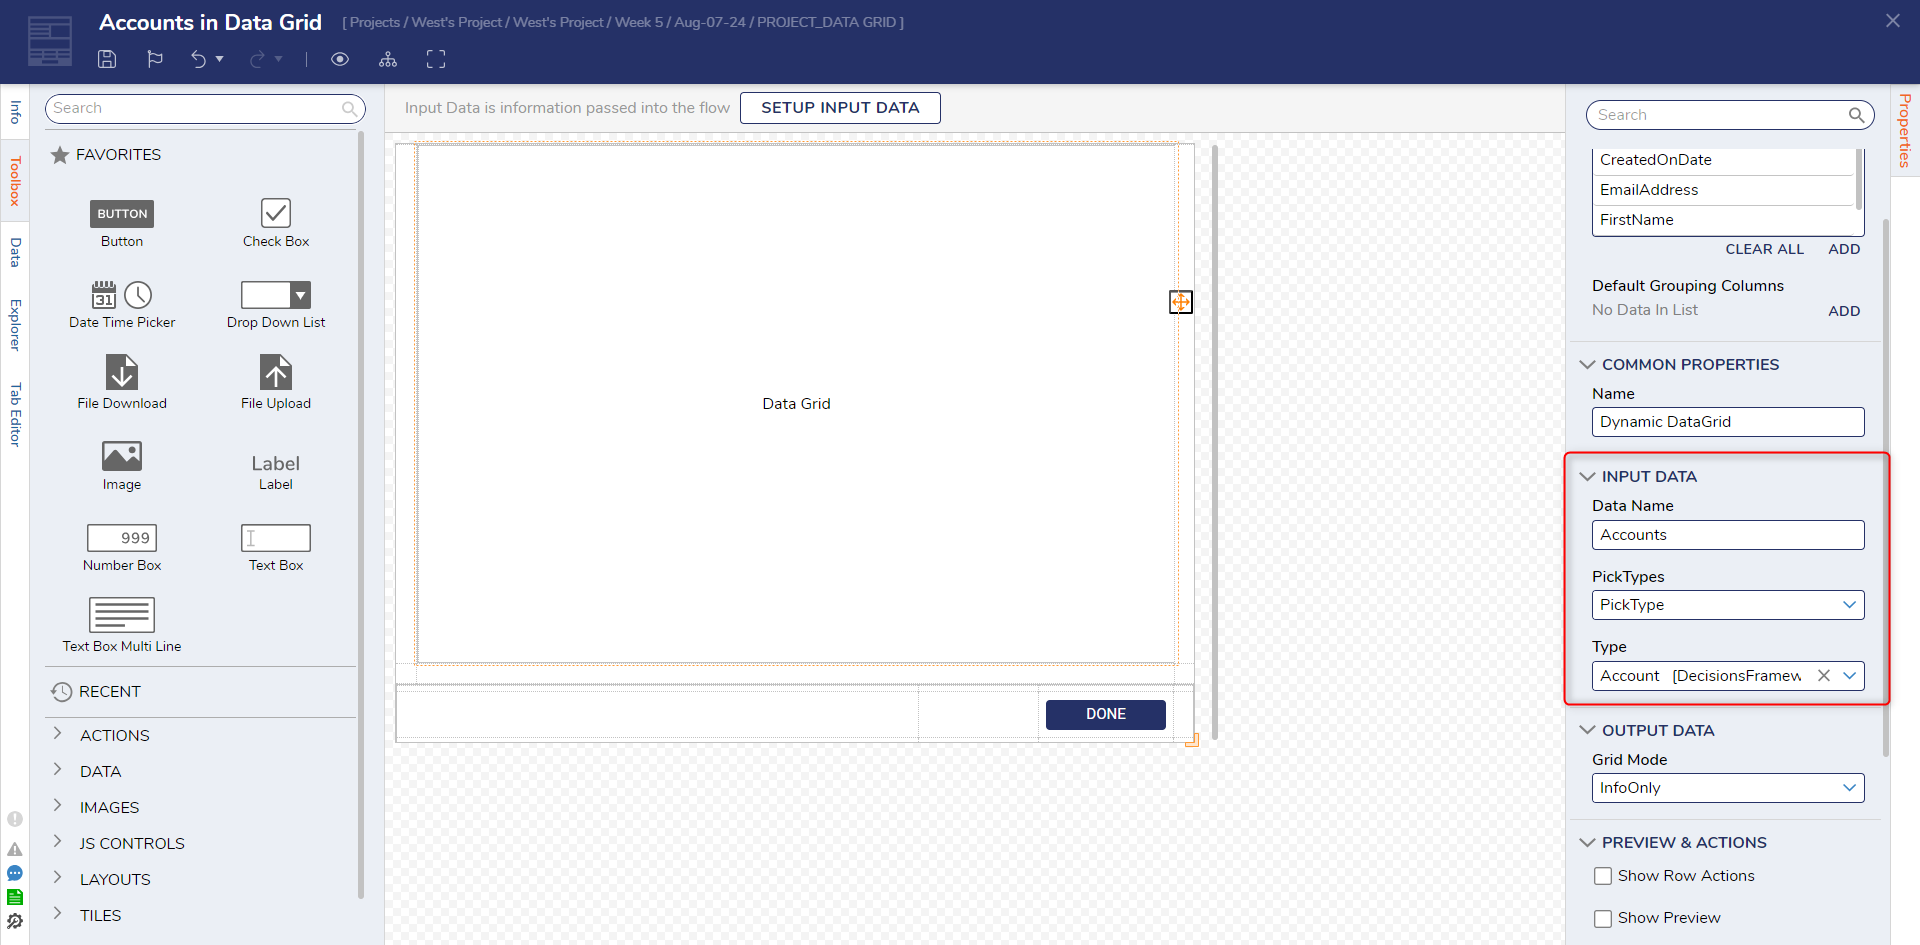
- On the Properties panel, under INPUT DATA, enter "Accounts" in the Data Name field. Then, in the Type textbox search for and select Account [Decision.Framework...].
- After setting the Input Data, Column Informationappears in the Properties panel. Users can remove, add, and sort the different fields in this section. Select the pencil icon to edit a column or click the arrows to reorder the column.
Setting Name Default Function Field Name [chosen data type variable] Allows selection of which data type variable's data will populate this column Title [name of chosen data type variable] Prompts for the name of the column Is Visible True Toggles visibility of this column by end-user Can Group True Toggles ability to group this column with others Can Sort False Toggles ability to sort content within this column Is Read Only False Toggles end-user editability at runtime Width 100 Prompts for the width of the column Allow Unsafe JavaScript False Toggles allowing Javascript code to populate this column supporting, for example, HTML Allow Text Alignment False Toggles allowing text alignment options to the column 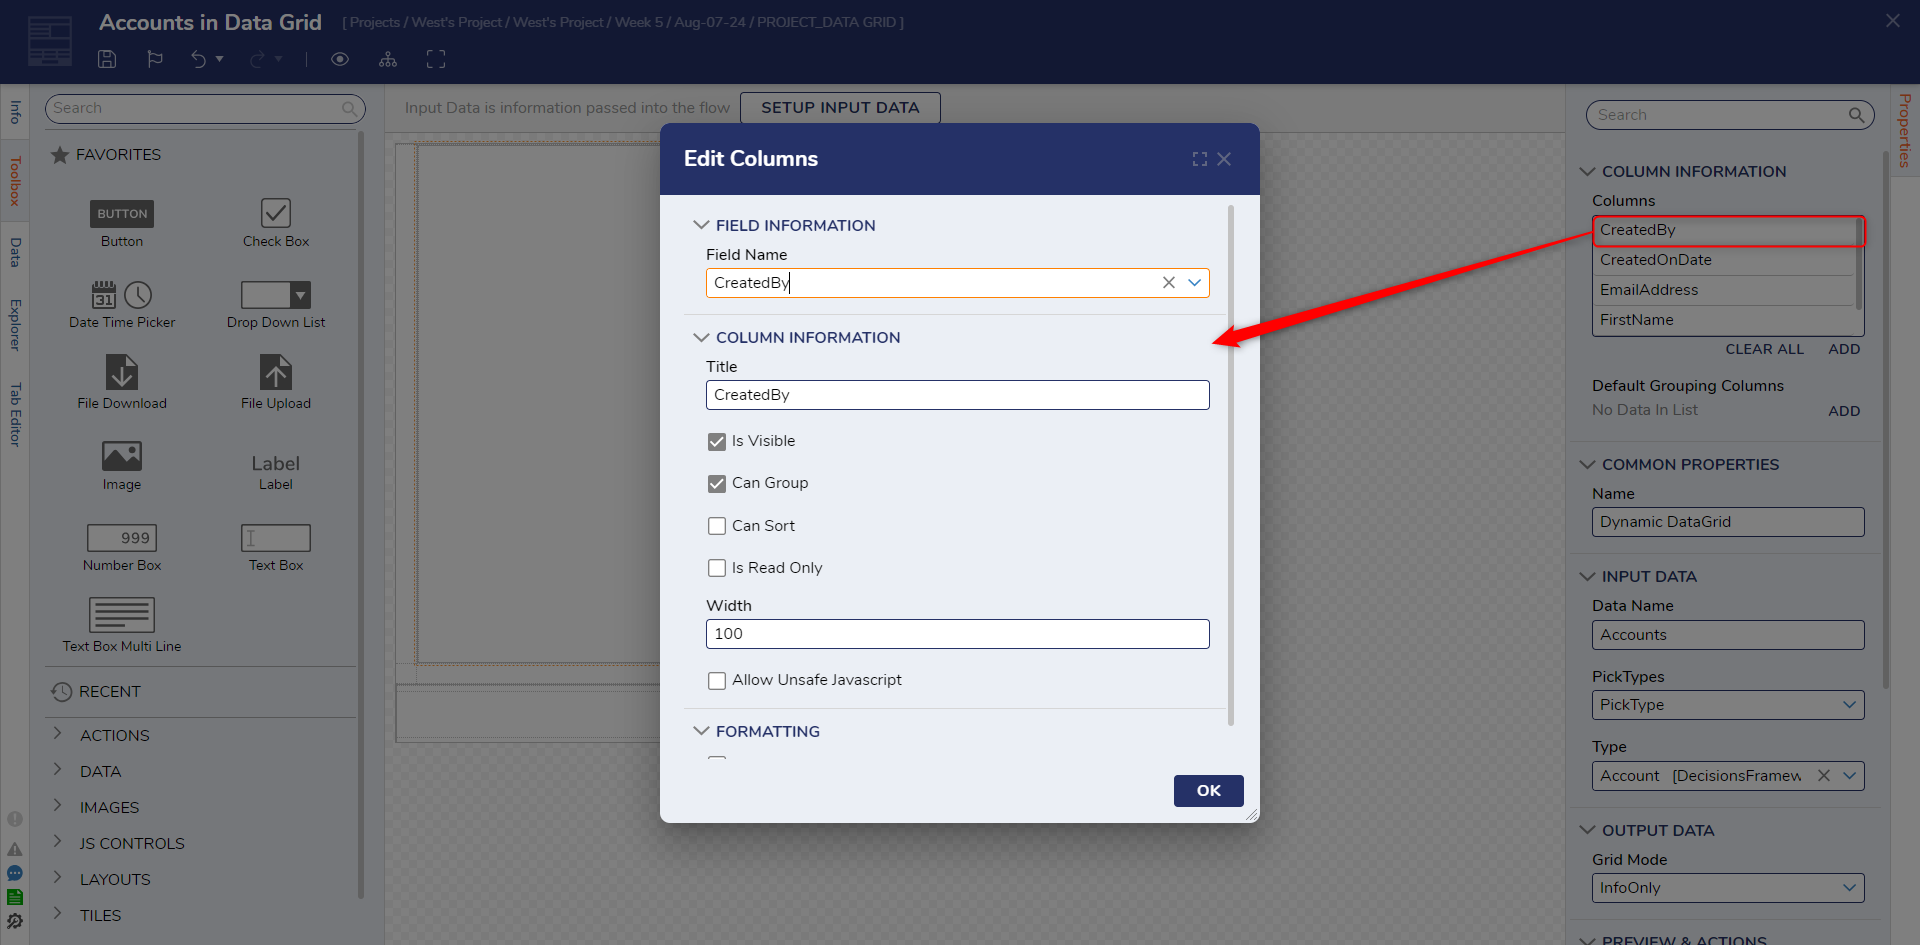
- Save and close the Form Designer to return to the Flow Designer.
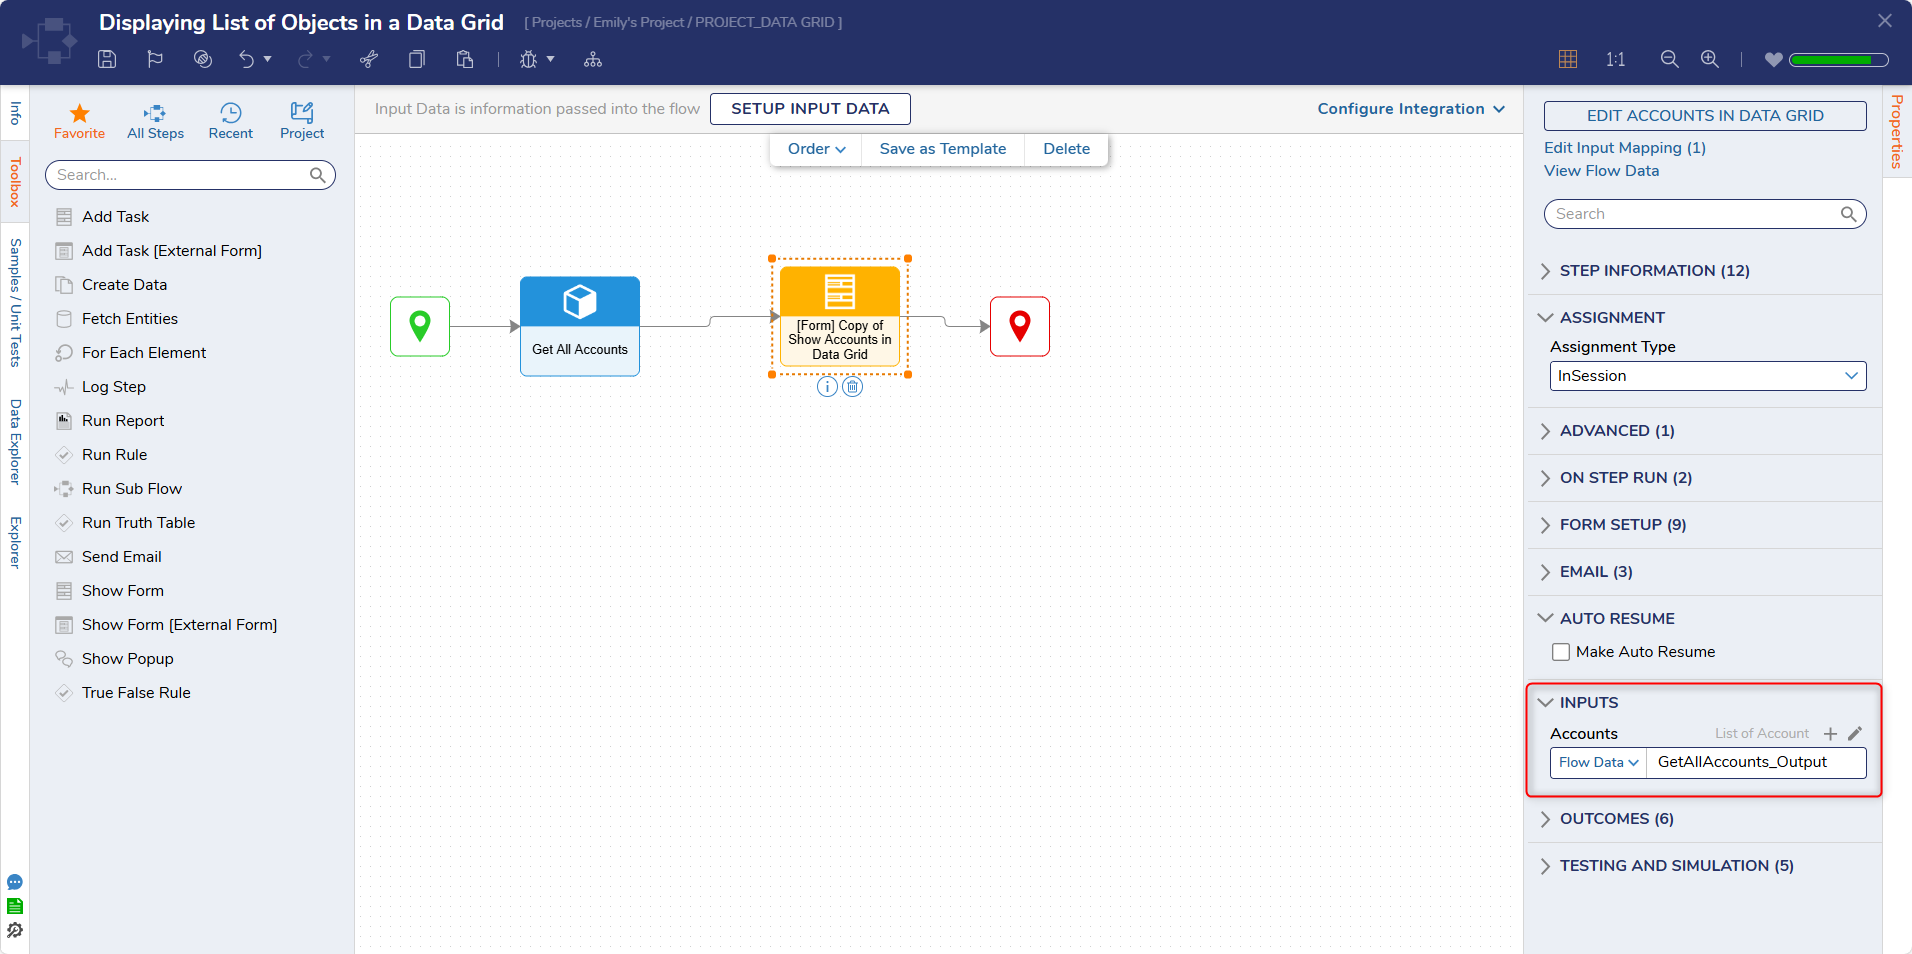
- Select the Form to open its Properties. Under the INPUTS category, change the Accounts input mapping type to Select From Flow then select the output for the Get All step (Get All 1_ Output) and click DONE.
- Connect the Done path from the Form to the End step.
Passing outputs from the Data Grid
Users can pass the output from the Data Grid to the subsequent steps in a Flow. This output may include data that users have interacted with. Grid Mode setting under the properties tab of the Data Grid and Advanced Data Grid gives designers the ability to pass the user-interacted data as output. For more information, refer to Using Grid Mode in Data Grid/Advanced Data Grid.
Debug
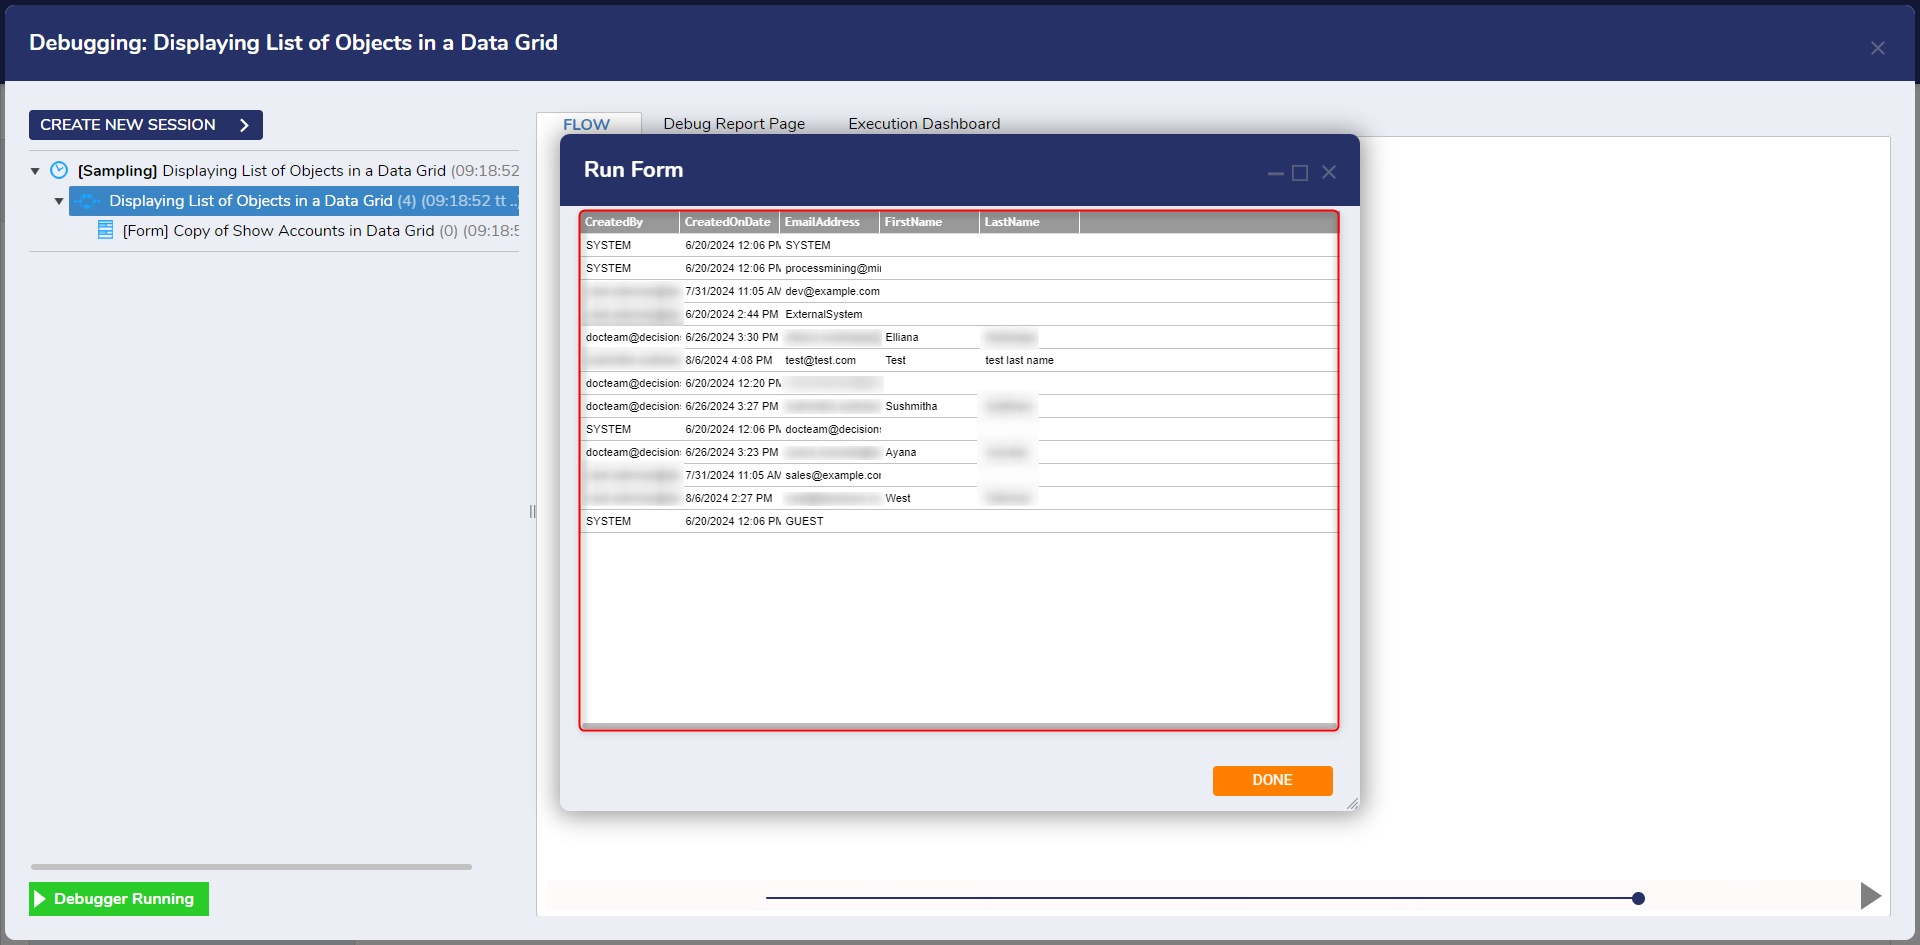
- On the top action panel, click Debug.
- Click START DEBUGGING.After the debugger runs, the Form will display a data grid of accounts.
For further information on Forms, visit the Decisions Forum.