Create an Assignment
- 02 Jun 2022
- 1 Minute to read
- Print
- DarkLight
Create an Assignment
- Updated on 02 Jun 2022
- 1 Minute to read
- Print
- DarkLight
Article Summary
Share feedback
Thanks for sharing your feedback!
Overview
Assignments provide Designers the ability to delegate users or Groups specific Tasks in the form of configurable actions and options via the use of a Flow and an Assigned Form. Additionally, Assignments offer the additional benefit of allowing Admins the ability to distribute Tasks automatically without having to send out each Task one by one.
Such processes may entail:
- Creating Notifications (ex: Portal alerts or an email) to inform Assignees (via the Assignment Properties panel) about their pending Task(s).
- Assigning a travel Form to a manager for approval.
- Establishing a time frame for a certain Task to be completed.
- Requiring that a particular Form is approved by multiple people before being accepted.
The following diagram demonstrates how to create and structure a basic Assignment.
Create an Assignment
Use the following example to create an Assignment via that uses an Add Task component.
Add Task Step
One such step that can be used to create an Assignment, is the Add Task step; this step behaves similar to how a Show Form step typically would, but by default chooses Assigned as the Assignment Type Property of the Form.
For more information, see About Assignments.
For more information, see About Assignments.
- From the Flow Designer, under the FAVORITE STEPS category of the Toolbox tab, attach an Add Task step to the Start step.
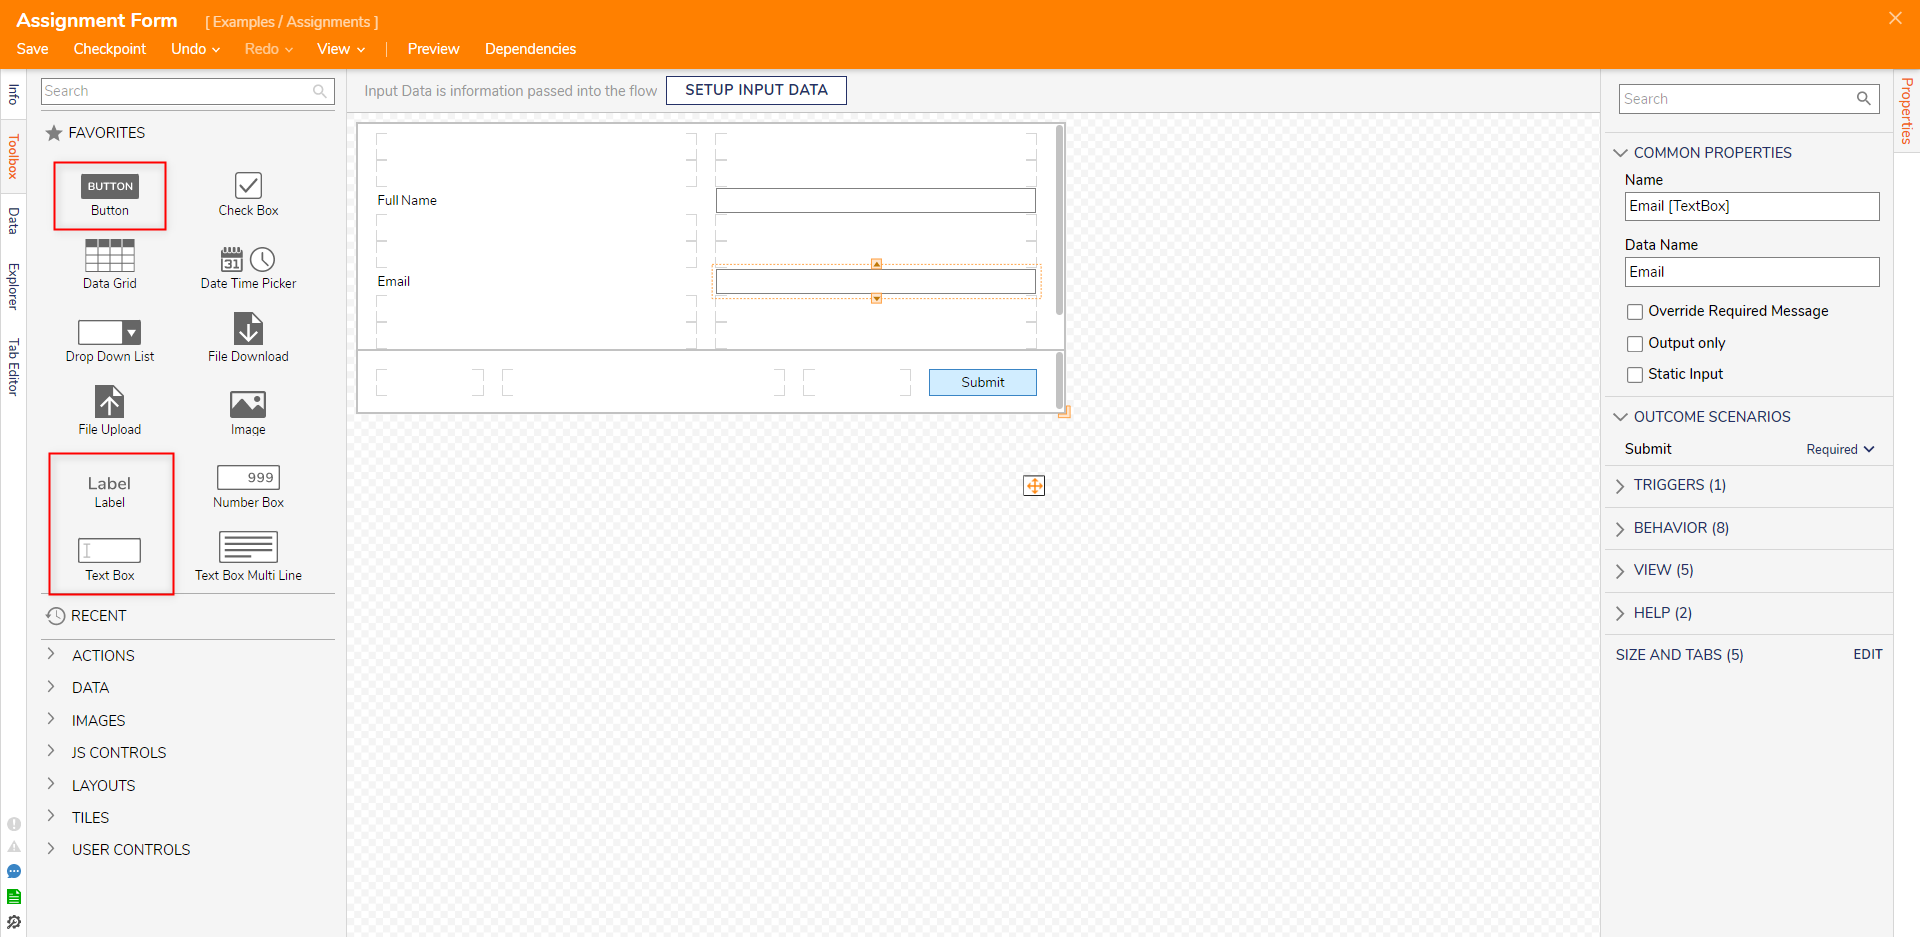
- Select the Add Task step and view its Properties Panel. Select PICK OR CREATE FORM and create a Form.
- From the Form Designer, design a Form utilizing two Text Boxes (Labeled "Full Name" and "Email" respectively), a Button component. Then, Save and close (via X) the Form Designer.
- Back in the Flow Designer, from the Properties of the Add Task step, set each of the INPUTS to Ignore.

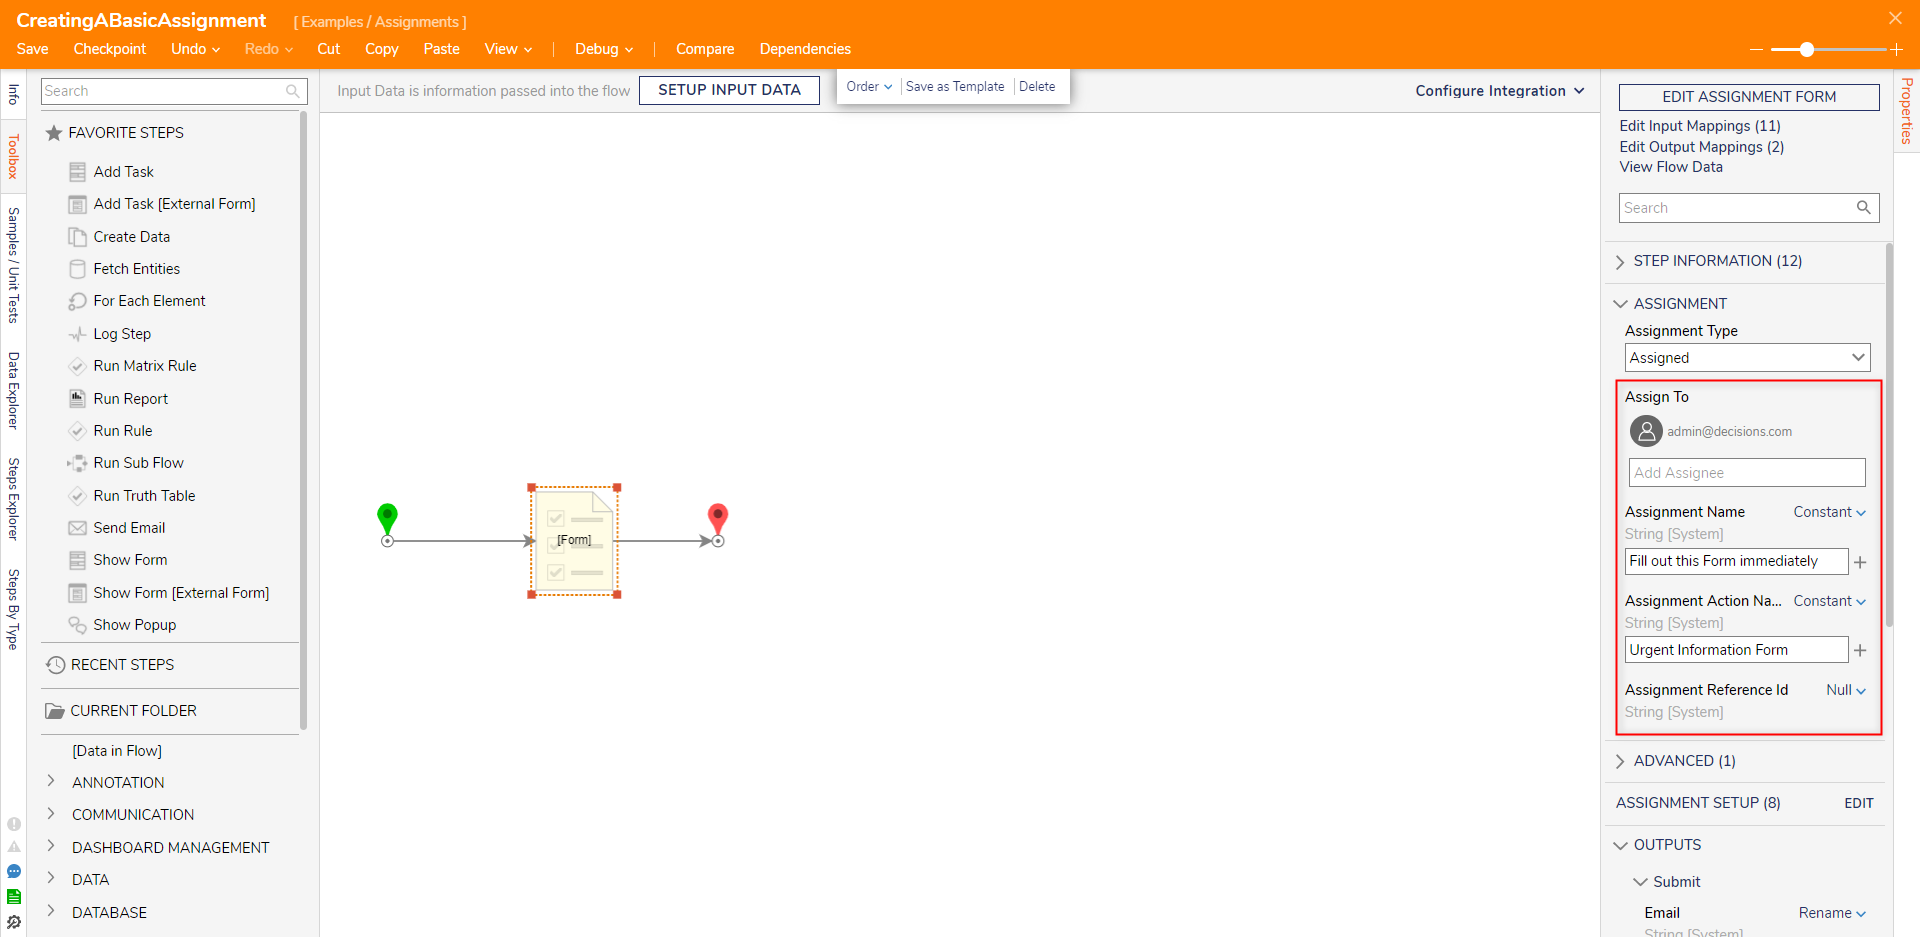
- Under Properties > ASSIGNMENT, provide the desired User Account or Group in the Assign To Input; then, configure an Assignment Name and Assignment Action Name. Assignment Name Properties
- The Assignment Name Property represents the value that appears in the Inbox Folder.
- The Assignment Action Name represents name of the Assignment's Action itself.
For more information regarding Assignment Properties/Settings, see Assignment Settings and Configuration.
- Save and close the Flow Designer.


Debug
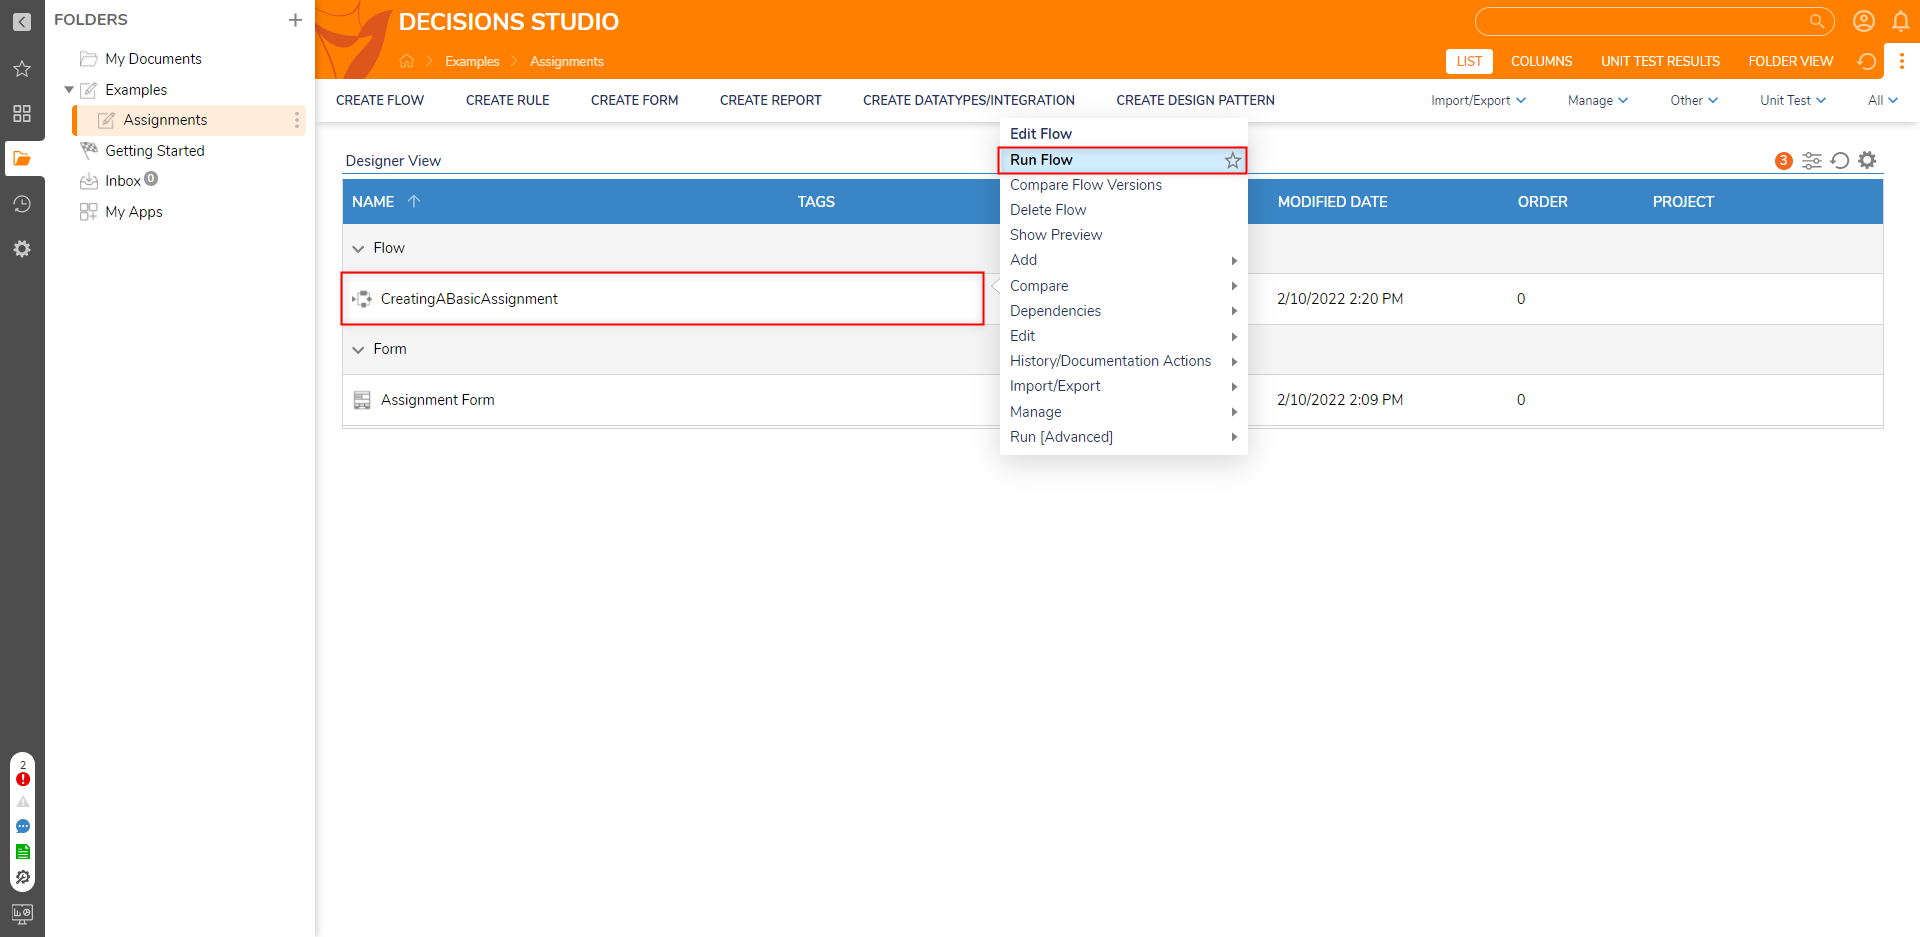
- From the Designer Project containing the Assignment Flow, right-click the Flow and select Run Flow.
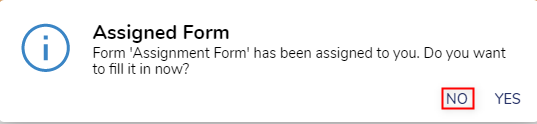
- Upon receiving the Assigned Form dialog box, select NO.
- Navigate to the Inbox and verify that it contains the expected Assignment; right-click the Assignment and select the Assignment Action Name.

- Complete the Assignment by filling out the Form and selecting the "Submit" Button.
- Once completed, verify that the Assignment has been removed from the Inbox.
.png)


.png)
Change Assignment
In the case where an Assignee needs to redirect an Assignment to an alternate recipient, such as accidental misdirection or additional processing requirements. they may do so via the Change Assignment function. 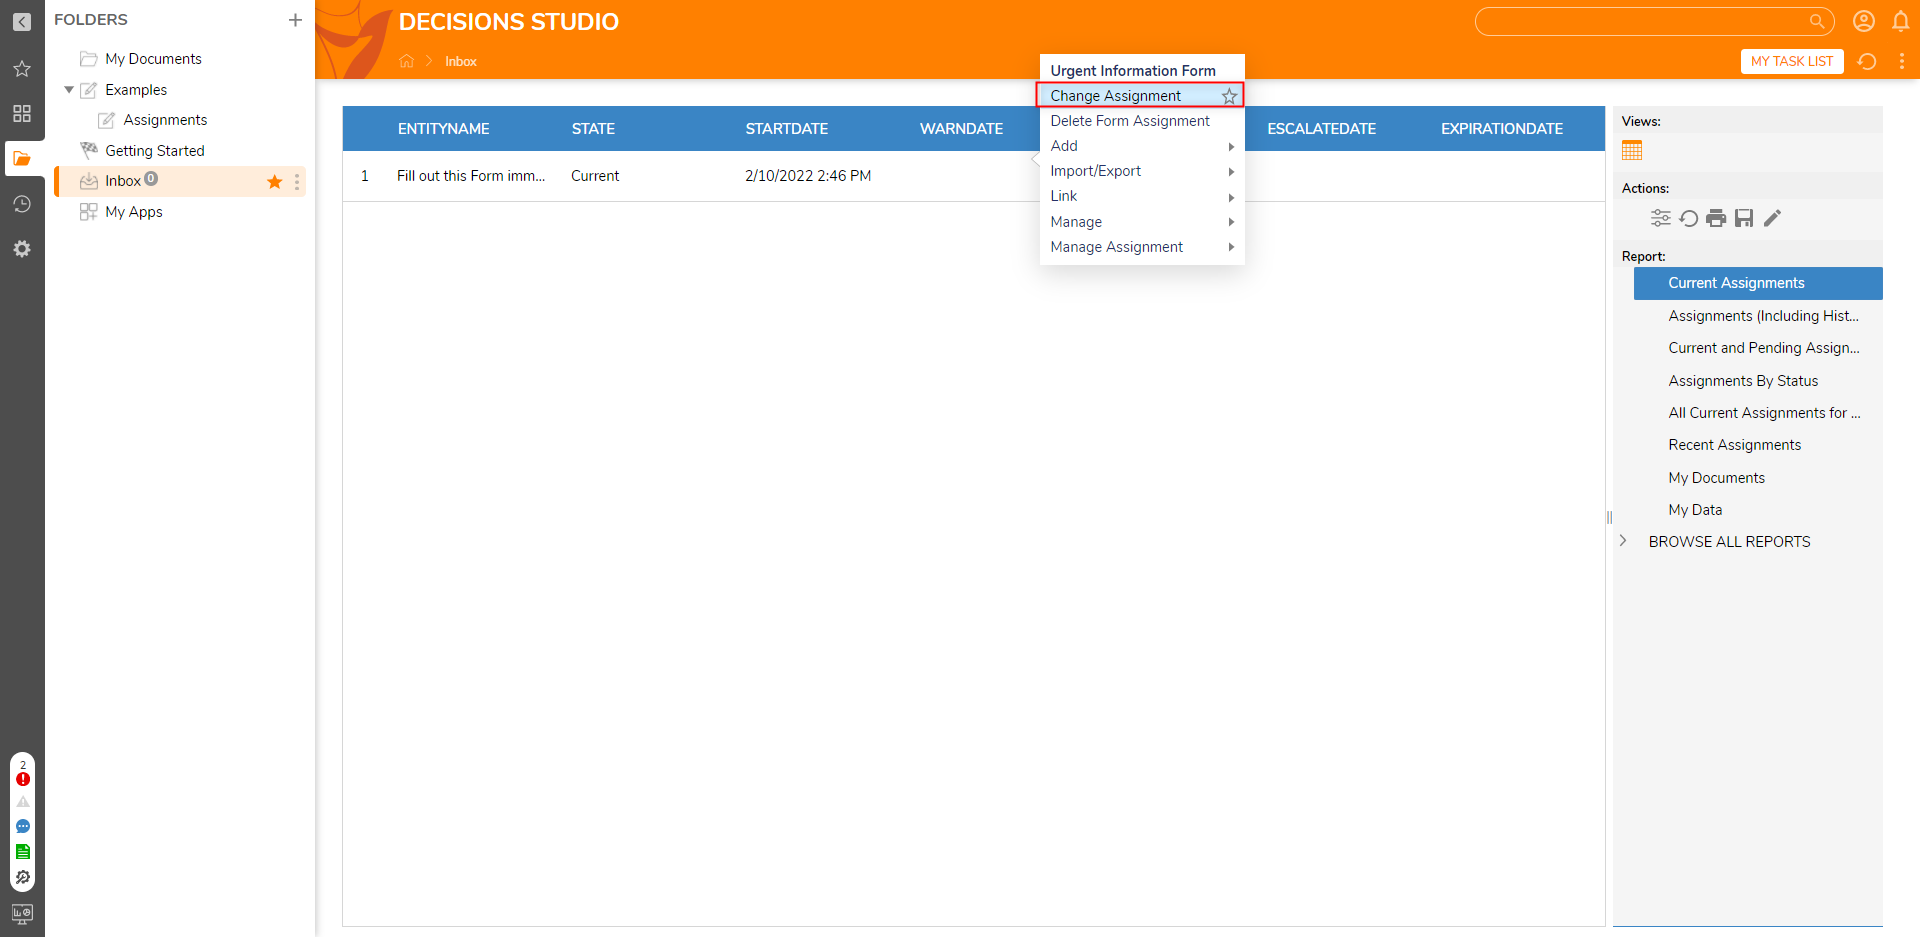
Was this article helpful?